Week 12:Project-1-Meshing of Door Inner Panel Challenge
AIM: - MESHING OF THE DOOR INNER PANEL
Objectives:
Mesh the given Door Inner Panel following the given quality criteria and assign thickness.
The challenge was completed using the Hypermesh application, the profile used was Optistruct.
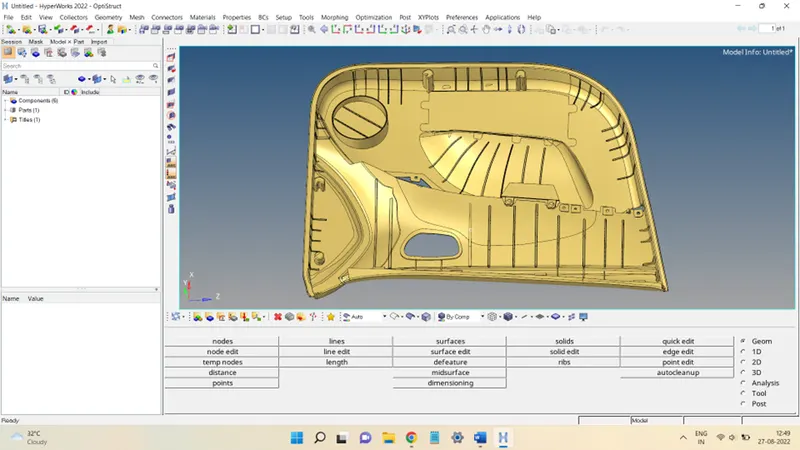
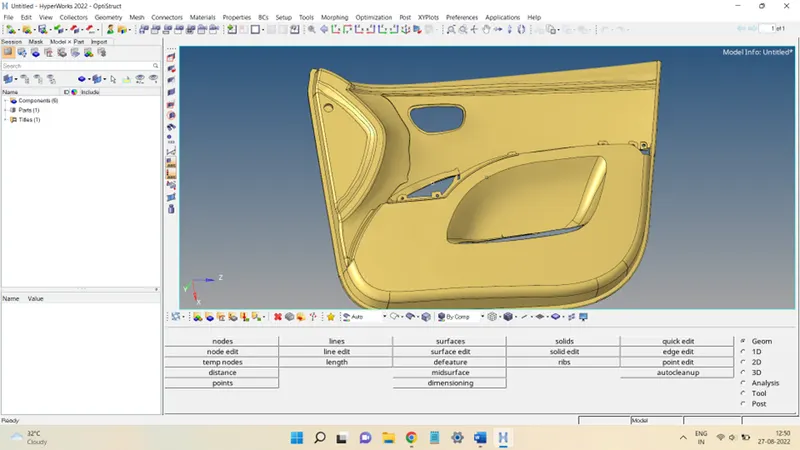
First, the model was imported to the Hypermesh environment. It is a model of the plastic inner panel of the side door, that accumulates different controls like door-lock mechanism, window sliding controls, etc., the model looks like this:
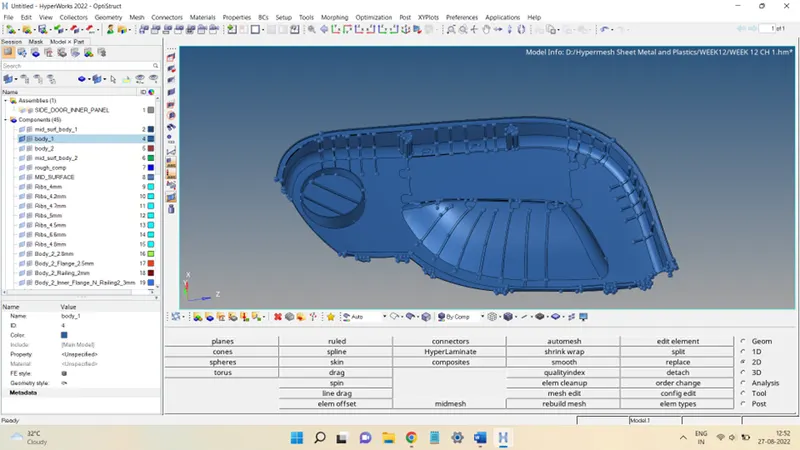
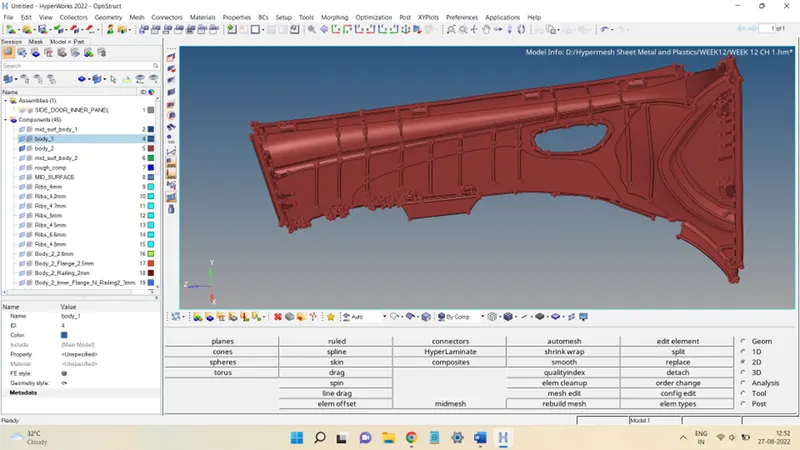
The above model is divided into two components, namely body_1 & body_2, for ease of work, as shown below:
The next step was to obtain the mid-surface of both components. Since the given model is of plastic, the thickness will vary in places. Therefore, the mid-surface should be obtained keeping the thickness in mind.
The process of obtaining the mid-surface of body_2 is shown below:
First, offsetting a base surface:
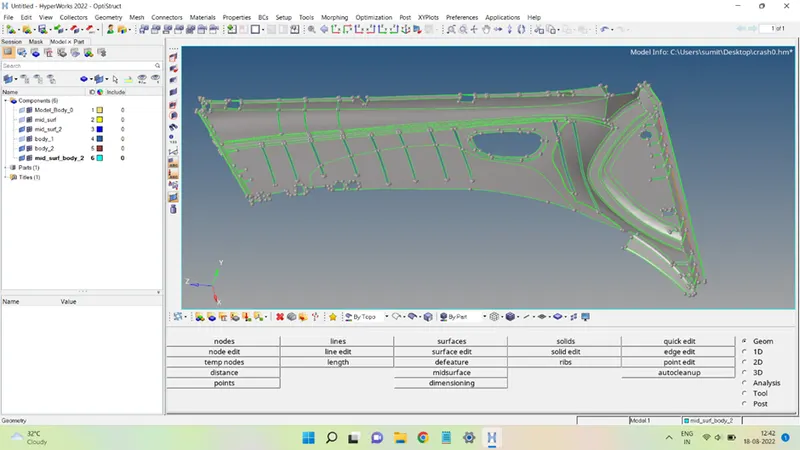
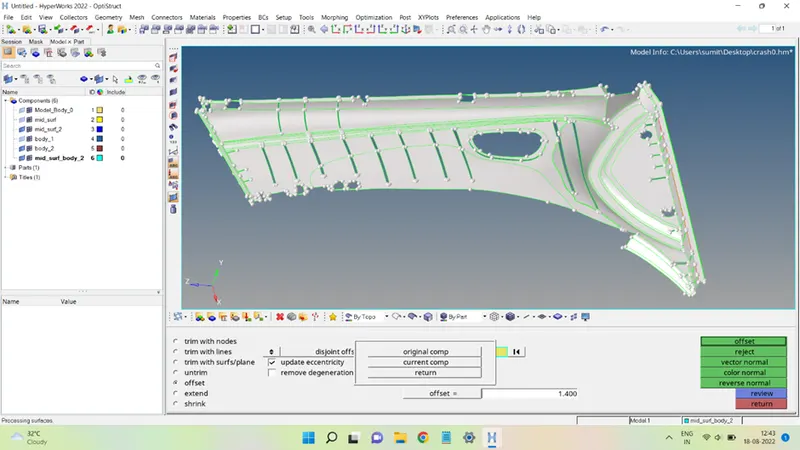
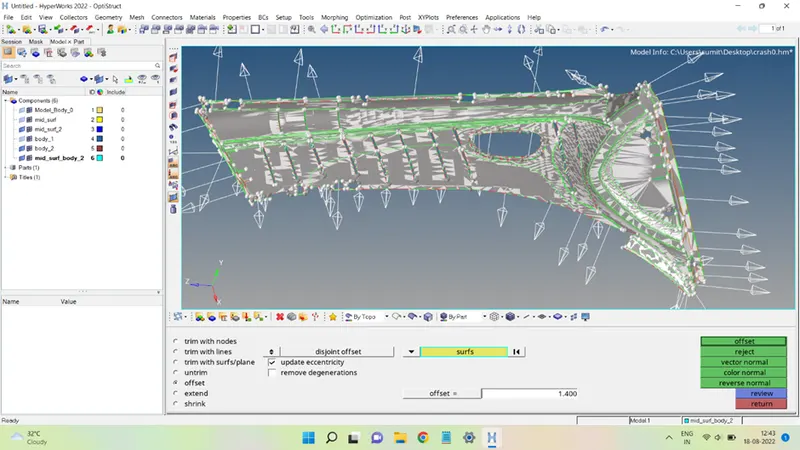
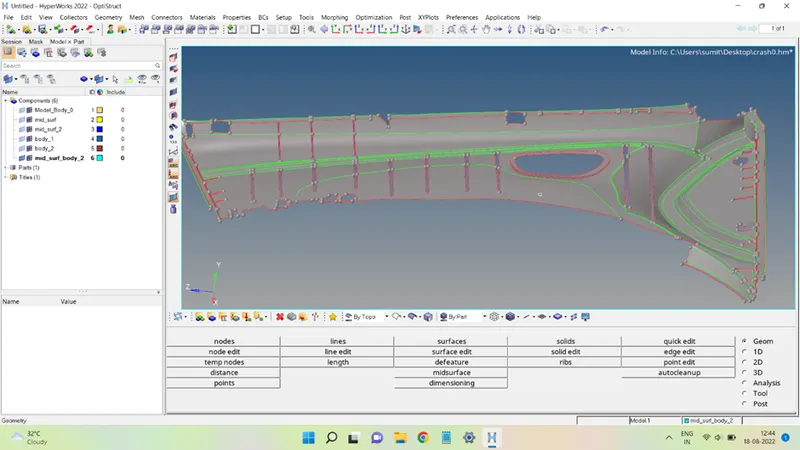
This is the common base surface on which the mid-surfaces of the remaining features will be attached, as shown below:
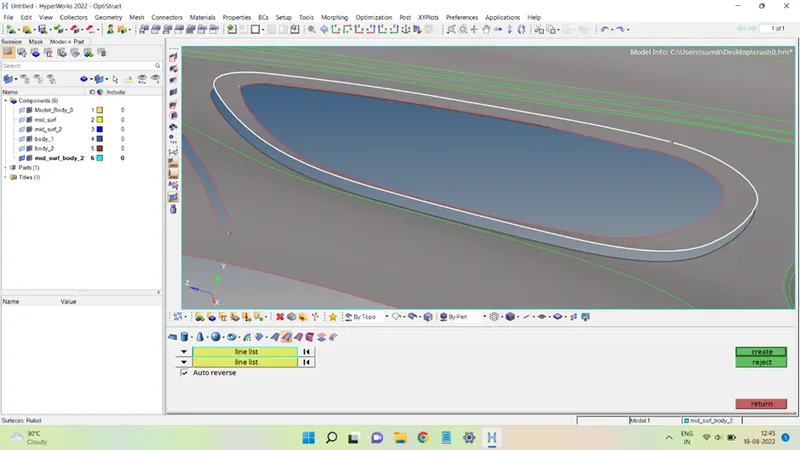
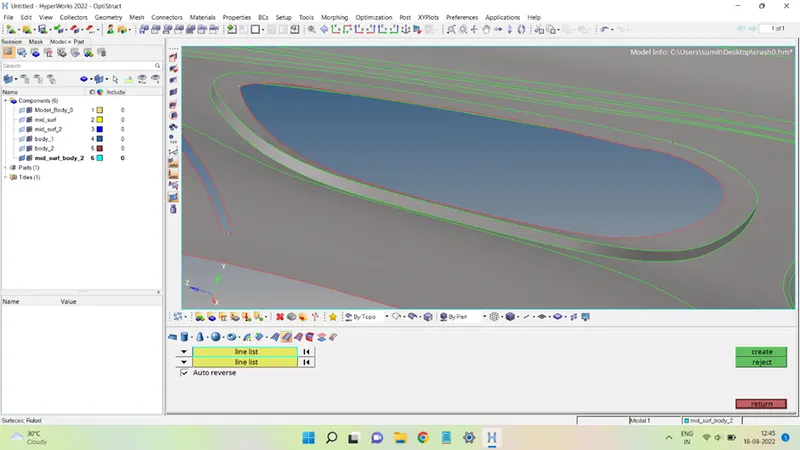
Clean up of the surface at different locations where the surfaces are missing or distorted:
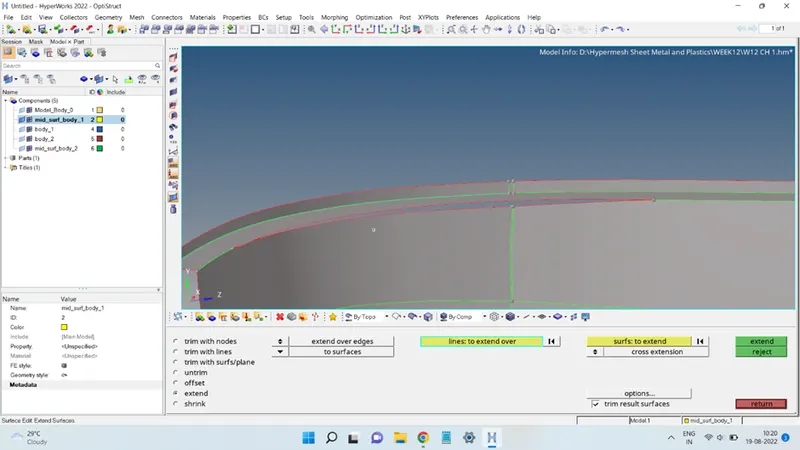
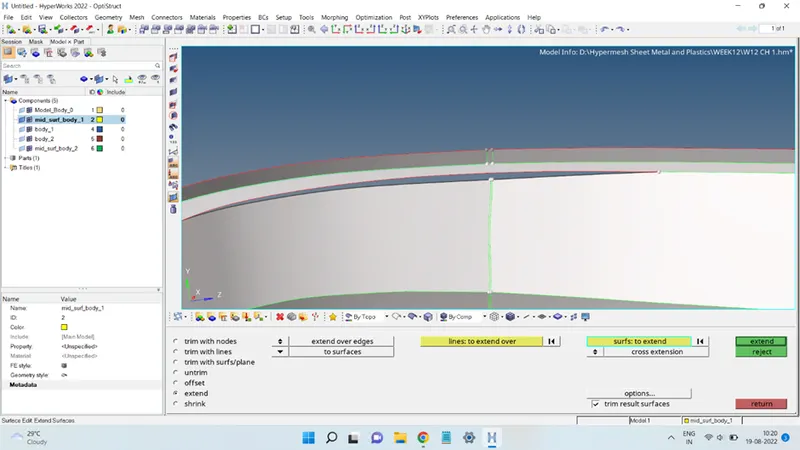
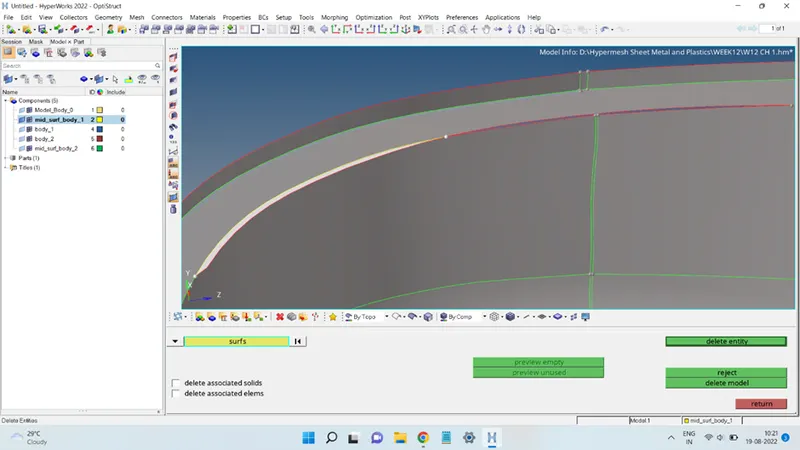
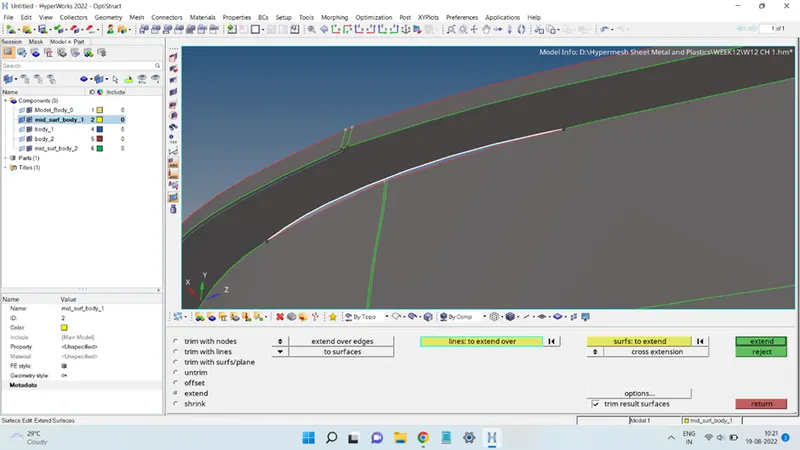
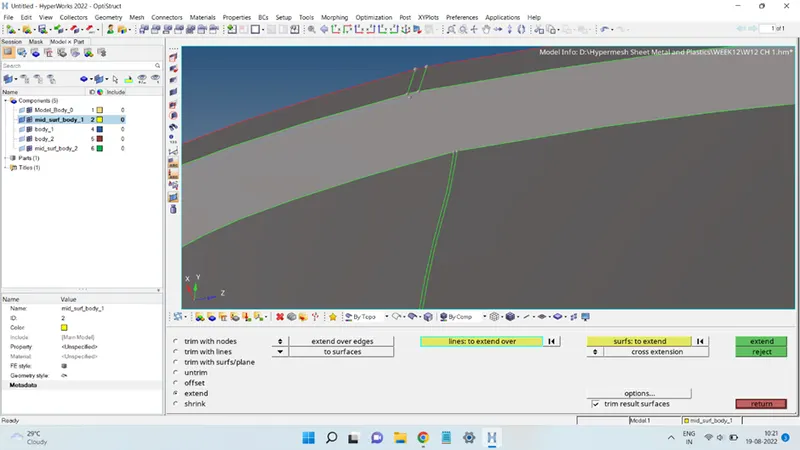
Mid-surface of the big cylinder:
First, defeaturing the unwanted surface fillets from the cylinder.
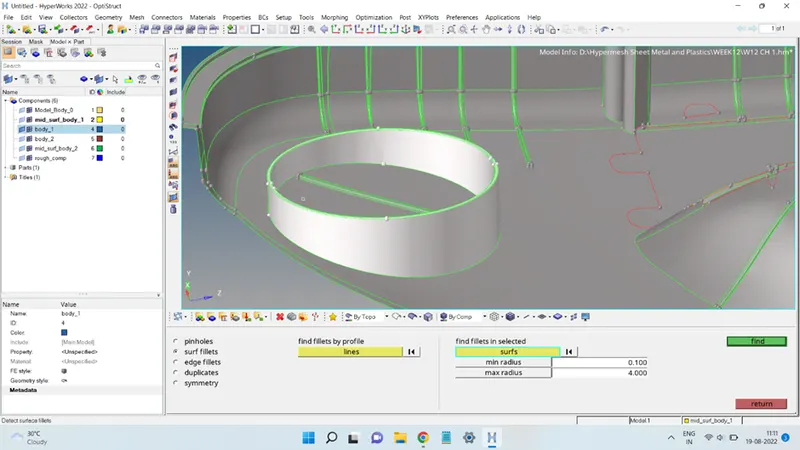
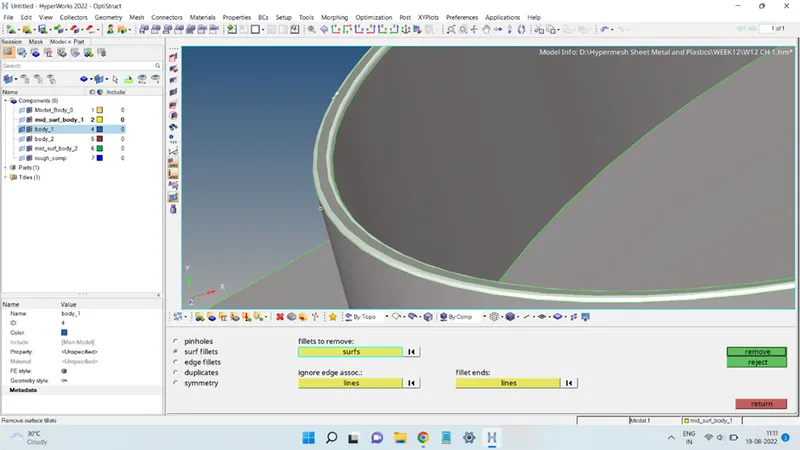
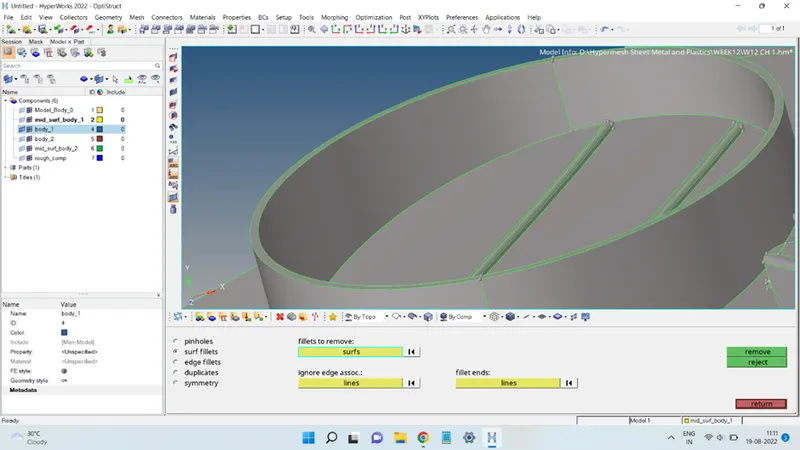
Offsetting the inner cylinder walls:
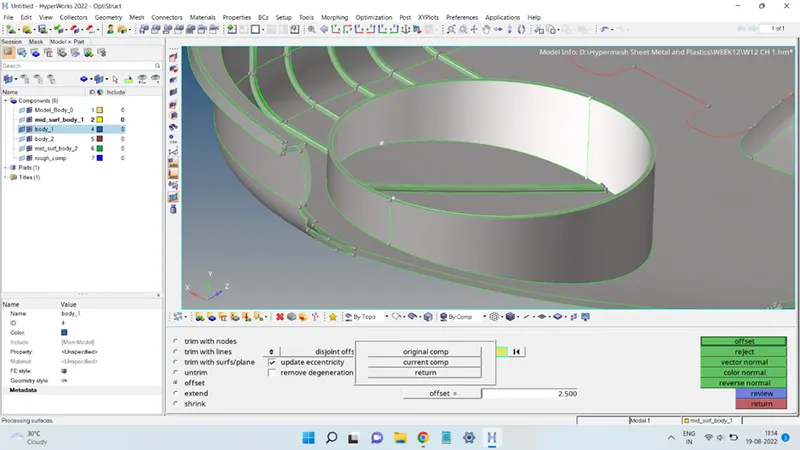
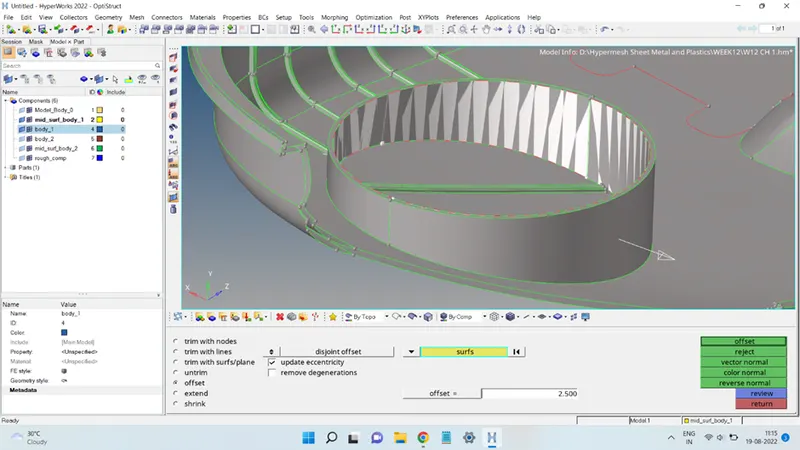
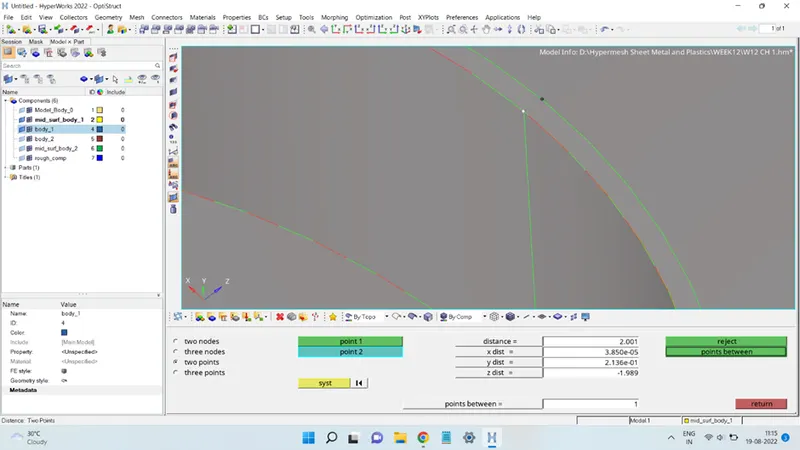
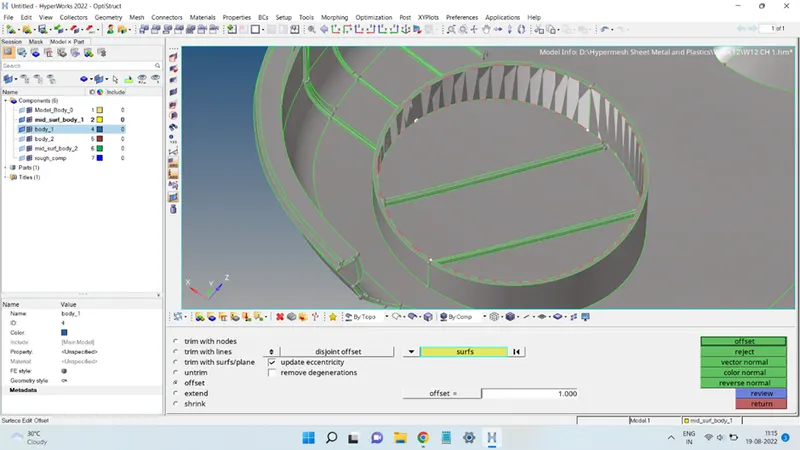
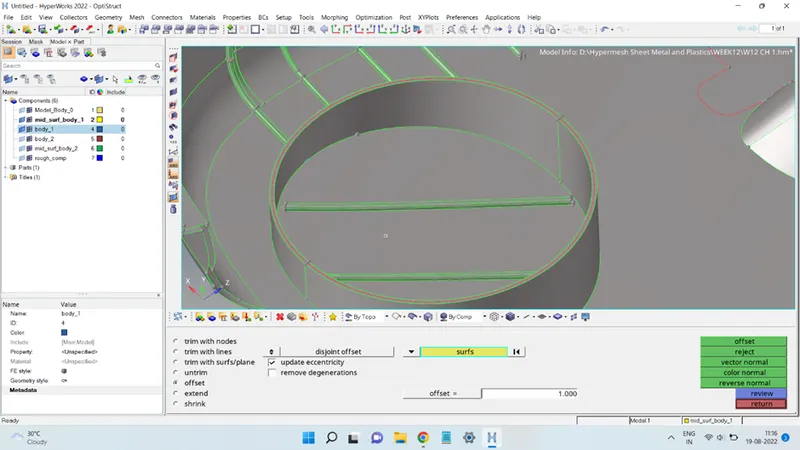
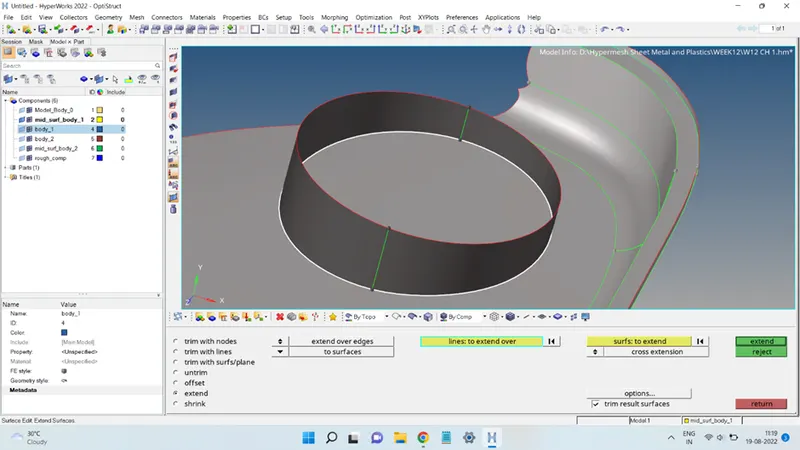
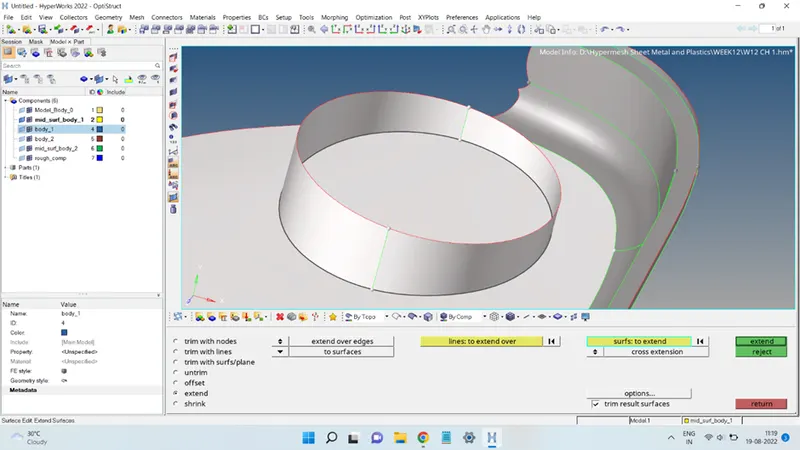
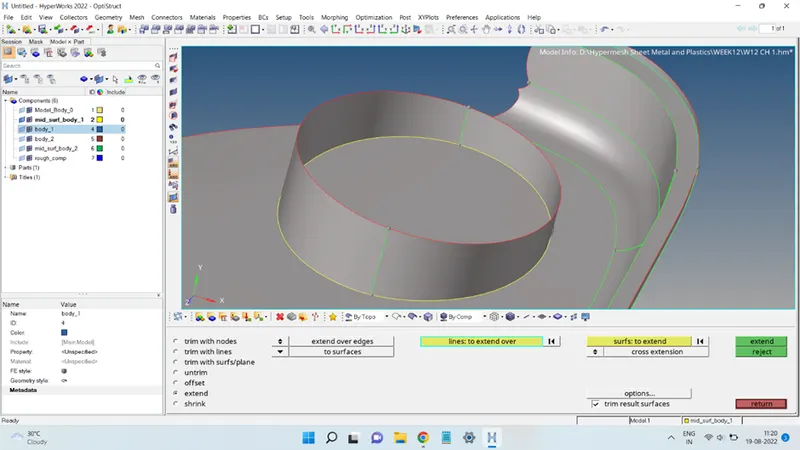
Then extending the bottom of the cylinder to attach to the base surface:
Mid-surface of the ribs:
First, the ribs were defeatured off the unwanted fillets present on them, and cleanup was done to get a proper defeatured rib feature for the mid-surface.
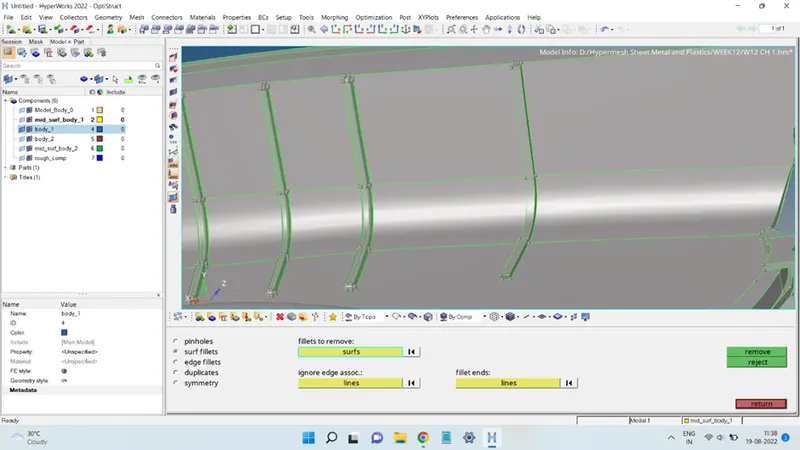
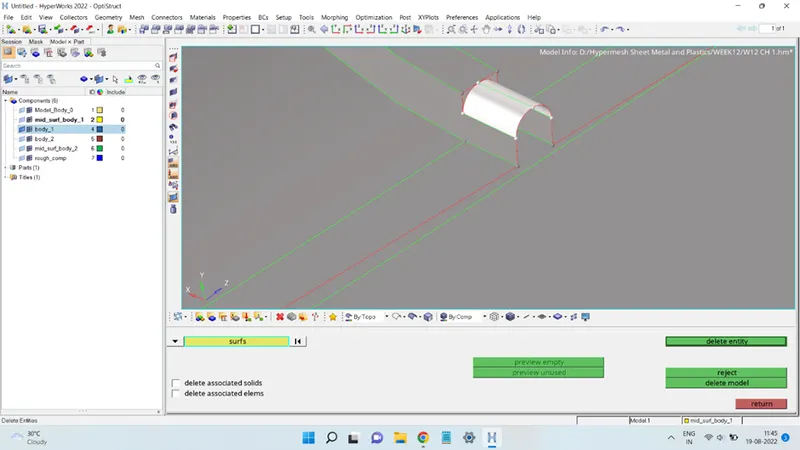
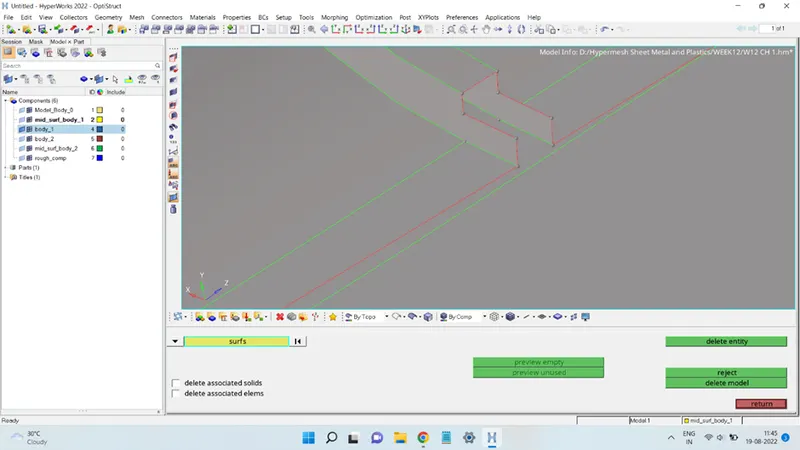
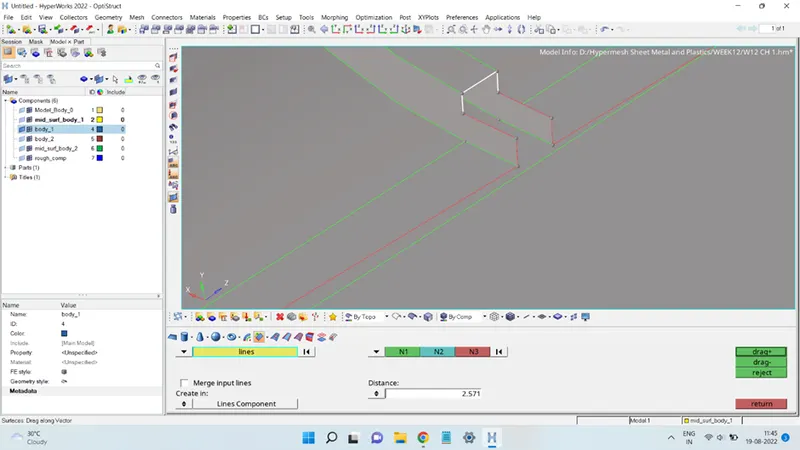
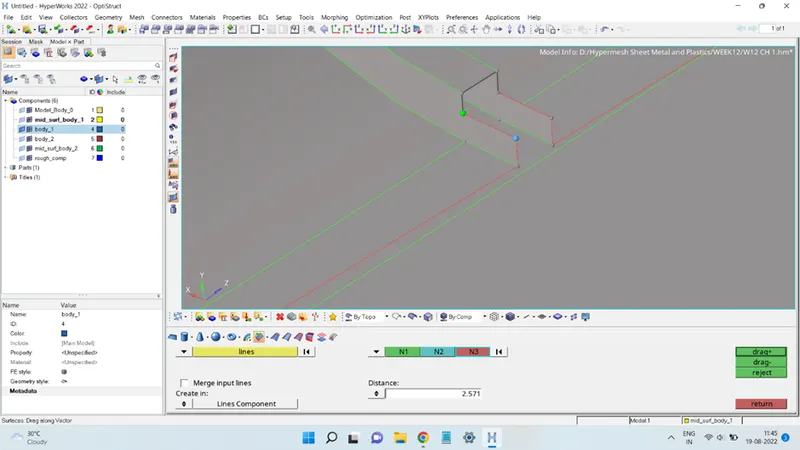
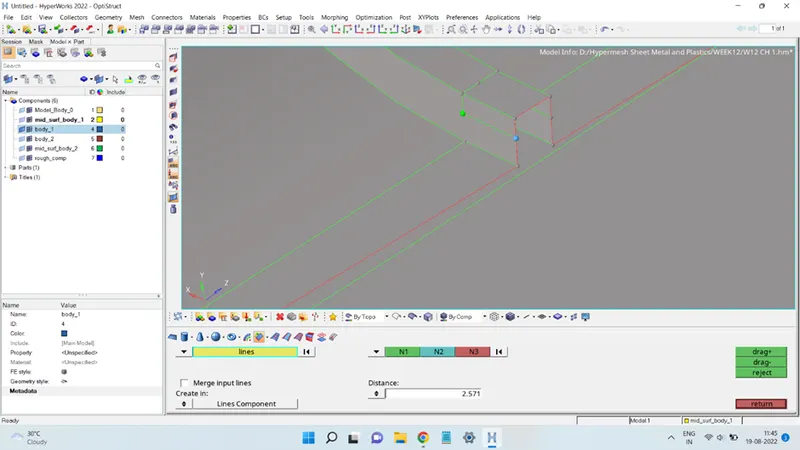
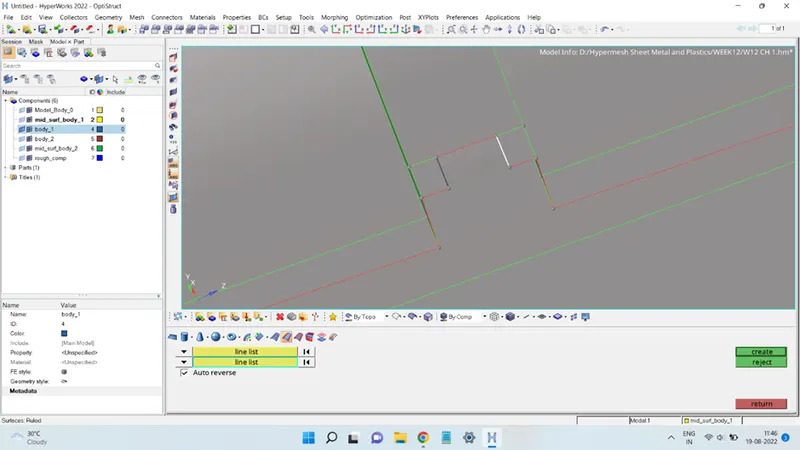
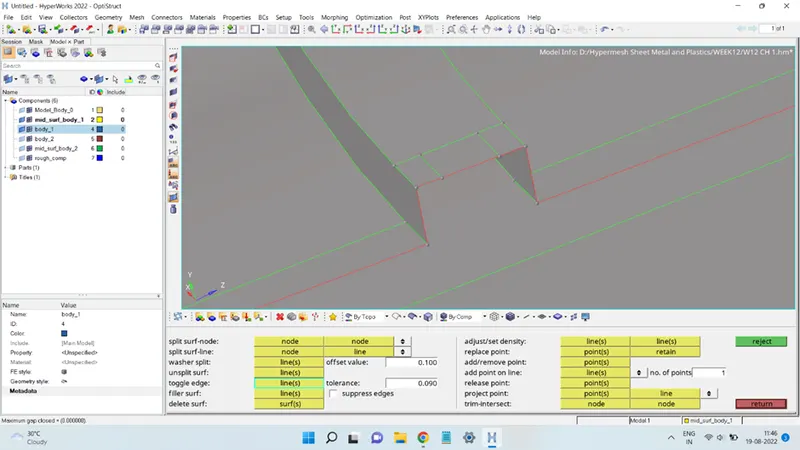
Through the same process, all the ribs were defeatured. Each of the ribs was mid-surfaced by first generating midlines using the top and bottom surface edges and then obtaining the surface using those midlines and spline commands.
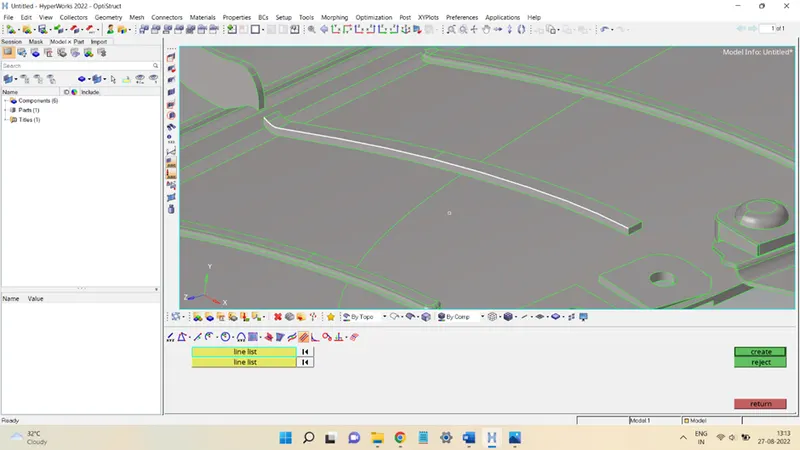
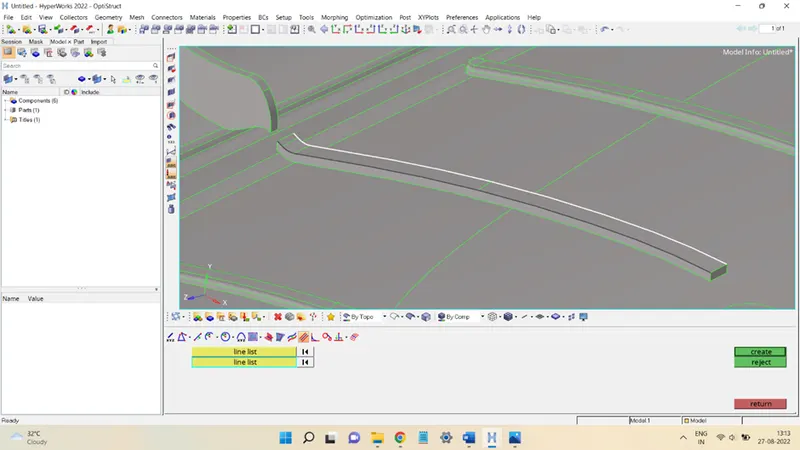
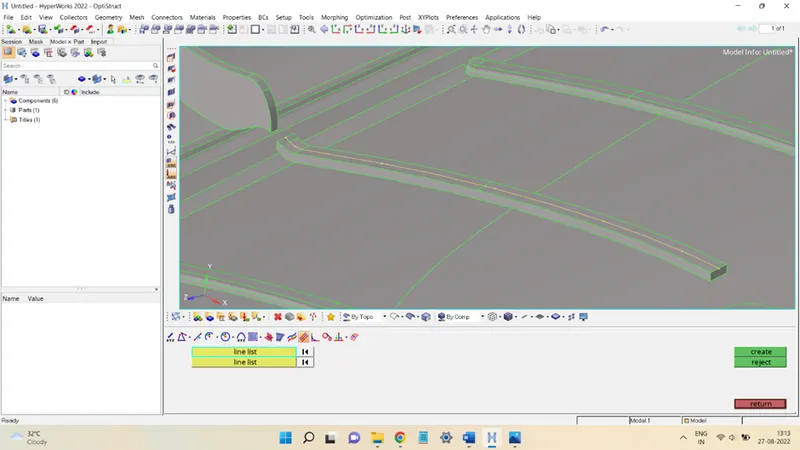
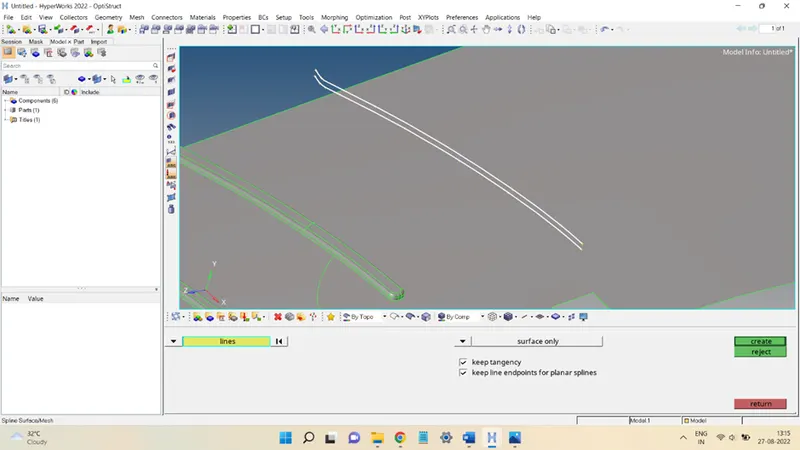
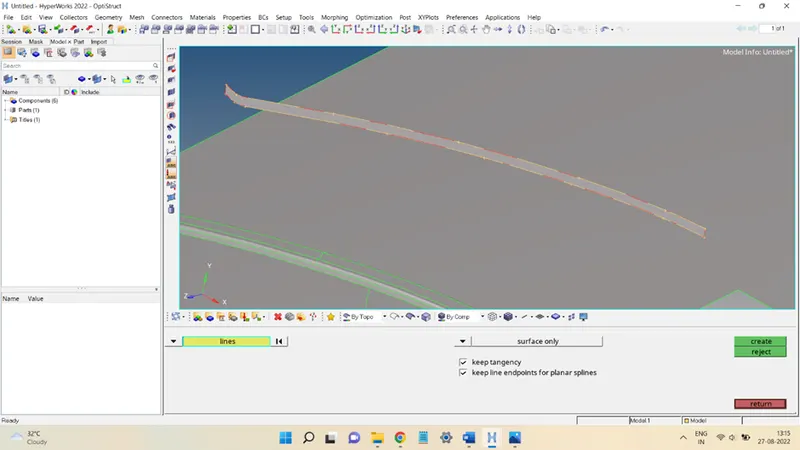
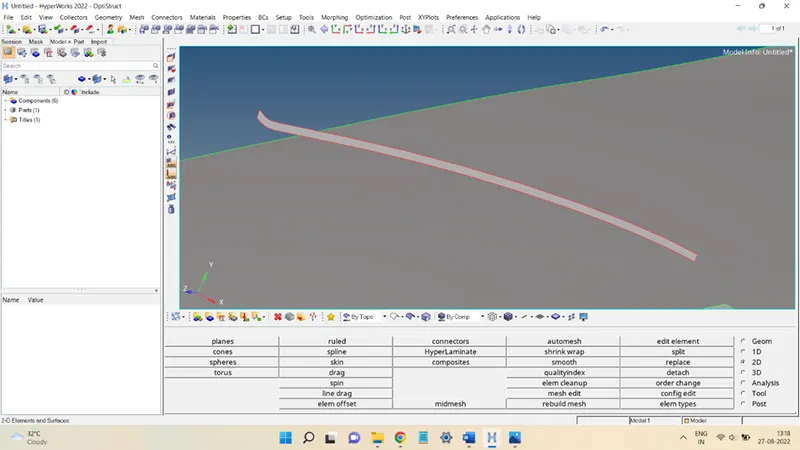
In the same way, the mid-surface of all the ribs was generated and using the surface edit tool and surface line extend tool these were connected with the base surface to generate the mid-surface of the overall body, and the mid-surface of the inner panel was obtained is shown below:
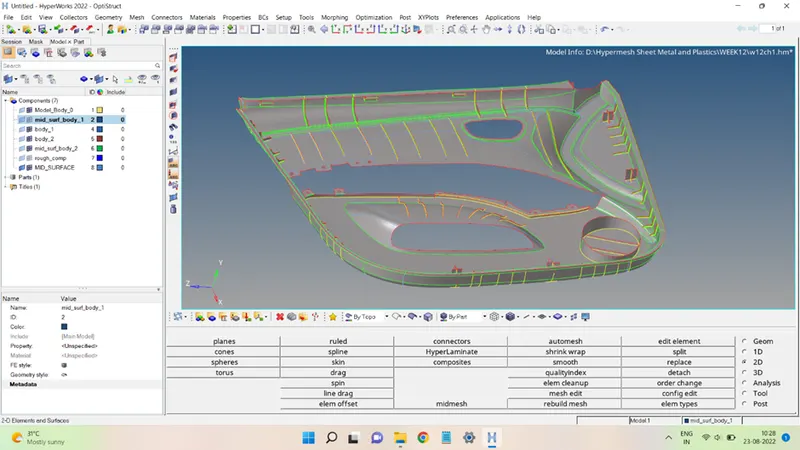
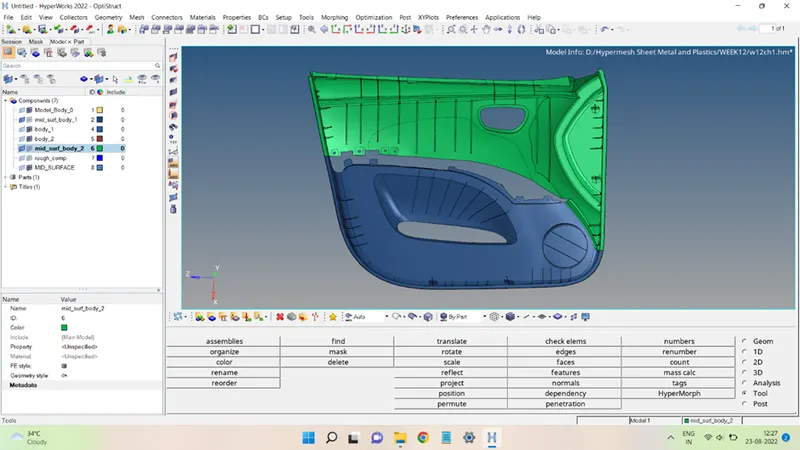
The mid-surface is moved to a new component named MID_SURFACE, as shown below:
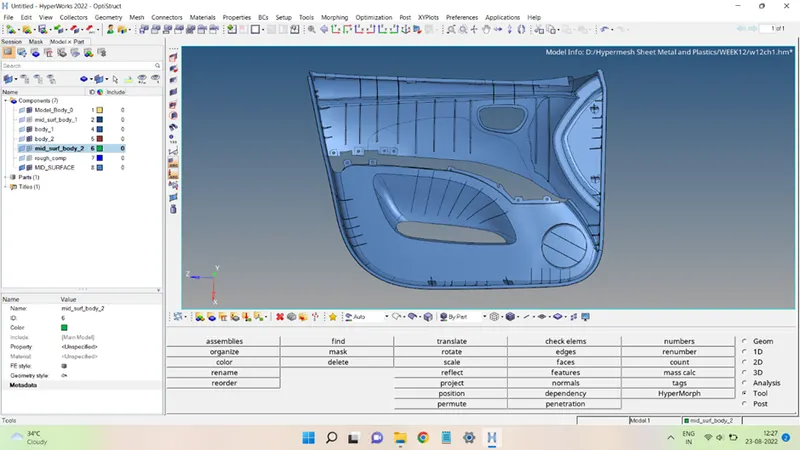
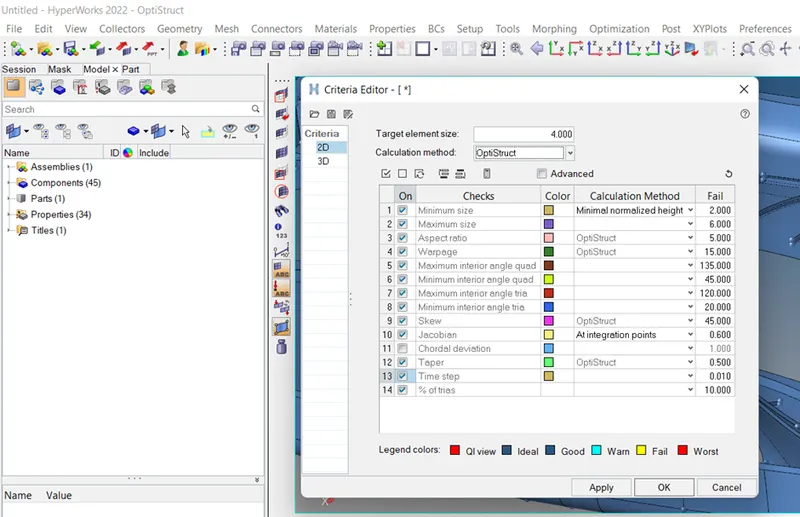
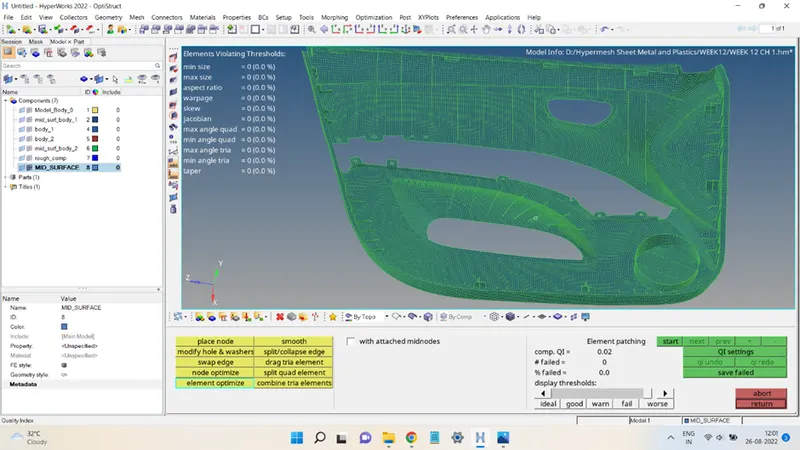
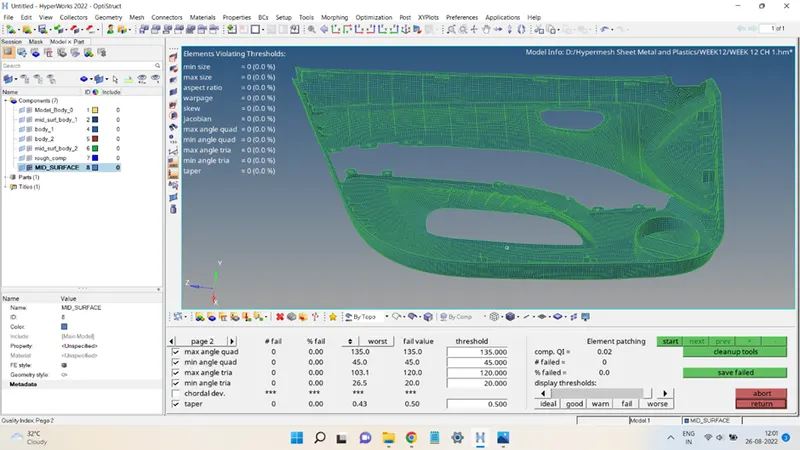
This surface then meshed, the quality criteria settings for the meshing are shown below:
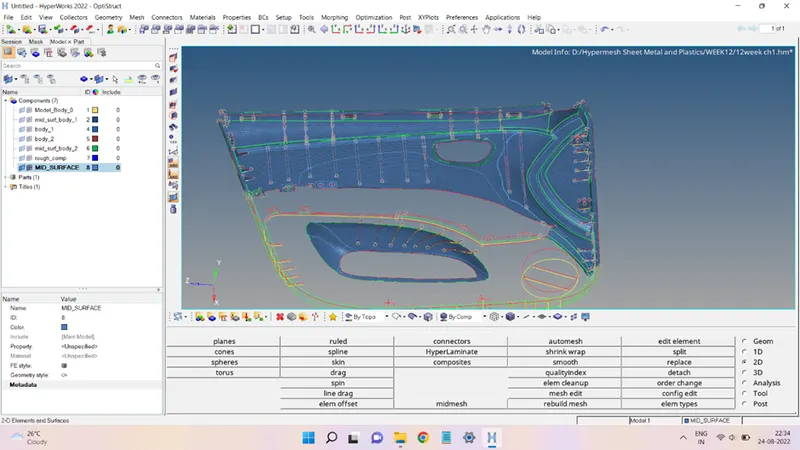
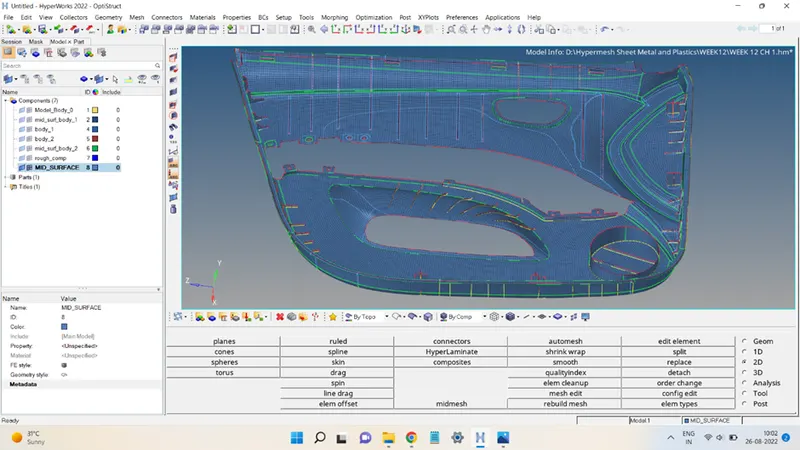
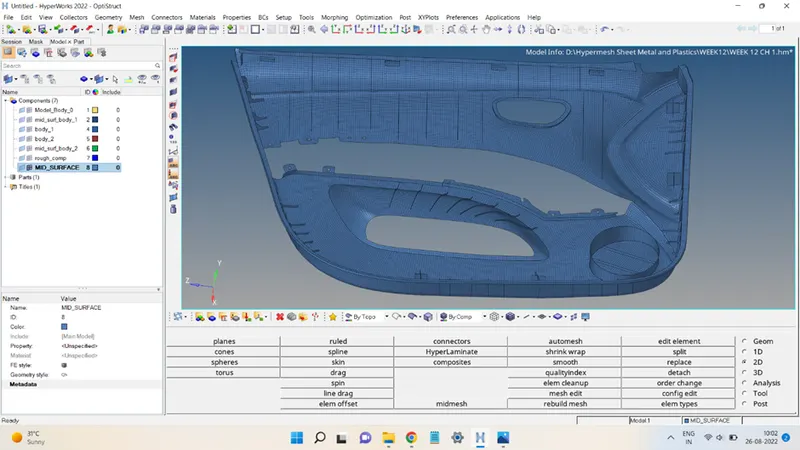
The meshing process can be seen in the figures shown below:
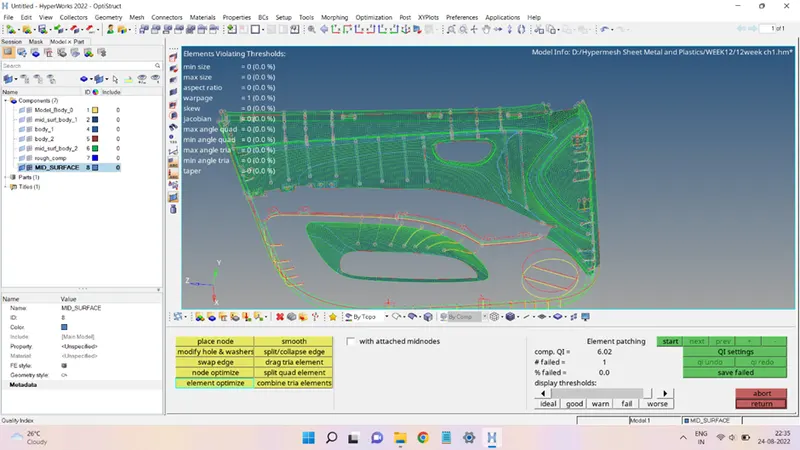
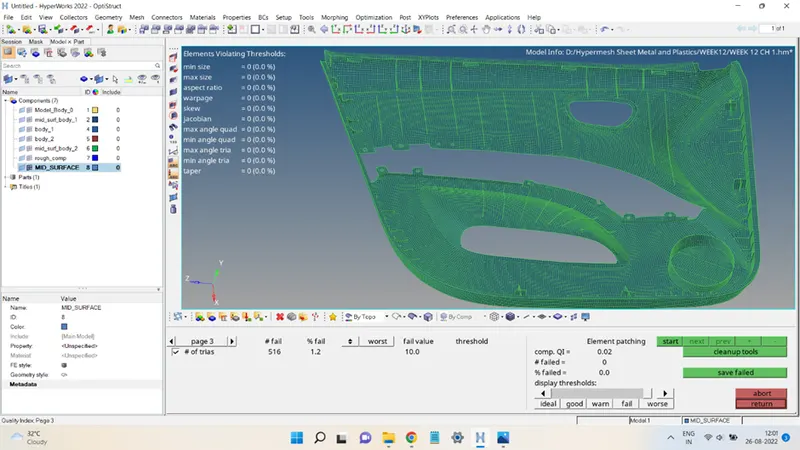
The mesh quality is shown below:
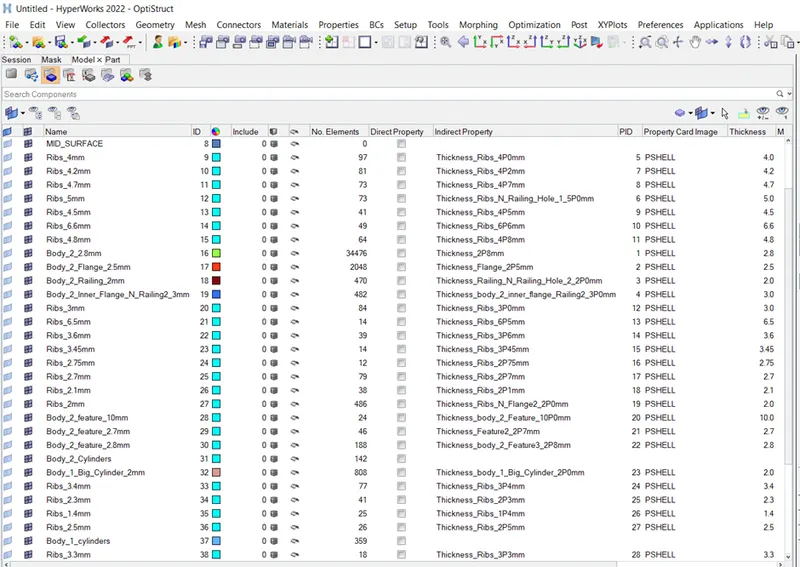
After the meshing is done successfully, the next step was to separate the elements in the mesh according to the different surfaces and thicknesses. This was done by creating different components named according to the features and then with the help of the organize tool moving the elements to the corresponding component. The figures below show the components and the mesh in the component view:
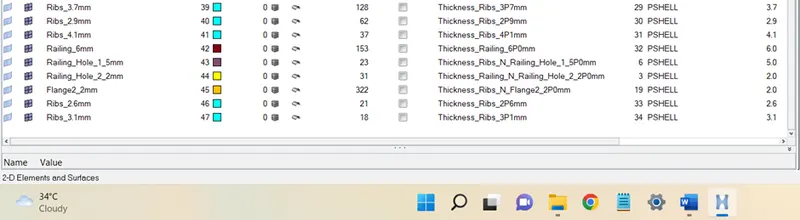
Mesh in component view is shown below:
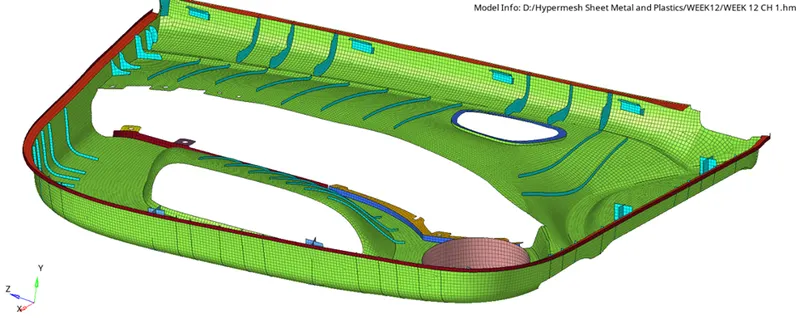
Detailed element thickness view of the mesh:
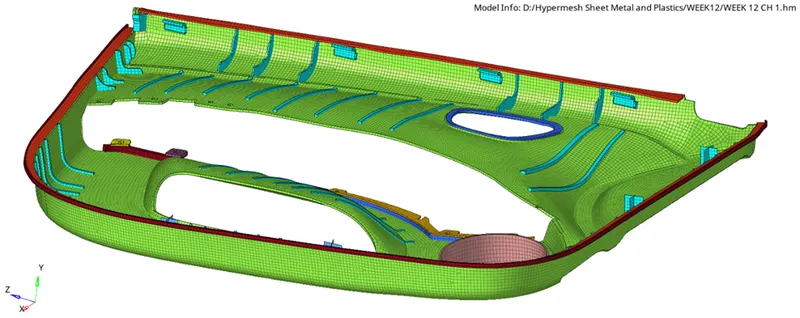
Next, for each thickness, property was also created that will store these thickness values, and then these thickness properties were assigned to the respective component.
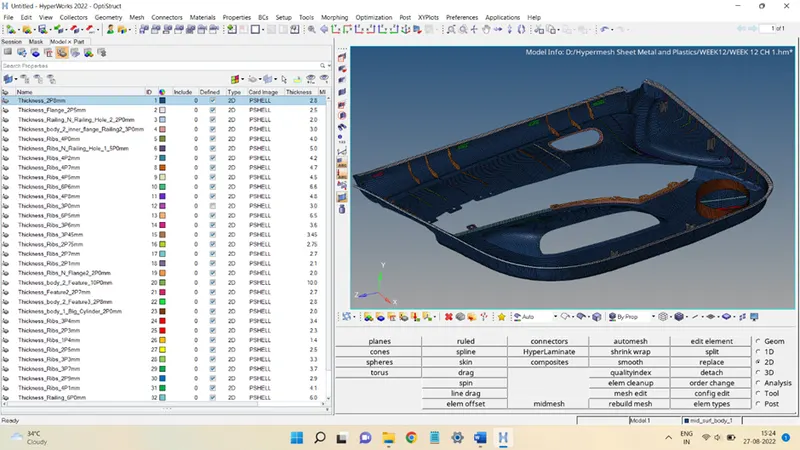
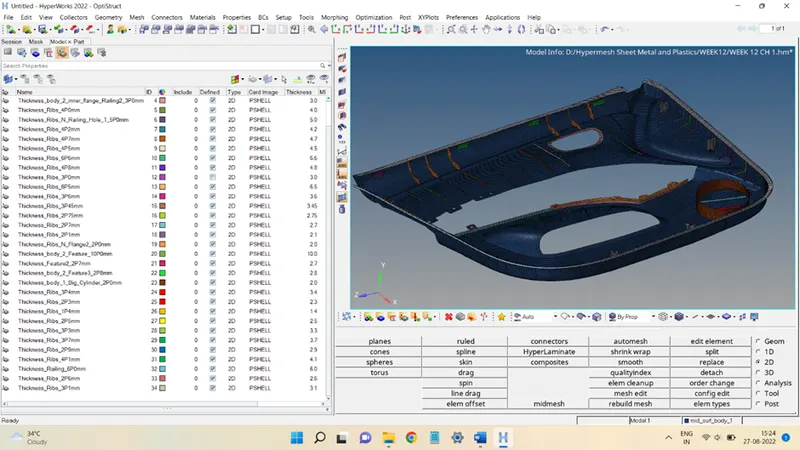
View of mesh based on property:
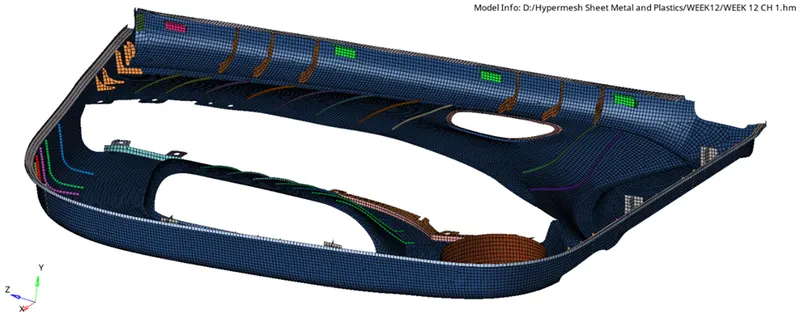
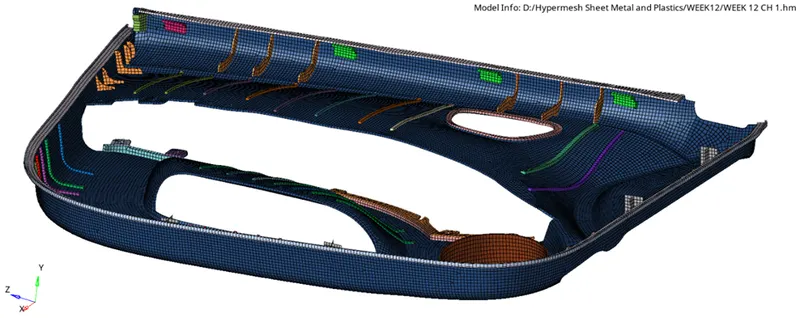
Detailed element view of mesh based on property:
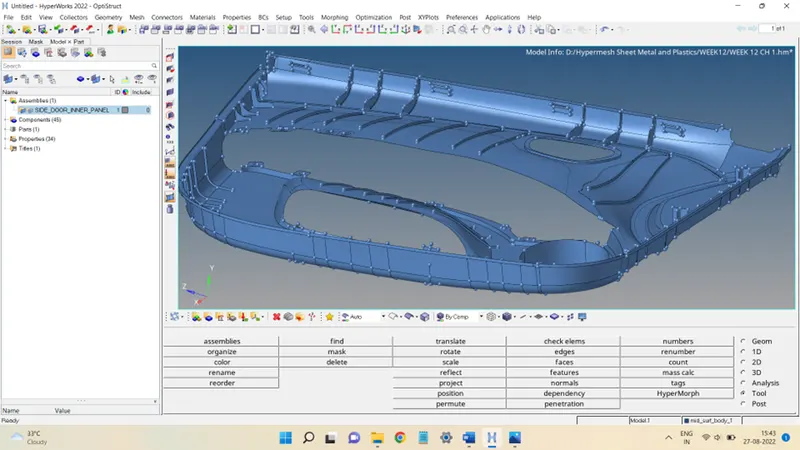
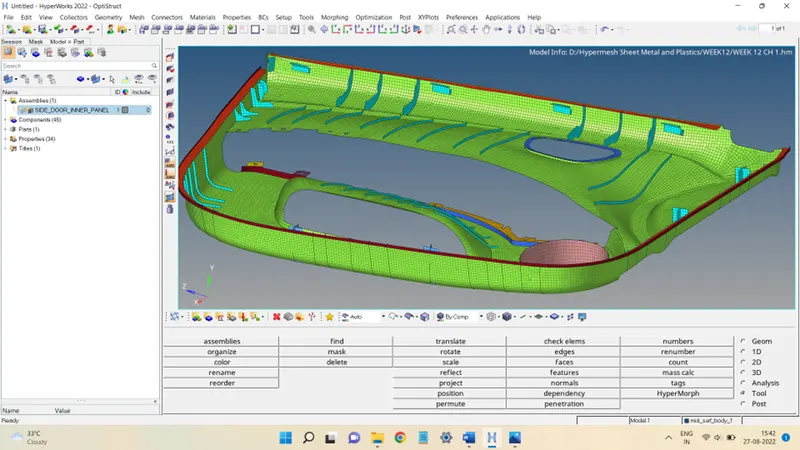
Lastly, a new assembly named SIDE_DOOR_INNER_PANEL was created such that it comprises all the components that are having the elements and a component containing the mid-surface of the inner panel, as shown below:





The assembly created will look like this:
Conclusion:
This challenge provided the opportunities to:
Work on a complicated body, generate mid-surface of the body having varying thickness.
Learn through performing different geometry clean-up operations while working on parent geometry as well as on the mid-surface.
Creating mesh and then segregating the elements based on the thickness of the corresponding feature involved.
Creating multiple thickness properties and then assigning them to concerned components carefully.
Creating an assembly to club different components into a single entity.