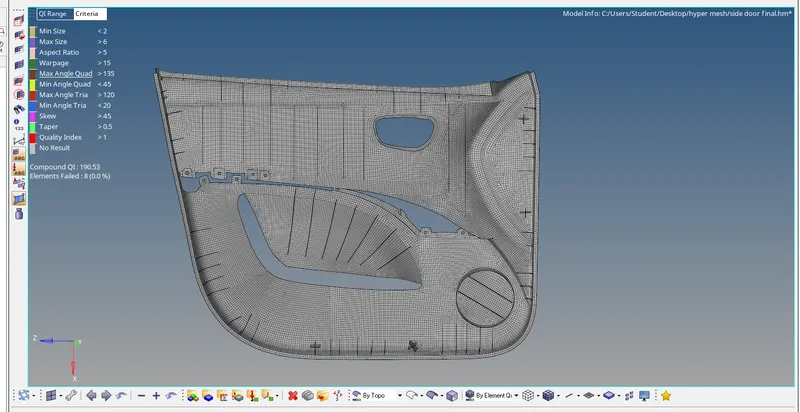
Week 12:Project-1-Meshing of Door Inner Panel Challenge
Objective:-
- mesh the side door plastic model with given quality criteria and assign the thickness.
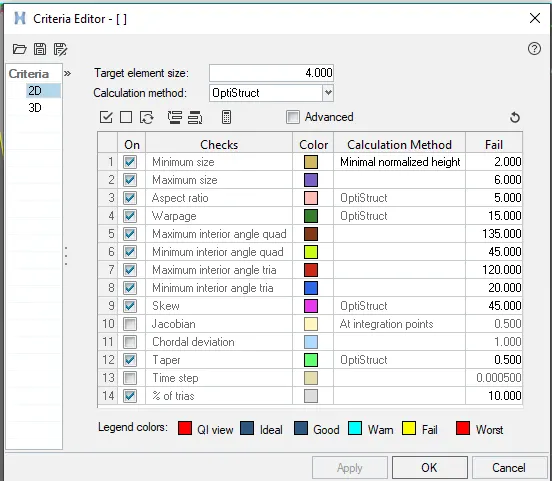
Quality criteria:-
Target Element Length = 4 Units
| S.N | Quality Criteria | Value |
| 1 | Aspect Ratio | 5 |
| 2 | Skewness | 45 |
| 3 | Warping | 15 |
| 4 | Taper | 0.5 |
| 5 | Min. Length | 2 Units |
| 6 | Max. Length | 6 Units |
| 7 | Min angle Quad | 45 |
| 8 | Max angle Quad | 135 |
| 9 | Min angle Tria | 20 |
| 10 | Max angle Tria | 120 |
| 10 | Tria % | 10 |
Following procedure:-
Import the geometry.
geometry clean up and Defeaturing
Mid surfacing.
Element cleanup and mesh improvement .
Assigning property and thickness.
procedure:-
- To get a proper mid surface we will ensure there are to no issue with the geometry.
- To get proper feature capturing of surfaces ribs,We will defeature the surface fillets.To do defeature we will use option of Geom>Defeature>sur fillets.
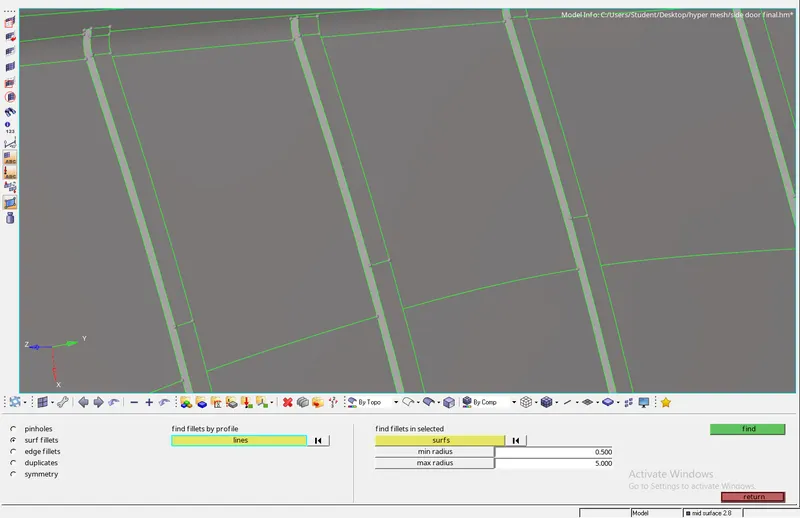
- The below as shows the procedure ,we will repeated the same for all the ribs.
- Now to create the mid surface we will use surface Edit>Offset tool. We will create a component for the mid surface ,here we have named the component based on thickness that needs to be applied.For example is shows surface we create a component with name Mid surface 2p8mm and made it current component.once the component is created we will select the surface duplicate it to current component.the below as show in figures.
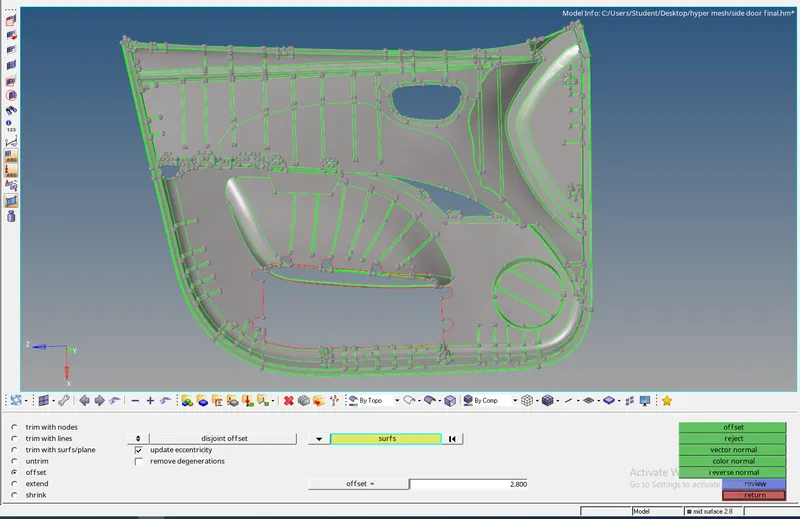
- Before comforming we will check the vector normal,it should be towards the center of surface,based on selected surface Whether it is top surface or bottom we can change the vector normalby reversing it.
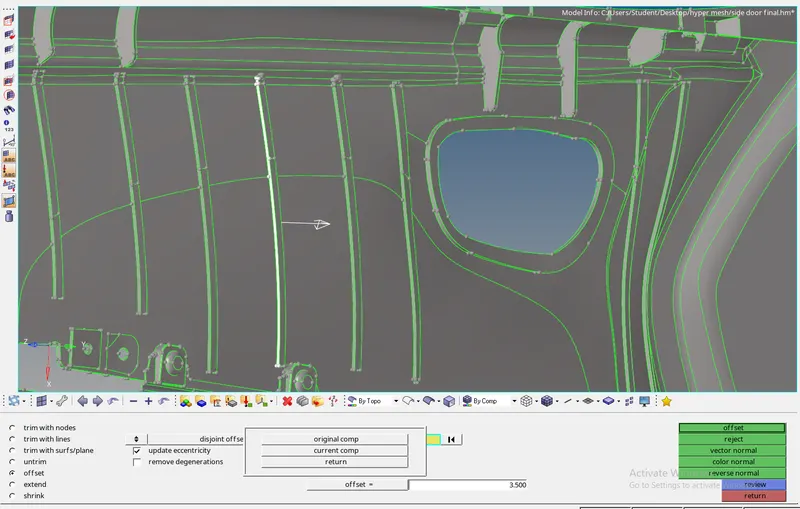
- Create the midsurface for ribs we used one side of the rib surface and offsetit to the middle.
- First we measure the ribs thickness.once done we will proceed to create component and make it current component.
- Then we will go to Sur face Edit > Offset select the one side of the rib and create the duplicate surface Before comforming we will check vector direction to click offset.
- procedure as below as show in figures.
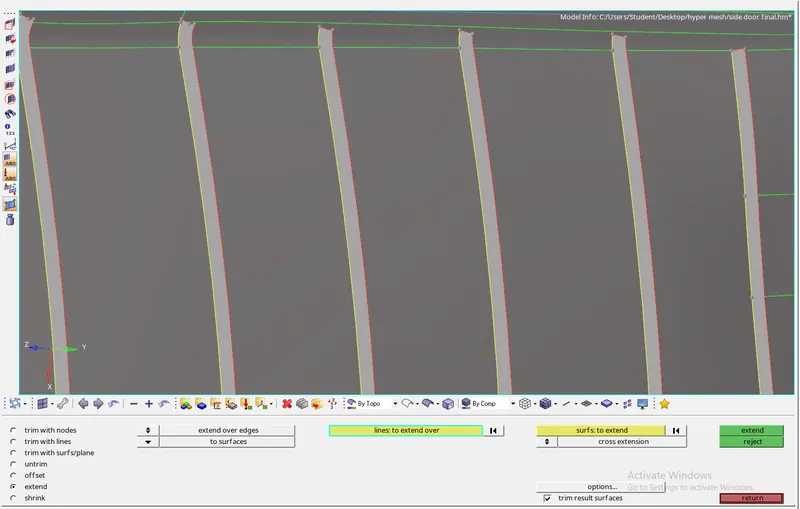
- Extending surface and mid surface we will using Geom>surface Edit>Extend.below as show figures.
- For Meshing the surface we will first enter the Quality criteria .Go to preference>criteria files setting.and We will save this criteria files.given below figures.
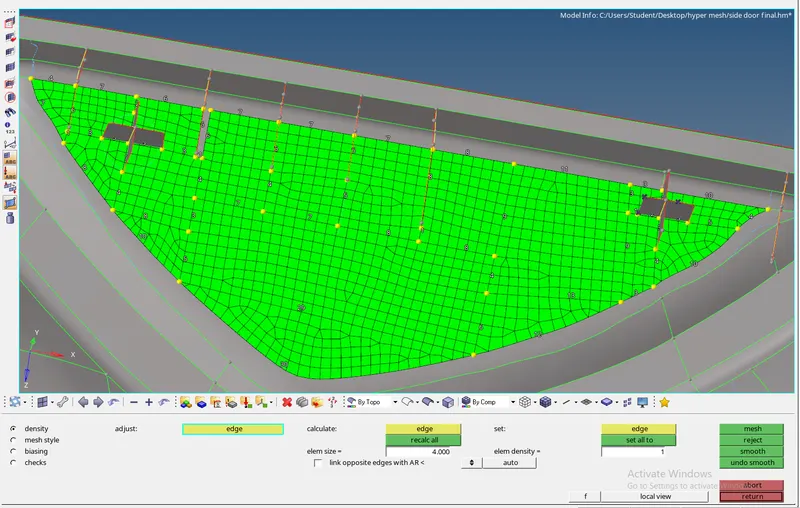
- For Meshing we will go to 2D>Auto mesh.We will select the surface changed the target element length 4mm.
- Then surfaces splits using purpose for the better mesh flow.
- The start the meshing select the surface click to the mesh botton. generate the mesh given below show in figures.
- After the meshing is completed we will check for quality criteria issues.
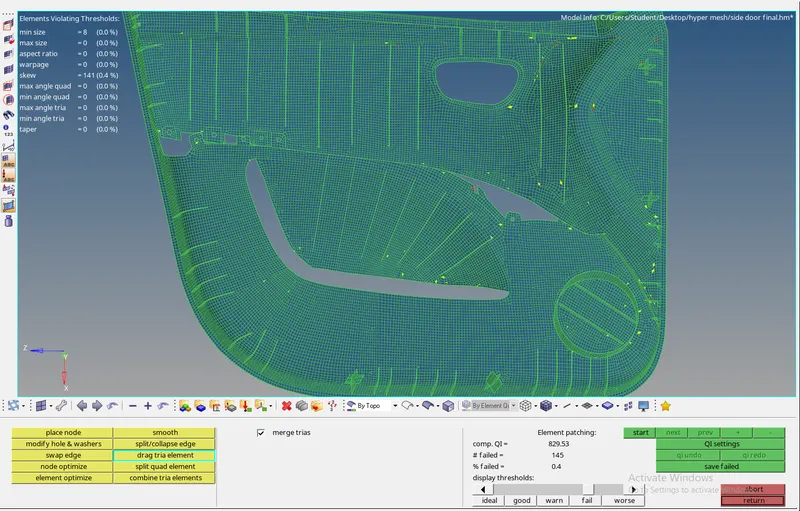
- To remove the criteria error we can choose to remesh the element and Quality index .
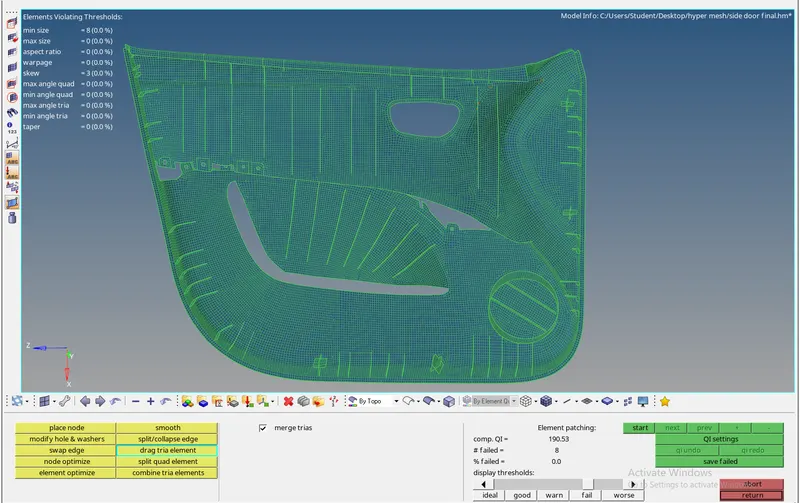
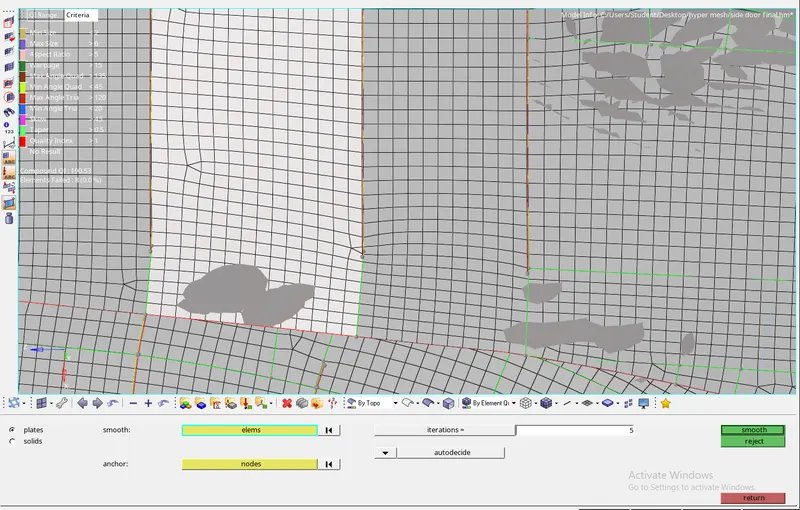
- For improving the mesh and reducing tria element using for drag tria.then smooth element back to element properly .go to smooth option 2D >smooth given below figures.
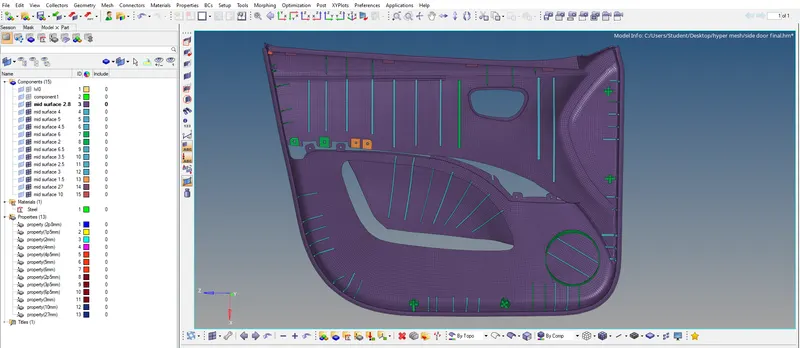
- We will create properties for each thickness size in the model and enter the thickness .
- We will assign properties and material to the component .given below as shown figures.
- Assign thickness
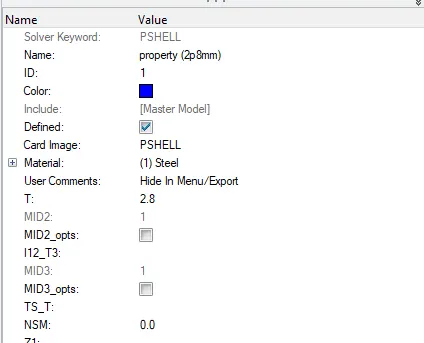
- create property
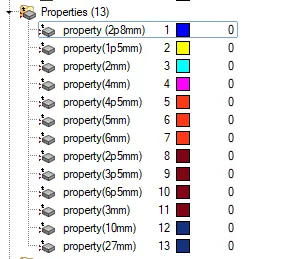
- We will apply to property to the components and to view the model with thickness applied we can change view to 2d detailed Element Representaion veiw.given below as show in figures.
Conclusion:-
- This model we learn about modelling plastic component.we also learn the apply thickness and assign property .
- final model figures