2D Shell mesh the Car side door interior panel Using HYPERMESH
AIM: To mesh the Car side door interior panel (plastic trim part).
ABSTRACT: In this project, we need to do mesh the car side door, an interior plastic model with a target length of 4mm element size.
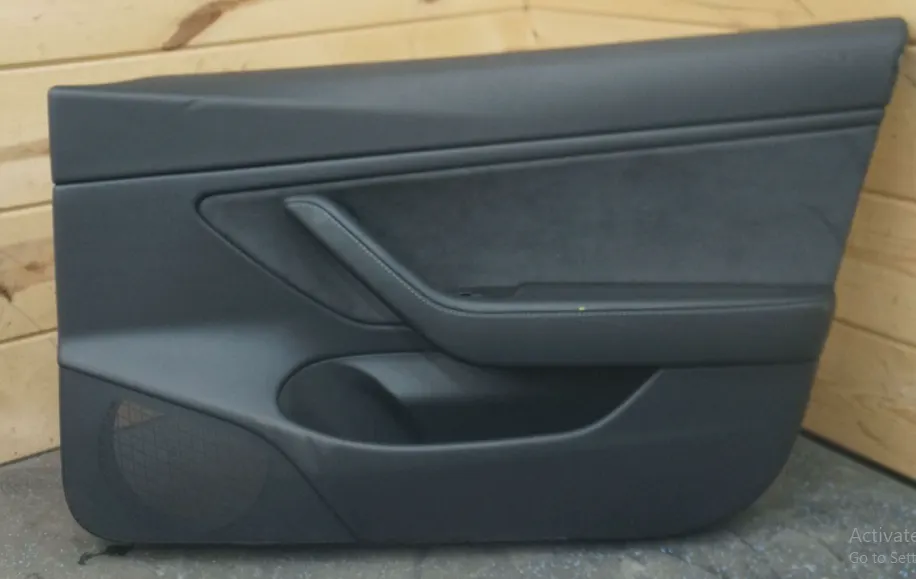
Car Side door interior plastic panel
The quality criteria are mentioned below.
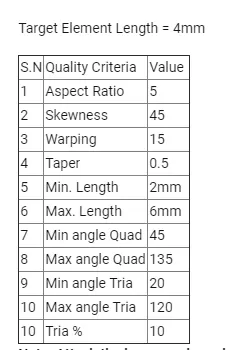
METHODOLOGY:
- Import geometry and do geometry clean up.
- Split the model into 4 parts and save them in different component collector
- Extract mid surface of each section using the manual offset method
- Join the mid surface before meshing and ensure no topological error
- Assign meshing and element quality criteria
- Mesh component by component and check connectivity+mesh flow
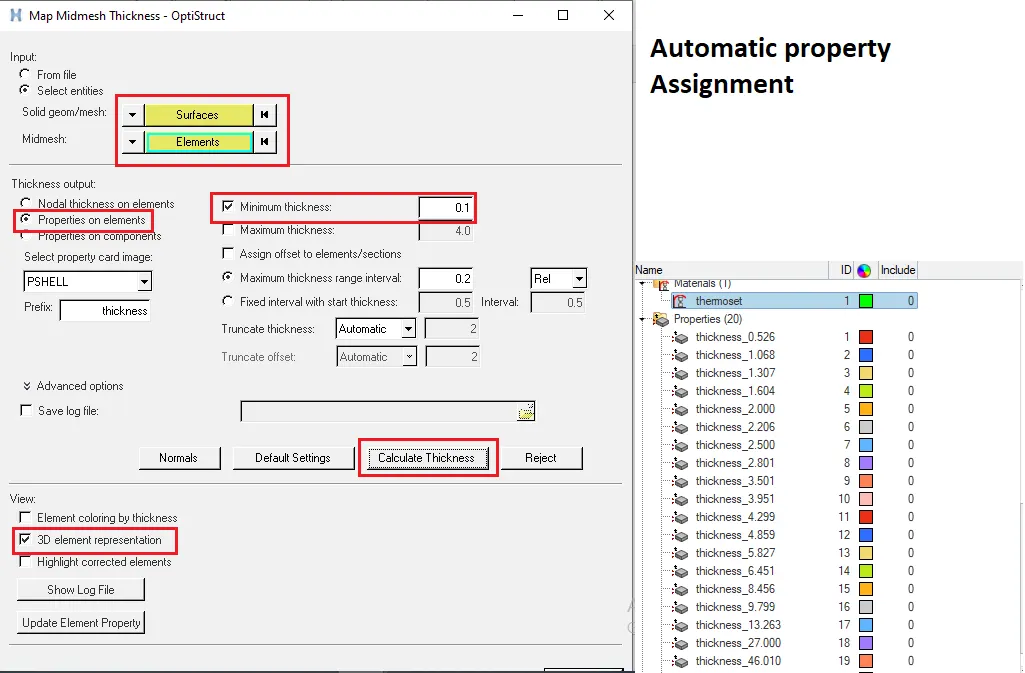
- Assign properties and material.
PROCEDURE:
QUALITY PARAMETER:
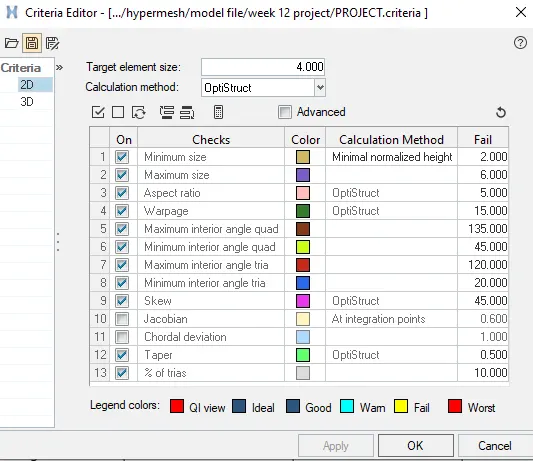
Set up the quality parameter. [perferences-> criteria editor] and save it for future references.
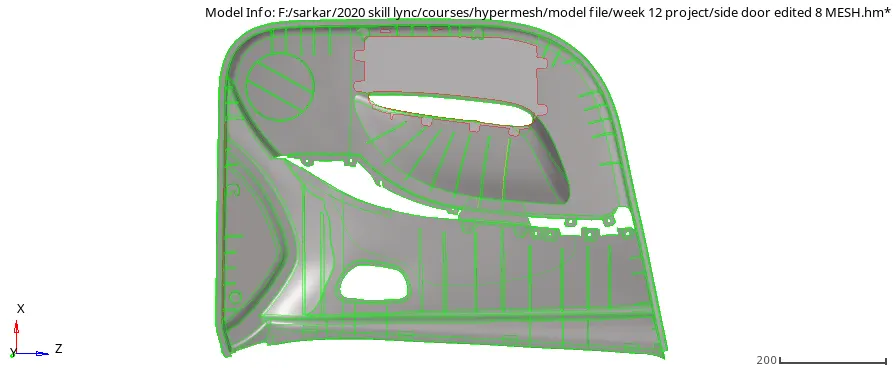
Import model into the hypermesh window.
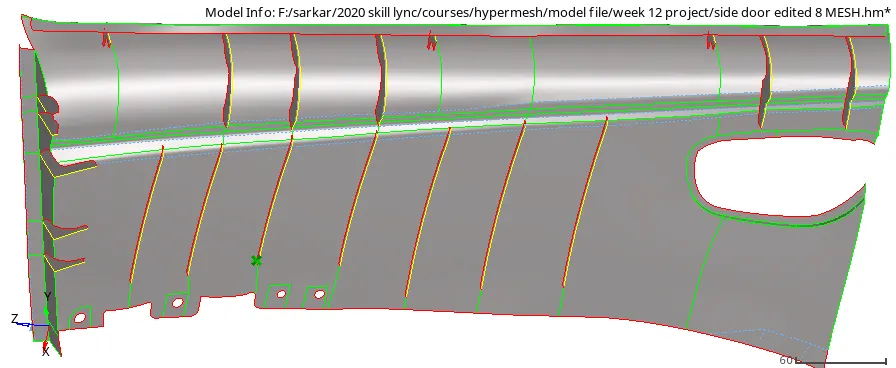
Split the model into 4 sections
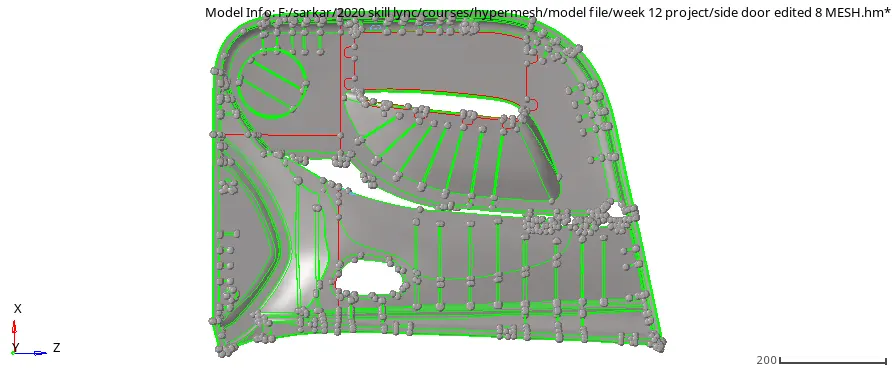
Defeaturing
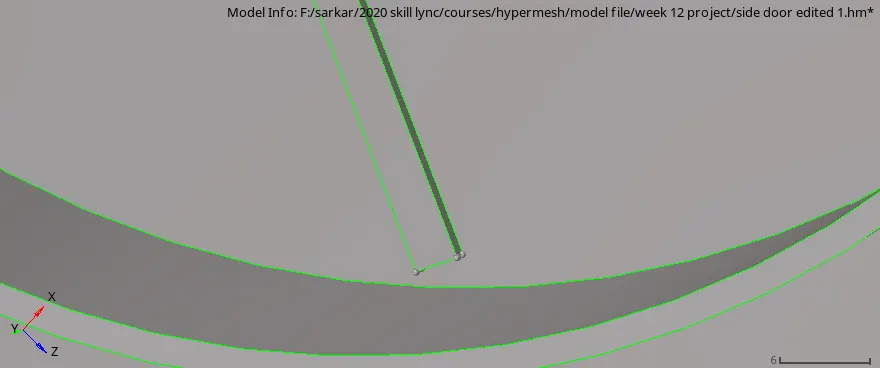
Before mid surfacing of Ribs and projections defeature fillet edges and corners.
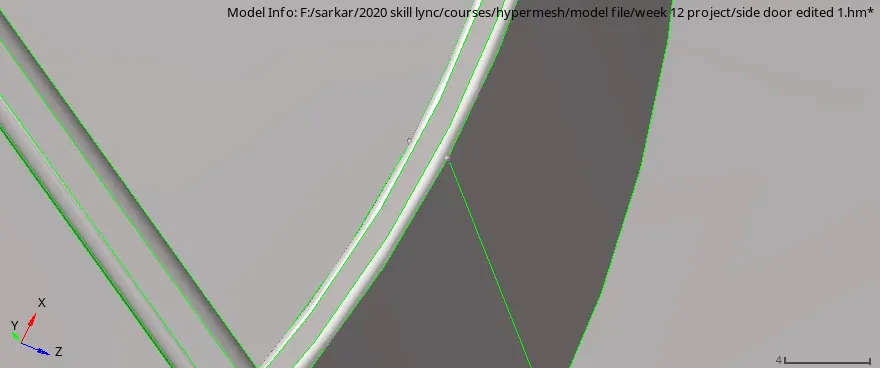
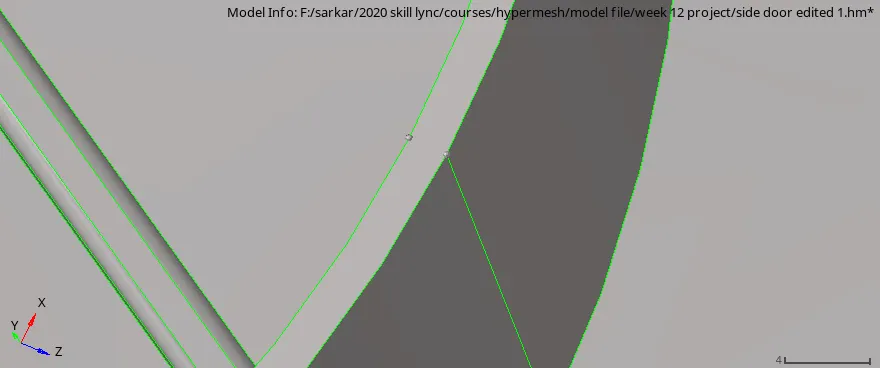
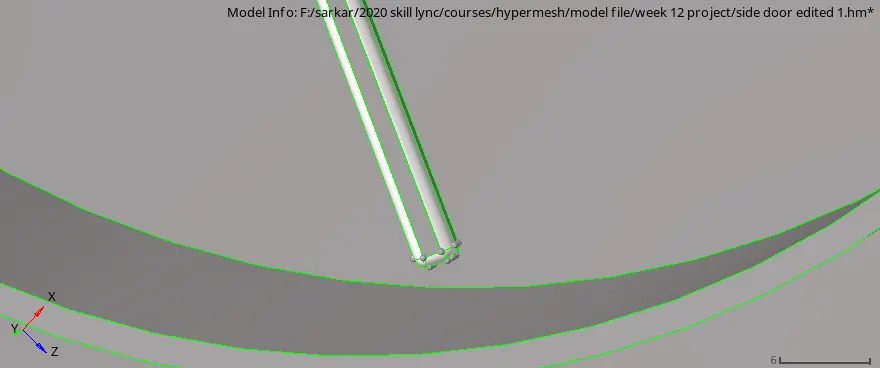
Mid-surface Extraction
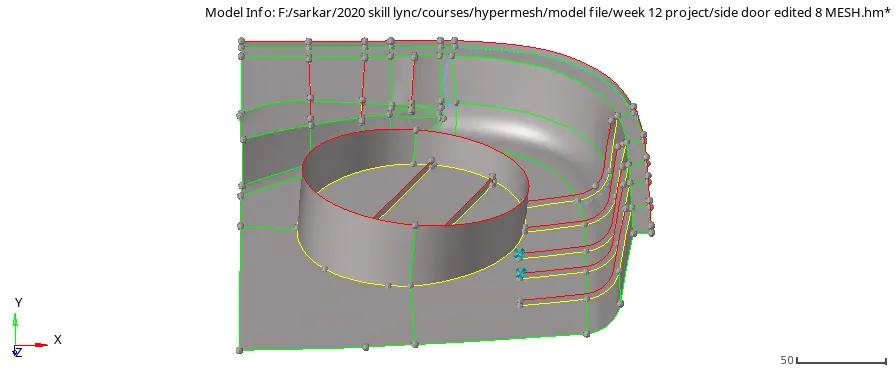
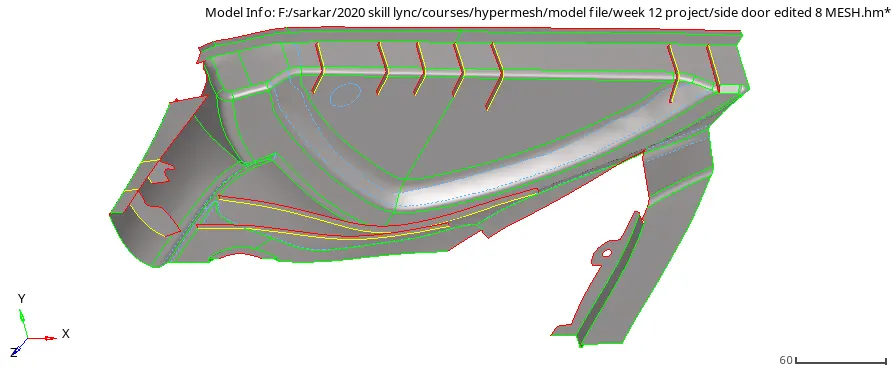
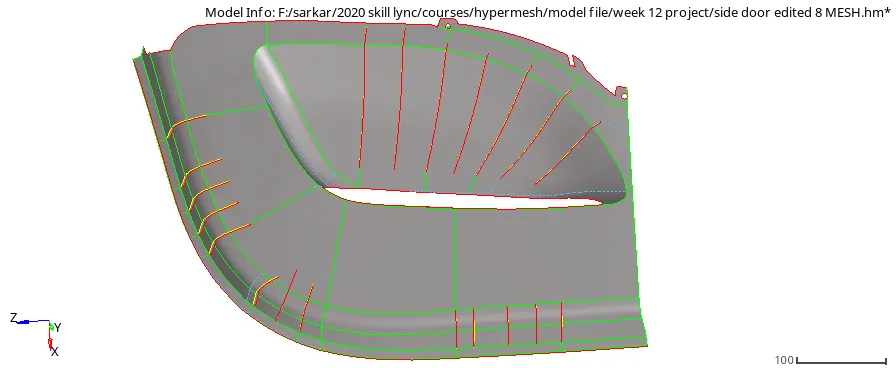
Use the manual surface offset method for getting the mid surface and for ribs defeature them 1st then offset the face to the middle then extend to the major surface. Ensure the rib connectivity by a triple con.
part1
PART 2
PART 3
PART 4
Meshed components
By keeping the mesh target element as 4 mm and other quality criteria as discussed above generate the mesh part by part. check for the connectivity and mesh flow and also keep tria least as possible.
Part 1
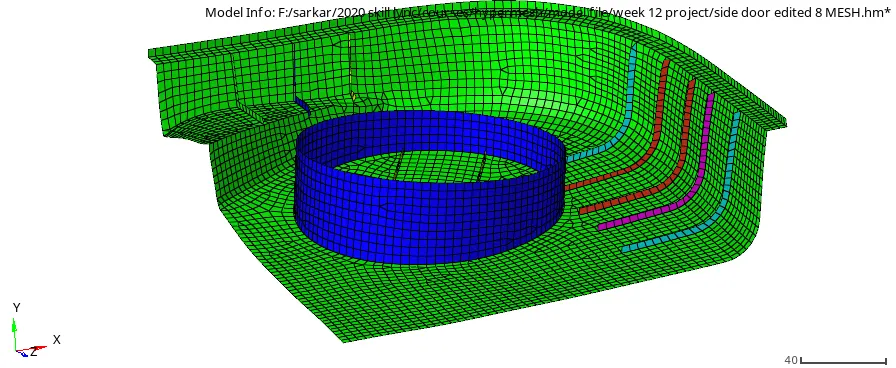
part 2
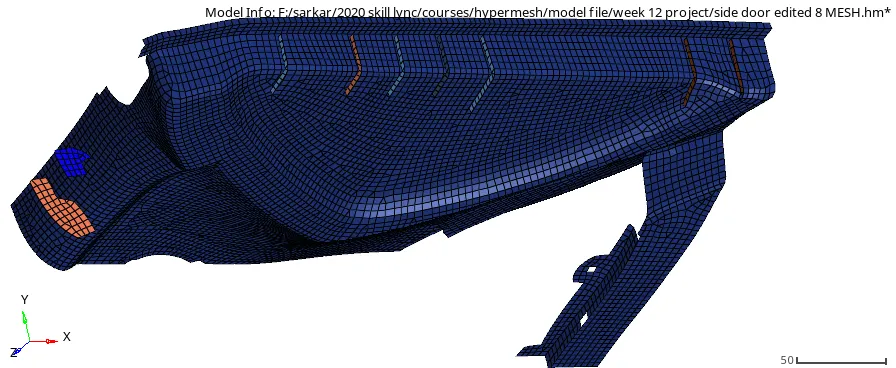
Part 3
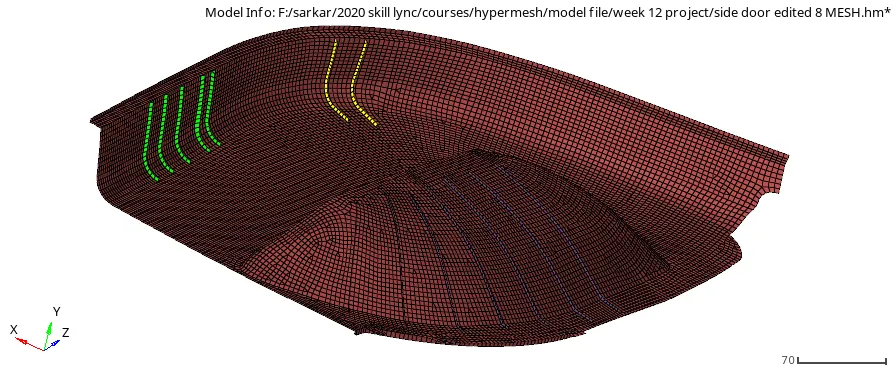
Part 4
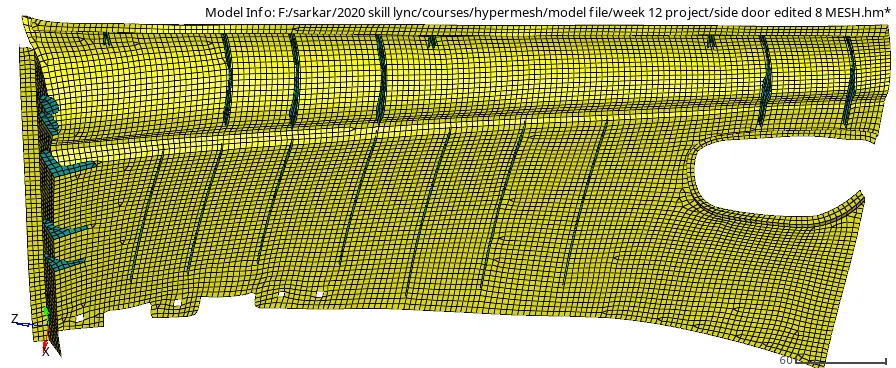
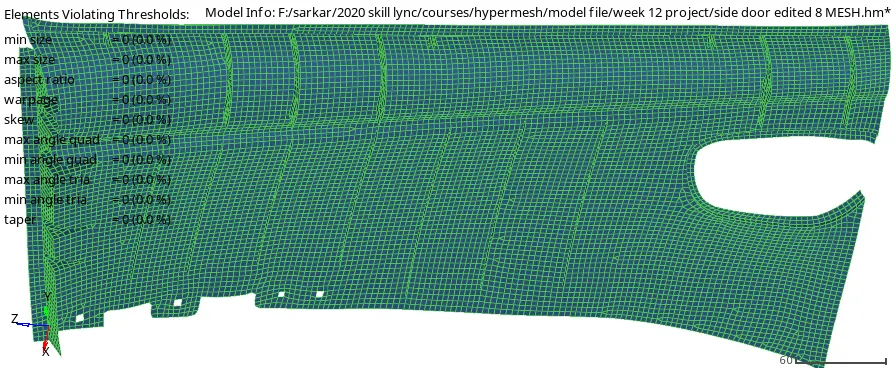
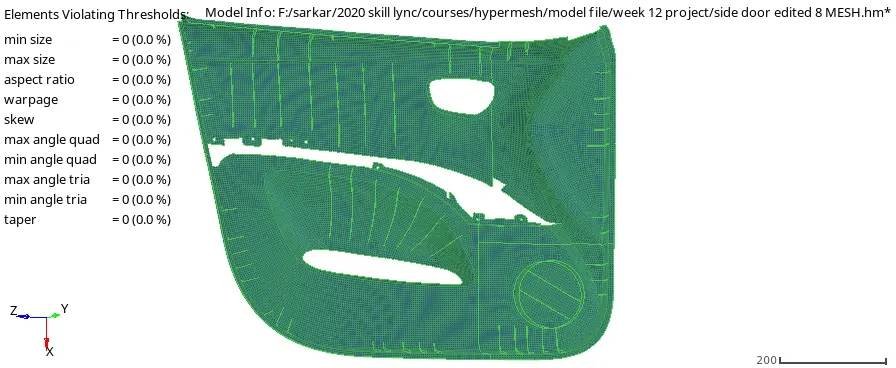
Element Quality check
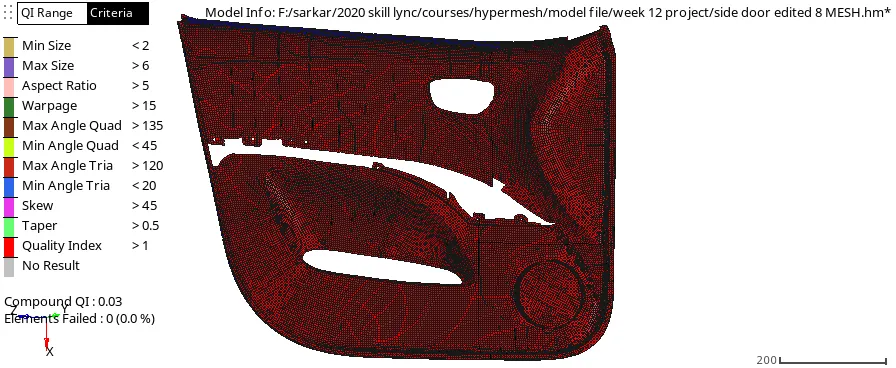
check for the quality of each part and in any element fails then try to fix that by using the appropriate method. There is no failing element in this model.
part 1
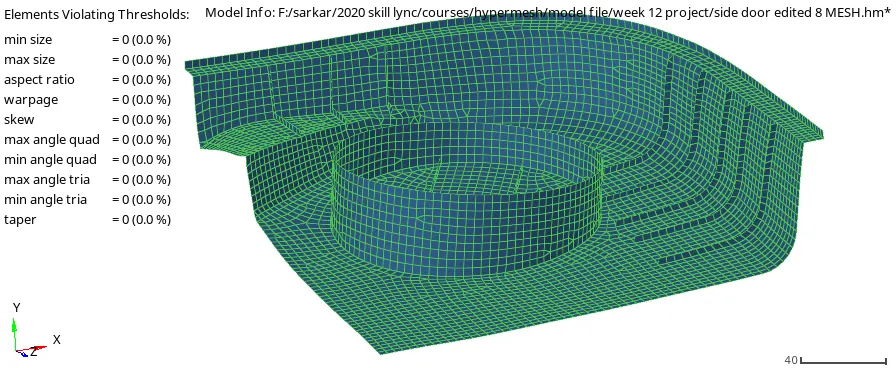
part2
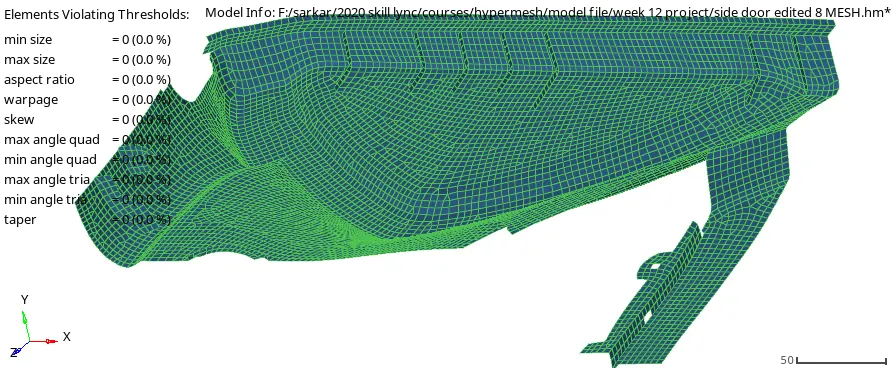
part 3
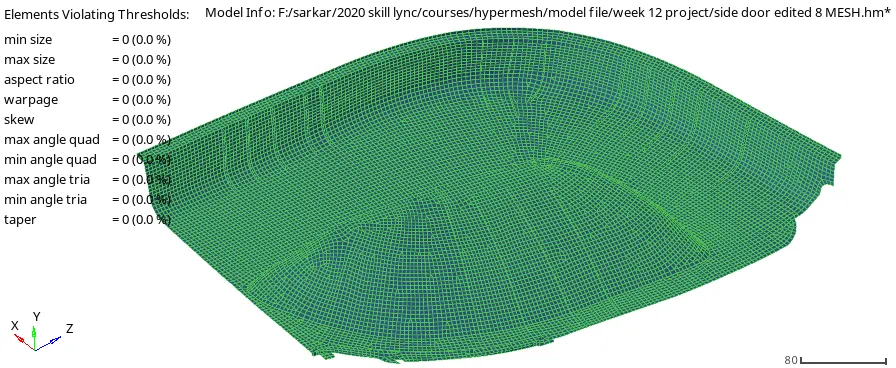
Part 4
Surface Normal check
Check for the element quality using surface normal using the displayed color method.
Part 1
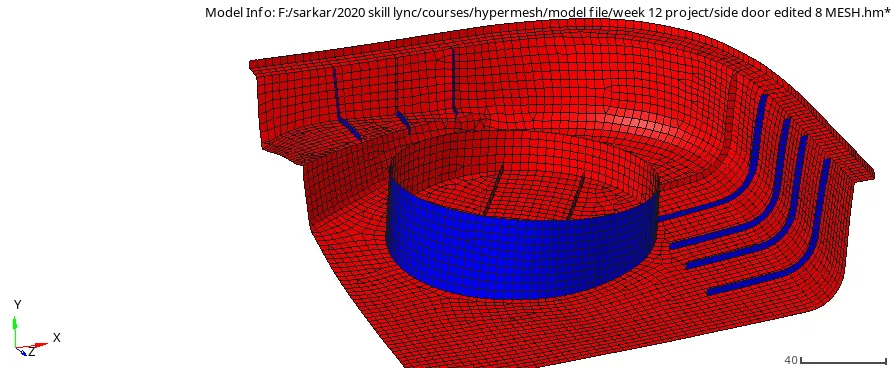
Part 2
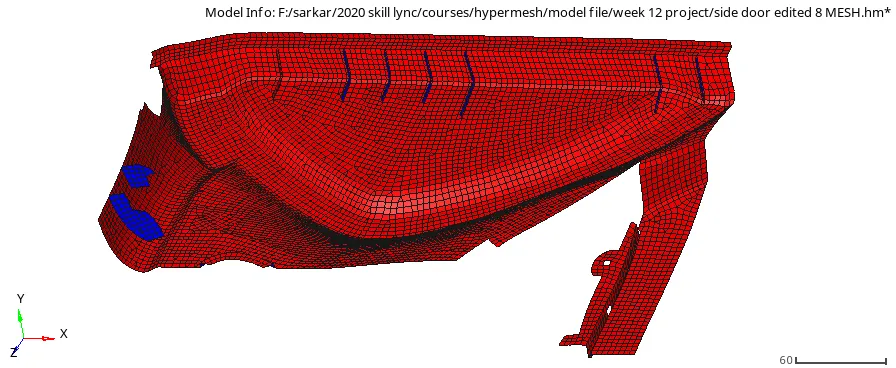
Part 3
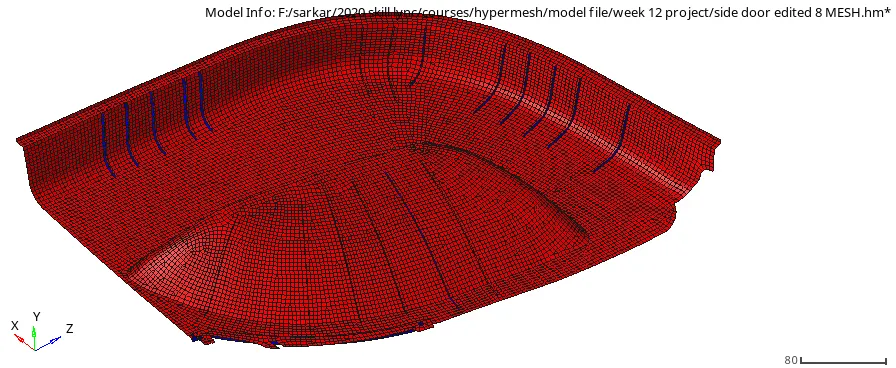
Part 4
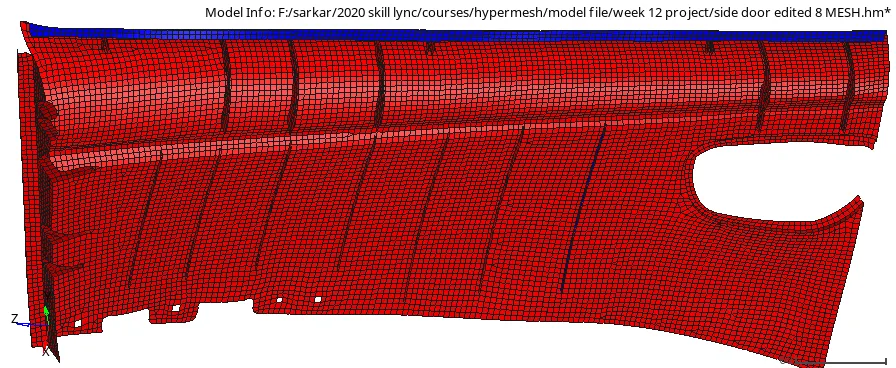
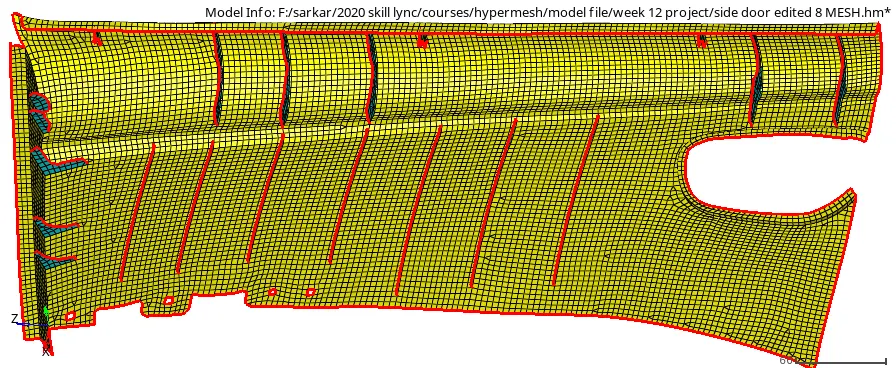
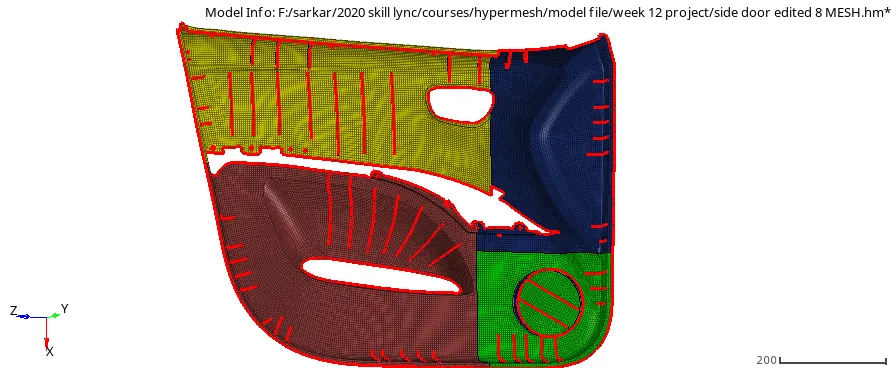
Free Edge check
part 1
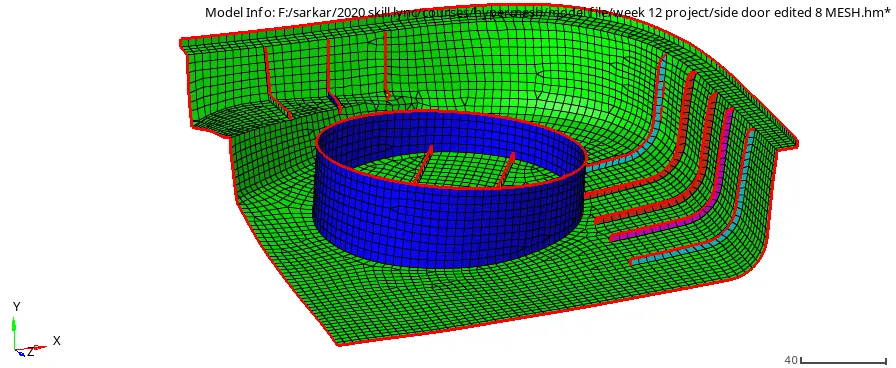
Part 2
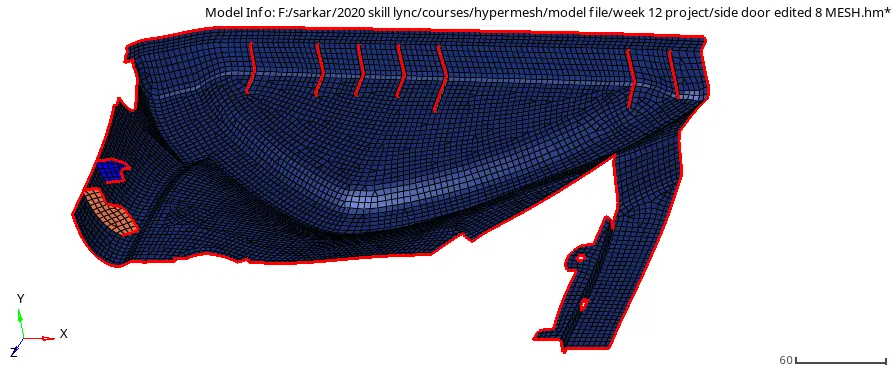
Part 3
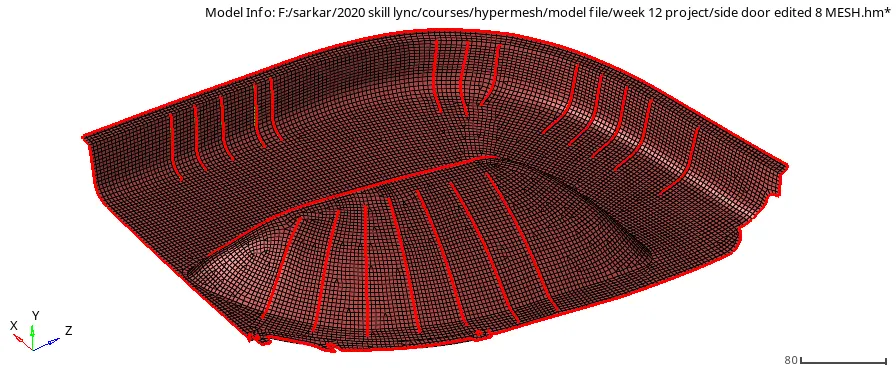
Part 4
PROPERTY AND MATERIAL ASSIGNMENT:
- Automatic property assignment [ Mesh -> Assign -> Midmesh thickness].
- select surfaces(Parent) and elements(mesh) in entities
- Properties on element and min, max thickness
- check on 3D element representation and click calculate Thickness
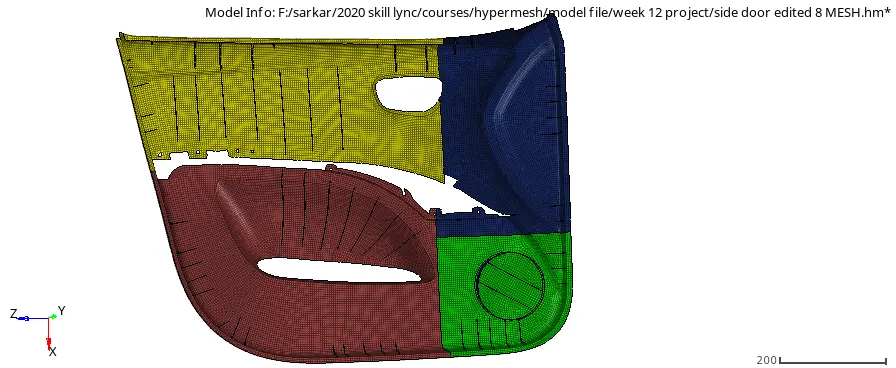
FINAL MESHED MODEL
CONCLUSION:
The model is meshed well with the target element length 4mm and free from any quality failure. the mesh flow looks decent and uniform. The connectivity of mesh is well maintained with No free edges. Any big complicated component can be split into 4 sections and can be meshed with better accuracy.