Meshing of Door Inner panel using Hypermesh
Aim:
To create a meshing of Door Inner panel check for the geometrical errors and mesh with the given element Quality criteria. After meshing the component the thickness has to be assigned.
Objective:
Follow the Quality Criteria and mesh the following component and assign thickness:
Target Element Length = 4mm
| S.N | Quality Criteria | Value |
| 1 | Aspect Ratio | 5 |
| 2 | Skewness | 45 |
| 3 | Warping | 15 |
| 4 | Taper | 0.5 |
| 5 | Min. Length | 2mm |
| 6 | Max. Length | 6mm |
| 7 | Min angle Quad | 45 |
| 8 | Max angle Quad | 135 |
| 9 | Min angle Tria | 20 |
| 10 | Max angle Tria | 120 |
| 11 | Tria % | 10 |
Introduction:
There are a few ways to handle the mesh flow:
The Tria elements should never be opposite to each other
No Tria elements should be connected back to back
No Tria elements should be on the edge of the geometry
No Tria elements should be near the holes
No Tria elements should be on the feature and the fillets.
There should be less Tria concentration, i.e., there should be a considerable distance between Tria elements.
Procedure:
1. Open the model in Hypermesh before assigning the quality criteria, check for geometry issues and fix them.
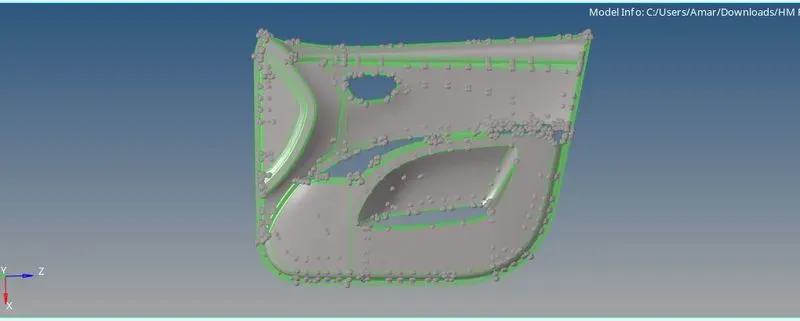
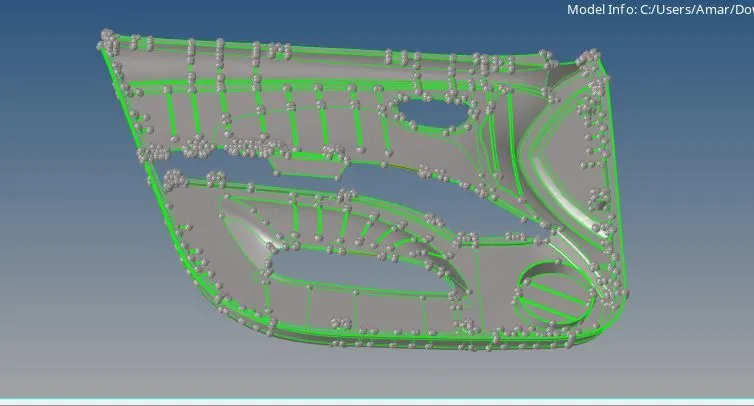
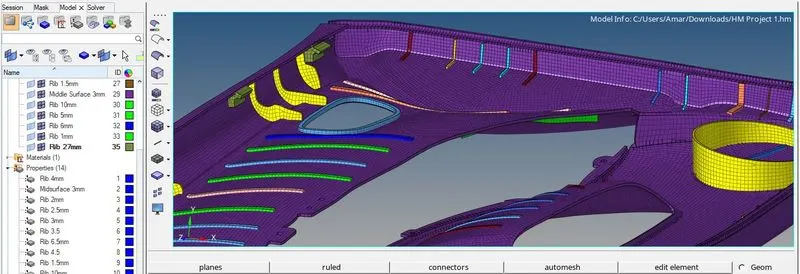
The above image shows green lines when I keep in Topo mode. Now the geometry errors can be fixed by keeping it in wireframe mode.
2. After geometry check extract mid surface for each part in the Door panel in the model we have to extract mid surface for ribs separately because the auto mid surface will not work since it is a plastic model with varying thickness.
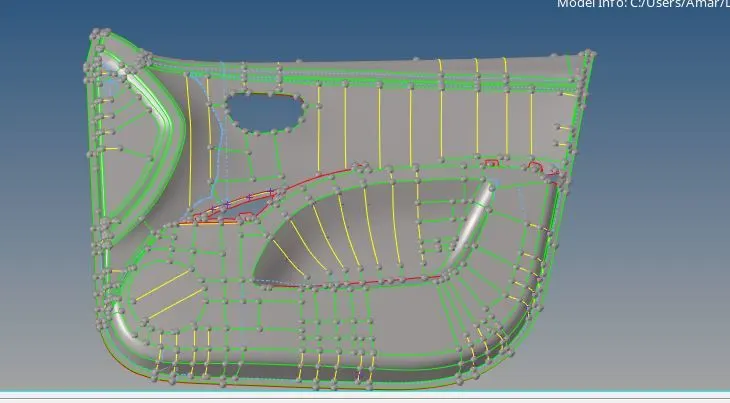
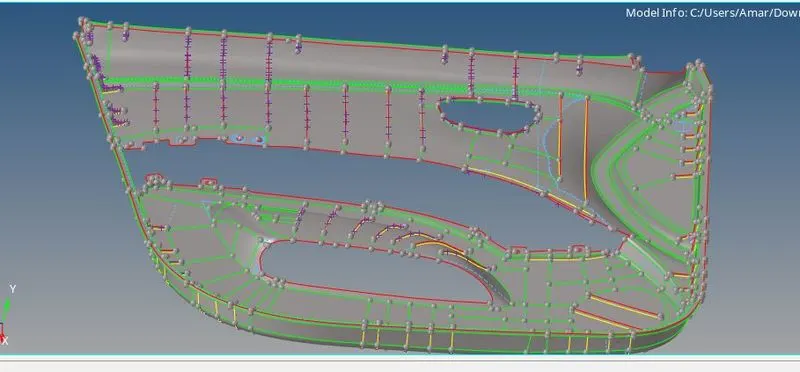
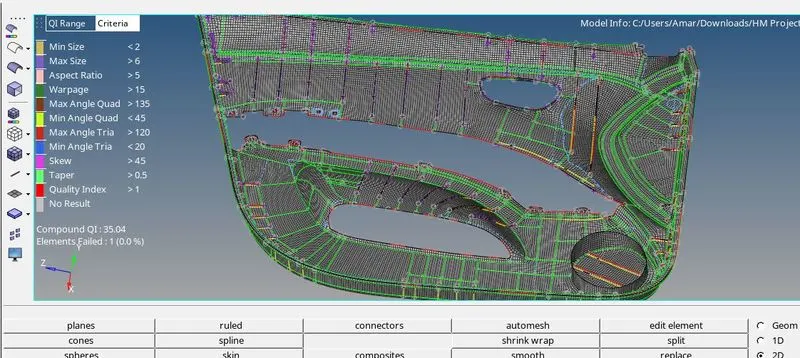
3. Now assign the quality criteria and in quality check and keep the model view in element quality so that the elements which are failing while meshing will be visible instantly.
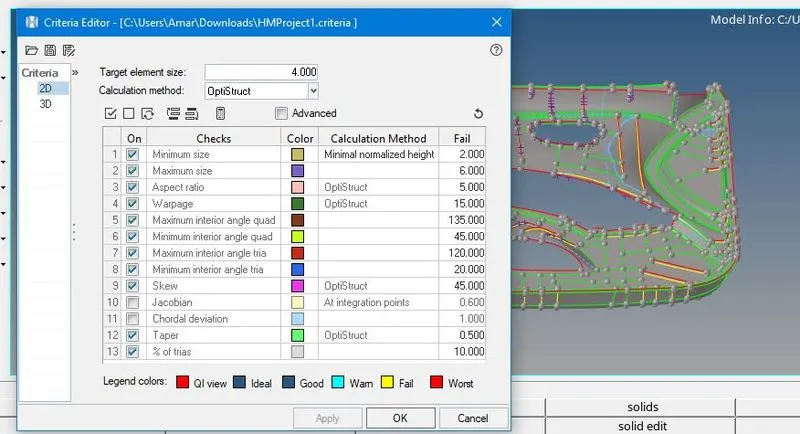
4.The above image is where the mesh flow and quality analysis is done in element quality view.
5.After meshing the model check for free edges, equivalence and try to make it equal to the mesh with automatic or try to fix it manually by place node option.
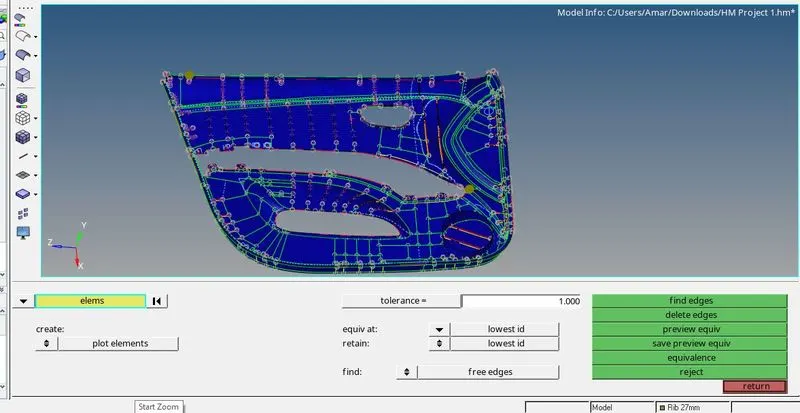
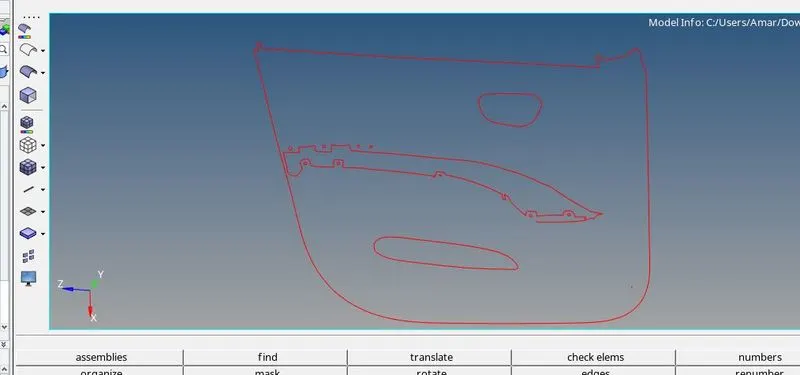
6. Now assign thickness to ribs and panels.
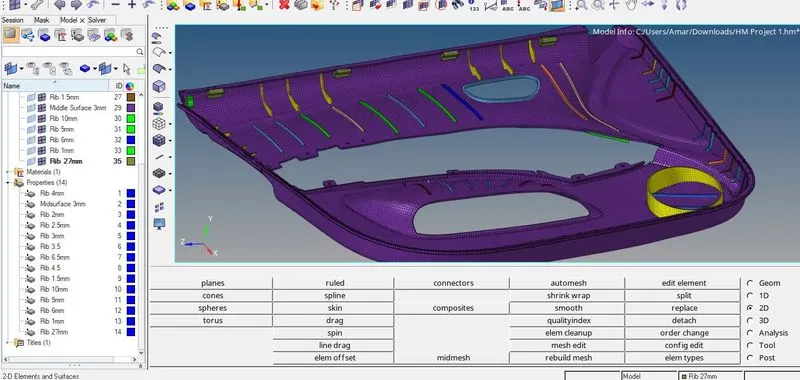
Result:
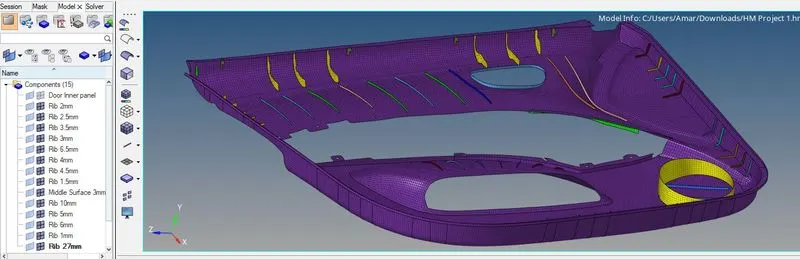
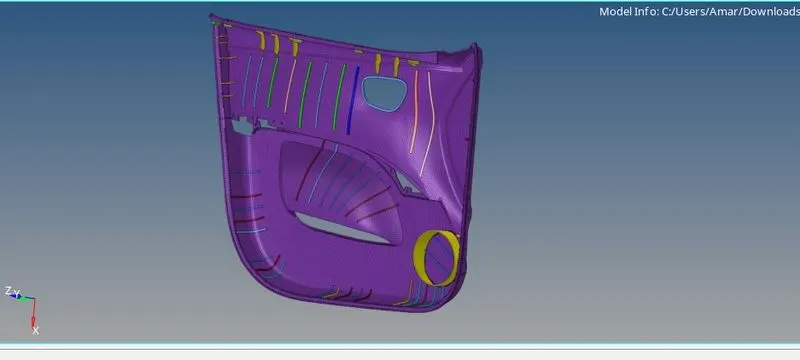
Few images below show the completed mesh model of Door inner panel as per the quality criteria.
Conclusion:
The given Door inner panel model was meshed according to the given quality criteria and thickness was assigned such that the geometry can be captured properly.