Week 11 - Project - A pillar Design with Master Section
Aim
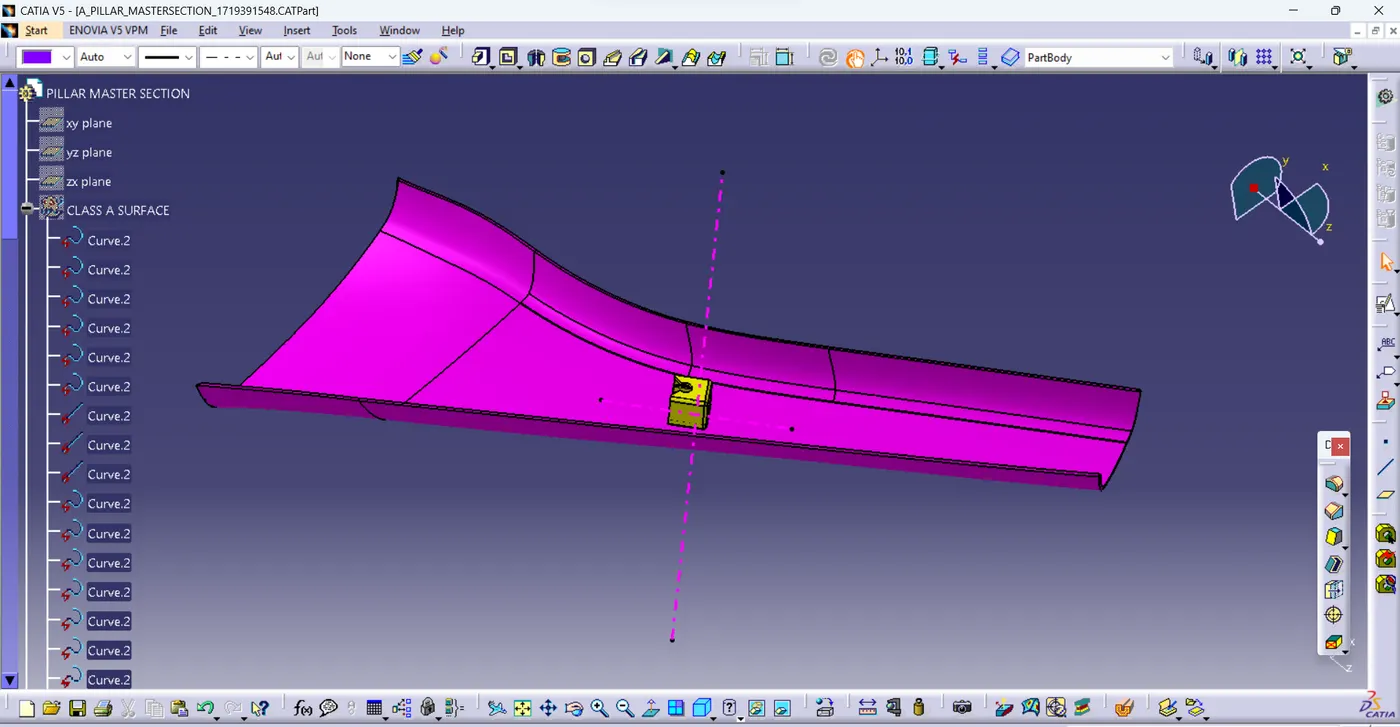
To create " A pillar with engineering features" from the master section given with the class A surface
STEPS
1) Create the tooling axis
2) Dreft analysis of class A surface
3) Creating class B surface
4) Creating class C surface
5) Close the surface and create the solid body
6) Draft analysis of final solid body7) Engineering feature (dog house from master section) creation
7) Engineering feature (dog house from master section) creation
8) Create the side core axis and Draft analysis of doghouse
Class A surface
The class A surface with master sections is received from the styling class A Designing team.
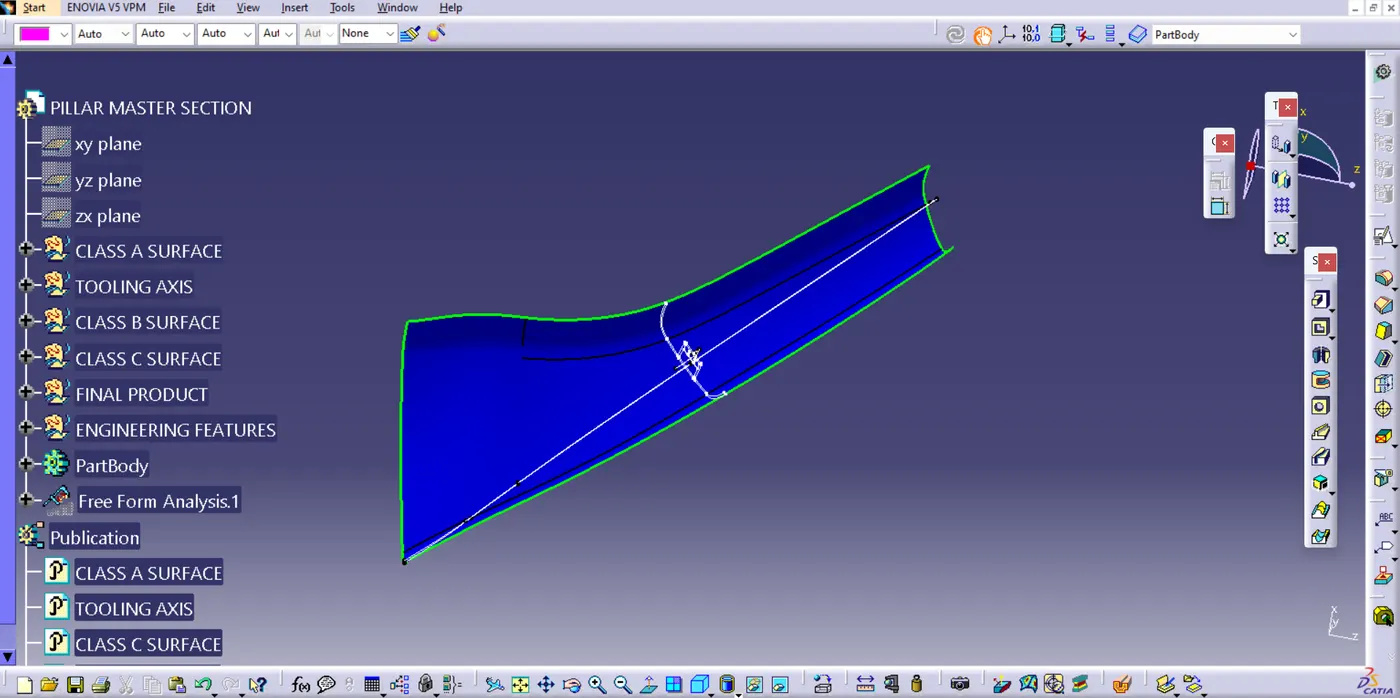
Tooling axis creation
1) First check the connectivity of the class A surface using the boundary or join command
2) Identify the suitable plane or surface for the tooling axis creation. Here we used the bisecting method for creating the tooling axis.
3) Create the tolling axis using the line features and publish it for quick access.
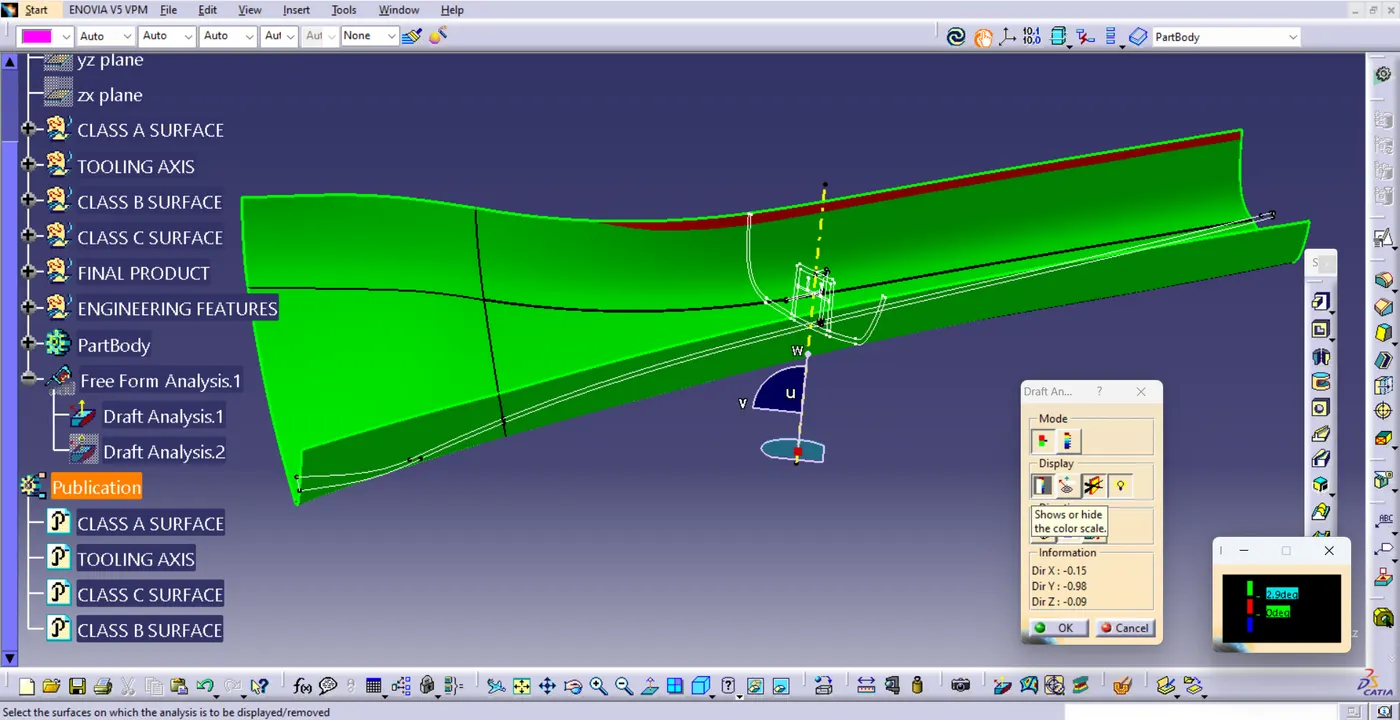
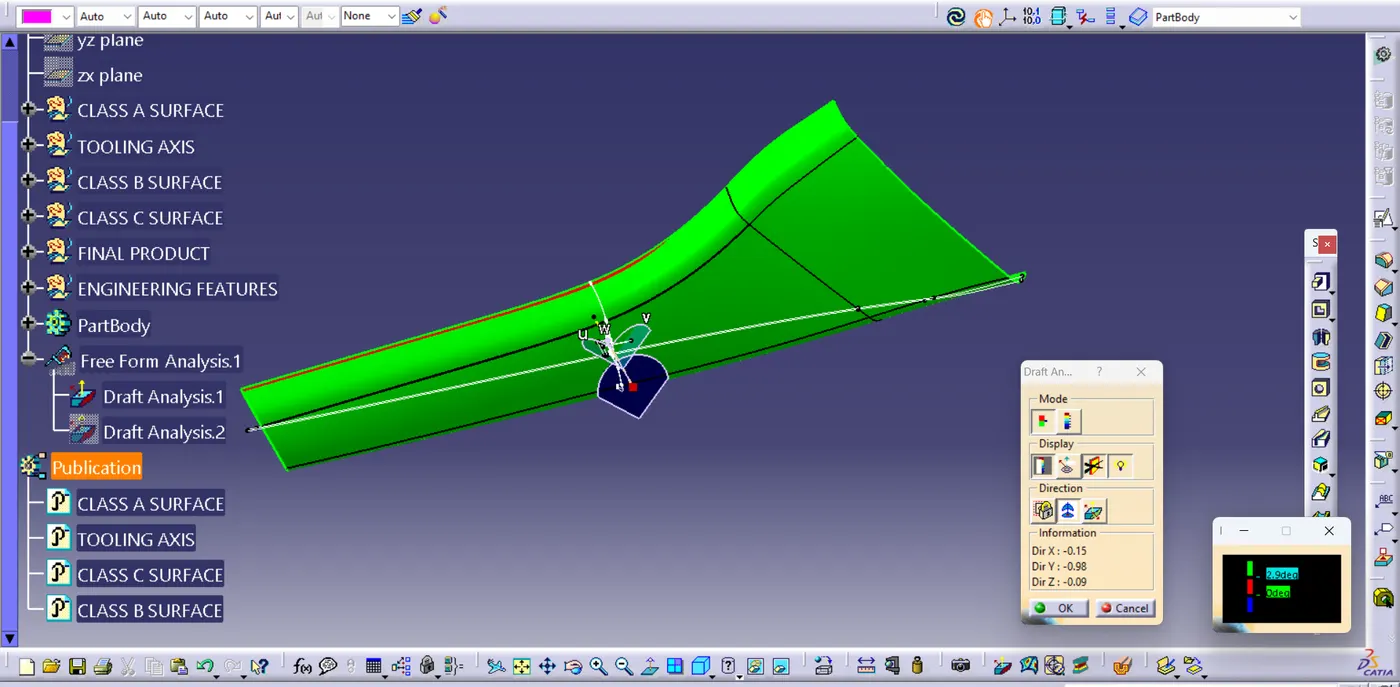
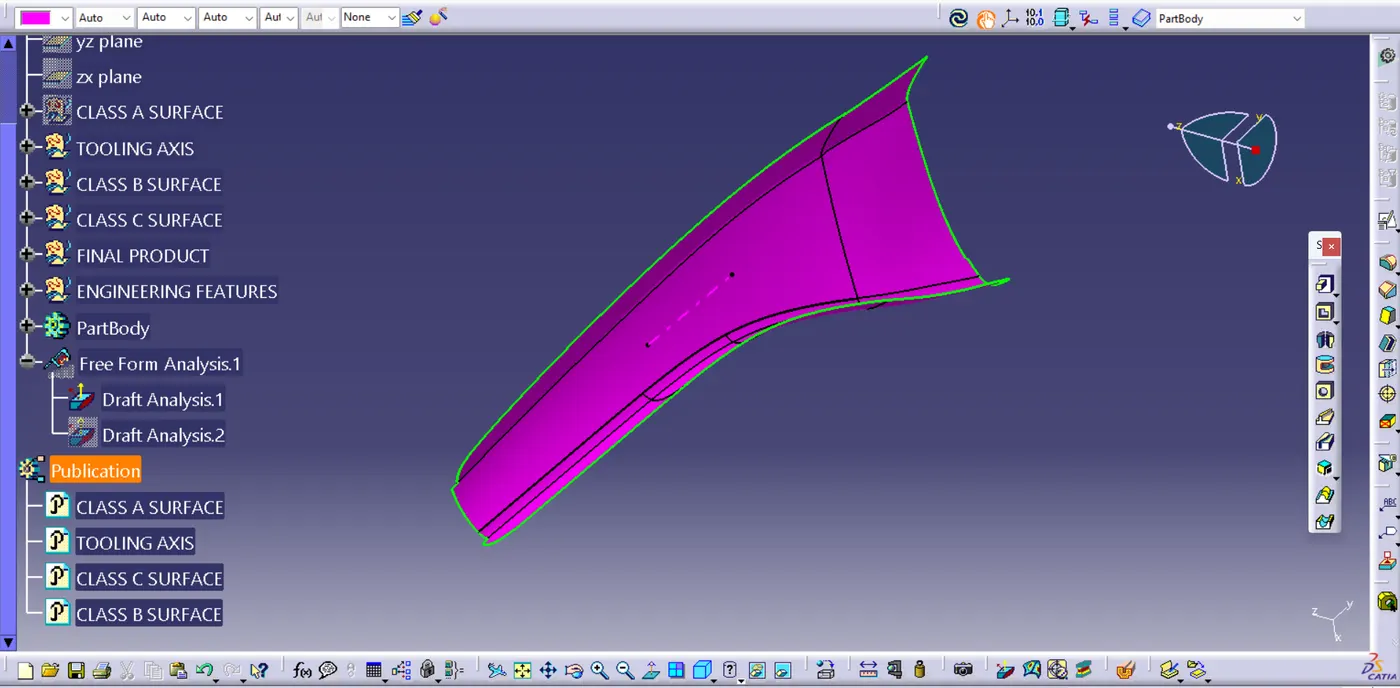
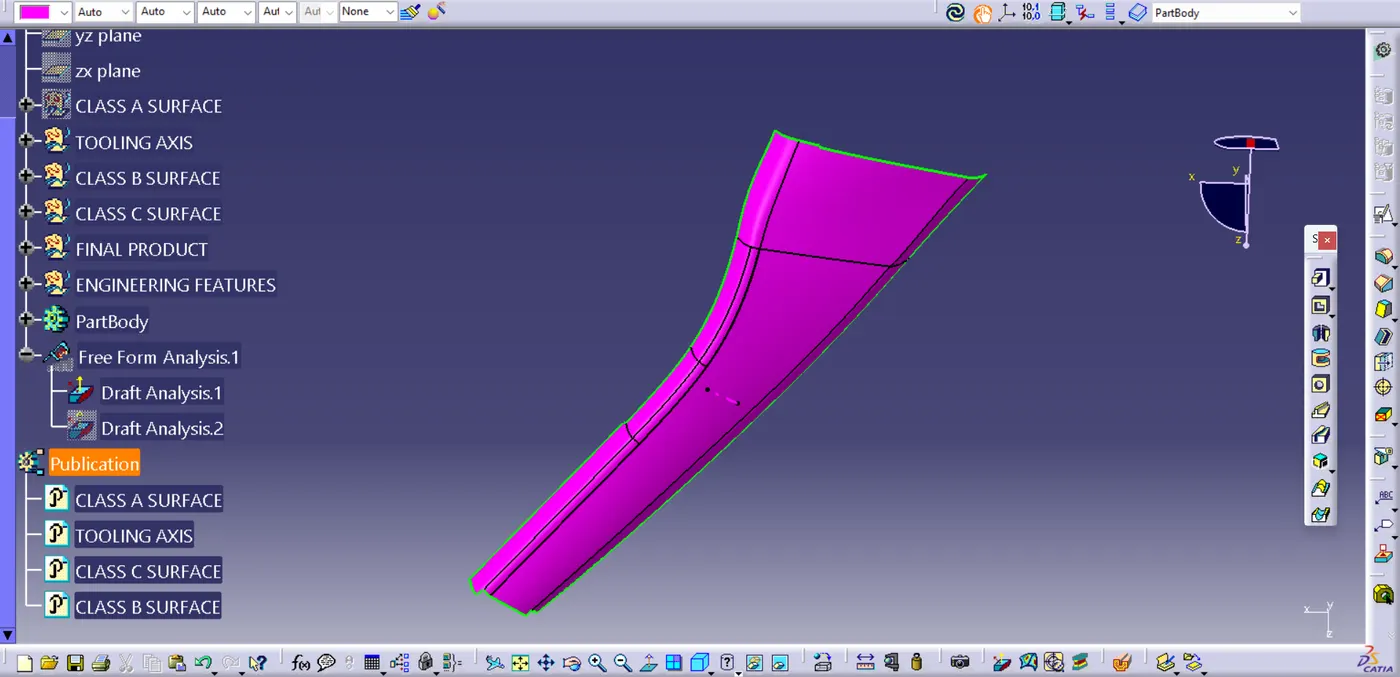
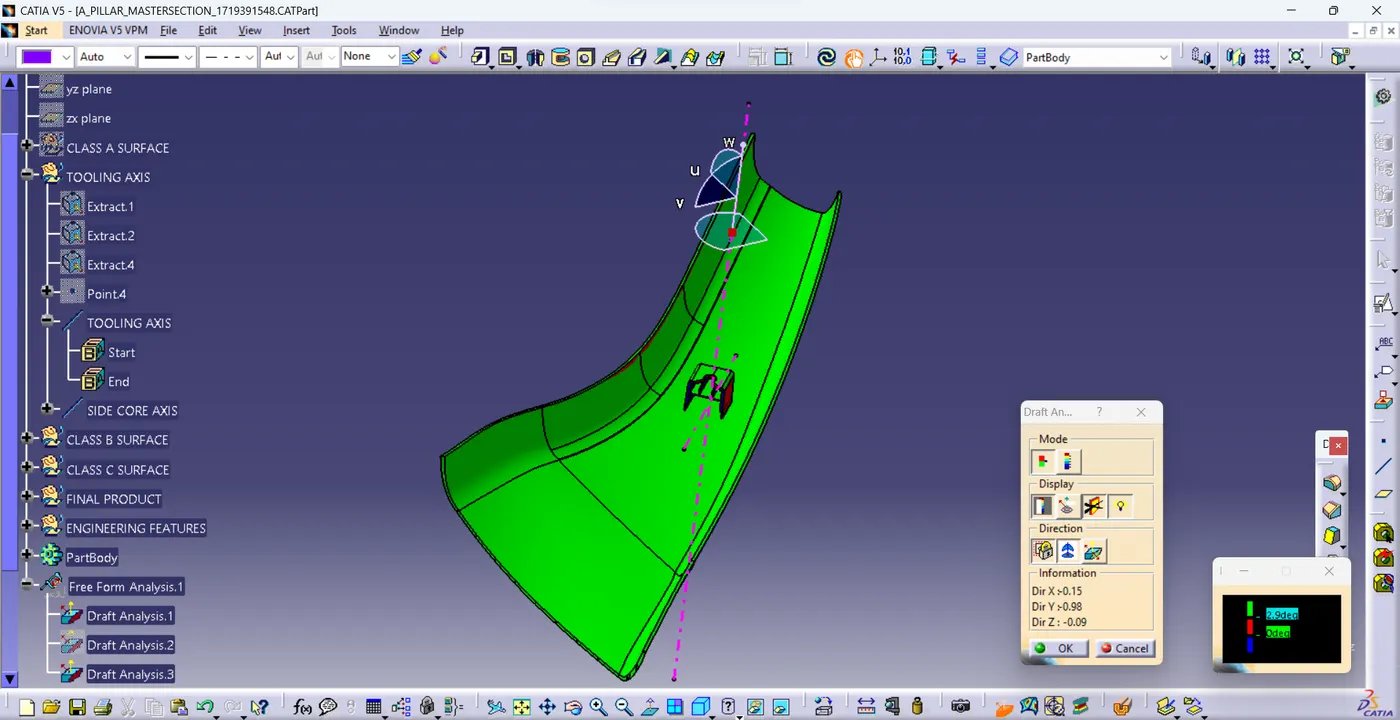
Draft analysis of class A surface
Draft angle is 2.9
Class B surface
Offset the class A surface by 2.5 mm and we get the class B surface. the thickness of the final component should be 2.5mm, that's why we offset the class A with 2.5mm. If there is any patches while offset, we need to clear the patches.
Class C surface
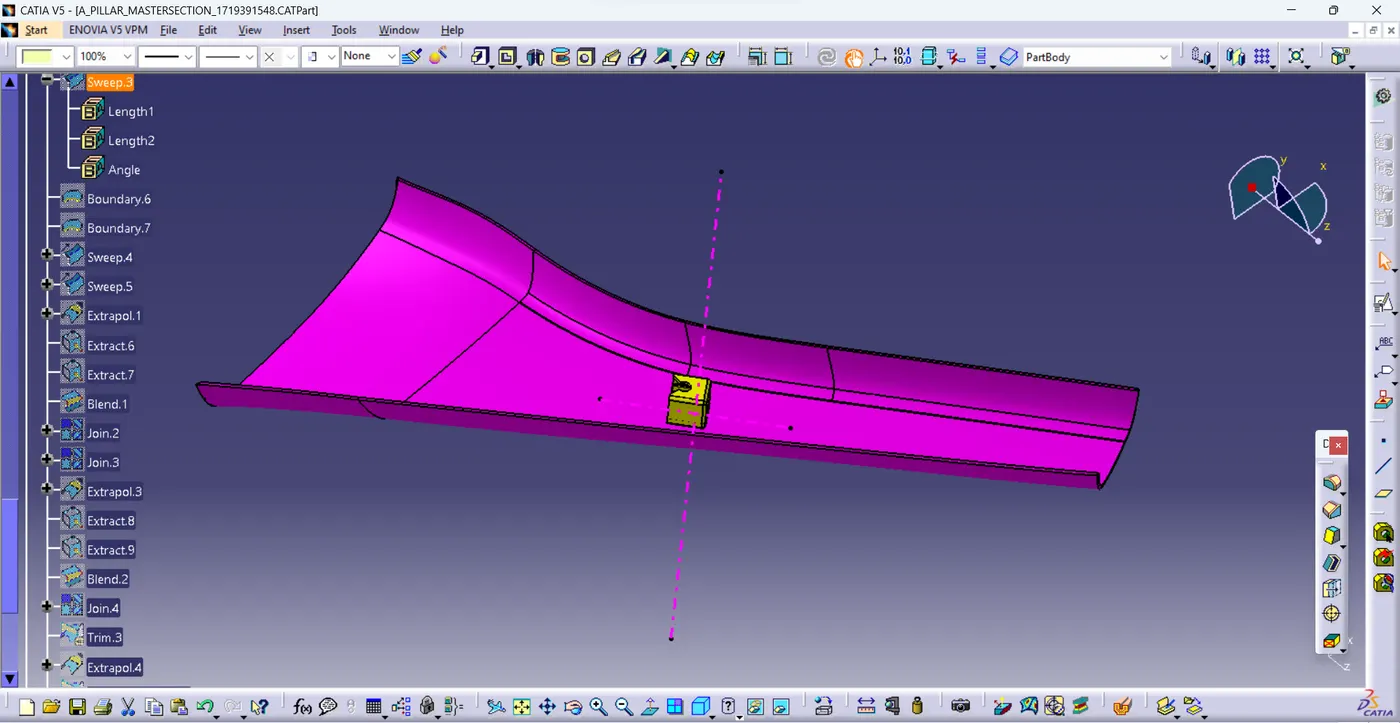
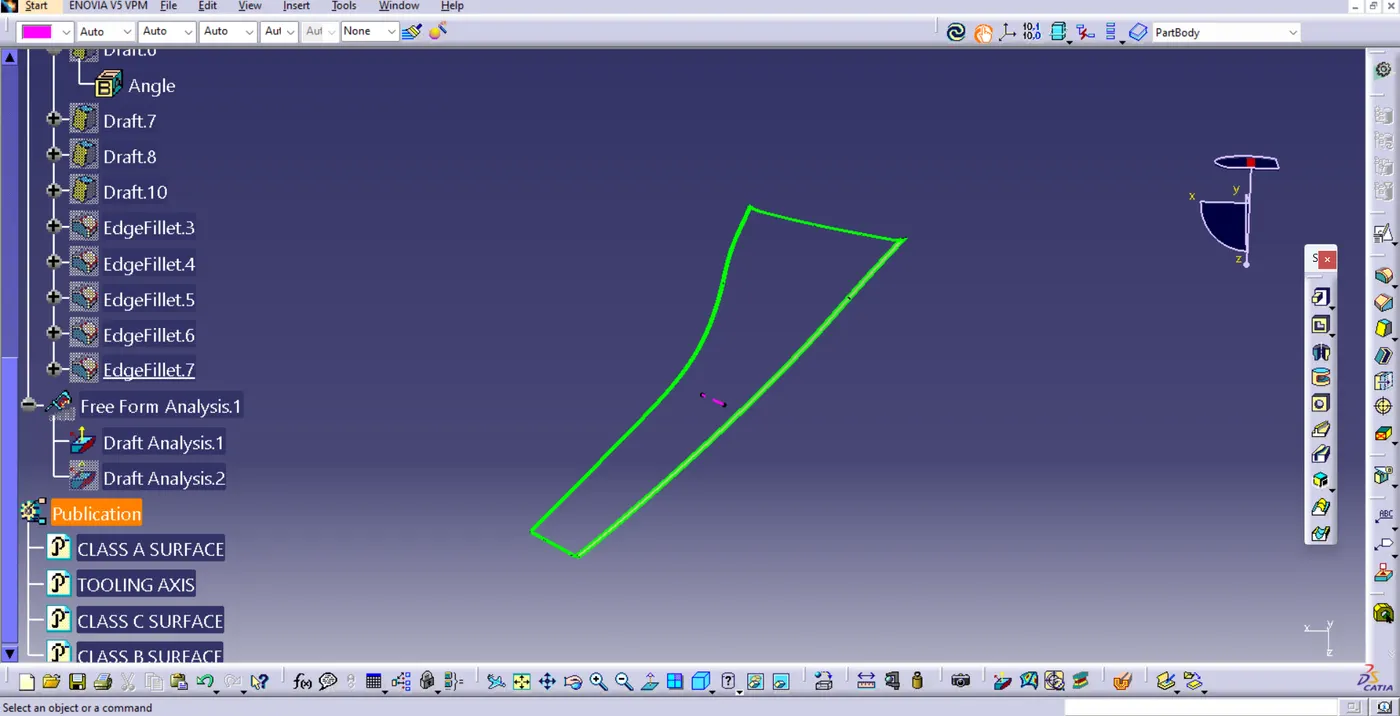
To create the class C surface firstly we need to extract the boundaries of class A surface. then use the sweep command for creating the class C surface.
1) If the class A surface is parallel to the tooling axis, the class C surface should perpendicular to the class A surface
2) If the Surface is perpendicular to the tooling axis, we must apply 3 degree draft angle for easy manufacturability and smooth ejection from the core.
Final product
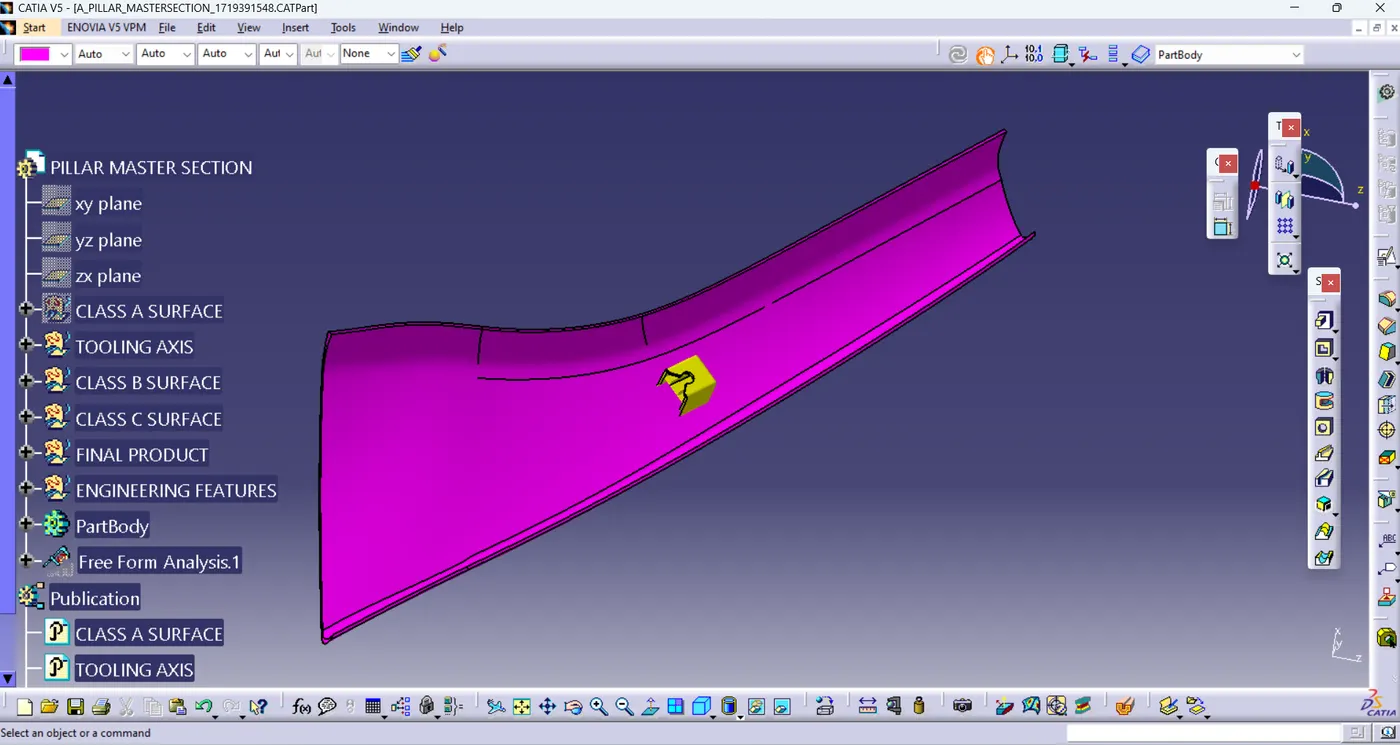
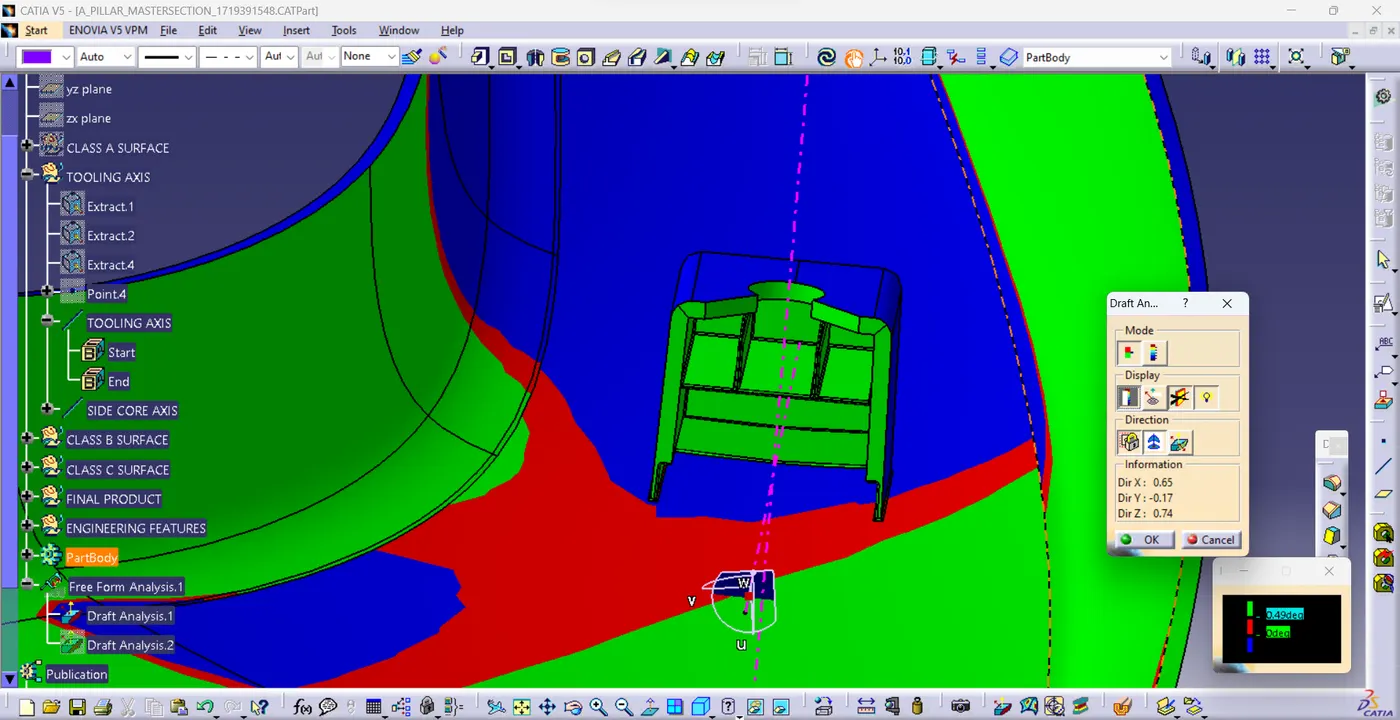
Closed Surface draft analysis
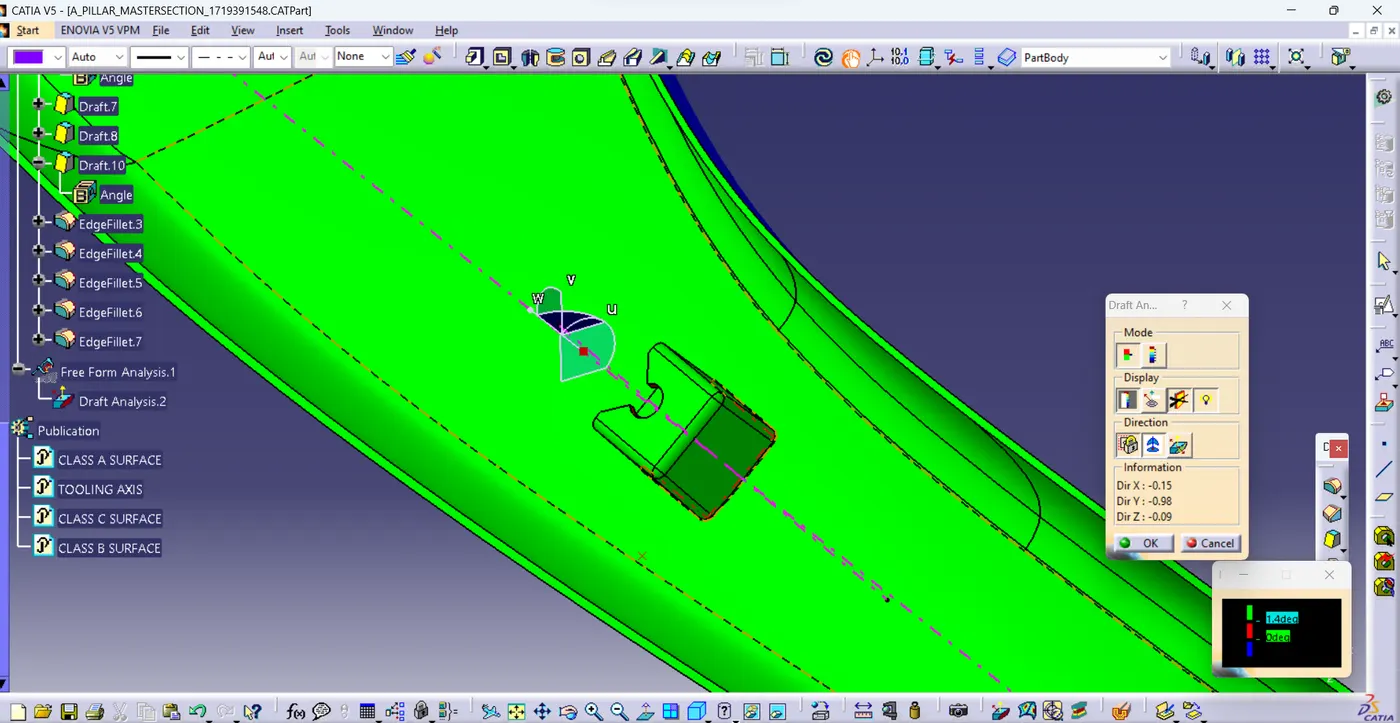
Draft analysis of Dog house
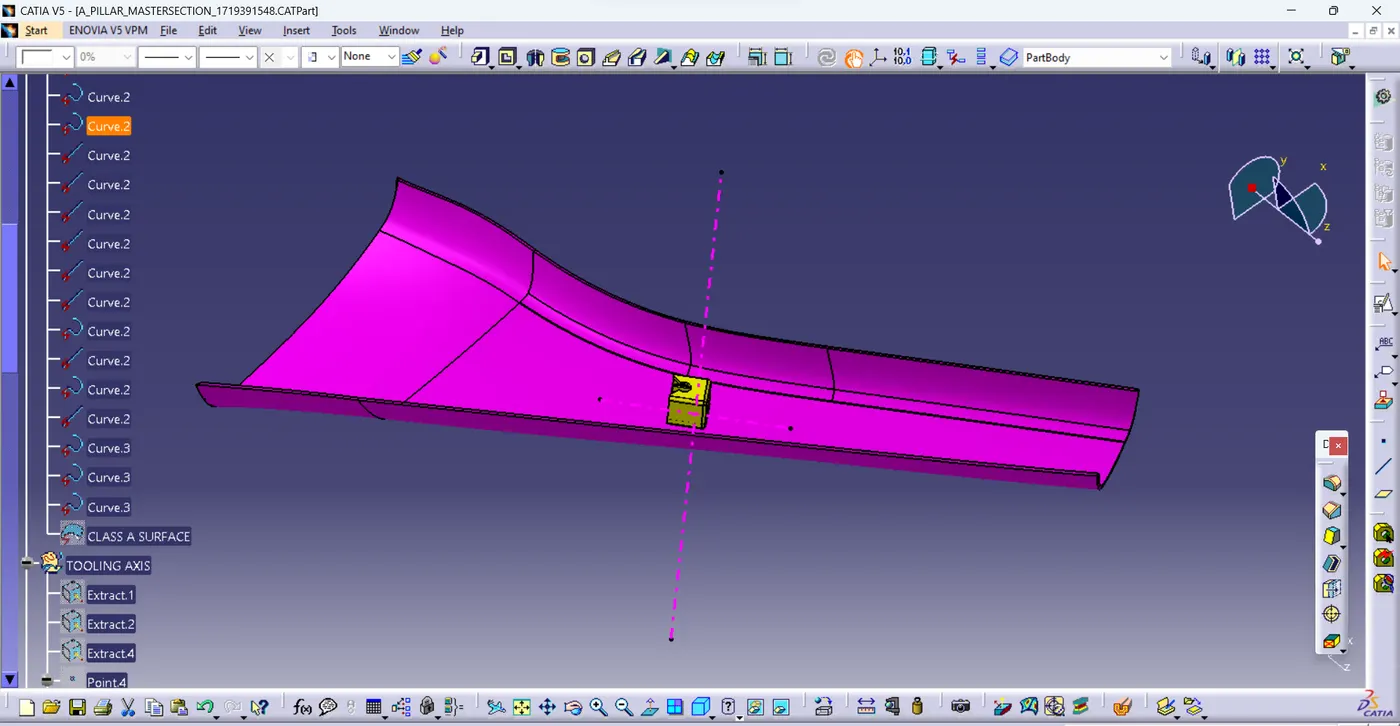
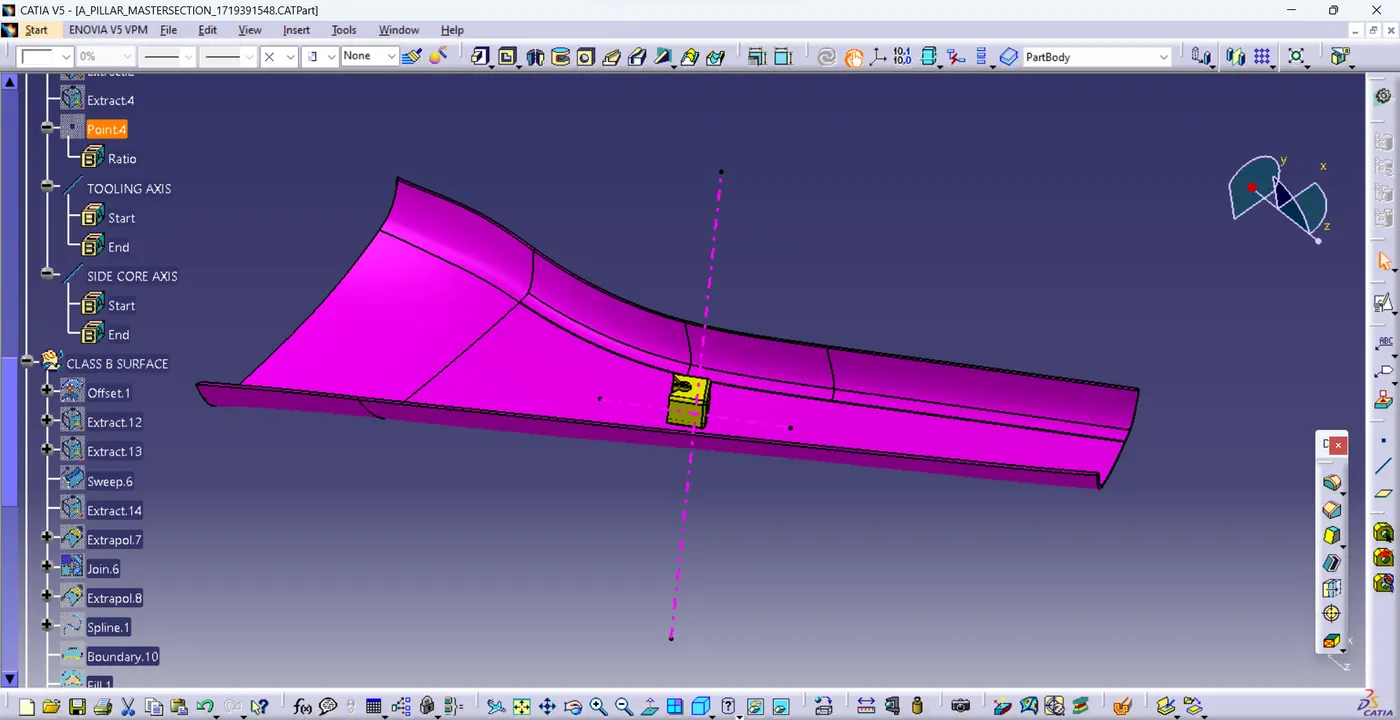
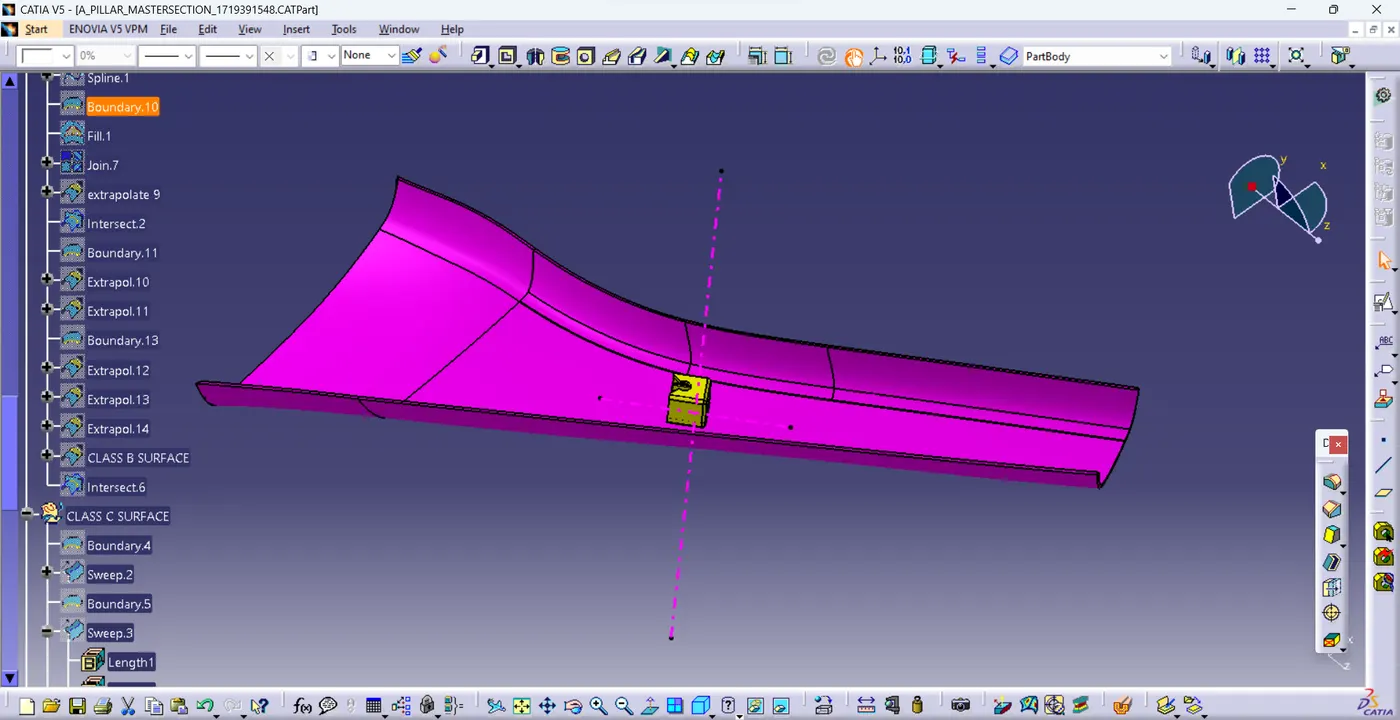
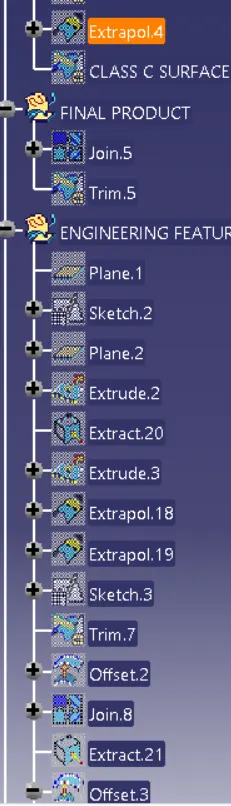
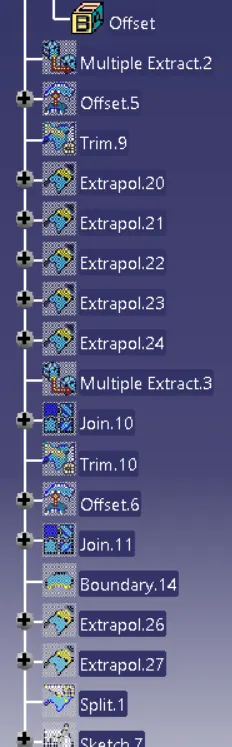
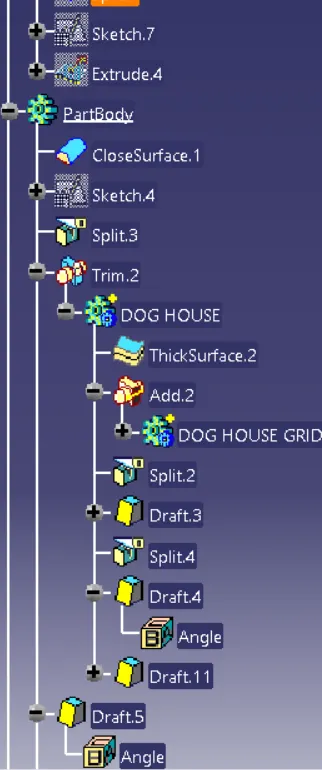
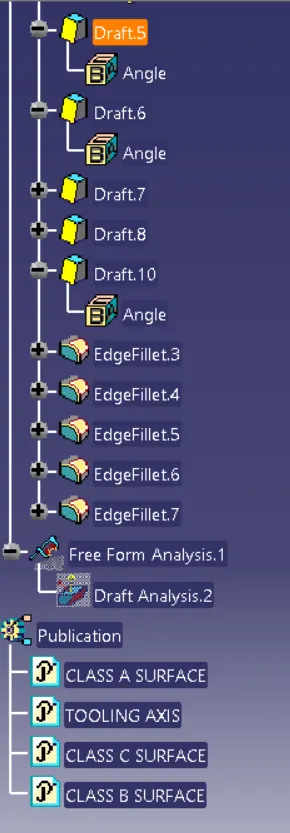
Tree structure