Usage of Navigation tool , Timeliner and Clash Detection test using Naviswork
Usage of Navigation tool , Timeliner and Clash Detection test using Naviswork
Used primarily in construction industries to complement 3D
Design packages Navisworks allows users to open and combine 3D models, navigate around them in real-time and review the model using a set of tools including comments, redlining, viewpoint, and measurements.
It is mainly avilable in three types:
• Navisworks stimulate-it review and communicate project details through 3D analysis and simulation.
• Navisworks manage-Review integrated models and data with stakeholders and perform clash detection for better control over project outcomes.
• Navisworks freedom-it is the free viewer for NWD and DWFfile formats. Navisworks doesn't create models but it combines them and allows them to be viewed and navigated, measured and analyzed, all together in one environment.
The main objective/goal of naviswork is for.
• project review
• project viewing
• simulation and analysis
• coordination
Q1) Use the Architecture/ Structure Project file developed by you in Week 6 to 8. Export the Revit architecture and structure model to Navisworks Cache file following the export settings discussed in class
ANS:
AIM: TO export the Revit architecture and structure model to Navisworks Cache file.
PROCEDURE:
STEP: 1
- Go to Revit
- Open the architechtural file of project from preivious week,
- Go to file menu
- click on export
- Select NDC format
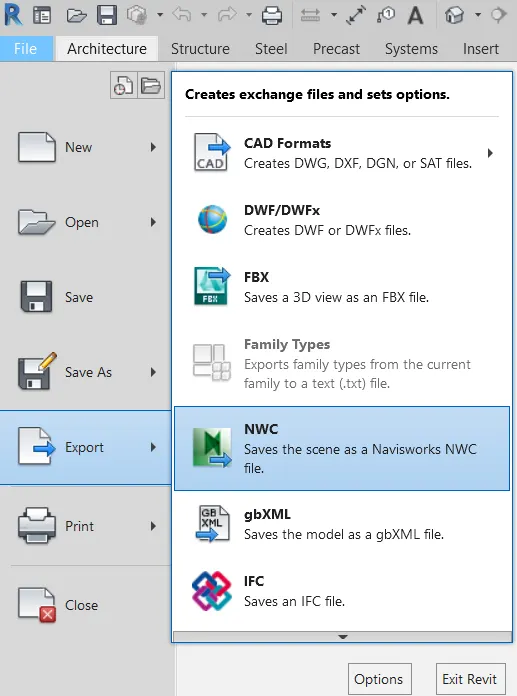
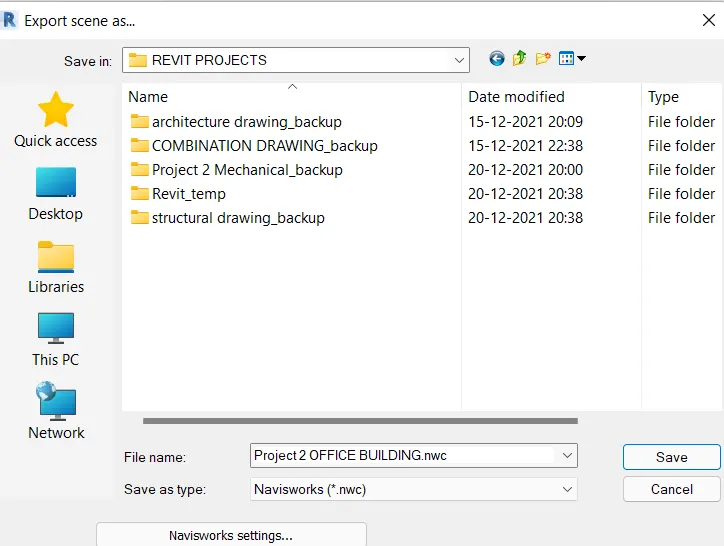
- After the file gets exported save the file.
RESULT:
The REVIT Architectural file of Office Building is successfully exported to naviswork cache file
Q2) Use Navigate Tool to walk around the model and walk through the rooms created and record your moving as animation in your Navisworks file
ANS:
AIM: To Use Navigate Tool to walk around the model and walk through the rooms created.
PROCEDURE:
STEP: 1
Open the architectural file in Navisworks
Go to viewport toolbar
Select the walk command
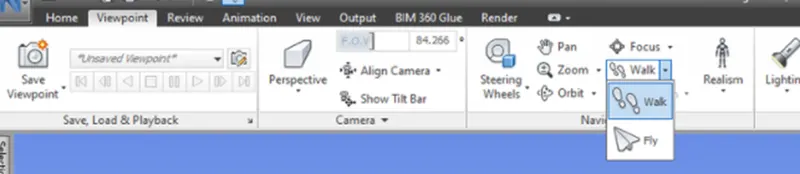
Start from any room as convenient.
Use cursor or arrows in keyword to move around
STEP: 2
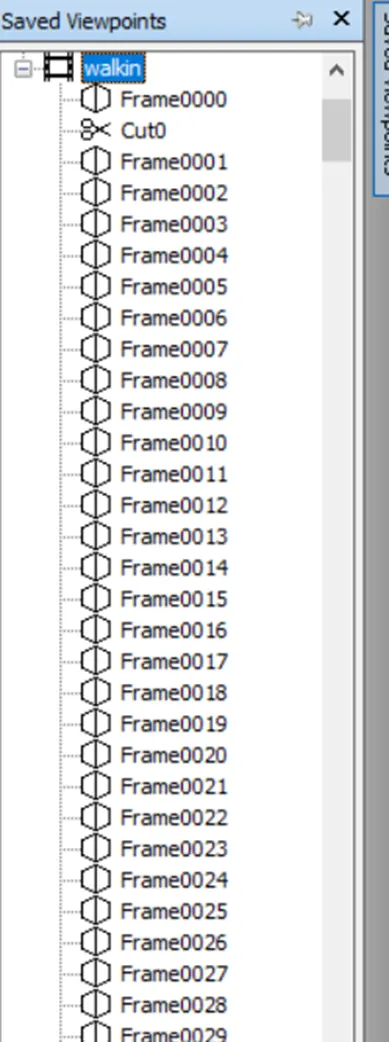
To record the viewport
Click on save viewport
Select the record option
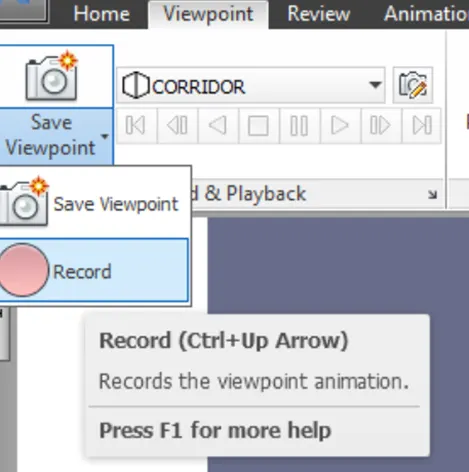
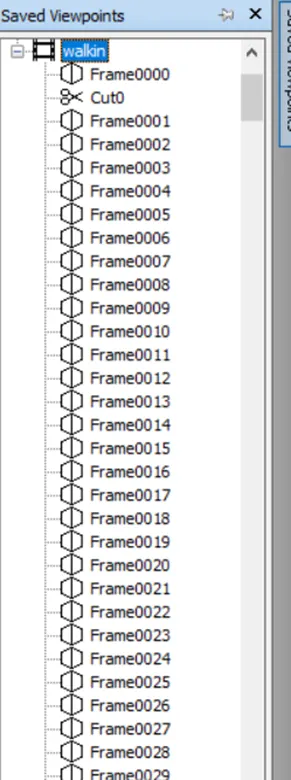
Once the recording of walk is done, each frame will be saved in save viewport command.
Q3) Use Navigate tool to use Realism feature to walk through the model and record your moving as animation in Navisworks file
ANS:
AIM: To use Realism feature to walk through the model and record your moving
PROCEDURE:
STEP: 1
open the file from previous question.
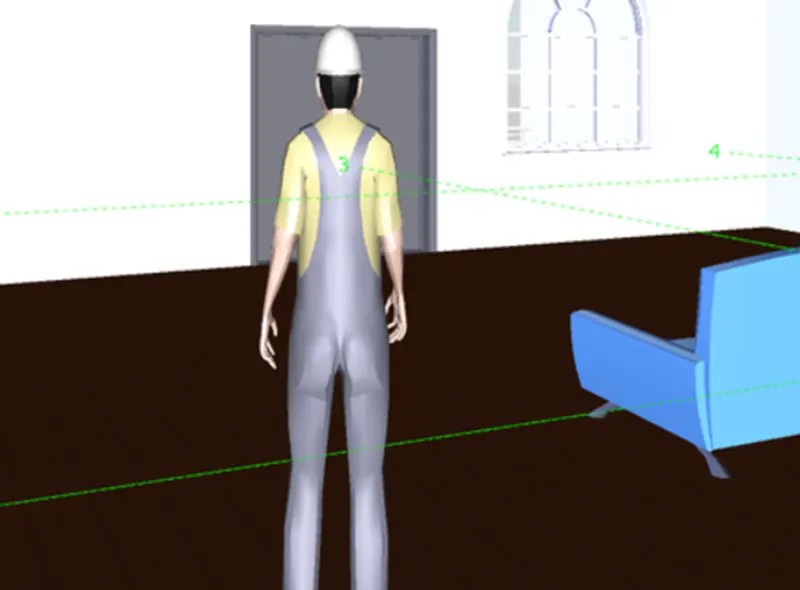
Go to viewport
Click on realism

Select third person
STEP: 2
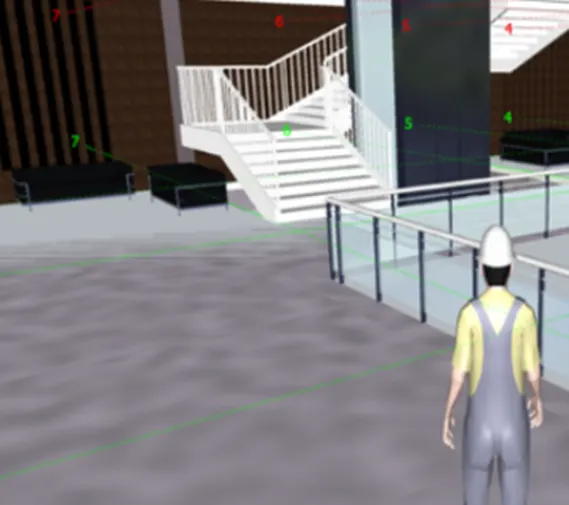
Once the person is added
Walk around the model, using cursor
Record the walk through
Save all the view port
Q4) Embed both architecture and structure *.nwc file to your Navisworks file. Create a clash detection test between the two models
a. Run the Clash Detection Test
b. Study the clashes between the two models
c. List which of the clashes could be approved
d. List which of the clashes could be neglected ( will be taken care later)
e. List which of the clashes can be resolved
f. Save the results after color coding the clashes to the Navisworks file
g. In case of resolution annotate the clash and save the view to defined views in Navisworks
ANS:
AIM: To Embed both architecture and structure *.nwd file to your Navisworks file
PROCEDURE:
STEP: 1
Open NWD file. of architecture
Click on the append to add structural view
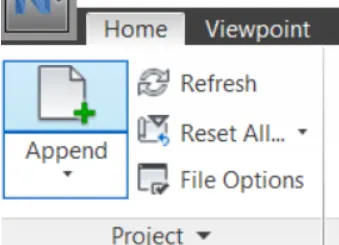
STEP: 2
Go to home tab, select clash detection icon

Study the clash between two models
STEP: 3
List which of the clashes could be approved
List which of the clashes could be neglected
List the clashes which can be resolved
Save the result after colour coding the clashes to Navisworks file
[Due to some virus protection issue the Navisworks is not supporting in my laptop so, not able to provide the images, but I have understood the procedure thoroughly.]
RESULT:
The Navisworks clash analysis has been successfully completed.
Q5) Using the Timeliner feature in Navisworks prepare a schedule for the project developed in week 6 to 8 by adding reasonable assumptions for task start date and end date and simulate the task completion as a visual simulation. Record it and save the timeline simulation to Navisworks file
ANS:
AIM: To use the Timeliner feature in Navisworks prepare a schedule for the project developed in week 6 to 8 by adding reasonable assumptions for task start date and end date and simulate the task completion as a visual simulation.
PROCEDURE:
STEP: 1
Go to Revit
Open the structural model
Then go to file menu
Click on export
Select NWC file.
Save the file
STEP: 2
Now open the structural model in Navisworks Software
Go to Timeliner in the home tab
Click add task option available in the Timeliner to add new tasks
Next, we have to update the planned and actual dates and provide type.
RESULT:
Timeliner feature in the Navis work has been successfully completed.
[Due to some virus protection issue the Navisworks is not supporting in my laptop so, not able to provide the images of, but I have understood the procedure thoroughly.]