Usage of Navigation tool , Timeliner and Clash Detection test using Naviswork
1.Use the Architecture/ Structure Project file developed by you in Week 6 to 8. Export the Revit architecture and structure model to Navisworks Cache file following the export settings discussed in class.
PROCEDURE:
Download the NavisworksExporters2024.exe set up file
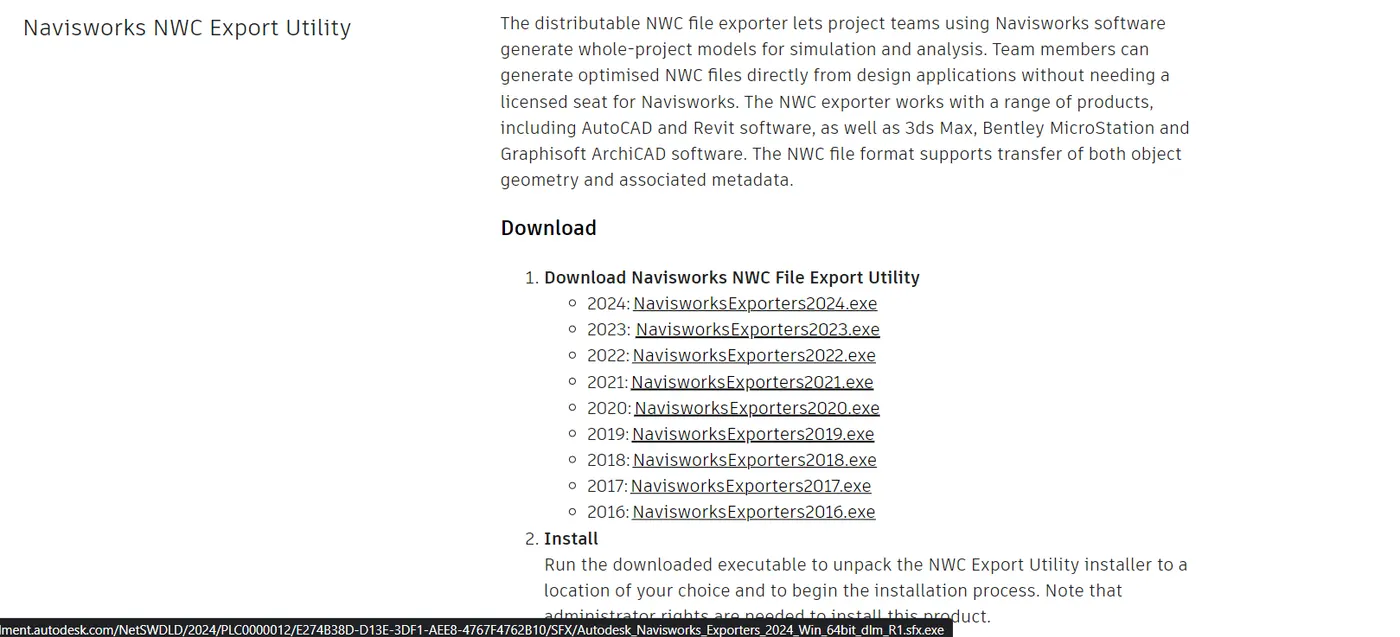
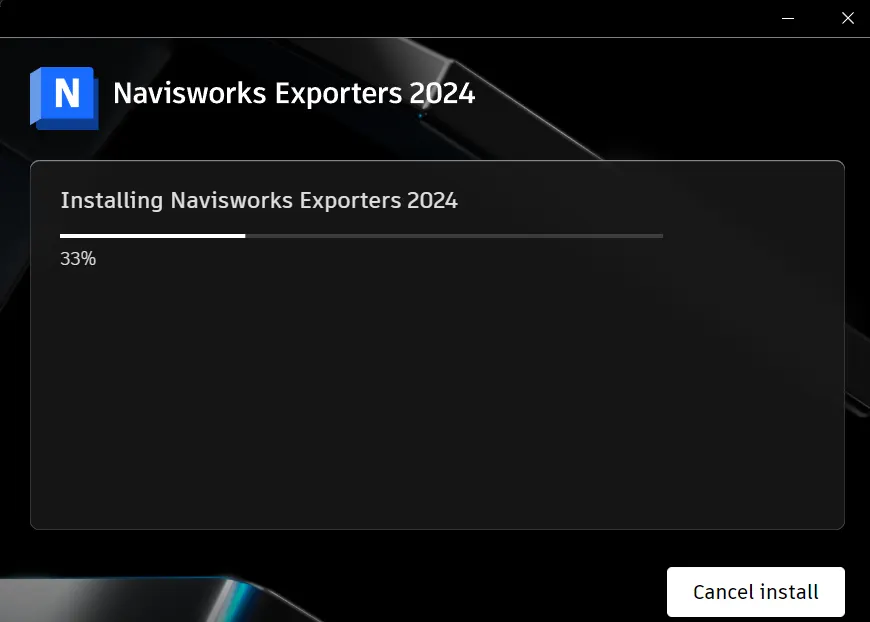
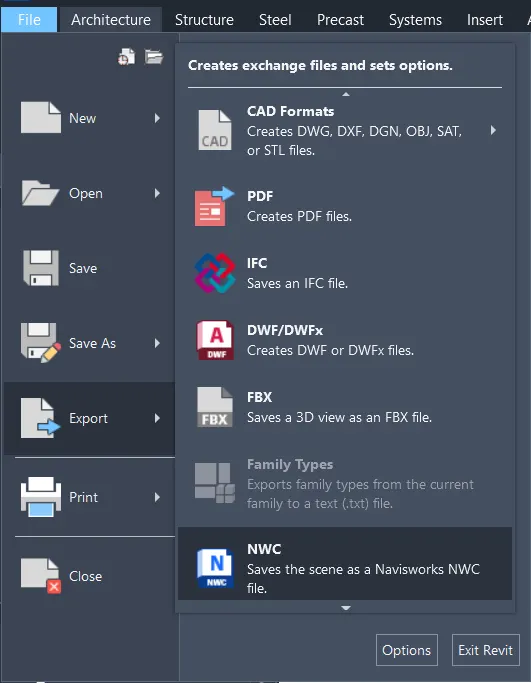
Open the Revit file which we want to export into Navisworks.In the file, the menu select Export followed by NWC
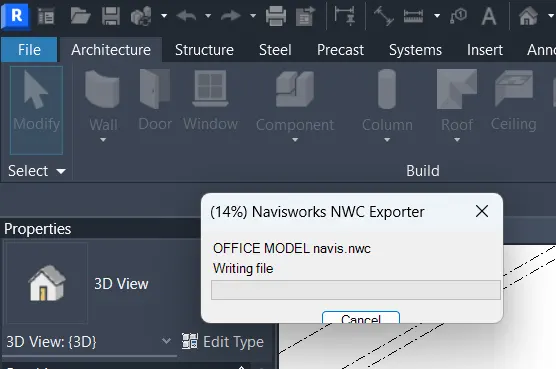
Then the exporting process will begin as shown.
Once it is exported open the exported file using the Navisworks manage application.
RESULTS: The model was successfully exported into the Navisworks cache file.
2.Use Navigate Tool to walk around the model and walk through the rooms created and record your moving as animation in your Navisworks file
PROCEDURE:
Open the architectural file in NavisworksClick on the walk option in the Viewport tab.
Click on the record option in the save viewport option under the viewpoint tab. We can save viewpoint using the save viewpoint option above it.Using the walk option we walked through all the rooms of the building and was recorded.
Reception:Office Room:Corridor:Export the file
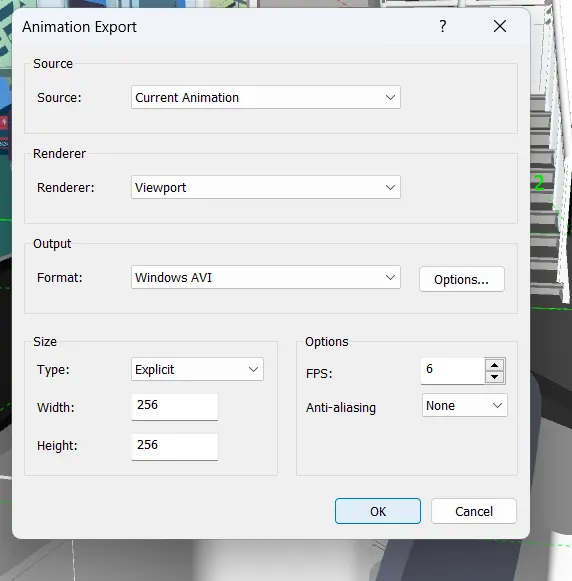
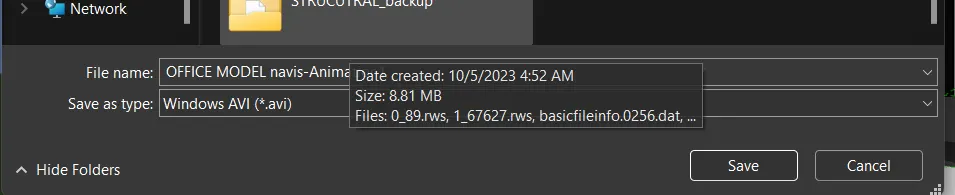
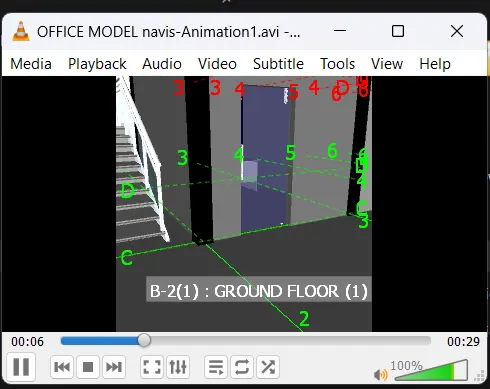
3.Use Navigate tool to use Realism feature to walk through the model and record your moving as animation in Navisworks file
PROCEDURE:
Tick on the Third person option in the Realism menu under the viewpoint tab Click on the record option in the save viewport option under the viewpoint tab. We can save viewpoint using the save viewpoint option above it.Using the Realism feature walkthrough we walked through the building.
Reception:Corridor:Office room.RESULTS: Walkthrough of the model using realism feature is completed
4.Embed both architecture and structure *.nwc file to your Navisworks file. Create a clash detection test between the two models
- Run the Clash Detection Test
- Study the clashes between the two models
- List which of the clashes could be approved
- List which of the clashes could be neglected ( will be taken care of later)
- List which of the clashes can be resolved
- Save the results after color-coding the clashes to the Navisworks file
- In case of resolution annotate the clash and save the view to defined views in Navisworks
PROCEDURE:
a) Initially open the file in Navisworks.click on the Clash Detective option in the Home tab to start the test.
I purposefully combine two files to make some clashes.Then select the files which we want to do the test and click on run test.
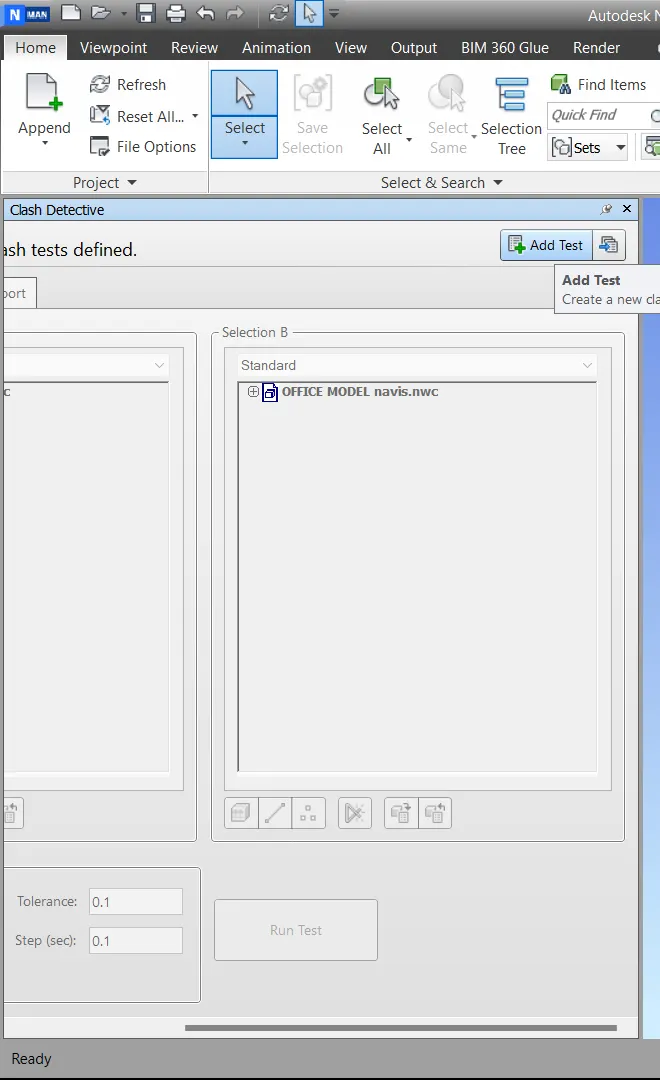
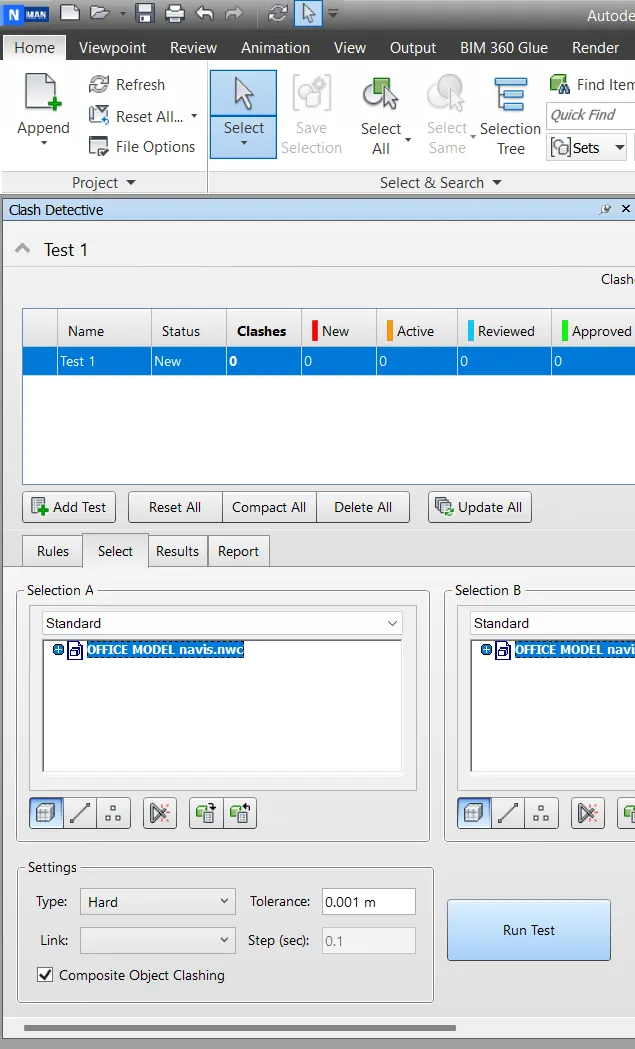
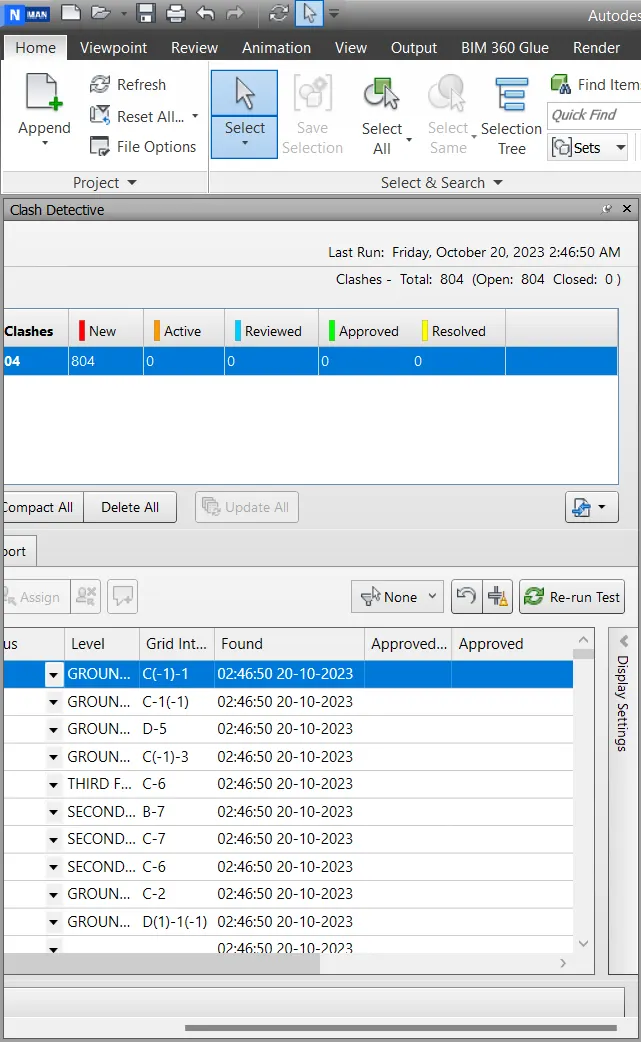
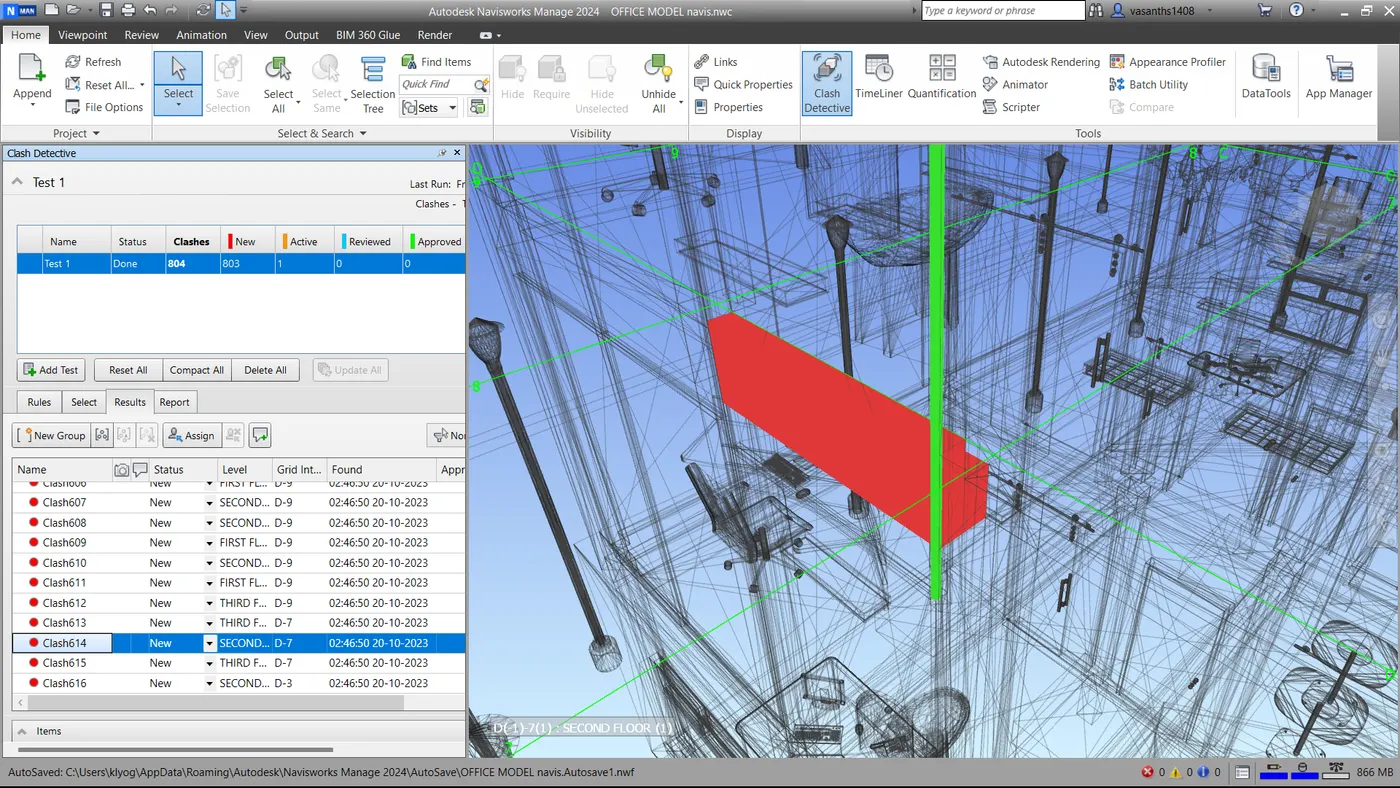
b) Clashes between the two models was studied
c) Clashes can be approved as part of the construction, these clashes will not appear again and will turn to green color once we click on approve
d) The clashes which will not cause any issue to the project can be easily neglected.
e) Clashes can be resolved which can change model boundary conditions these clashes can be excluded from the detective test.
Save the file after color-coding the clashes to the Navisworks file
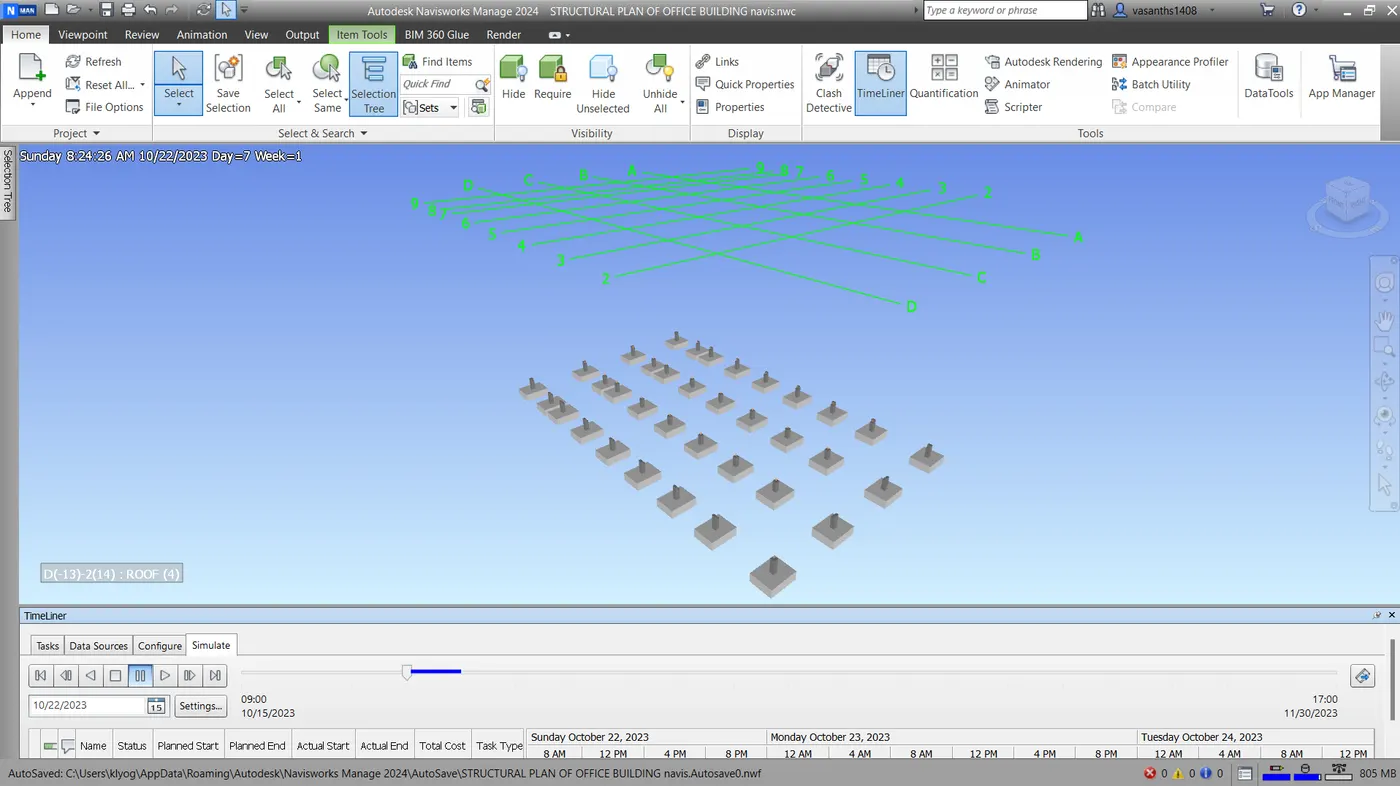
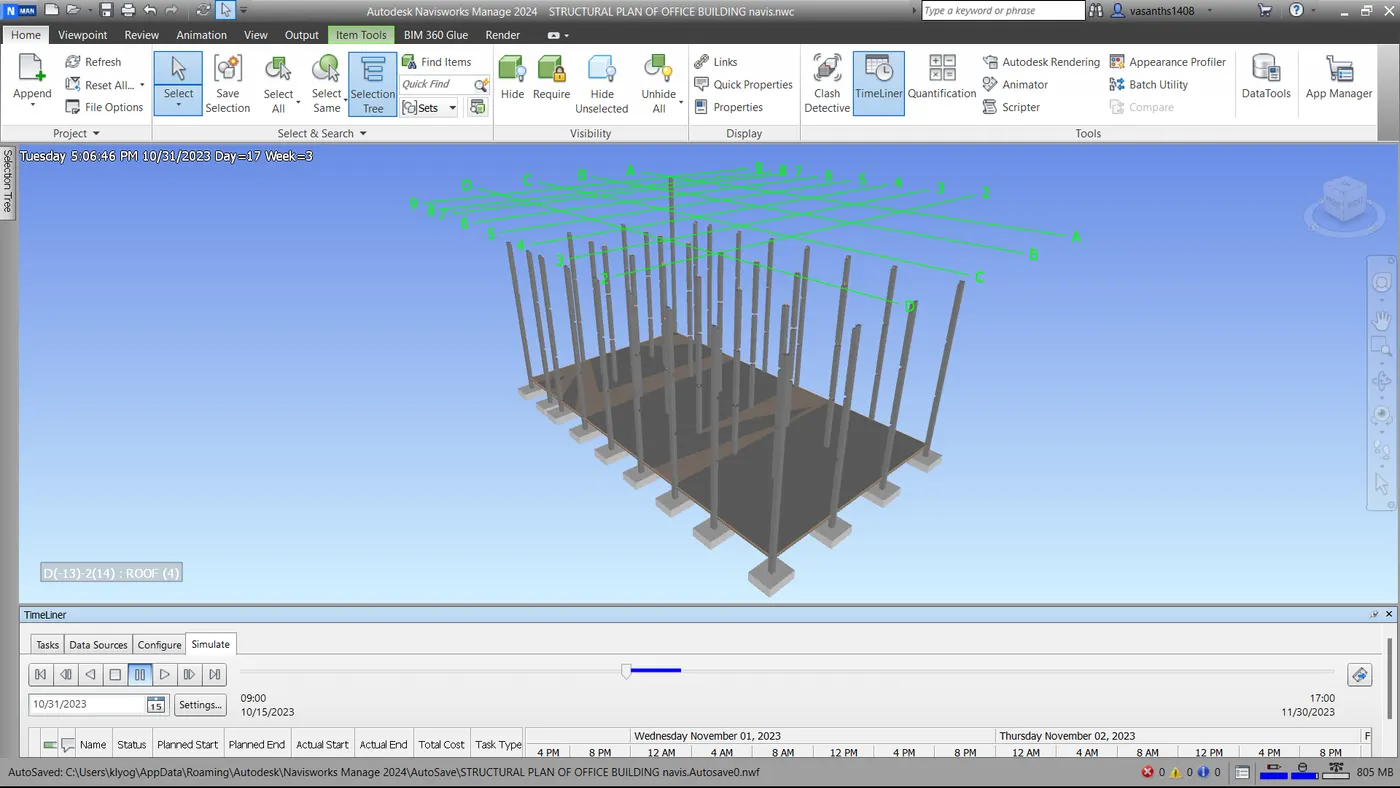
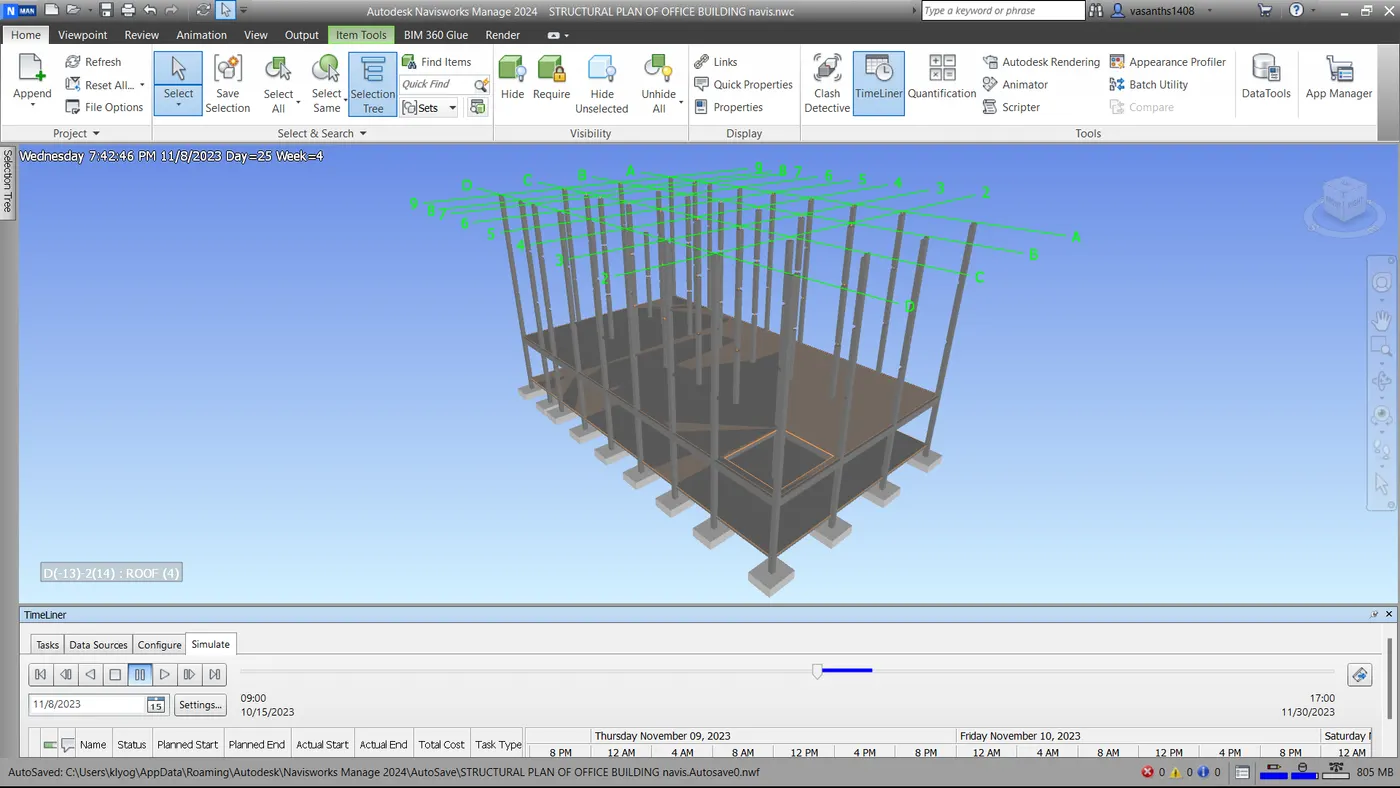
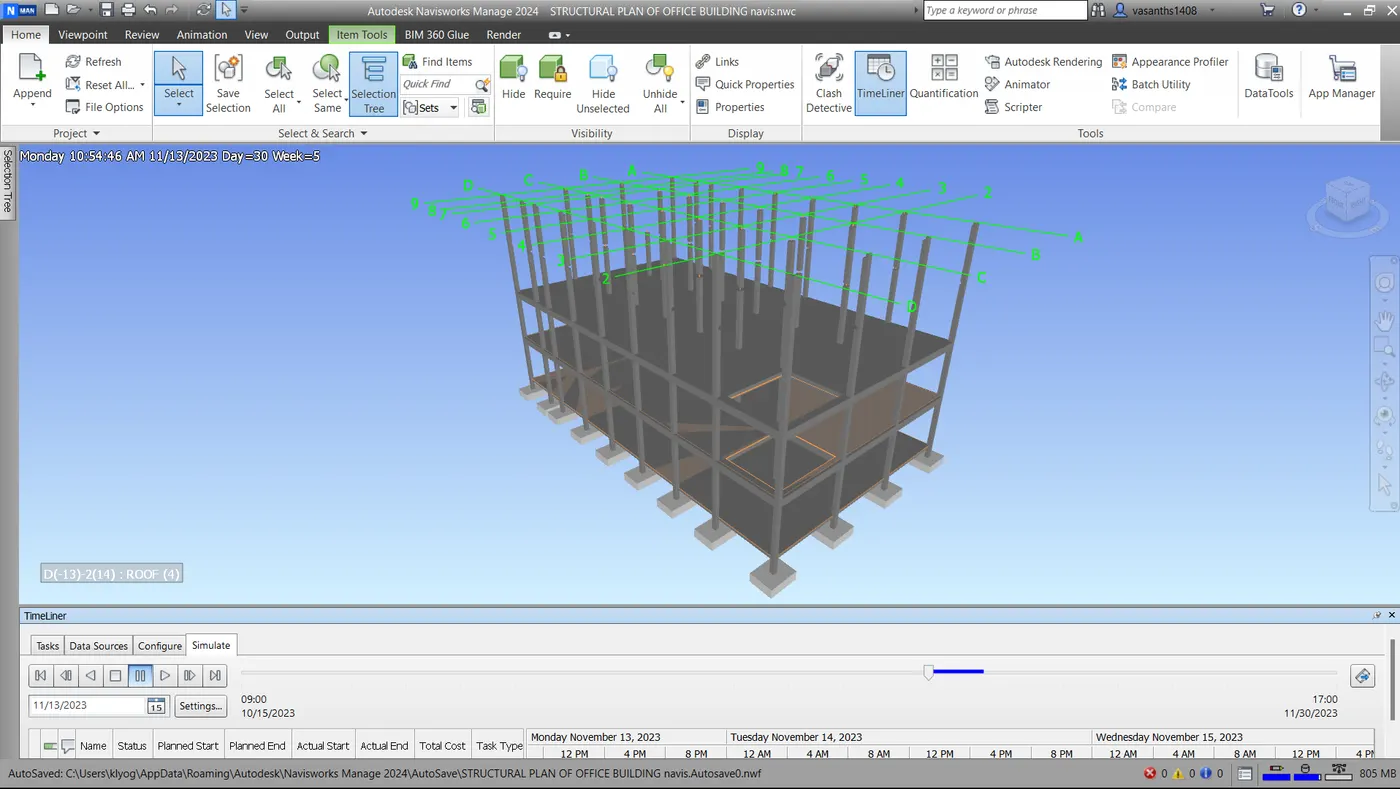
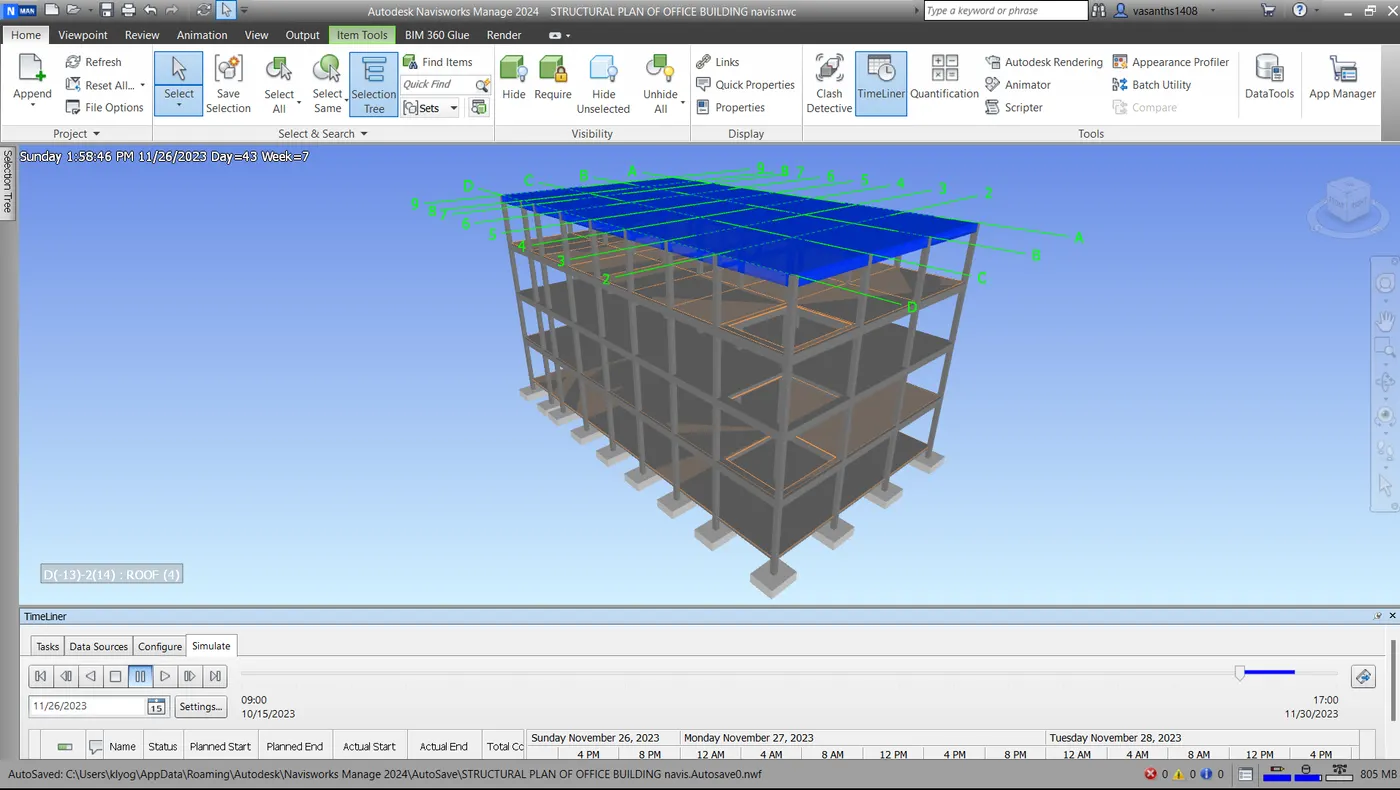
5.Using the Timeliner feature in Navisworks prepare a schedule for the project developed in weeks 6 to 8 by adding reasonable assumptions for task start date and end date and simulating the task completion as a visual simulation. Record it and save the timeline simulation to the Navisworks file.
PROCEDURE:
Open the structural file in Naviswork.
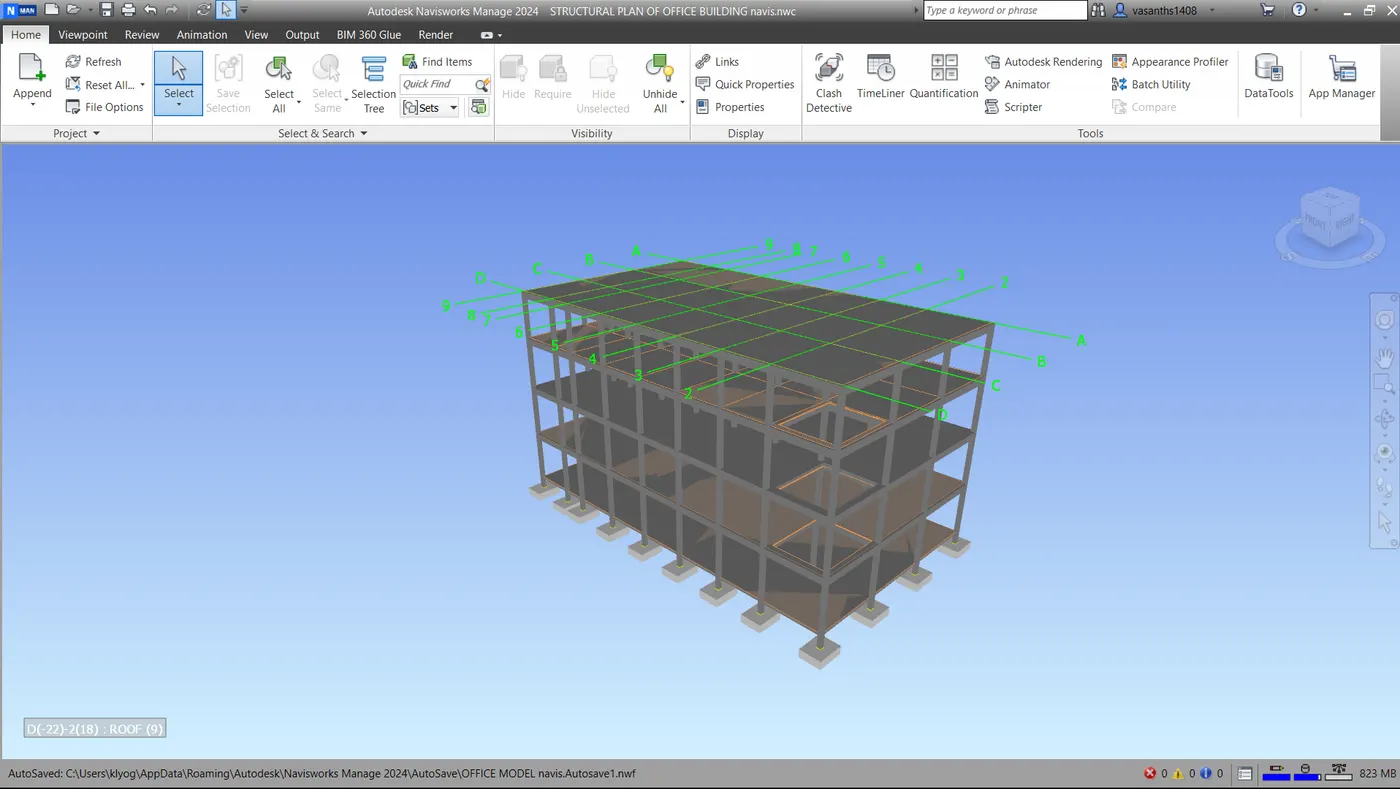
Click on the timeliner option in the Home tab
Click on add task in the timeliner to add new tasks
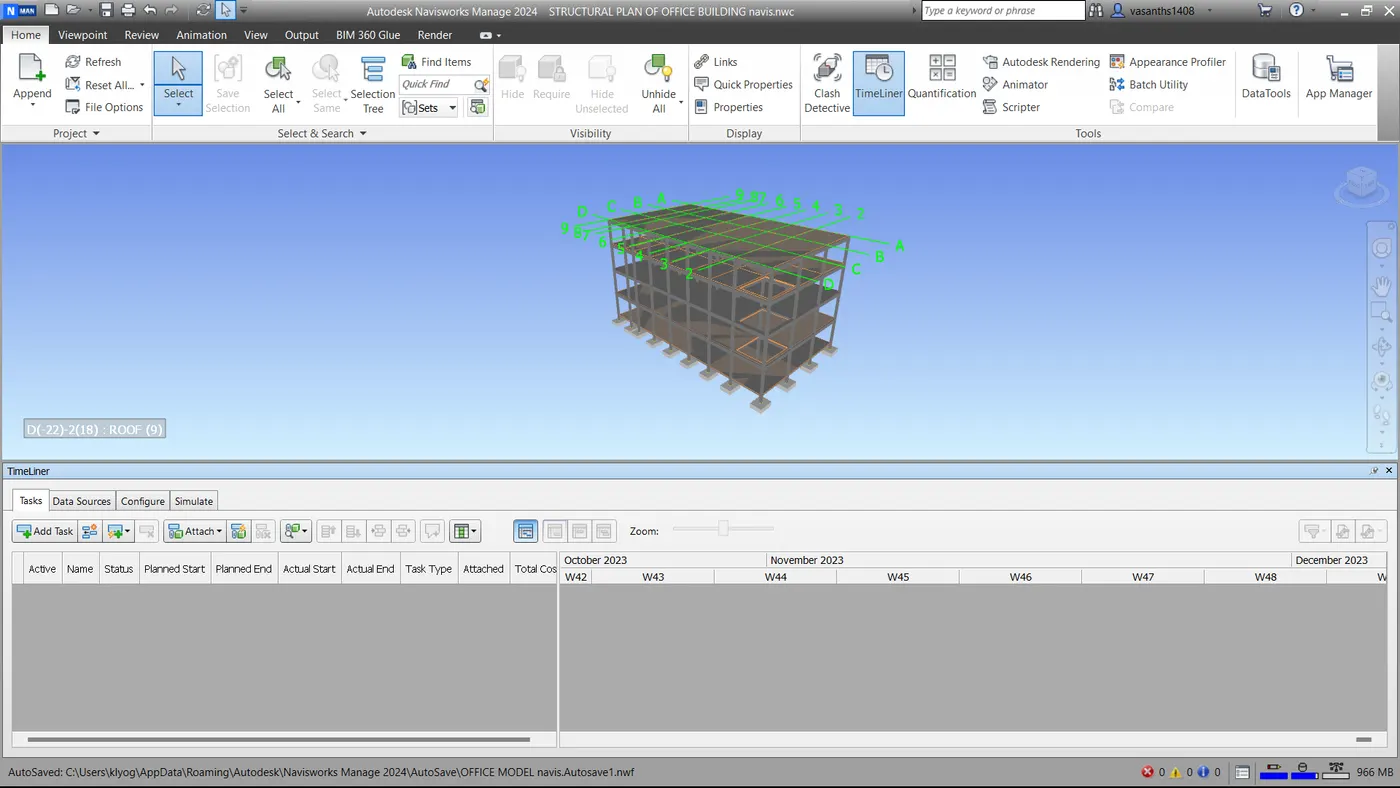
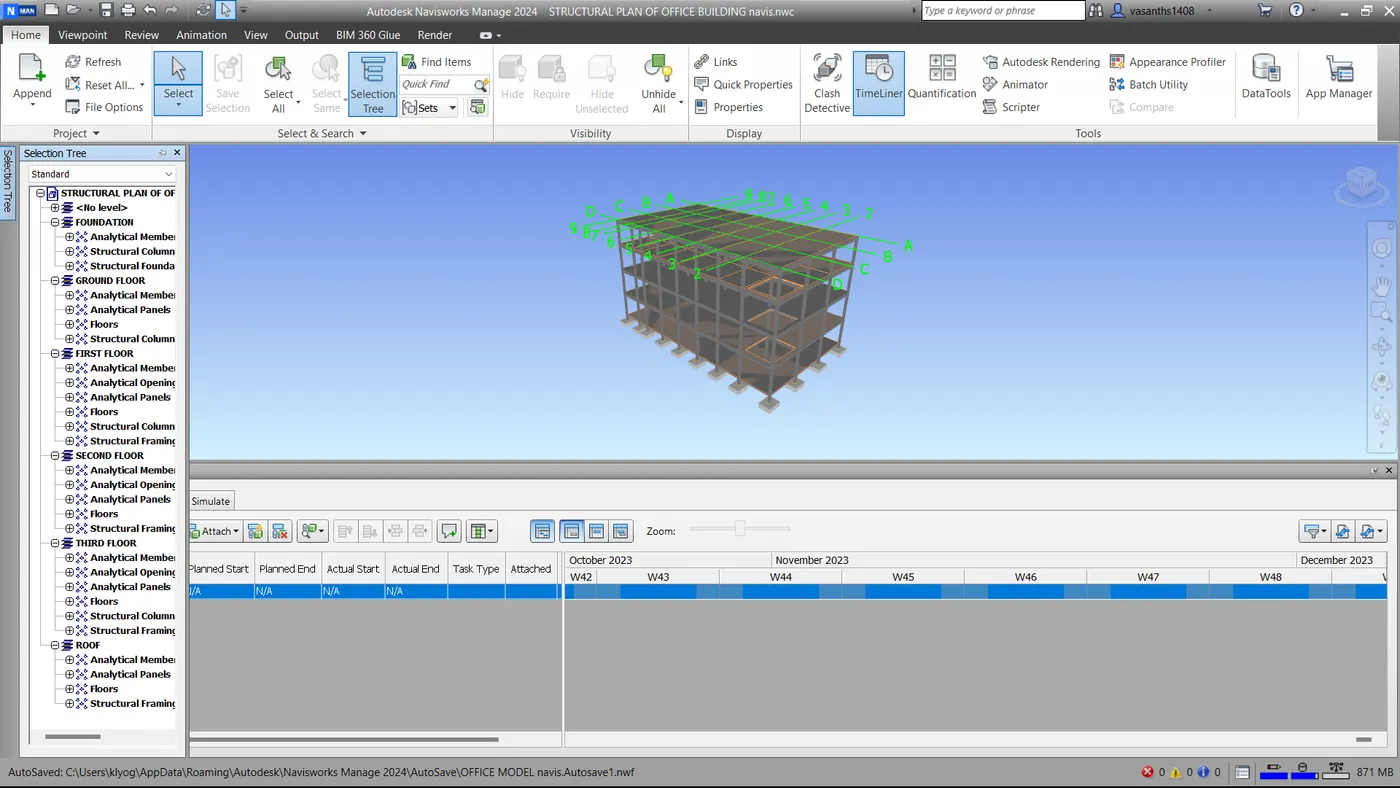
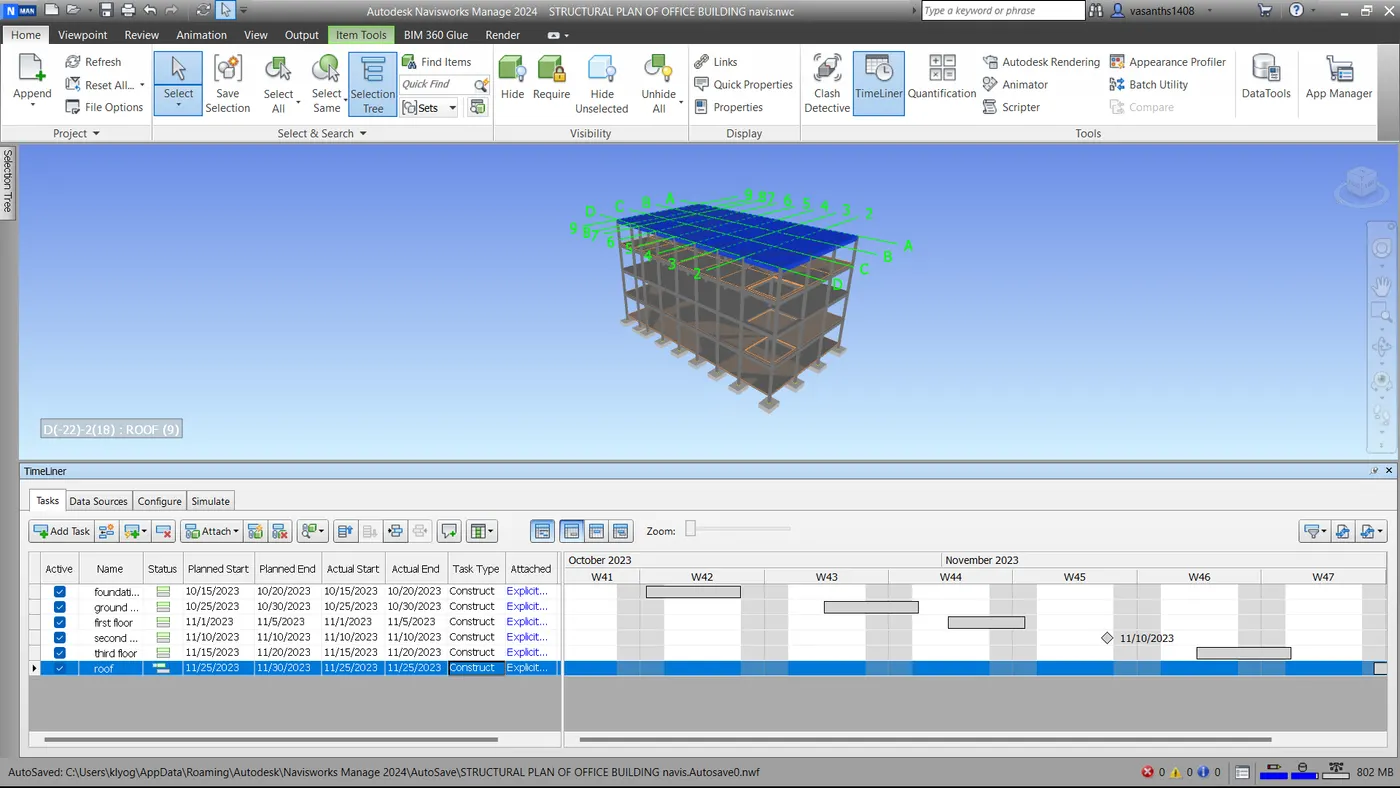
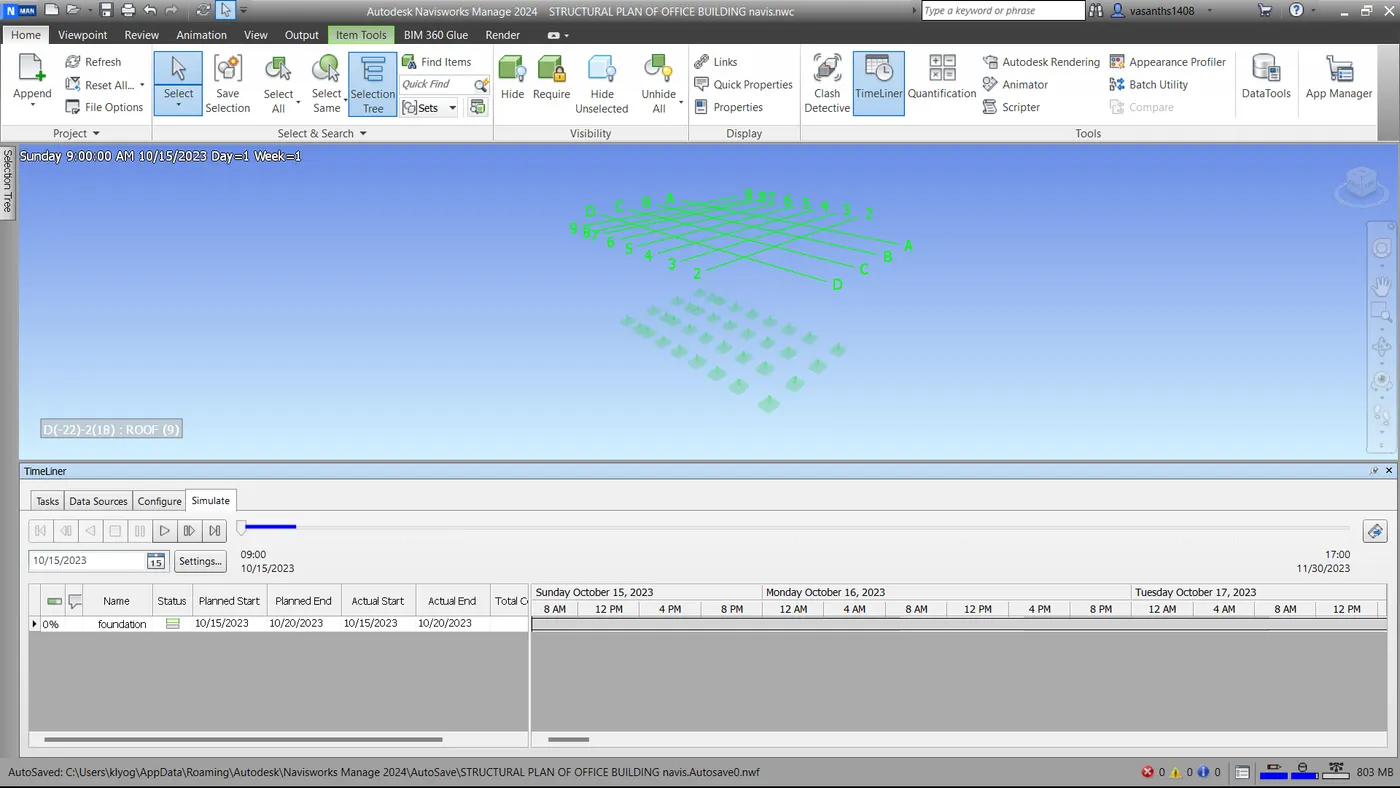
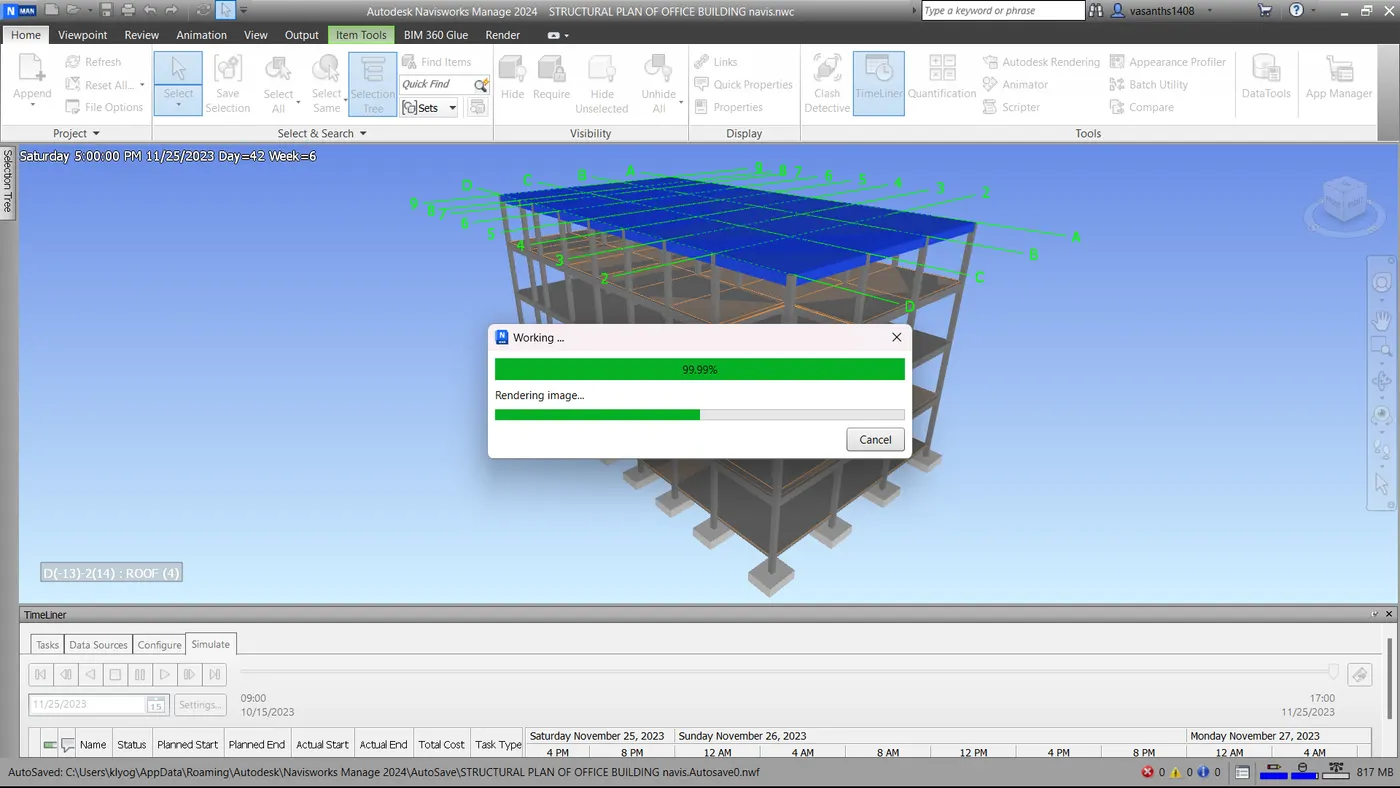
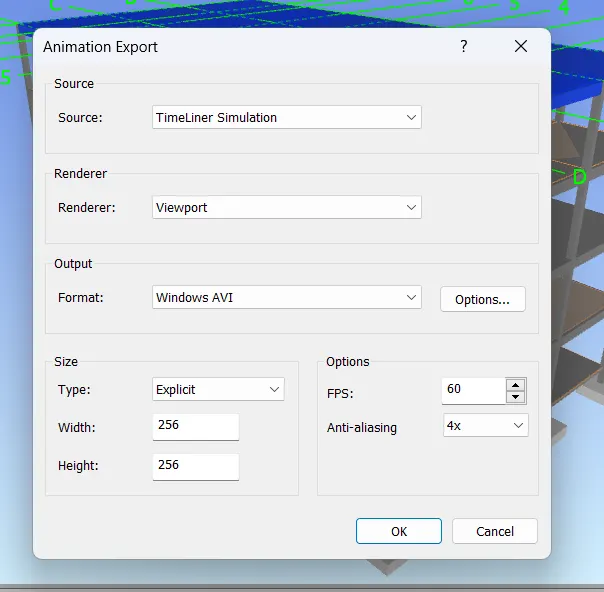
Create the tasks as required from start to end by providing a starting and ending date, and providing type as a construct. After entering all the tasks click on stimulate, record it and save the work
CONCLUSION:
All results of each drawing have been attached which were drawn in Revit and Navisworks.