Usage of Collaborate tool in REVIT
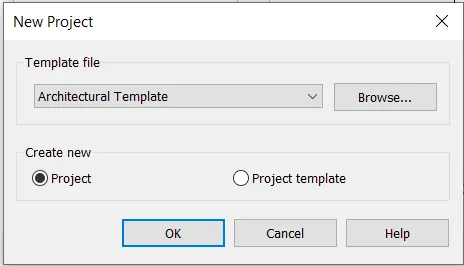
1. Open an architectural template. Using the Manage tab set project base point and project shared coordinates for the project.
Steps
Open architectural template in Revit 2021.
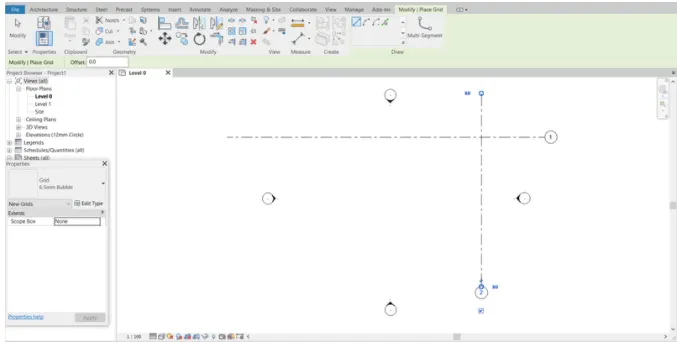
Select the grids option from the Architectural tab
Draw the grids one in horizontal direction and one in vertical direction
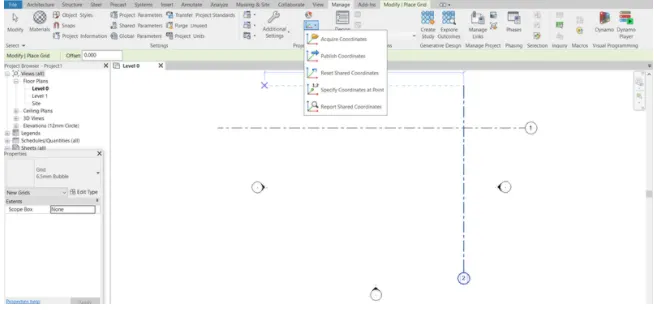
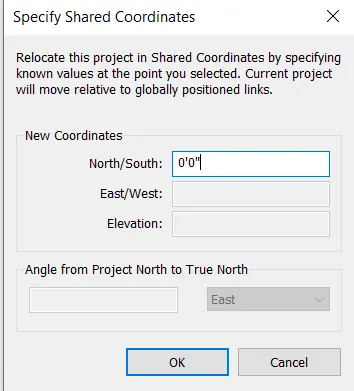
Go to the manage tab, select coordinates option and in that select specify coordinates
Now click on the grids and change the coordinates to 0-0"
Save the file with the name Architectural 1
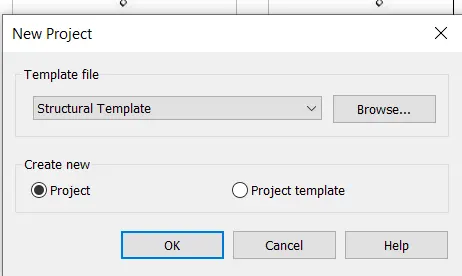
2. Open another new file but with a structural template. Using the manage tab set project parameters the same as the architectural model. Copy the parameters from the architectural model to the structural template or enter the parameters manually into the structural model
Steps
Open Structural template in Revit 2021.
Select the grids option from the Architectural tab.
Draw the grids one in horizontal direction and one in vertical direction.
Go to the manage select coordinates option and in that select specify coordinates
Now click on the grids and change the coordinates to 0-0"
Save the file with the name Structural 1.
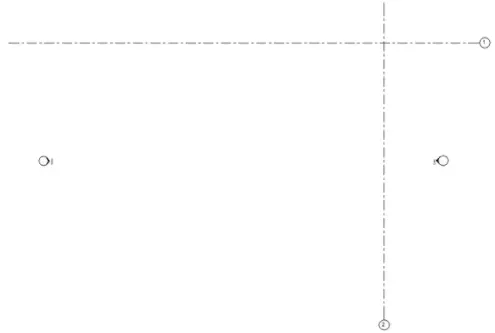
MARING THE COORDINATES
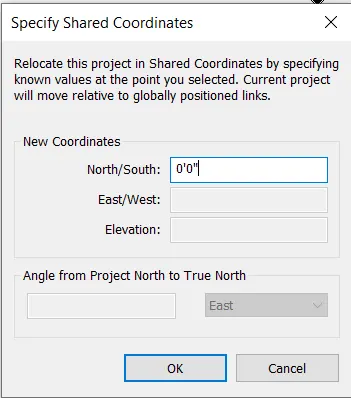
SAVING THE FILE
3. Re-open the architectural model. Using the tools under the Collaborate tab make the architectural model a central model (enabling simultaneous working on the model.
Steps
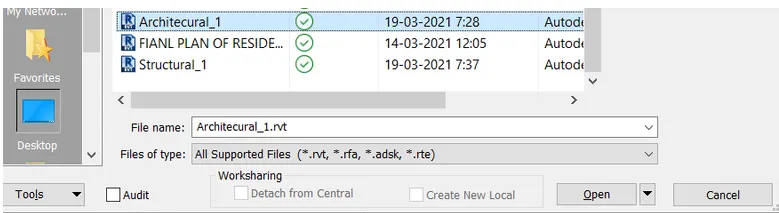
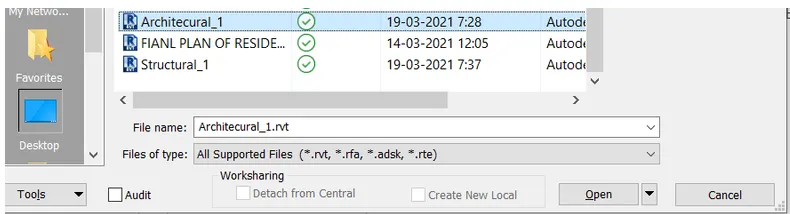
Open Architectural 1 file created in Revit 2021 in the 1st
Go to the collaborate tool.
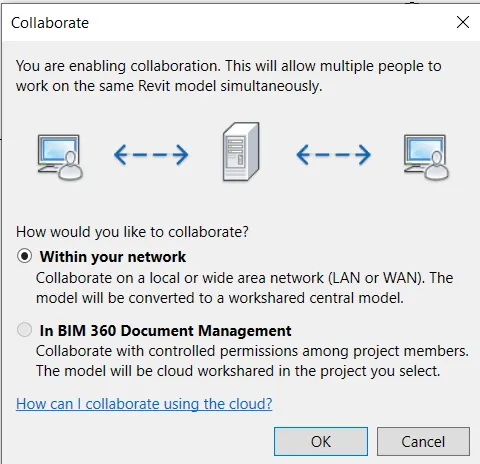
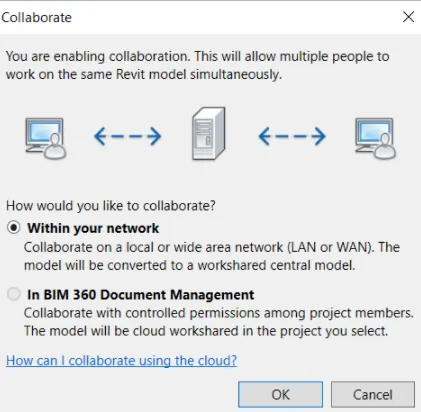
Select collaborate within your network.
Go save the entire project.
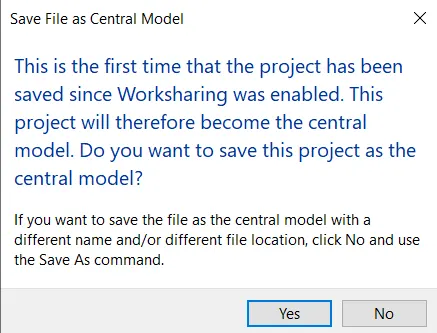
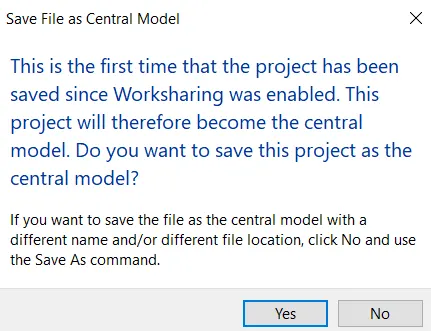
When saved a pop will window will be appearing on the screen to make the model as central model.
OPENING THE FILE
COLLABRATE TAB

COLLABROATING WITHIN THE NETWORK
SAVING FILE AS A CENTRAL MODEL
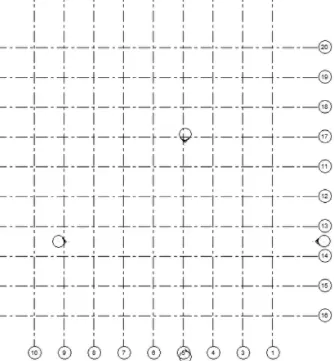
4. Create the Grids Longitudinal and Transverse pattern for the project.
Steps
Navigate to Architecture > Grid or Structure > Grid. Now click once at the start and again at the end of the grid you wish to set up. This should snap to a vertical. Set up however many you need, at approximate spacings this way.
The spacing between the grids should be 10
Save the file created.
Steps
Go to the collaborate tool.
Select collaborate within your network.
Go save the entire project.
When saved a pop will window will be appearing on the screen to make the model as central model.
Click OK.
Steps
Open Structural 1 file created in Revit 2021 in the 1st problem.
Go to the collaborate tool.
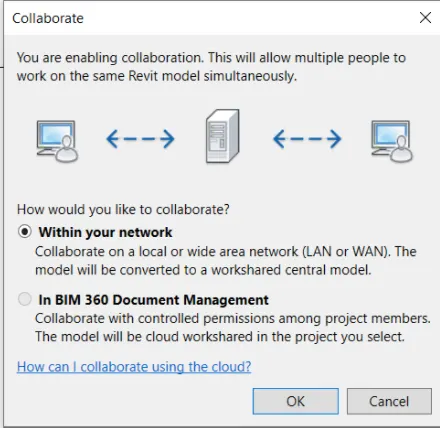
Select collaborate within your network.
Go save the entire project.
When saved a pop will window will be appearing on the screen to make the model as central model.
Click OK.
Steps
Open the architectural file of grid which we have already created and made as a central model.
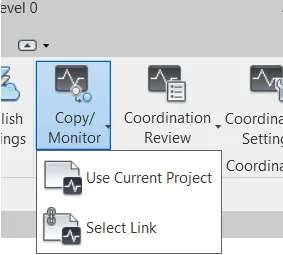
Go to the collaborate tab under the tab select the option copy/monitor link
In that select use current project.
Copy the entire grids using the multiple option.
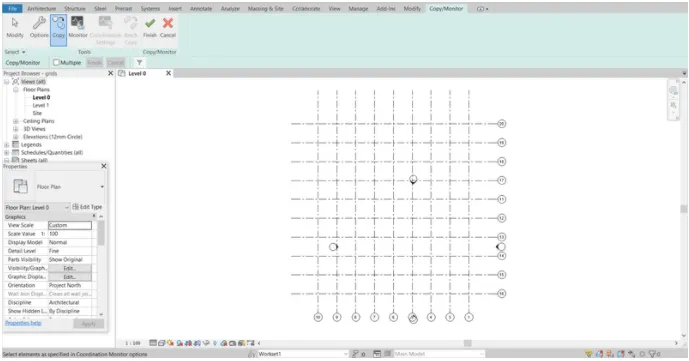
files.
Steps
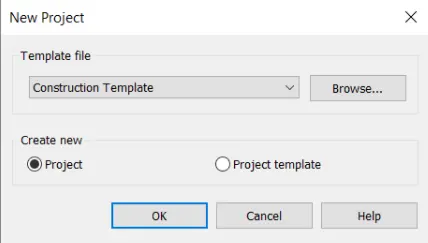
Open new Revit file with a construction template:
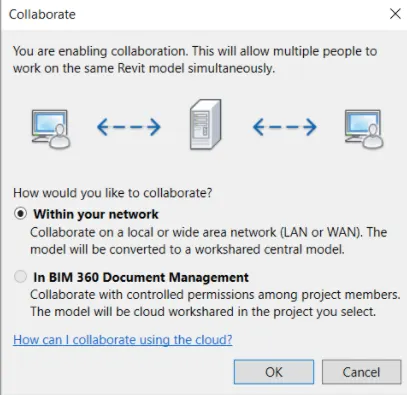
Go to the collaborate tool
Select collaborate within your network.
Go save the entire project.
When saved a pop will window will be appearing on the screen to make the model as central model
Click OK.
Go to the manage tab.
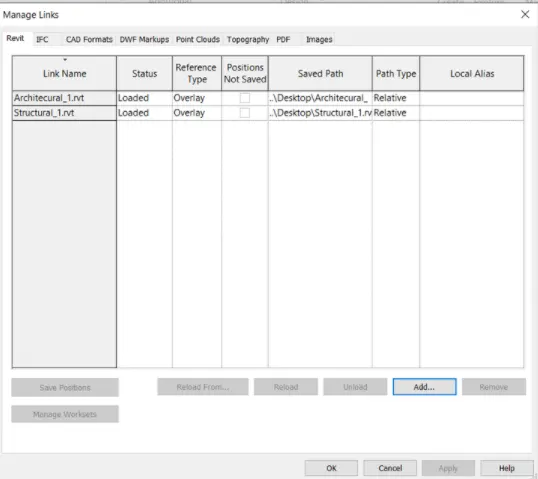
Select manage links.
Add both the structural and architectural template files in the pop up window and click OK.
Steps
Open the construction template file which is already created.
Link noth the models to the file using the manage links option from the manage tab
Click OK.
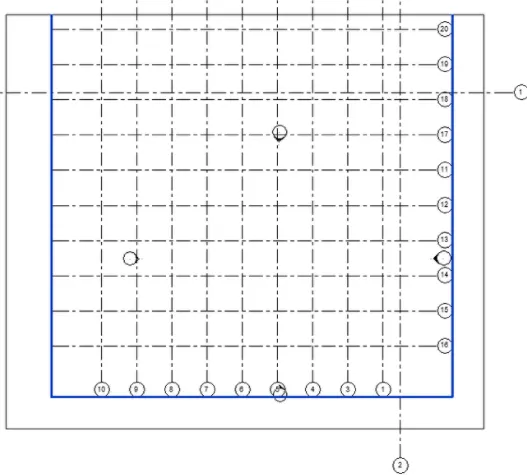
Since the model is not matching relocating the lines.
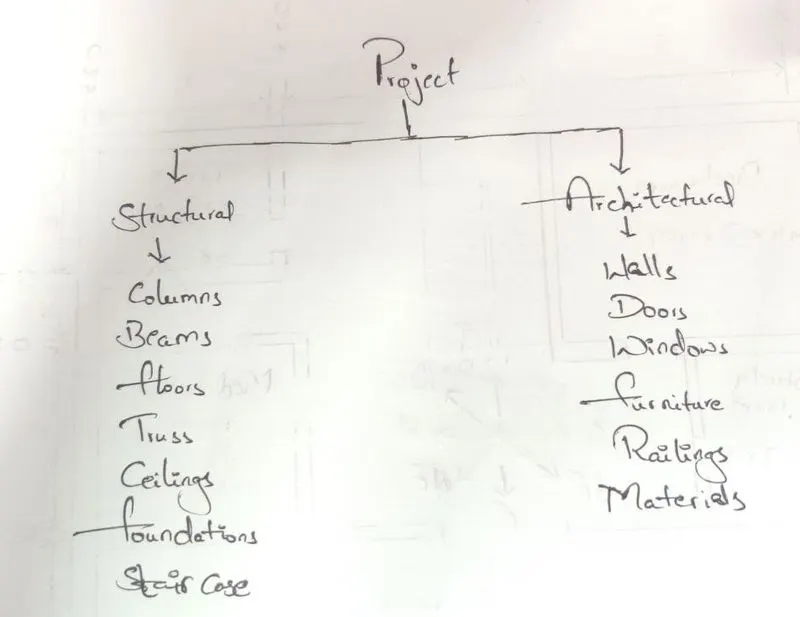
10. List a flow chart of a project tree set up in terms of Construction model, Architecture & Structure model in this exercise and understand how many people can work on the same project using Revit simultaneously