Tool Test 1
This tool test carries two models (i.e. Plastic model, Sheet metal model). For both the models, Mid surface should be taken and meshed as per below quality criteria. Thickness should be assigned to both the models. (Refer “Model Requirements” in “Grading Policy” to know what to be done in the model)
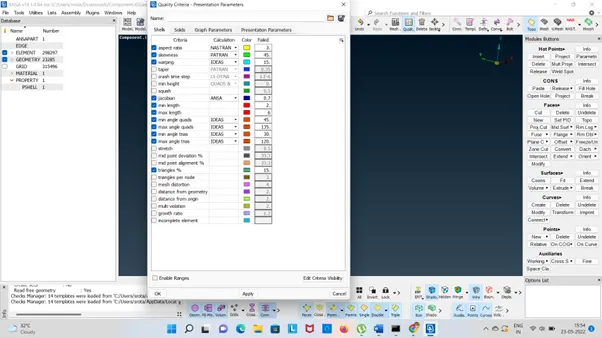
Quality Criteria:
|
S.No |
Quality Criteria |
Value |
|
1 |
Target/Average length |
4 |
|
2 |
Minimum Length |
2 |
|
3 |
Maximum Length |
6 |
|
4 |
Aspect |
3 |
|
5 |
Warpage |
15 |
|
6 |
Skewness |
45 |
|
7 |
Jacobian |
0.7 |
|
8 |
Minimum Quad Angle |
45 |
|
9 |
Maximum Quad Angle |
135 |
|
10 |
Minimum Tria Angle |
30 |
|
11 |
Maximum Tria Angle |
120 |
|
10 |
Tria Percentage |
15 |
Procedure:
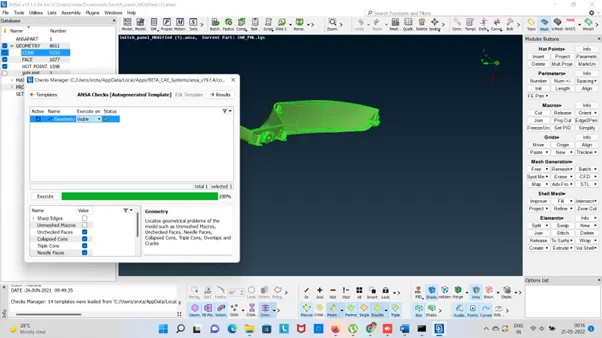
Importing the component Switch Panel. Stp file to the ANSA workbench.
Geometry Checking:
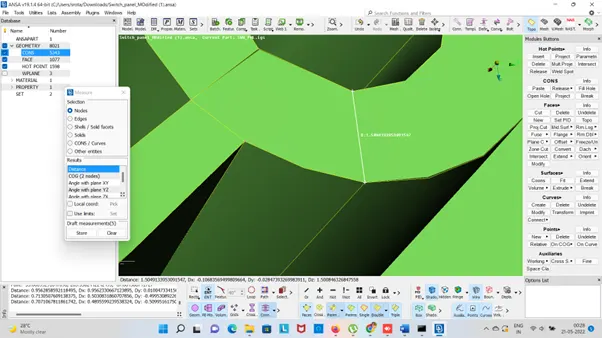
- By clicking the checking option then selecting the geometry option.
- It shows that errors are on the surface, check the error box and then execute .
- Then we need to clean the surface.
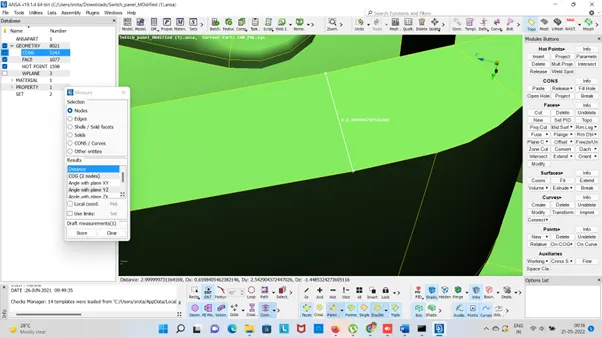
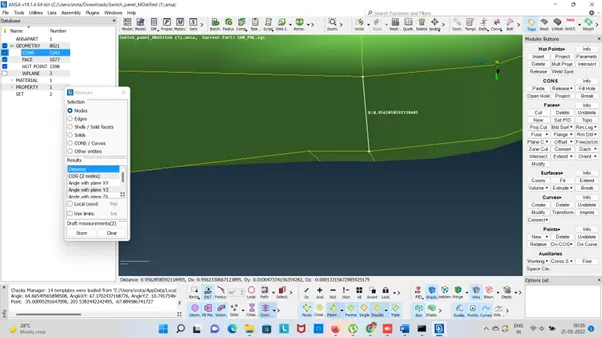
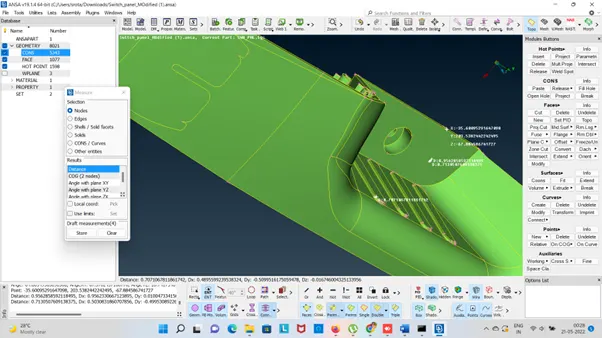
- We need to clean the surface error like holes , single cons for critical area.
- Selecting the TOPO section and clean the single cons by CONSà Release the CONS
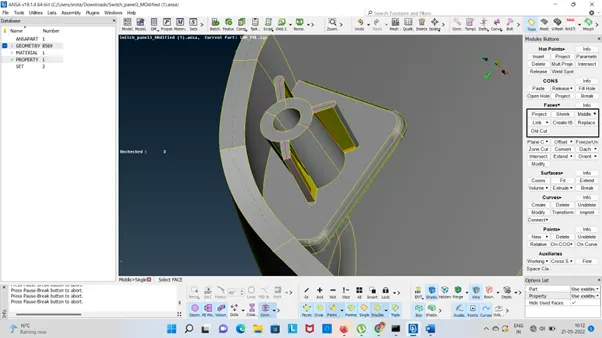
- We fixed the surface damage by clicking Faces--à New, Fixing, Cracking
- After choosing the option from right side panel click the middle mouse button for that particular area.
- For surface cleaning ANSA will fix the error by clicking Autofix.
Mid Surfacing:
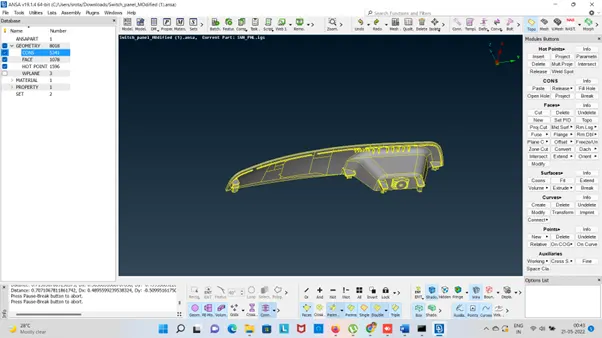
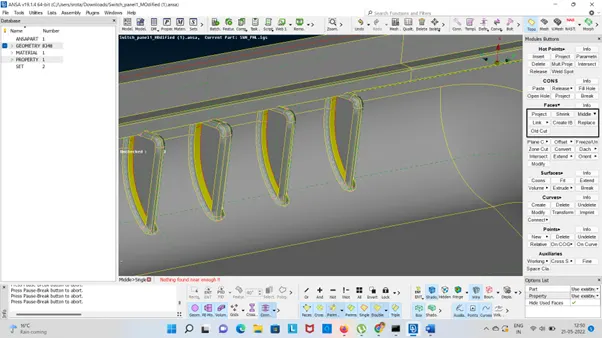
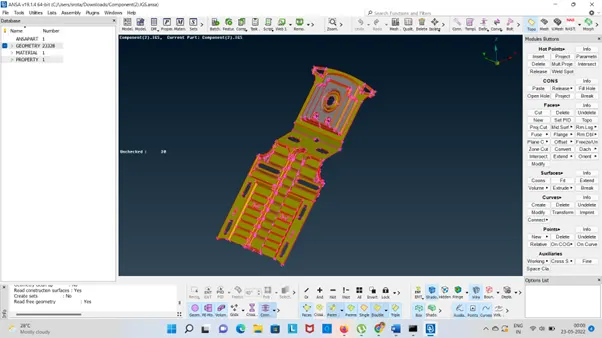
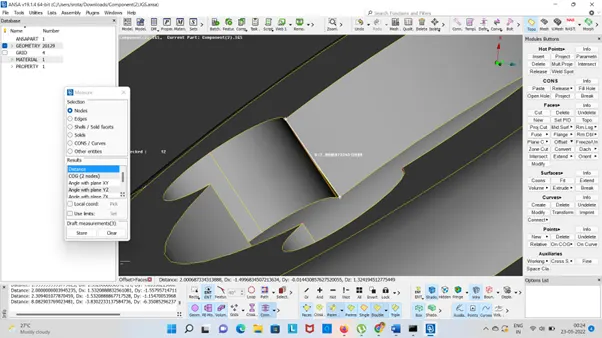
- Midsurface is the process of extracting the skin of the componebt according to the thickness, thickness should be measured every critical area and taking the Midsurface according to the offset and middle option from right side panel.
- Using the curve option for projection the midsurface in the geometry.
- In the TOPO mode extracting the mid surface by Faces option in that offset option, select the surface and give the half of negative value if the arrow indication is upward direction.
- A red color line is generated that indicates the mid surface in the component.
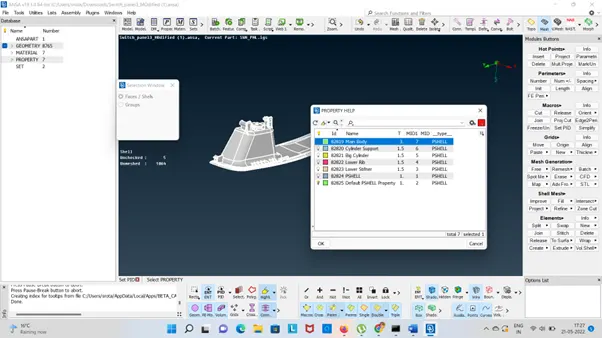
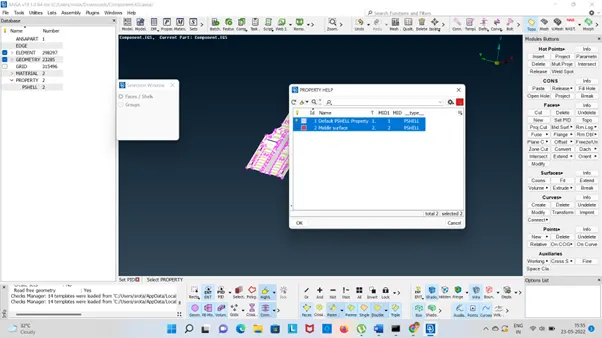
- After extracting the mid surface we need to assign the PID region with the different thickness.
- For the feature area each and every inner & outer wall offsetting as per thickness.
Meshing:
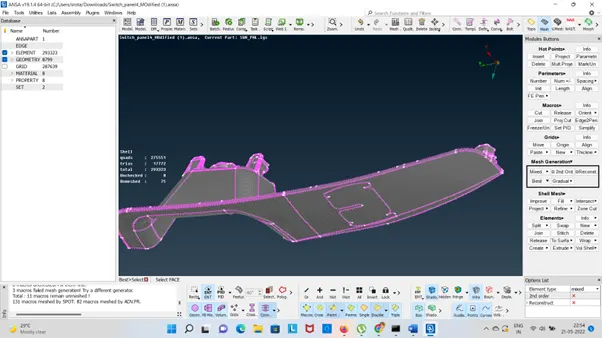
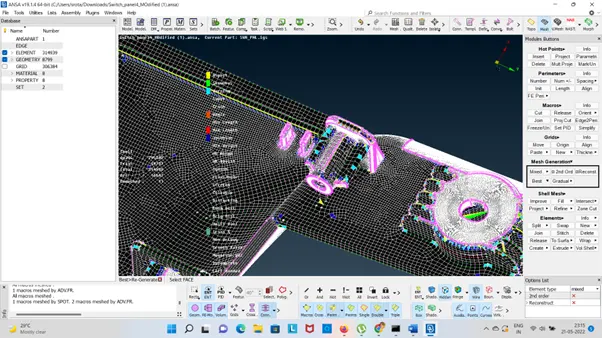
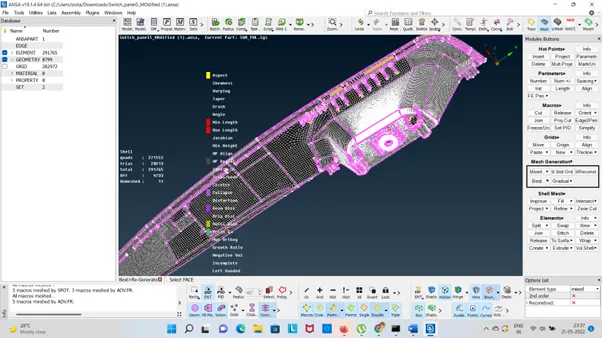
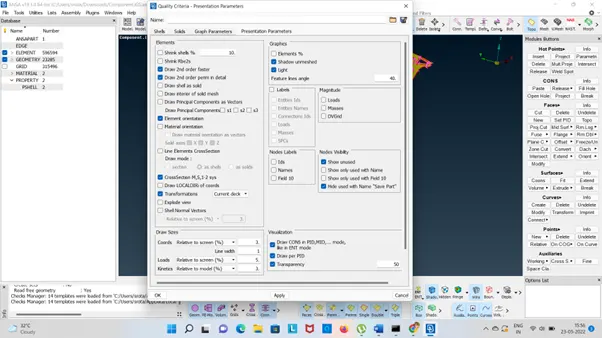
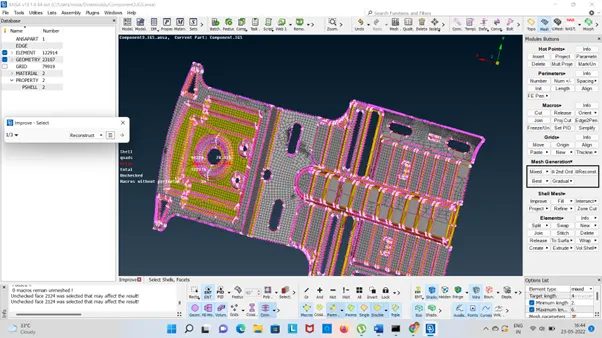
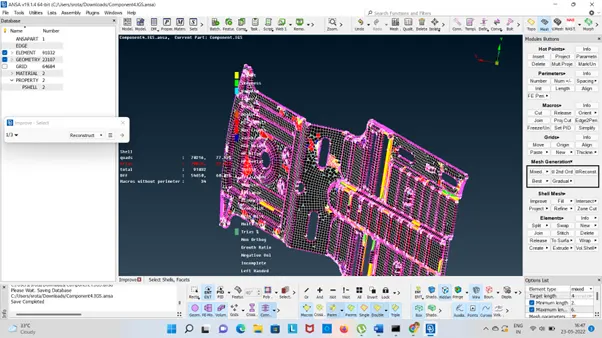
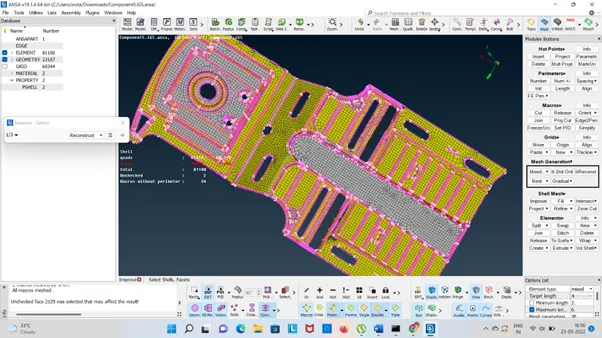
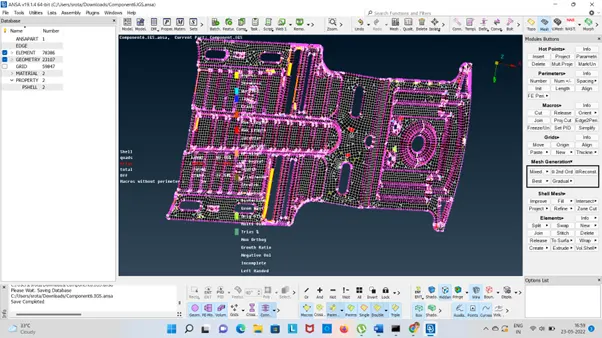
1.Frist select the Mesh Parameter and presentation parameter and check the element (%).
2.Switching the Mesh mode and we need to give the shell element size length according the given input.
- Before Meshing we need to check the quality criteria as per the given range. Click ok then Apply.
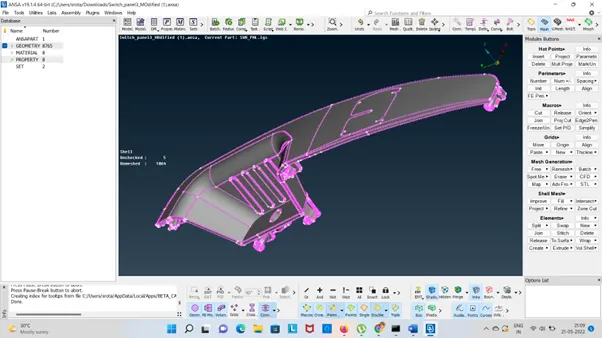
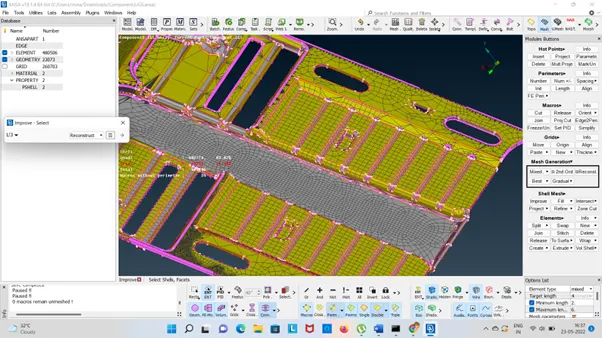
- In the Mesh generation click the Best option and regenerate the mesh flow. 2. Procedure:
Importing the component Floor Stp file to the ANSA workbench.
Geometry Checking:
- By clicking the checking option then selecting the geometry option.
- It shows that errors are on the surface, check the error box and then execute .
- Then we need to clean the surface.
- We need to clean the surface error like holes , single cons for crtical area.
- Selecting the TOPO section and clean the single cons by CONSà Release the CONS
- We fixed the surface damage by clicling Faces--à New, Fixing, Cracking
- After choosing the option from right side panel click the middle mouse button for that particular area.
For surface cleaning ANSA will fix the error by clicking Autofix. Mid Surfacing:
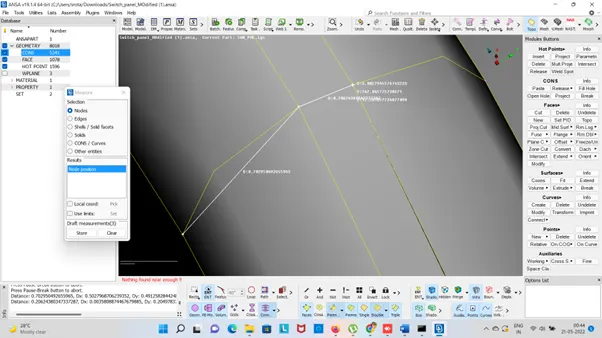
- Midsurface is the process of extracting the skin of the componebt according to the thickness, thickness should be measured every critical area and taking the Midsurface according to the offset and middle option from right side panel.
- Using the curve option for projection the midsurface in the geometry.
- In the TOPO mode extracting the mid surface by Faces option in that offset option, select the surface and give the half of negative value if the arrow indication is upward direction.
- A red color line is generated that indicates the mid surface in the component.
- After extracting the mid surface we need to assign the PID region with the different thickness.
- For the feature area each and every inner & outer wall offsetting as per thickness.
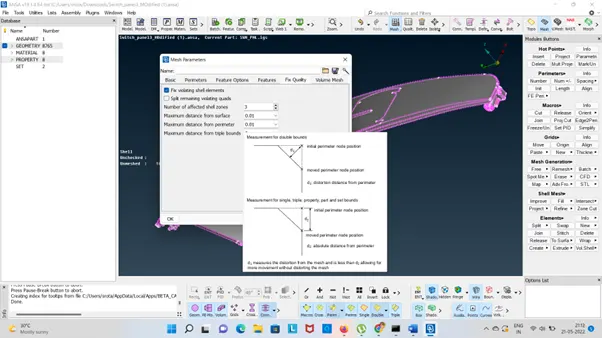
Meshing:
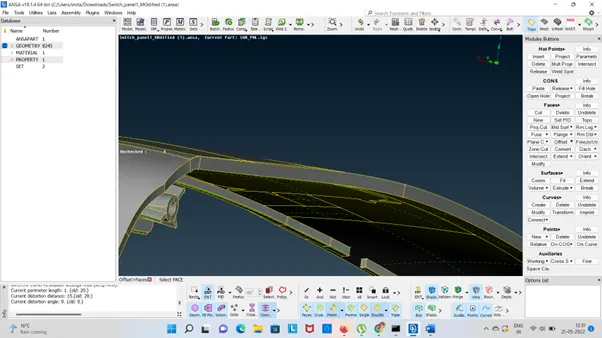
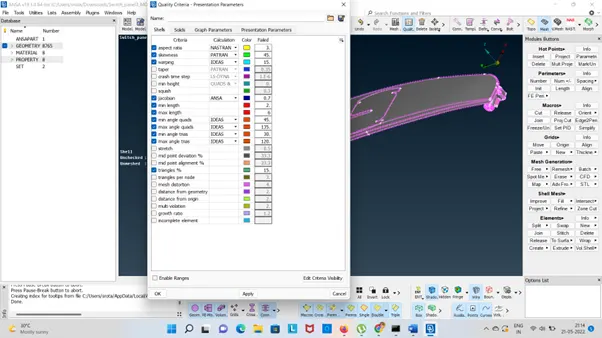
1.Frist select the Mesh Parameter and presentation parameter and check the element (%).
2.Switching the Mesh mode and we need to give the shell element size length according the given input.
- Before Meshing we need to check the quality criteria as per the given range. Click ok then Apply.
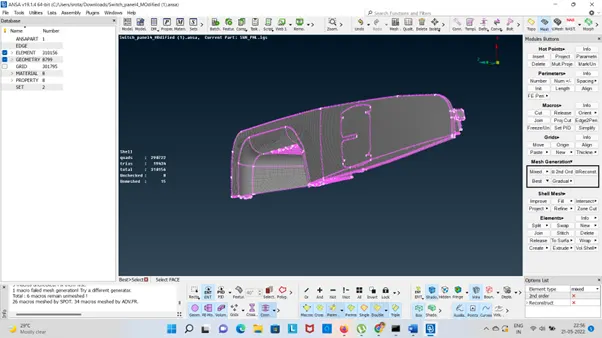
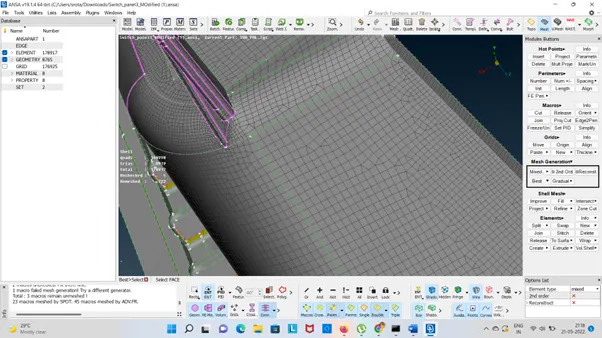
- In the Mesh generation click the Best option and regenerate the mesh flow.
- Procedure:
Importing the component Floor Stp file to the ANSA workbench.
Geometry Checking:
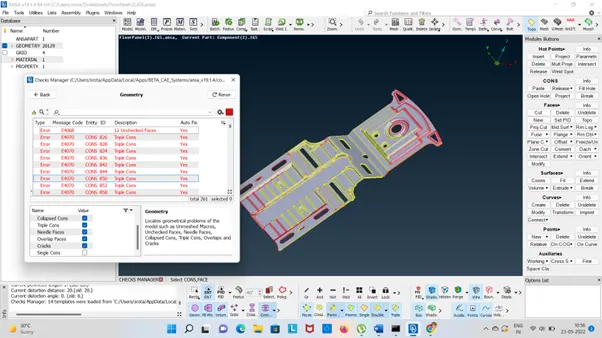
- By clicking the checking option then selecting the geometry option.
- It shows that errors are on the surface, check the error box and then execute .
- Then we need to clean the surface.
- We need to clean the surface error like holes , single cons for crtical area.
- Selecting the TOPO section and clean the single cons by CONSà Release the CONS
- We fixed the surface damage by clicling Faces--à New, Fixing, Cracking
- After choosing the option from right side panel click the middle mouse button for that particular area.
Mid Surfacing:
- Midsurface is the process of extracting the skin of the componebt according to the thickness, thickness should be measured every critical area and taking the Midsurface according to the offset and middle option from right side panel.
- Using the curve option for projection the midsurface in the geometry.
- In the TOPO mode extracting the mid surface by Faces option in that offset option, select the surface and give the half of negative value if the arrow indication is upward direction.
- A red color line is generated that indicates the mid surface in the component.
- After extracting the mid surface we need to assign the PID region with the different thickness.
Meshing:
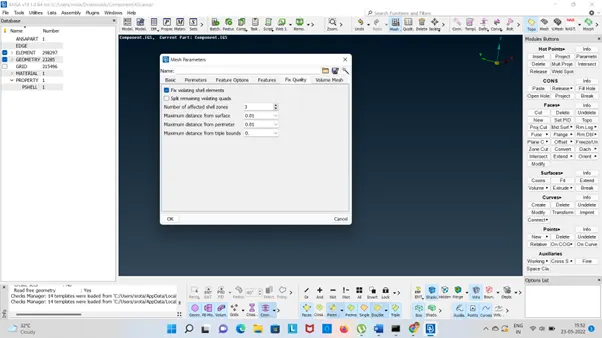
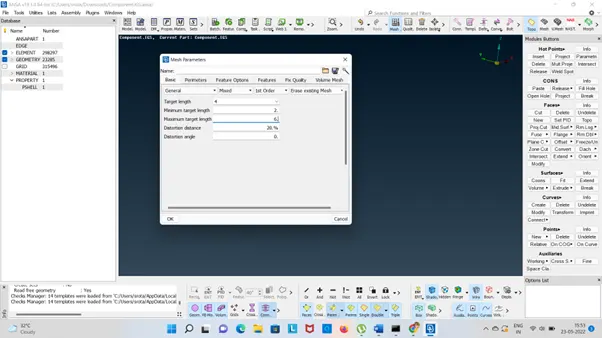
1.Frist select the Mesh Parameter and presentation parameter and check the element (%).
2.Switching the Mesh mode and we need to give the shell element size length according the given input.
- Before Meshing we need to check the quality criteria as per the given range. Click ok then Apply.
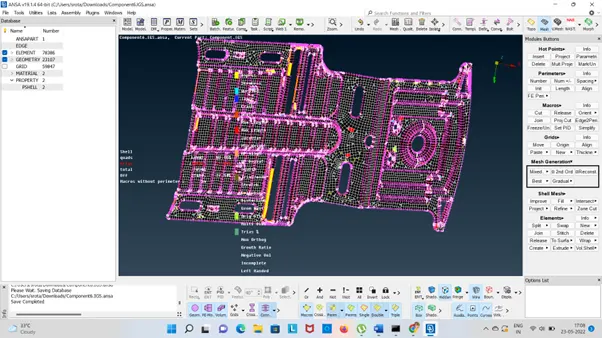
Google Drive Link:
https://drive.google.com/drive/folders/1eaA1kX4ZMqzOIeisOy47j3ubXKL_mPC4?usp=sharing
Time for 1st Component: 7 HRS
Time for 2nd Component: 3HRS