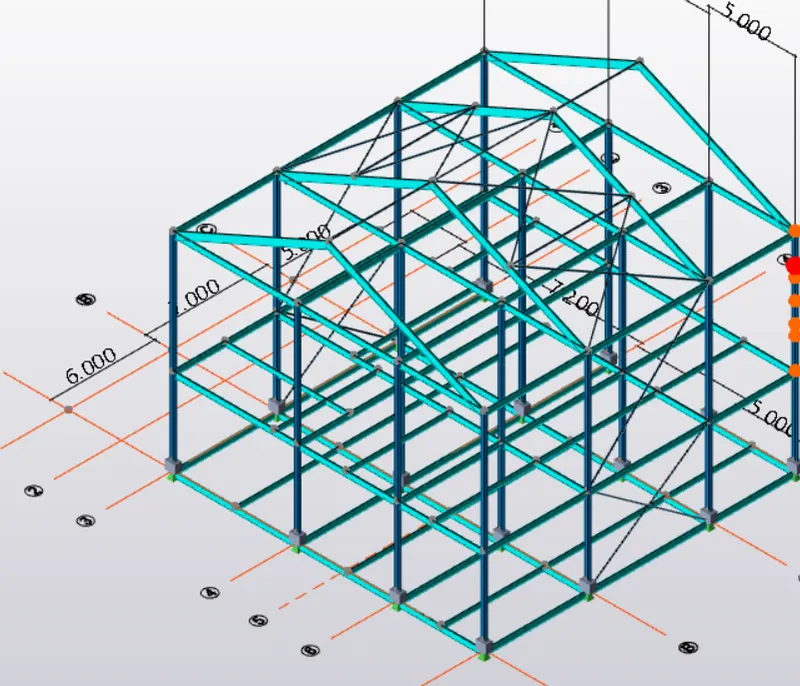
To model beams and bracings for industrial steel structures using TSD
QUESTION :1
Create beam properties for First floor and model the beams
ANS:
AIM: To Create beam properties for First floor and model the beams
PROSEDURE:
STEP: 1
- Go to TDS software
- Open the challenge 2 file
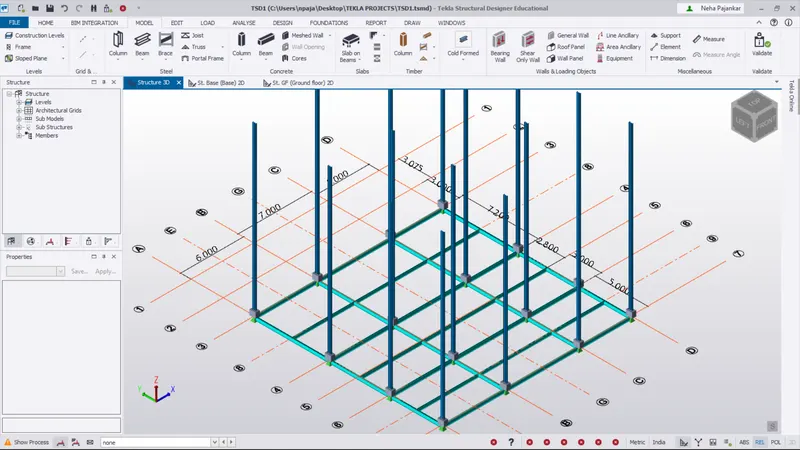
STEP: 2
- go to home tab < Manage Properties sets
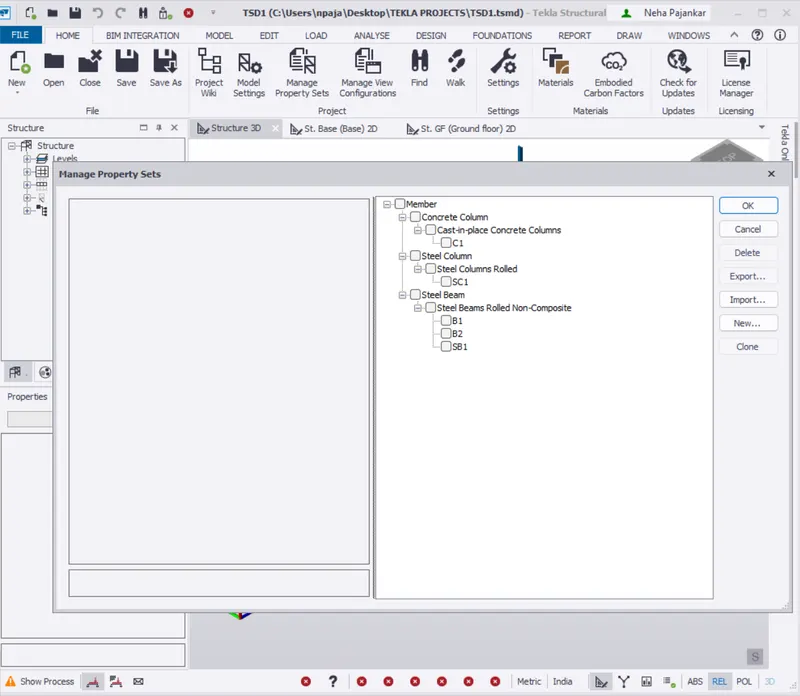
- property set tab will appear < click on New < member < steel beam
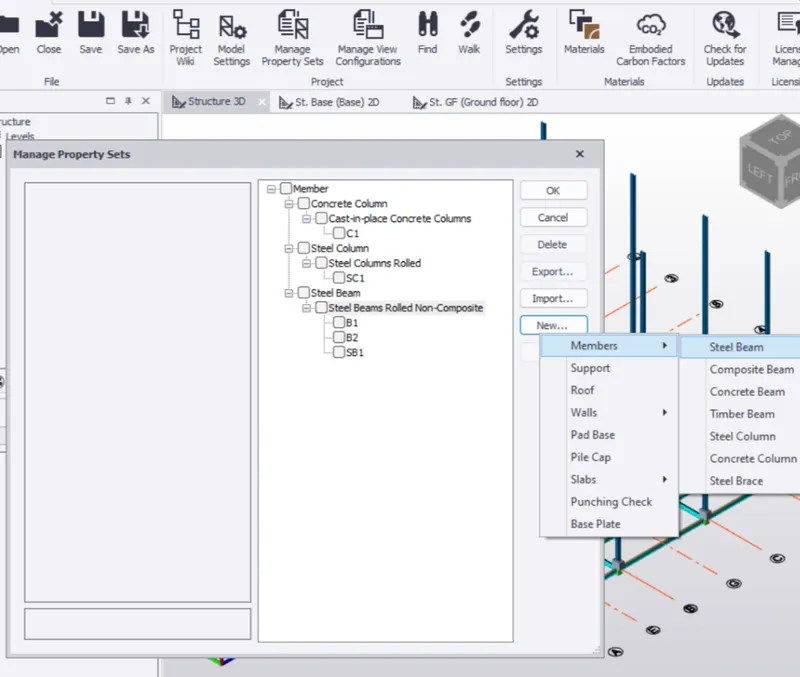
- Edit the properties you want in the beam and rename it as well
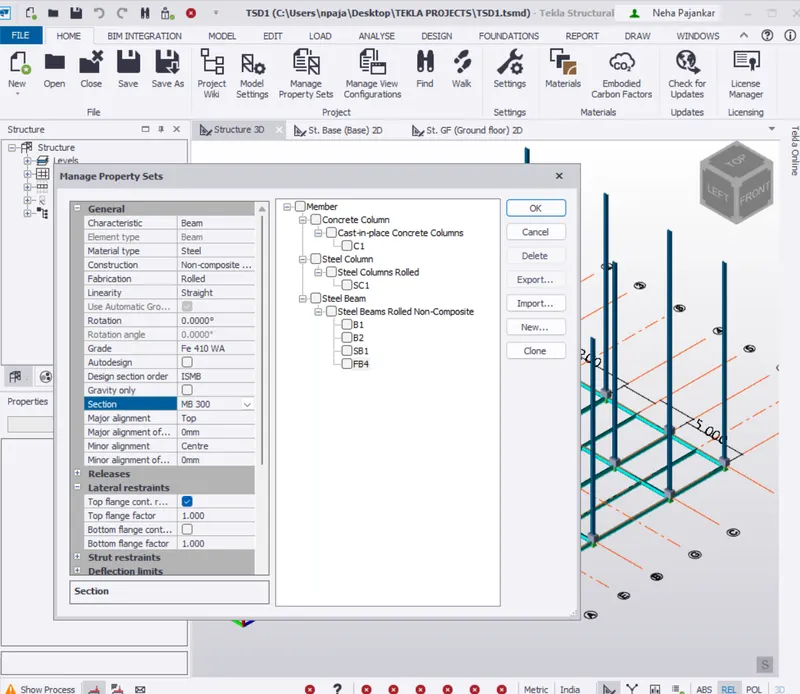
STEP: 3
- go to strutural window in left of screen
- click on levels < first / intermediate floor level
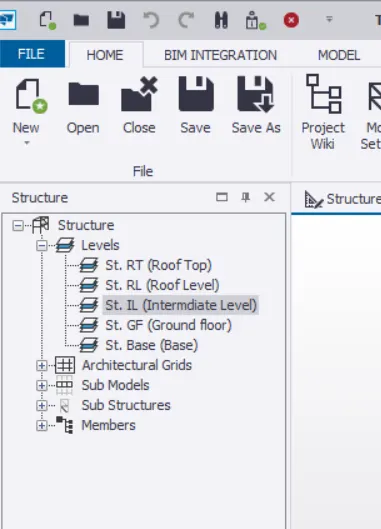
- as you can see above NO beams are seen as we have given all beams in ground floor
- Now go to model tab < steel beams < select the beam property set you made for firstfloor
- and apply the beams on the top of the columns
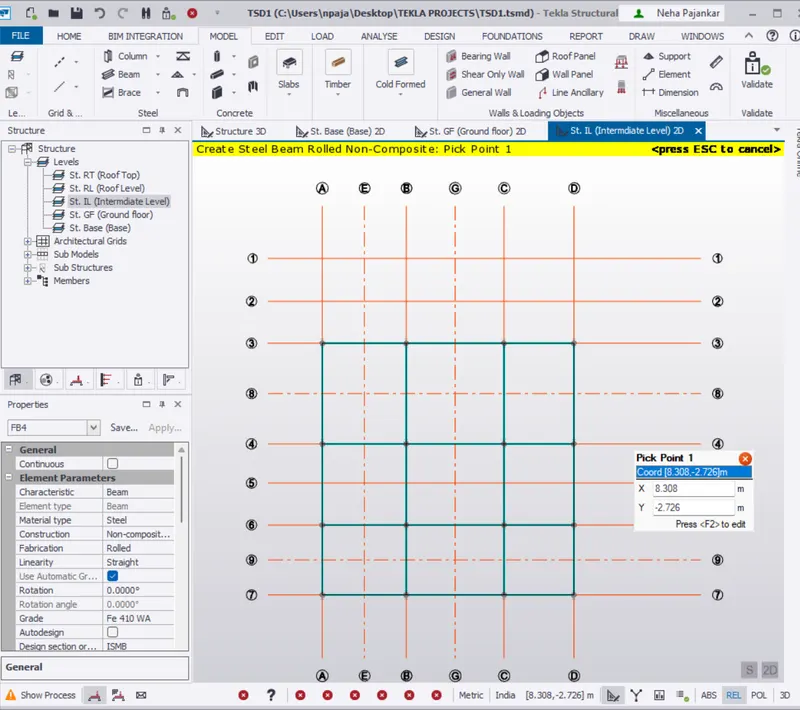
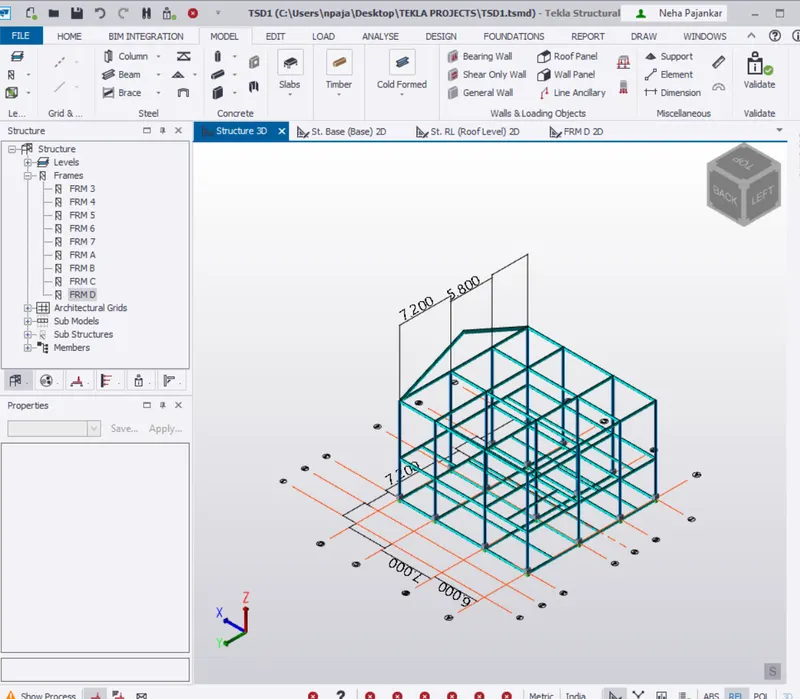
- now go to 3D structure and view to see the model
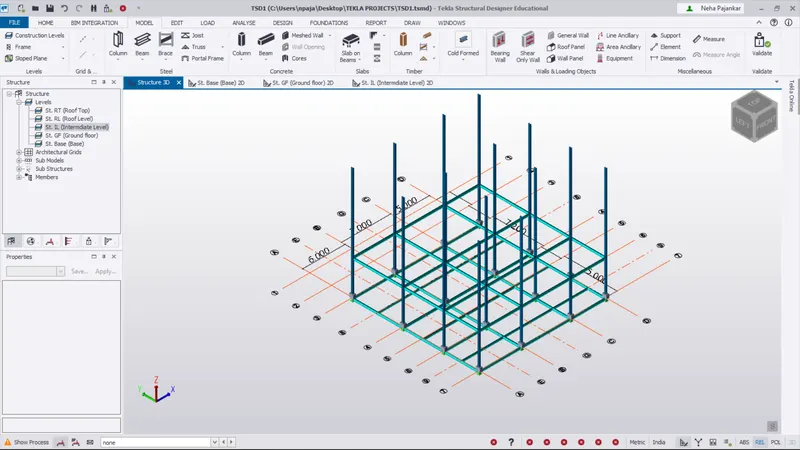
STEP: 4
- To create secondary beam on first floor/ intermediate level
- Go to Home tab < manage property sets < new < member < steel beam
- specify reqiured chnages and rename it
STEP: 5
- Now go to level < open intermideate level
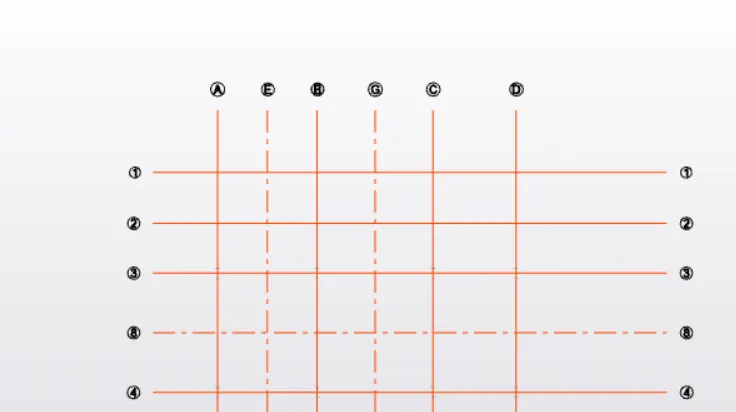
- create construction line according to the place you want the secondary beams
- the construction lines showing is the places we will place the secondary beams on the intermediate floors
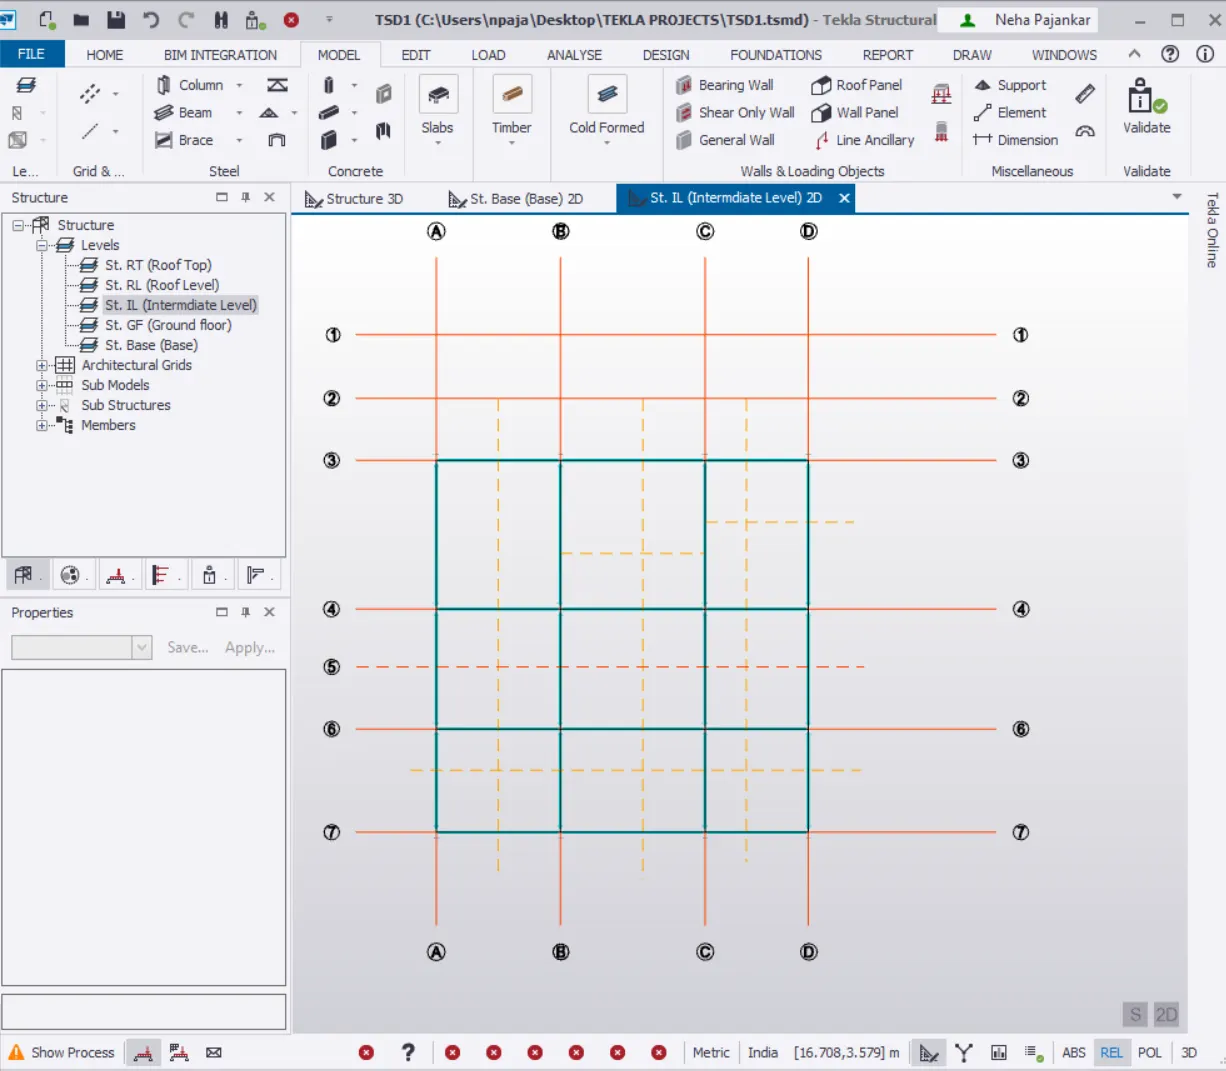
- apply the secondary beams on the first floor
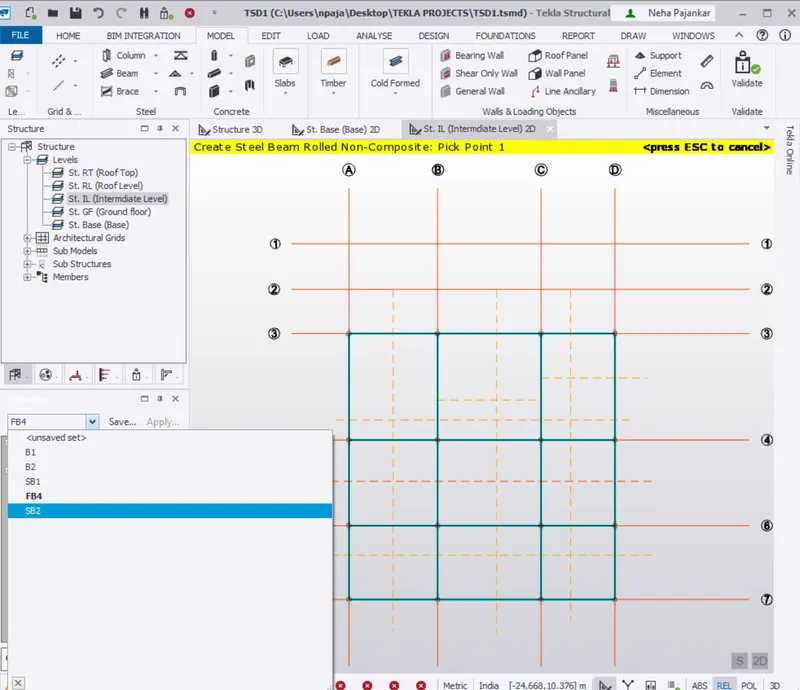
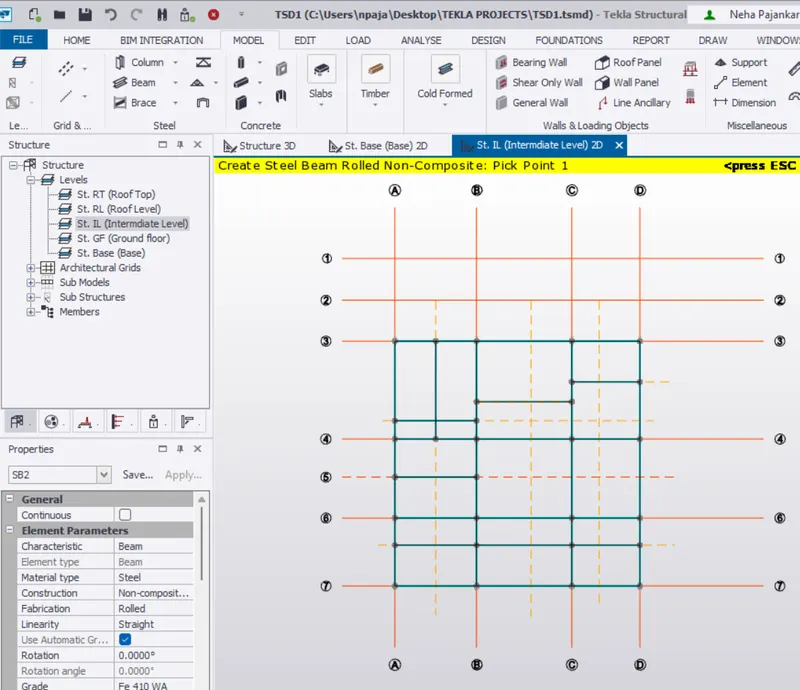
RESULT:
hence, we Created beam properties for First floor and model the beams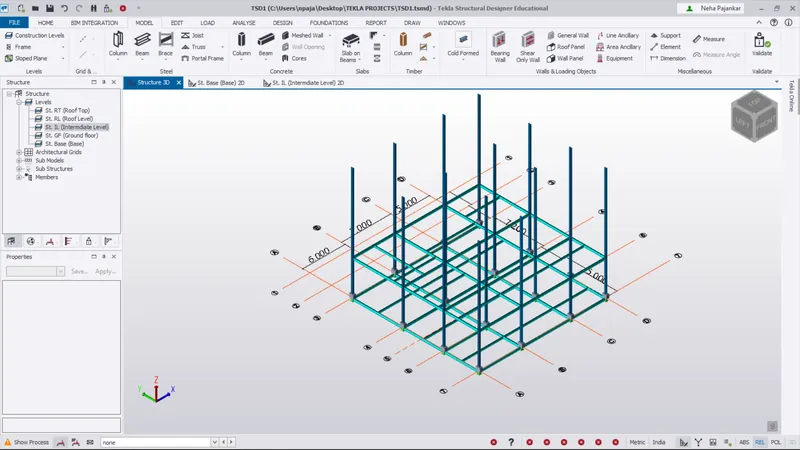
QUESTION :2
Create rafter beam on second floor as roof and moment frame action in one direction and add bracings at locations as per the design intent
ANS:
AIM: To Create rafter beam on second floor as roof and moment frame action in one direction and add bracings at locations as per the design intent
PROSEDURE:
STEP: 1
- continue the work on smae file as above
- go to levels < roof level
- only primanry beams are designed at roof level as this level will not support high loads
- check the beams used on first floor and use the same beams on the roof level
STEP: 2
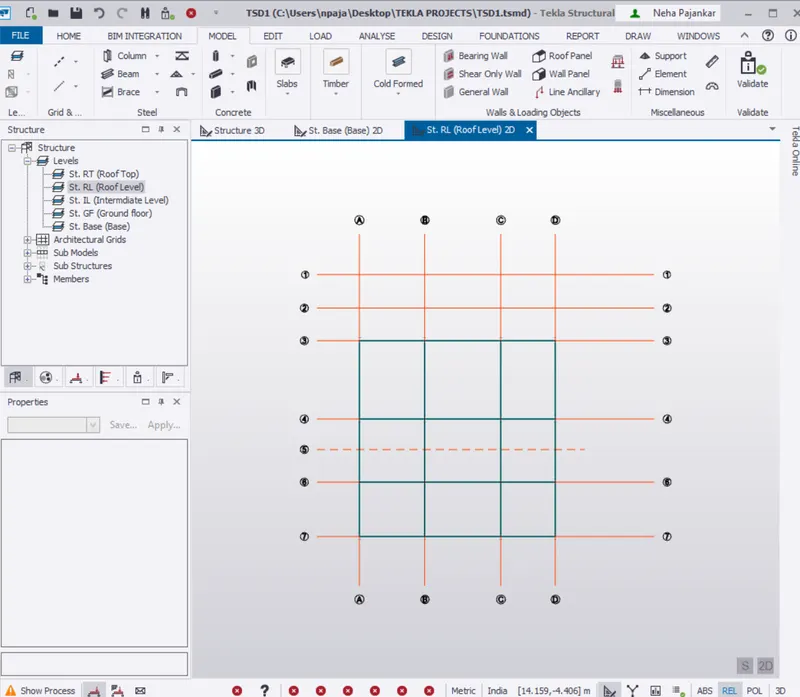
- Go to model tab < select steel beam
- in properties select the same beam as 1st floors
- start creating the beam on grids as required
STEP: 3
- Now we have to change the column hight to the roof level
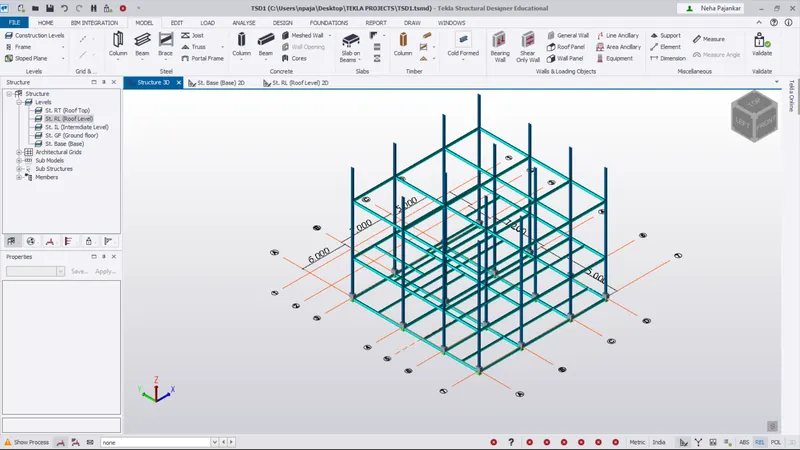
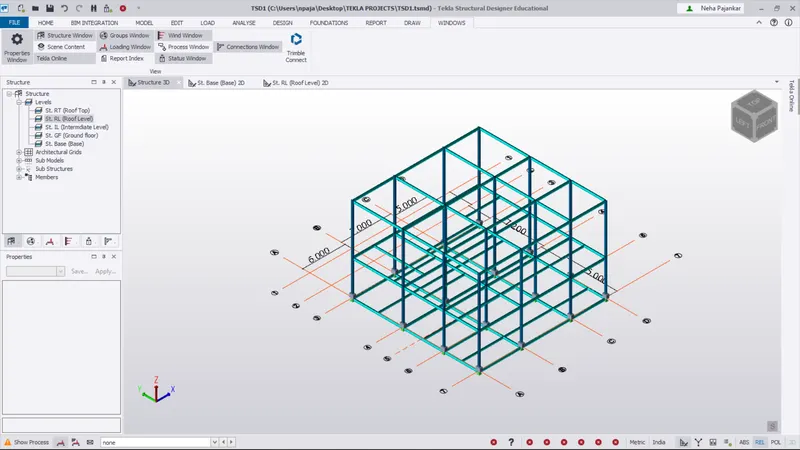
- go to window tab < scene content < uncheck the grids and beams {visible only collumns}
- select all columns
- go to property window< top level
- change the top level constrain to roof level and apply
STEP: 4
- go to home pannel < manage property set < new < member < steel beams
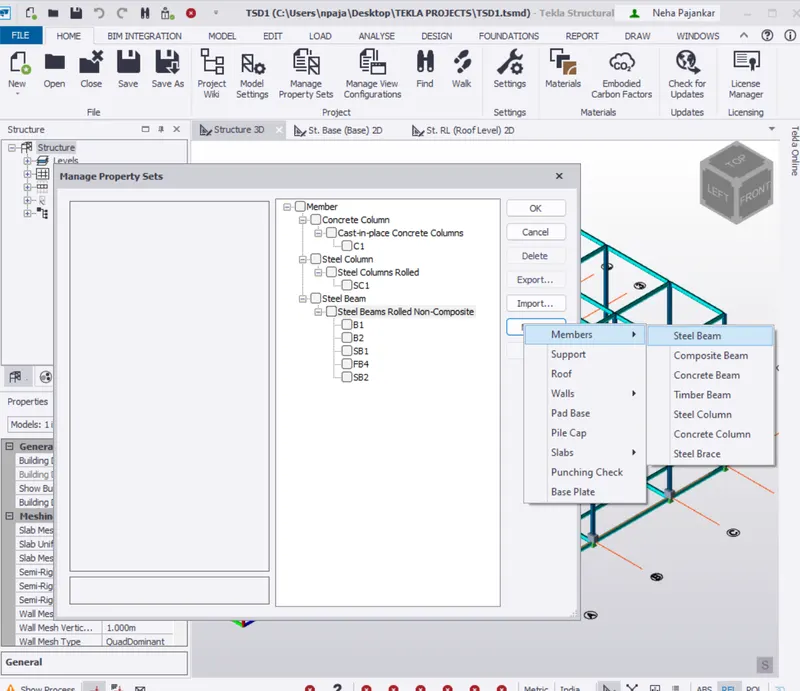
- input the properties and rename it
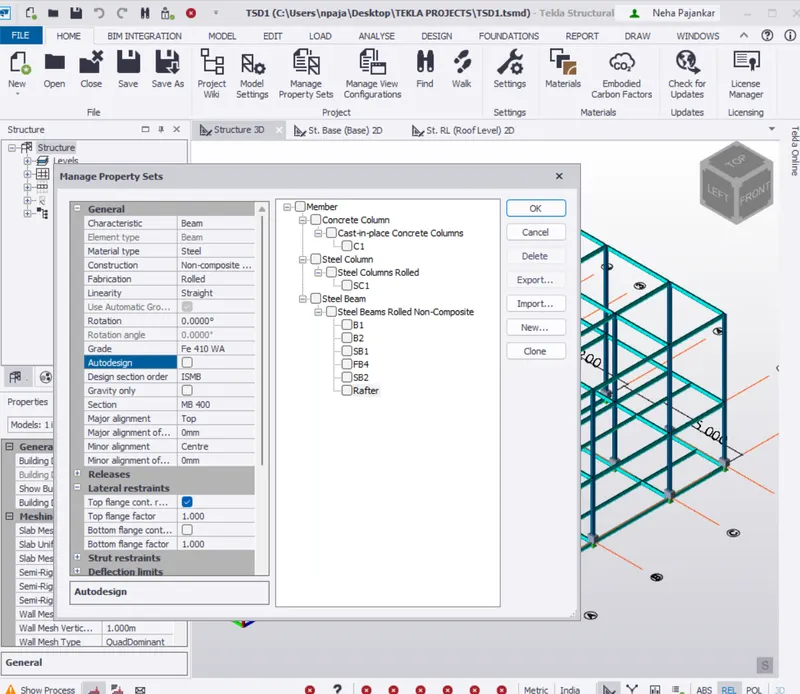
STEP: 5
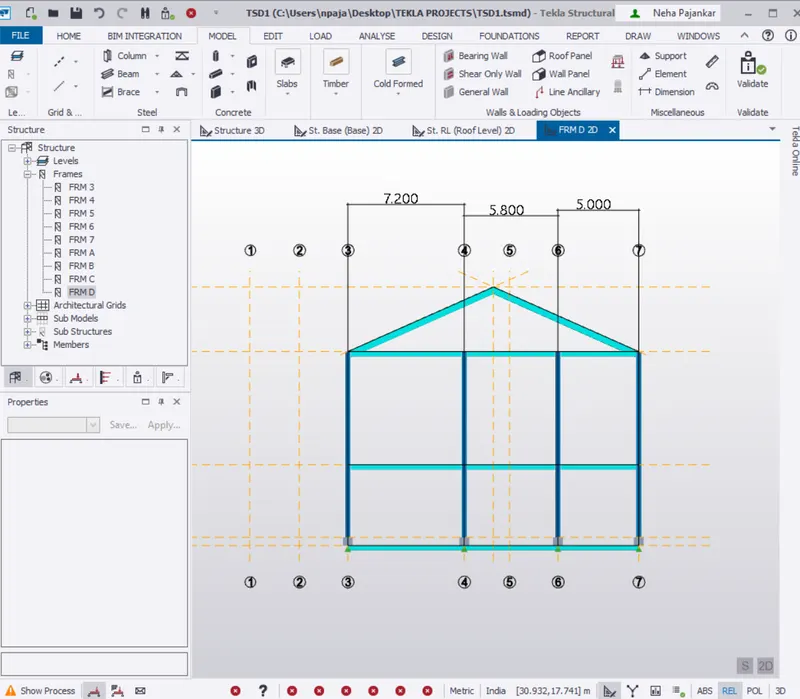
- Now create frame
- go to model panel < Frames < then selct the grid line where you want to create the frames
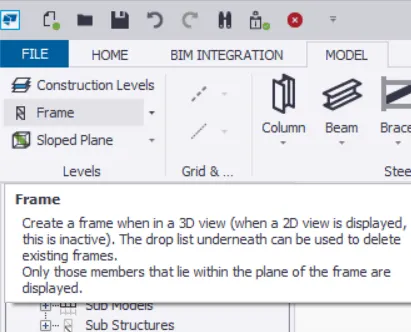
- now go to Frame D < create a construction line for rafter intersecting at mid height
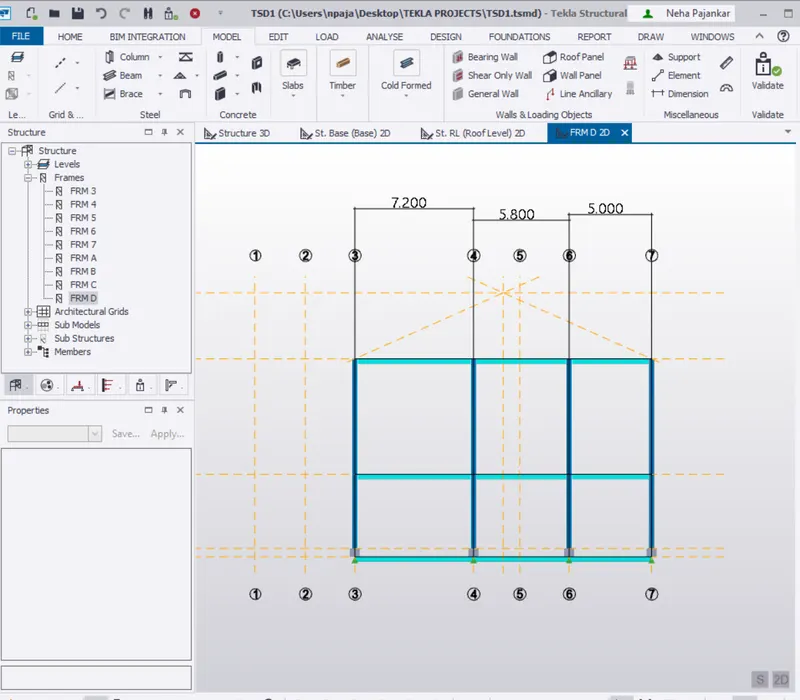
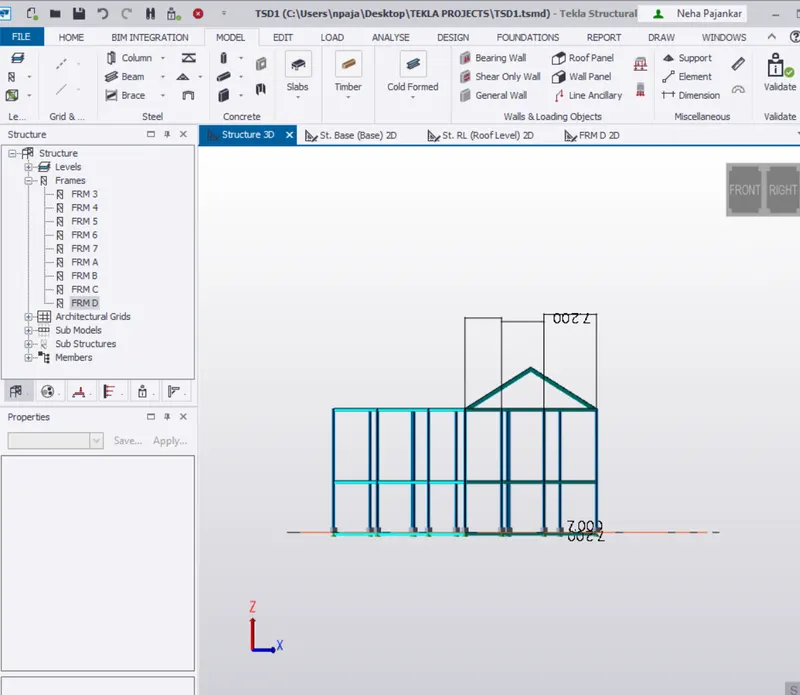
- now go to model < steel beam < select rafter from property panel < draw on intersecting lines
STEP: 6
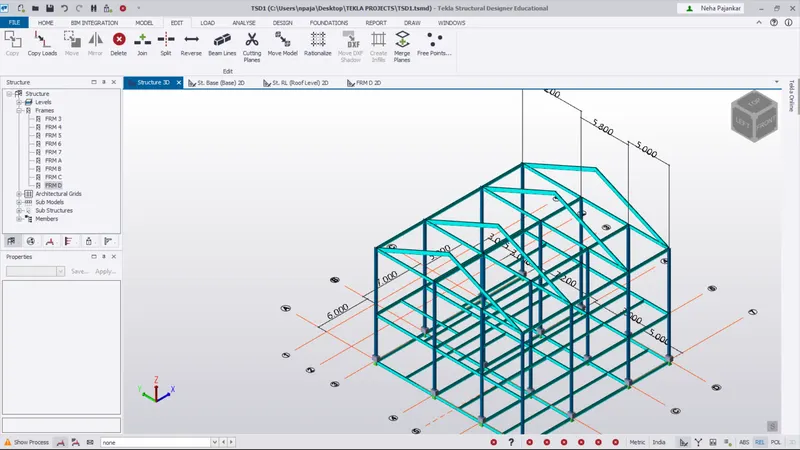
- Now to create rafter on other column
- select rafter < go to edit < copy < select reffence point , select the placeing points and enter
STEP: 7
- design of steel bracing
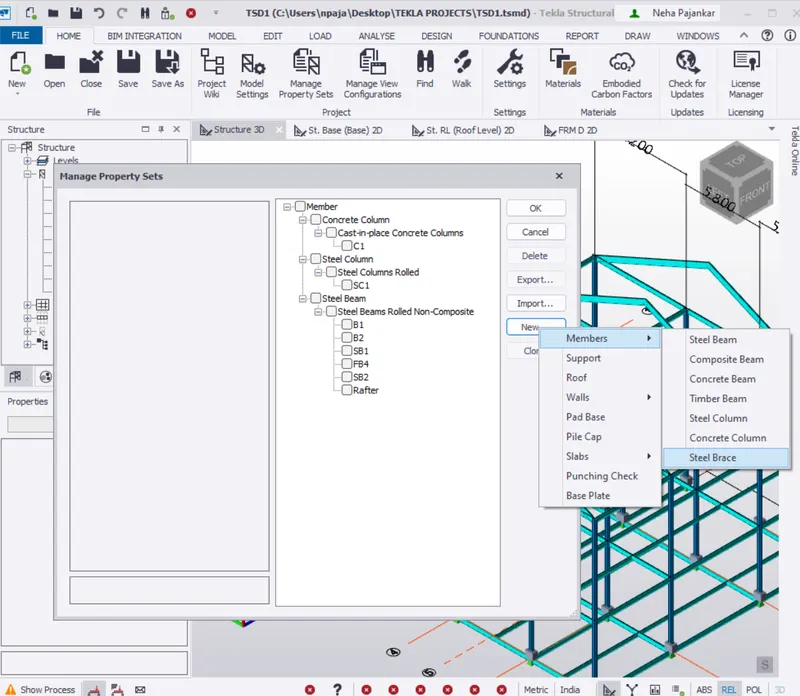
- go to home tab < manage property set < new < member < steel brace
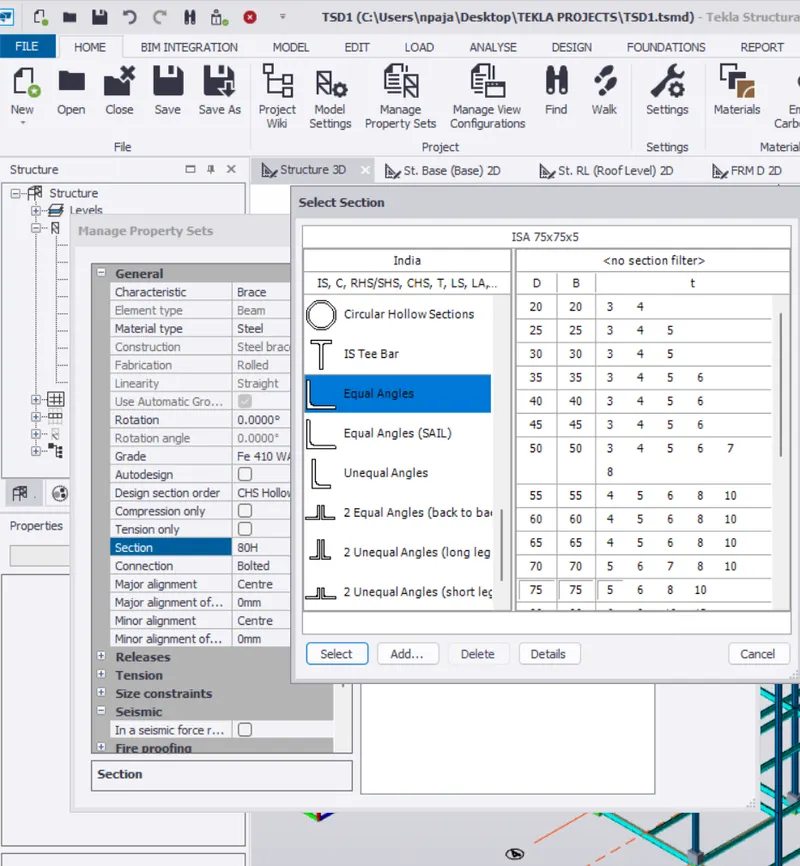
- selct the section < equal angle {75x75x8}
- rename it and make other neccessary changes
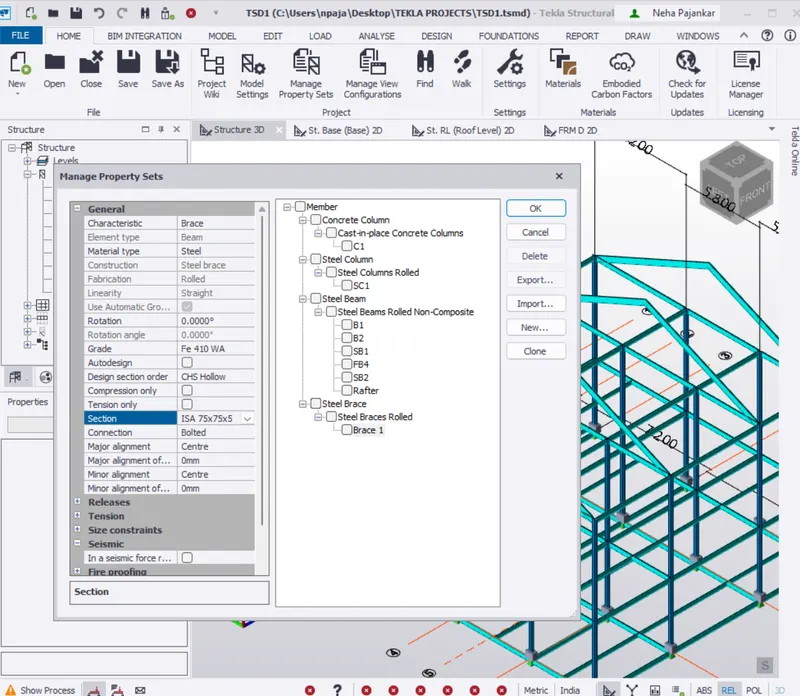
STEP: 7
- go to model tab < braces < select brace from property browser
- from the brace panel select the X brace
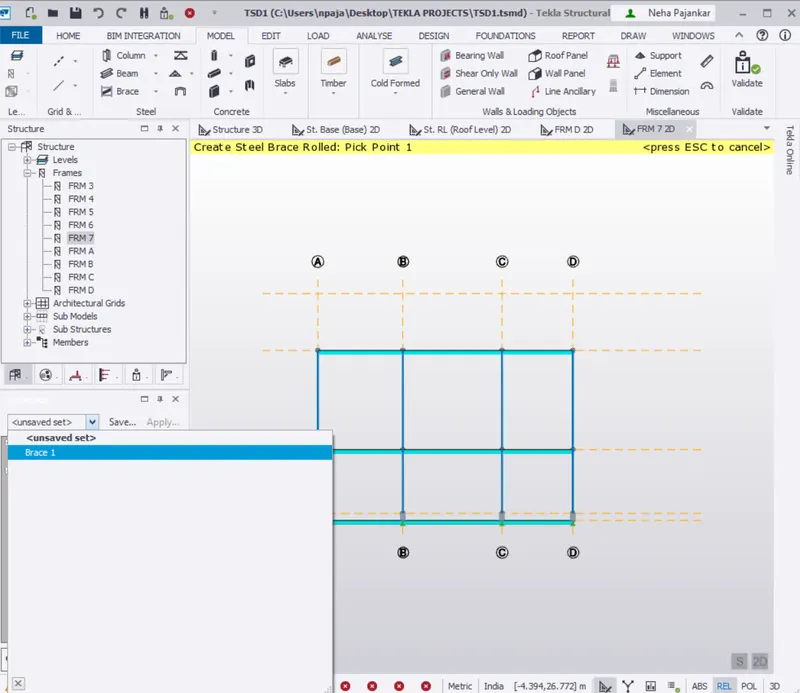
- Now open thr FRAME 7 to view the section
- draw the braces on the frame
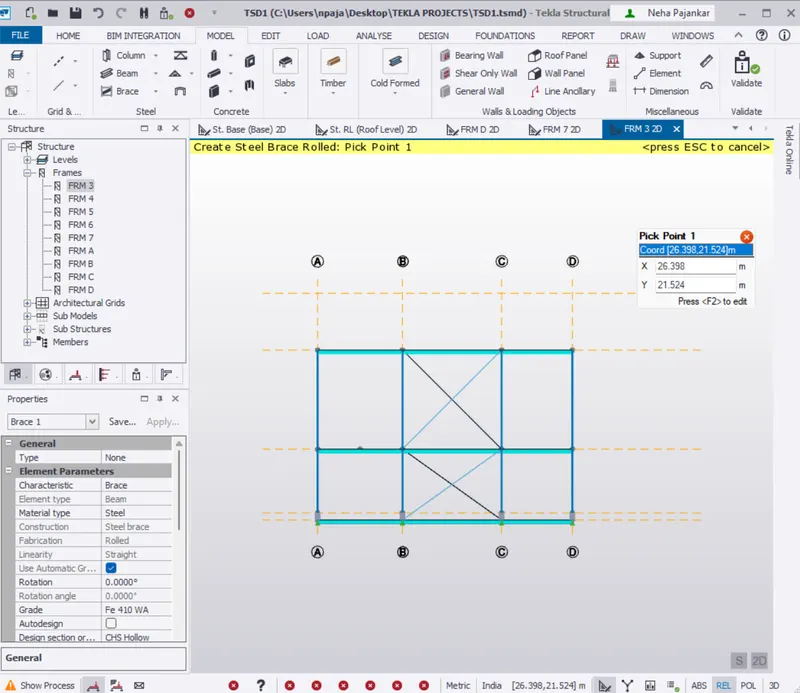
- simillarly, put the brace where ever required
- go to 3D view to see the braces in 3D
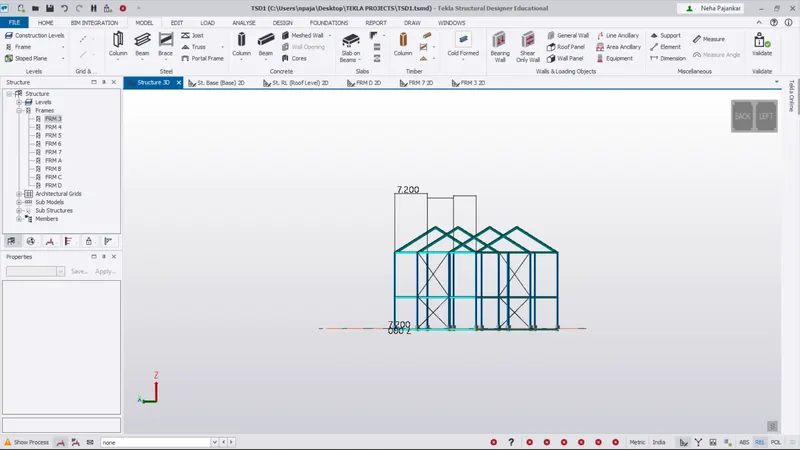
- the brace on the roof to br done now
- go to model panel < select brace1 from proepty browser
- draw the brace on the top roof
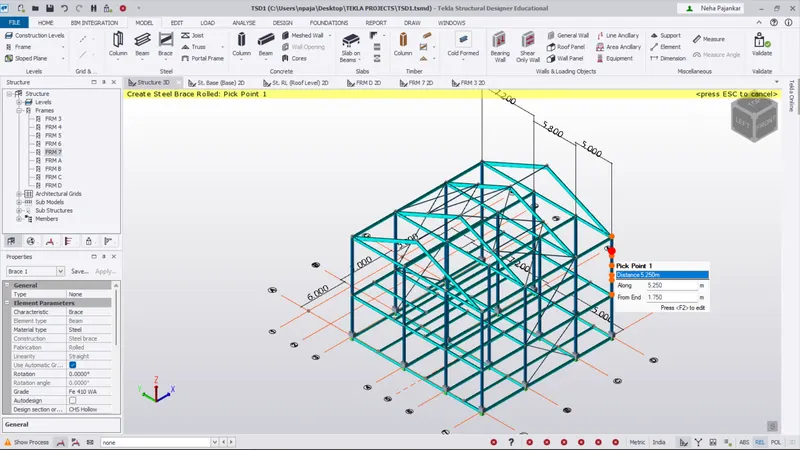
RESULT:
Hence, we Created rafter beam on second floor as roof.