Simulation of forward kinematics of 2R Robotic Arm using Python
Aim: To write a program to simulate forward kinematics of a 2R Robotic Arm using Python.
Introduction: Forward kinematics refers to the use of the kinematic equations of a robot to compute the position of the end-effector from specified values for the joint parameters.
The kinematics equations of the robot are used in robotics, computer games, and animation. The reverse process that computes the joint parameters that achieve a specified position of the end-effector is known as inverse kinematics.
Code :
import math
import matplotlib.pyplot as plt
l1 = 1
l2 = 0.5
theta_start = 0
theta_end = math.pi/2
n = 10
theta1 = []
theta2 = []
x0 = 0
y0 = 0
for i in range (0,n):
    theta = theta_start + i*(theta_end-theta_start)/(n-1)
    theta1.append(theta)
    theta2.append(theta)

ct = 1
for a1 in theta1:
    for a2 in theta2:
        x1 = l1*math.cos(a1)
        y1 = l1*math.sin(a1)
        x2 = x1 + l2*math.cos(a2)
        y2 = y1 + l2*math.sin(a2)
        ct = ct+1
        filename = str(ct) + '.png'
        plt.figure()
        plt.plot([x0,x1],[y0,y1])
        plt.plot([x1,x2],[y1,y2])
        plt.xlim([0,2.0])
        plt.ylim([0,2.0])
        plt.savefig(filename)
Code Explanation:
- First, we have to import the required libraries for the current we imported math in order to perform and recognize mathematical terms such as ‘pi’ and matplotlib,pyplot as plt enables to plot the required results.
- Further, the lengths of the links is provided l and l1 respectively. Similarly, the span of angle under which these linkages will operate is determined by theta_start and theta_end.
- x0 and y0 are the coordinates at the base. theta1 and theta 2 are kept blank arrays which will be filled up once the program is under for loop.
- For loop as mentioned above is used to calculate theta1 and theta2. For n values (n = 10). Append command is used to fill the blank arrays.
- Next, the position of linkages is calculated for each value of theta stored in blank arrays.
- The counter is applied for ease of saving the file in ascending order.
- Then the position is plotted and each image is saved. Thus by collecting images stored in the directory, a gif or a video can be created. This can be done using Cygwin and ImageMagick Display as shown below.
Cygwin code :
Dell@DESKTOP-IFCS952 ~
$ cd F:/Skillync_Python/Forward_Kinematics/

Dell@DESKTOP-IFCS952 /cygdrive/f/Skillync_Python/Forward_Kinematics
$ ls
10.png   13.png  18.png  22.png  27.png  31.png  36.png  40.png  45.png  5.png  54.png  59.png  63.png  68.png  72.png  77.png  81.png  86.png  90.png  95.png
100.png  14.png  19.png  23.png  28.png  32.png  37.png  41.png  46.png  50.png  55.png  6.png
64.png  69.png  73.png  78.png  82.png  87.png  91.png  96.png
101.png  15.png  2.png   24.png  29.png  33.png  38.png  42.png  47.png  51.png  56.png  60.png  65.png  7.png
74.png  79.png  83.png  88.png  92.png  97.png
11.png   16.png  20.png  25.png  3.png   34.png  39.png  43.png  48.png  52.png  57.png  61.png  66.png  70.png  75.png  8.png
84.png  89.png  93.png  98.png
12.png   17.png  21.png  26.png  30.png  35.png  4.png   44.png  49.png  53.png  58.png  62.png  67.png  71.png  76.png  80.png  85.png  9.png
94.png  99.png

Dell@DESKTOP-IFCS952 /cygdrive/f/Skillync_Python/Forward_Kinematics
$ magick *.png output.gif
Result :
- The following gif was obtained after combining the images,
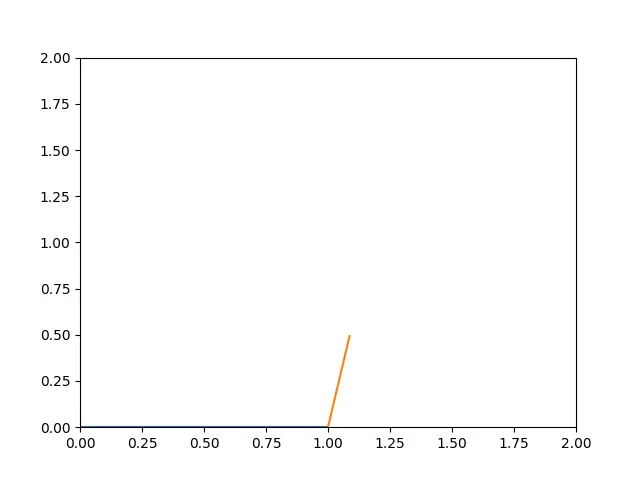
Animation :
Conclusion :
- The simulation generated can be used to calculate the working area of the linkages without developing a prototype.