Project - 2 - Meshing on the suspension Assembly
PROCEDURE:
step 1:
import the given file into ANSA
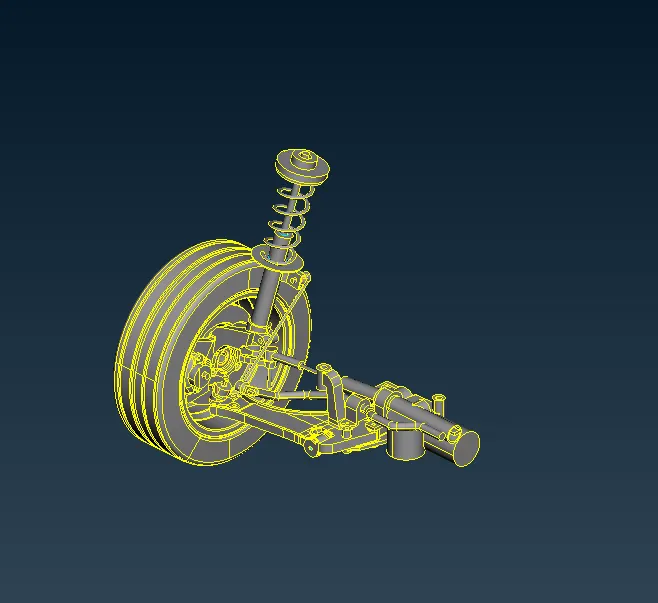
TOPUP the given geometry
step 2:
cleaning the geometry using check manager
CHECK > EXECUTE
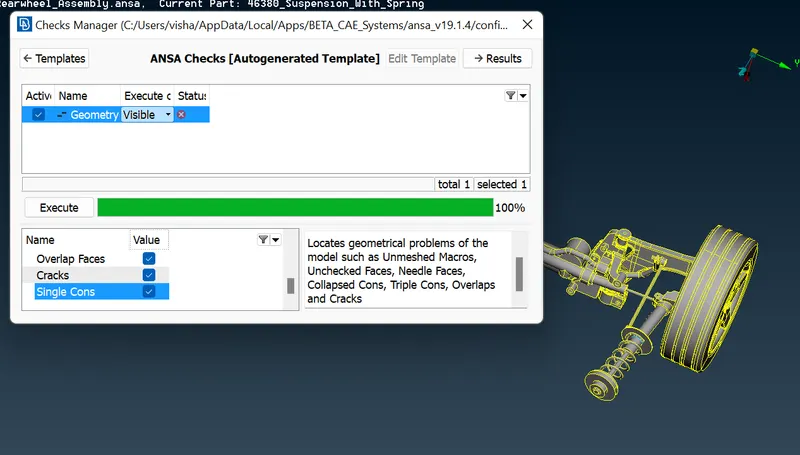
measuring the thickness of the enter model
step 3:
making the model into seperat parts in PIDs
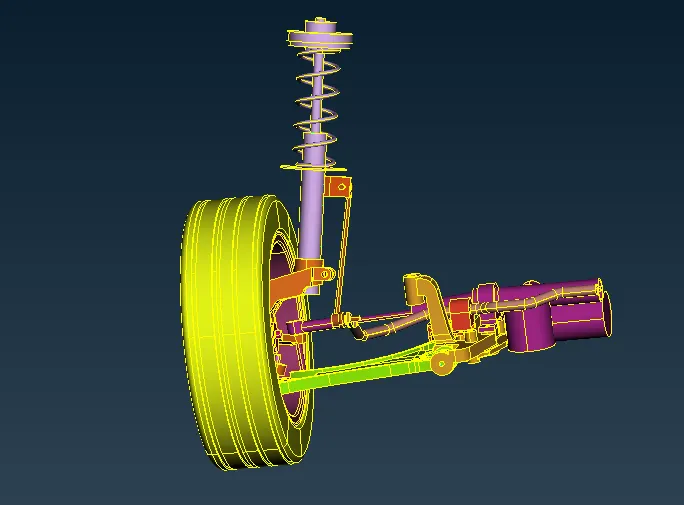
step 4:
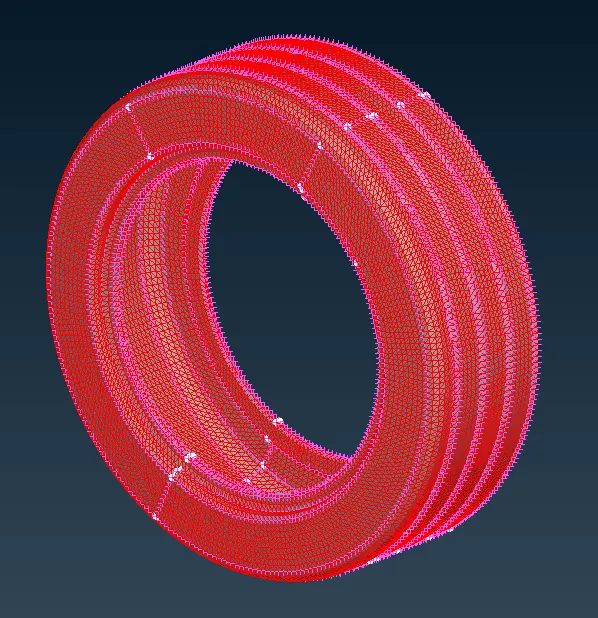
MESH GENERATION IN TYRE SURFACE
- setting the quality criteria as given values
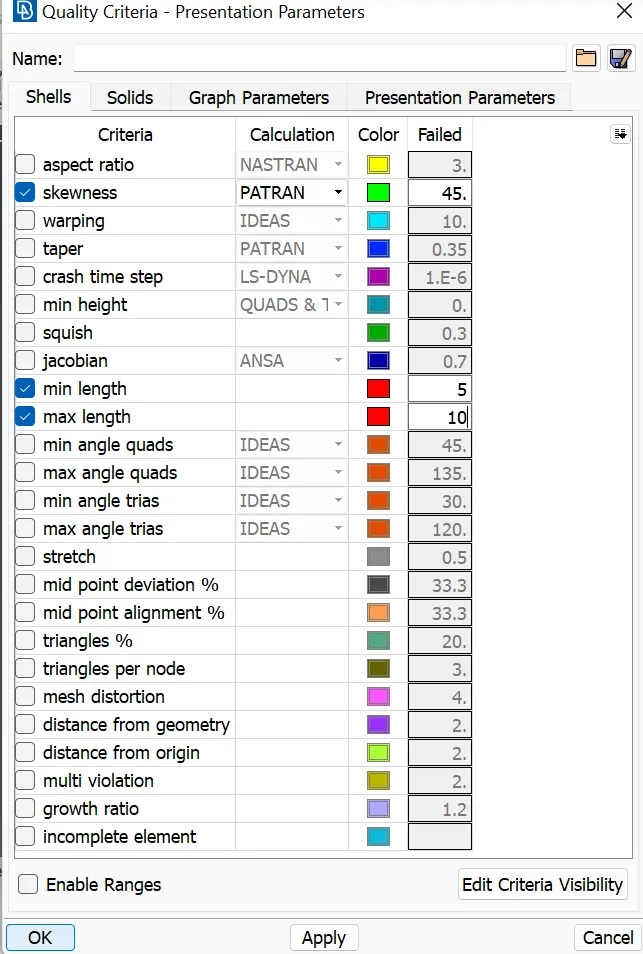
- setting the meshing parameter as given values
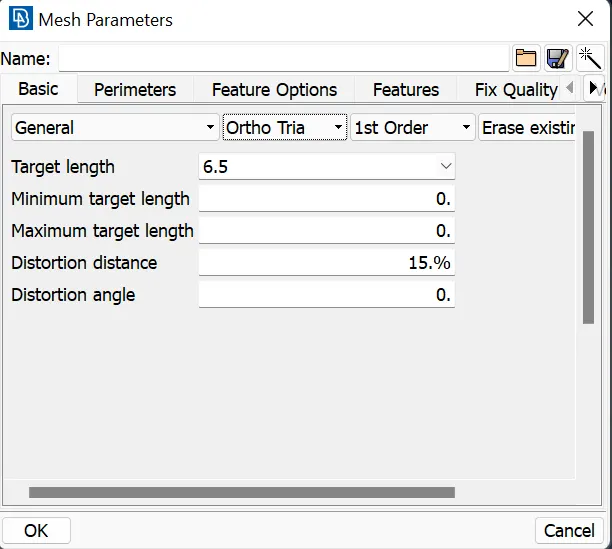
- enter the model length can change into 6.5
PERIMETER > LENGTH
- setting the model browser
NEW > FROM VISIBLE PART
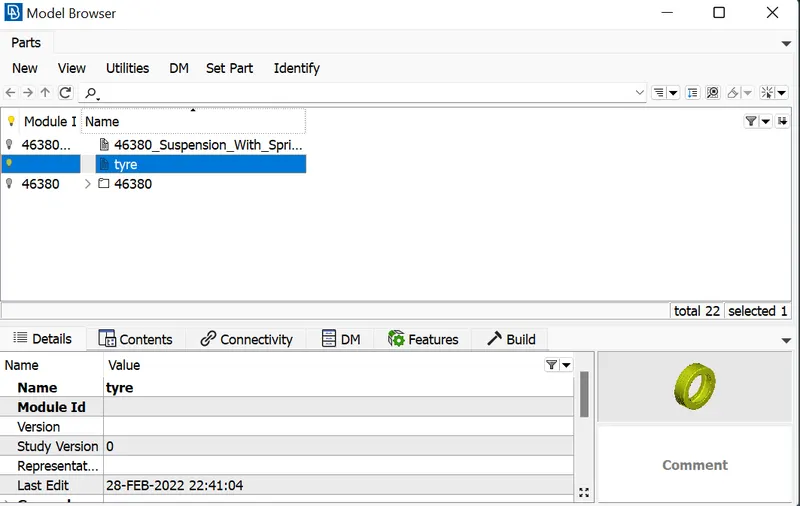
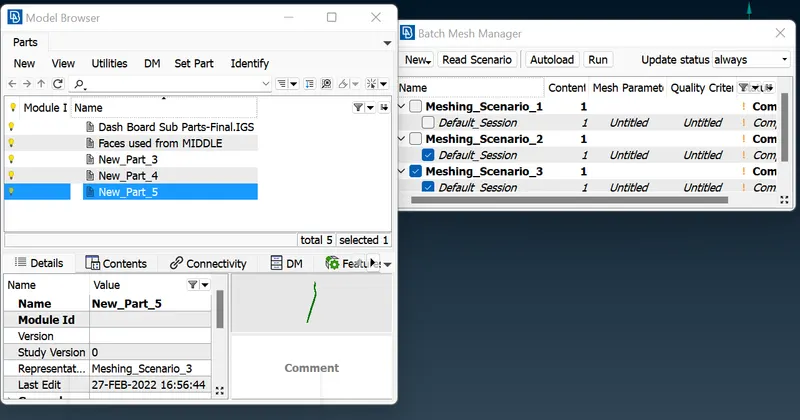
- meshing the tyre by using batch mesh
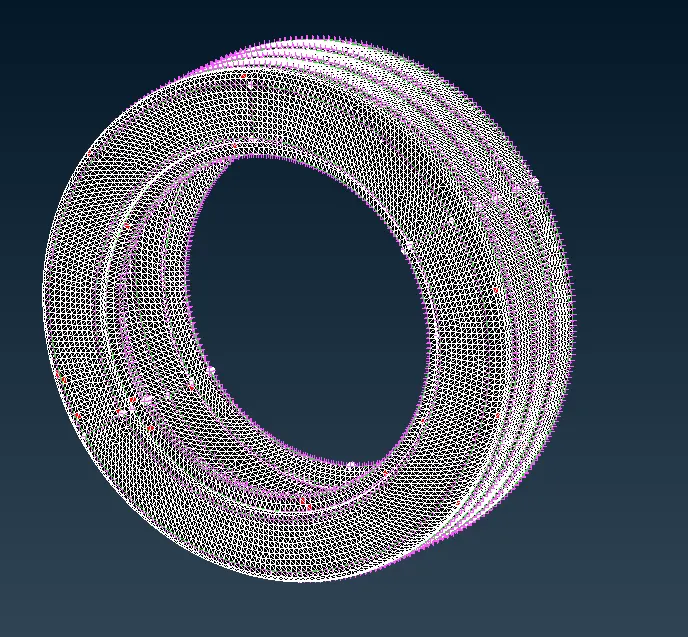
- correcting all errors in the showm model by using reconstruction and smooth and moven free tools
GRID > MOVE FREE
SHELL MESH > RECONSTRUCTION / SMOOTH
- for making volume mesh in the tyre model
-- set the PSOLID for volume mesing
VOLUME > DEFINES > MANUAL > AUTO
--open the list table and remesh used to mesh the model
LIST > PSOLID
step 5:
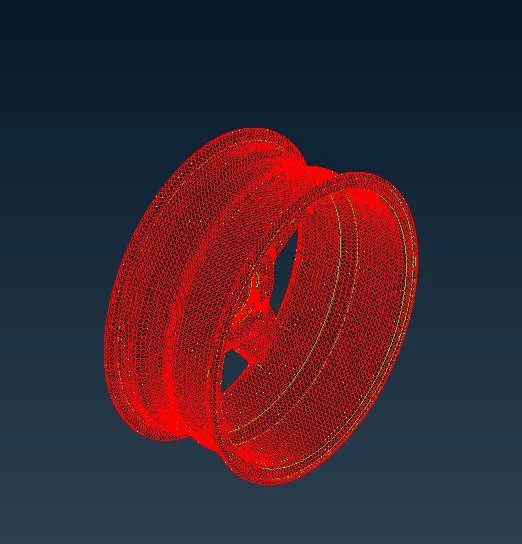
MESH GENERATION IN RIM SURFACE
- setting the quality criteria as given values
- setting the meshing parameter as given values
- enter the model length can change into 6.5
PERIMETER > LENGTH
- setting the holes into even number and paralel into peremeter line
PEREMETER > SLIDE
PEREMETER > NUMBER
- setting the model browser
NEW > FROM VISIBLE PART
- meshing the tyre by using batch mesh
- correcting all errors in the showm model by using reconstruction and smooth and moven free tools
GRID > MOVE FREE
SHELL MESH > RECONSTRUCTION / SMOOTH
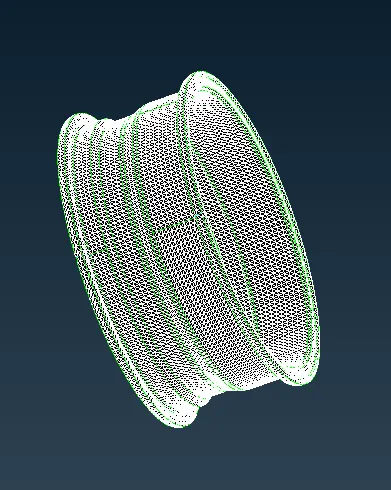
- for making volume mesh in the rim model
-- set the PSOLID for volume mesing
VOLUME > DEFINES > MANUAL > AUTO
--open the list table and remesh used to mesh the model
LIST > PSOLID
step 6:
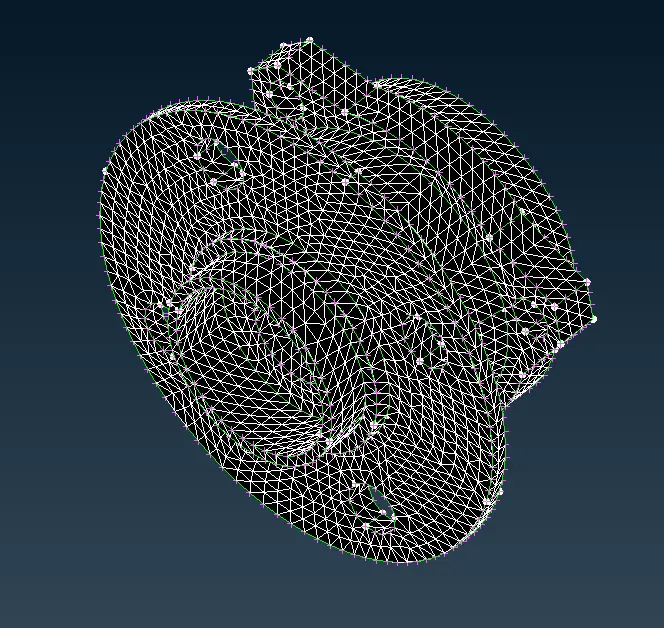
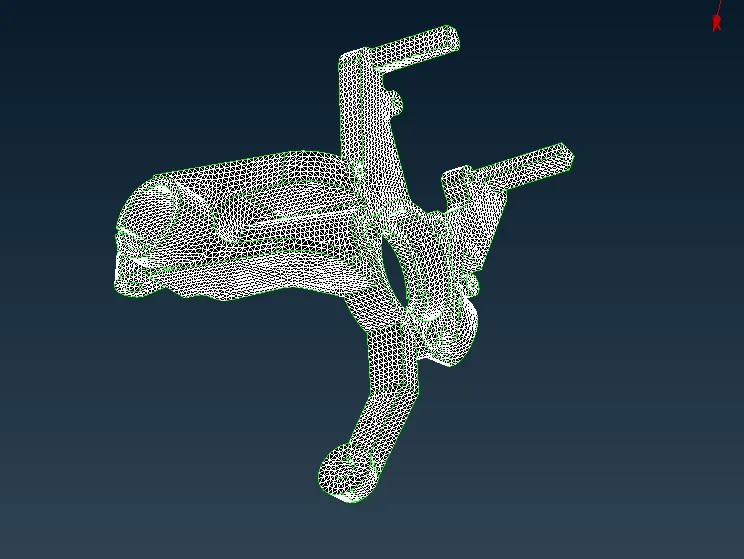
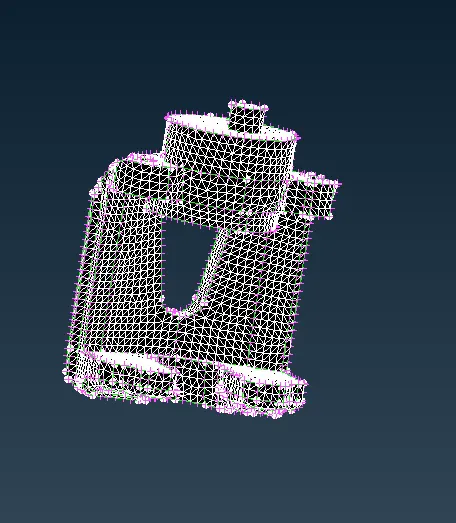
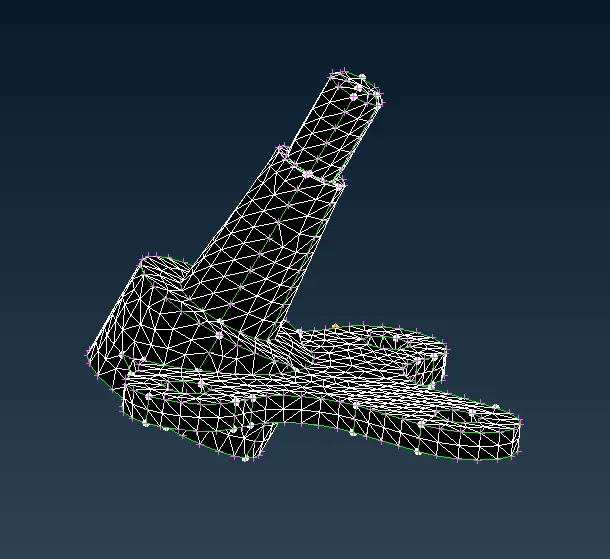
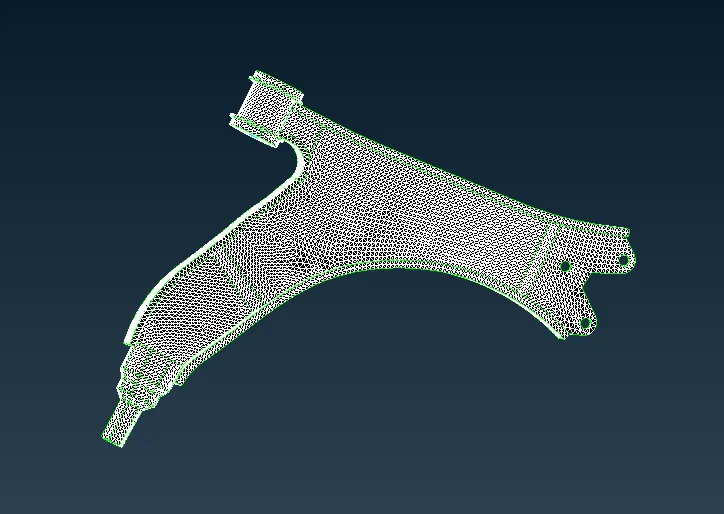
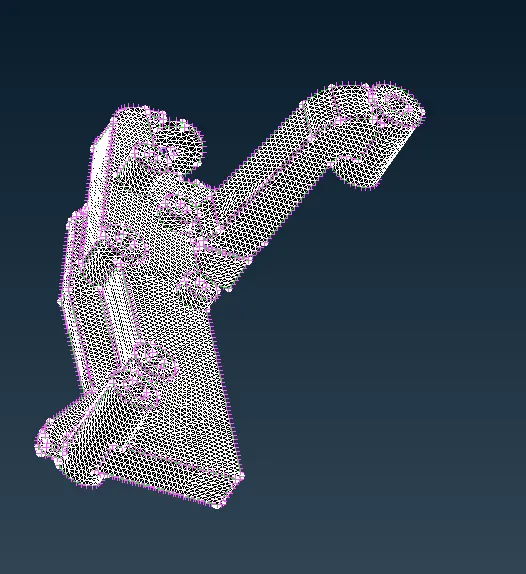
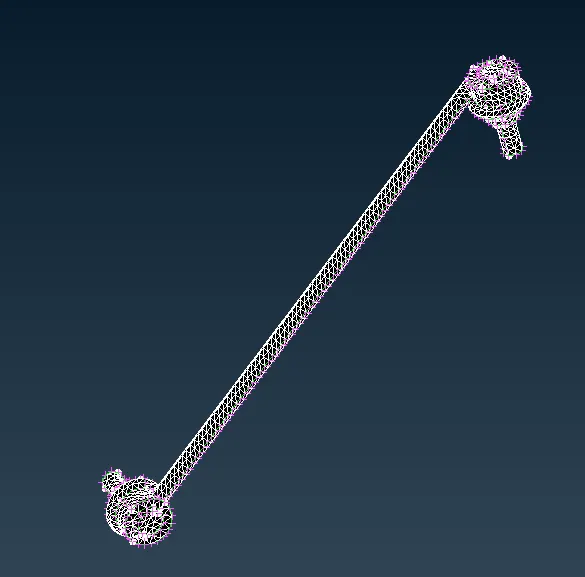
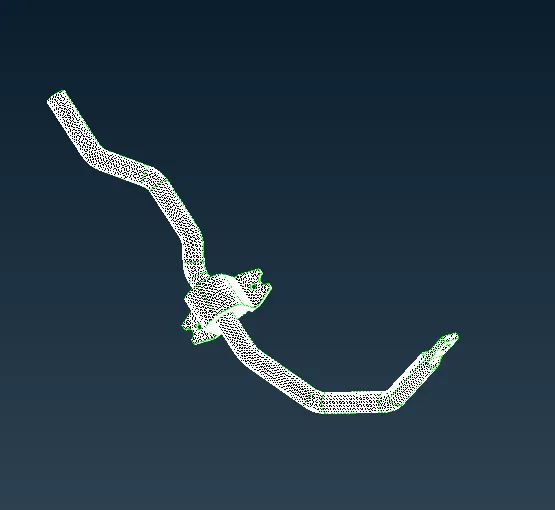
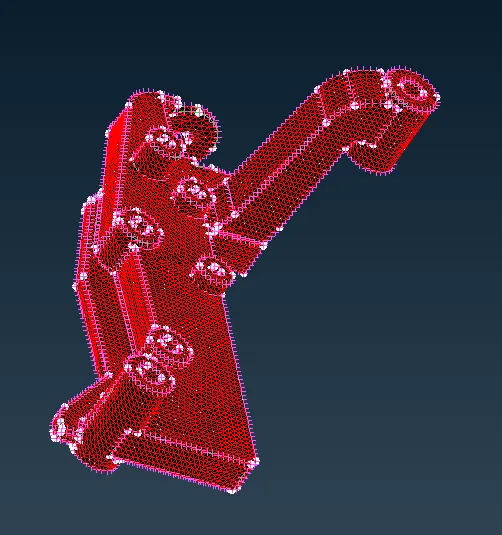
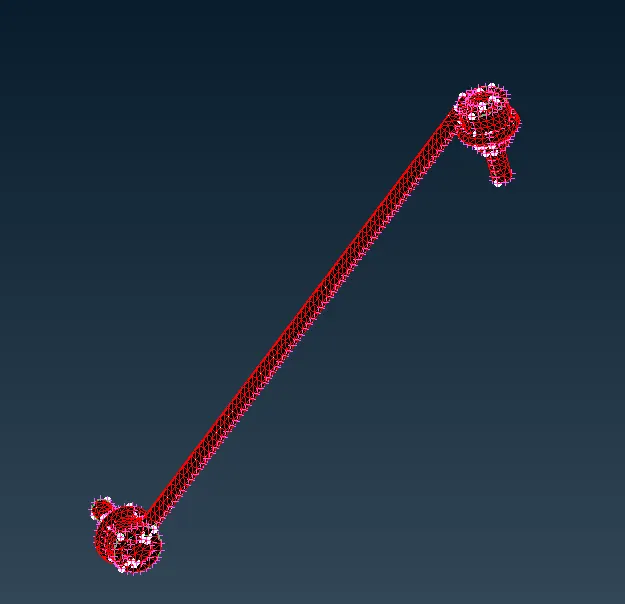
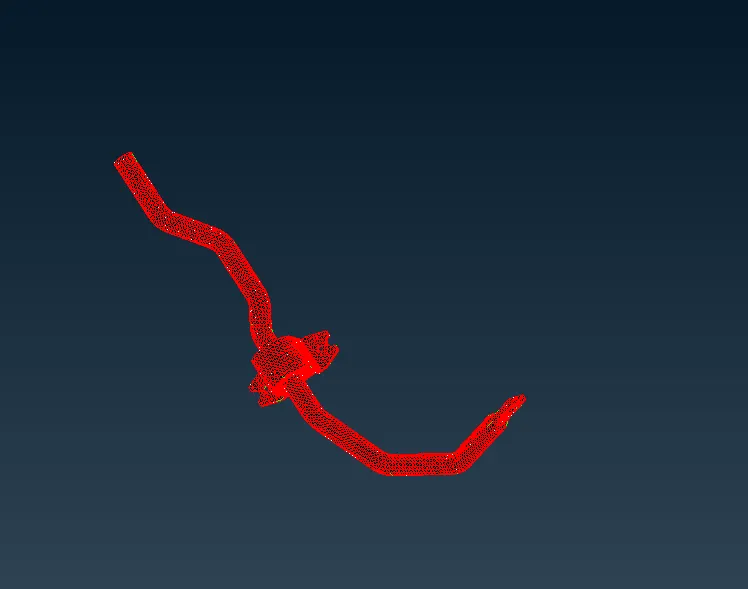
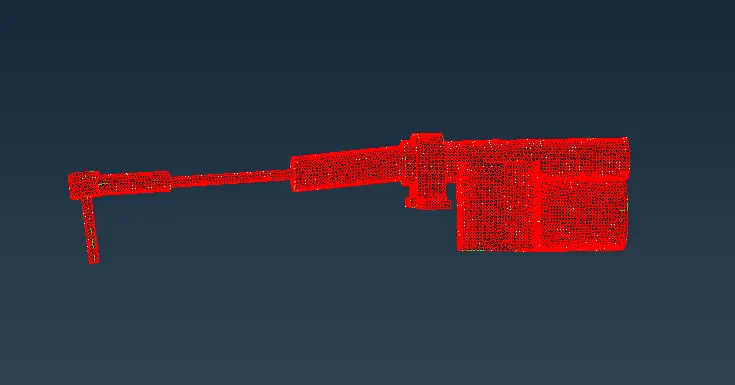
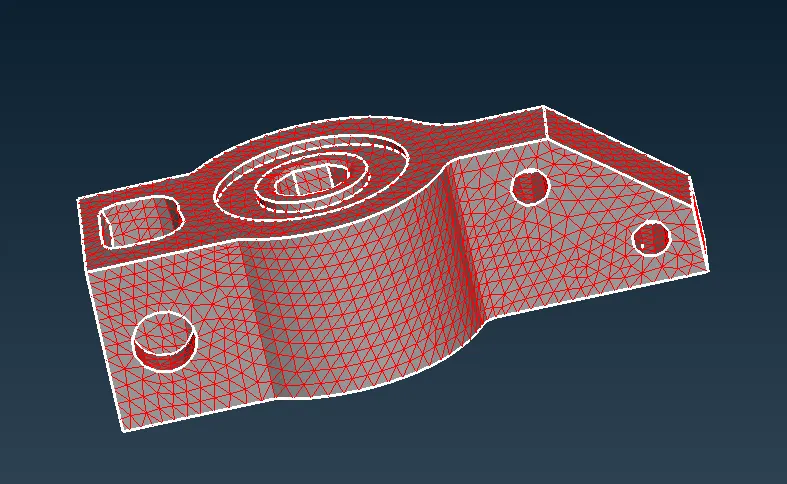
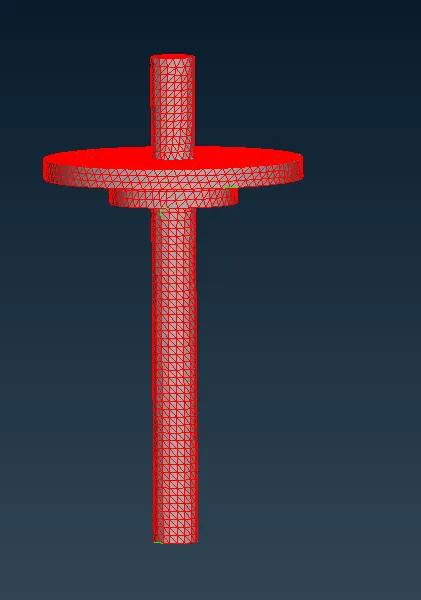
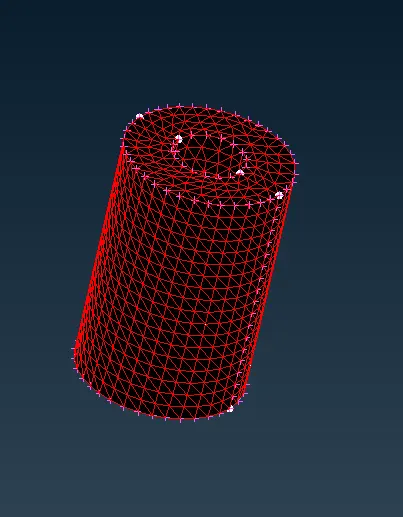
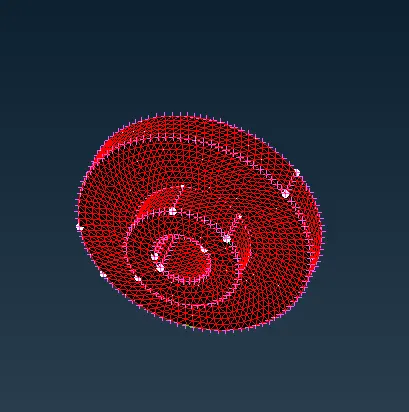
MESH GENERATION IN OTHER NON UNIFORM SURFACE
- setting the quality criteria as given values
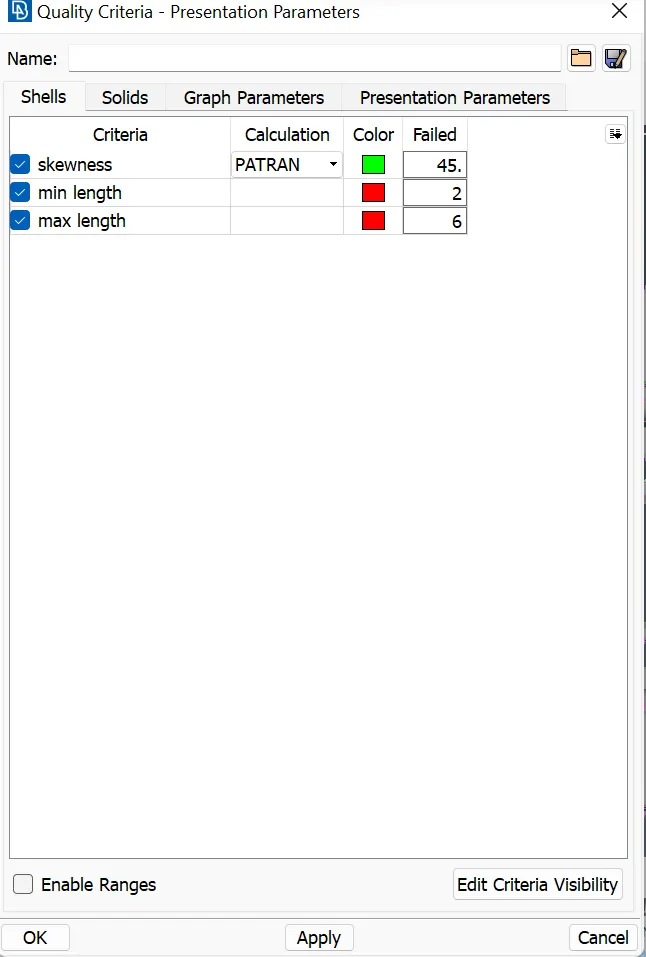
- setting the meshing parameter as given values
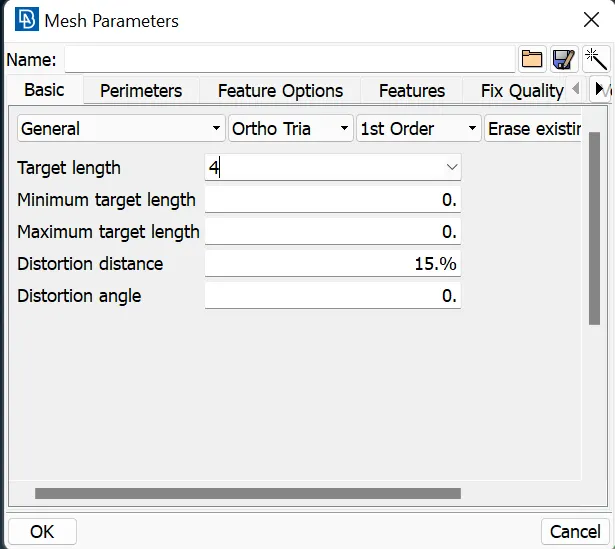
- enter the model length can change into 4
PERIMETER > LENGTH
- setting the holes into even number and paralel into peremeter line
PEREMETER > SLIDE
PEREMETER > NUMBER
- setting the model browser
NEW > FROM VISIBLE PART
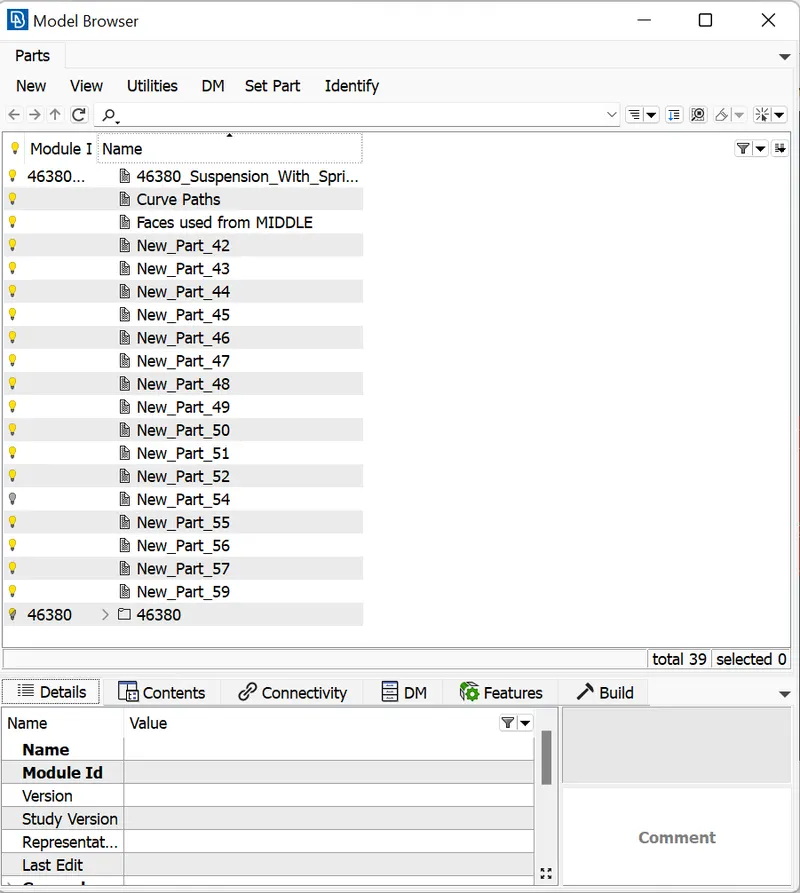
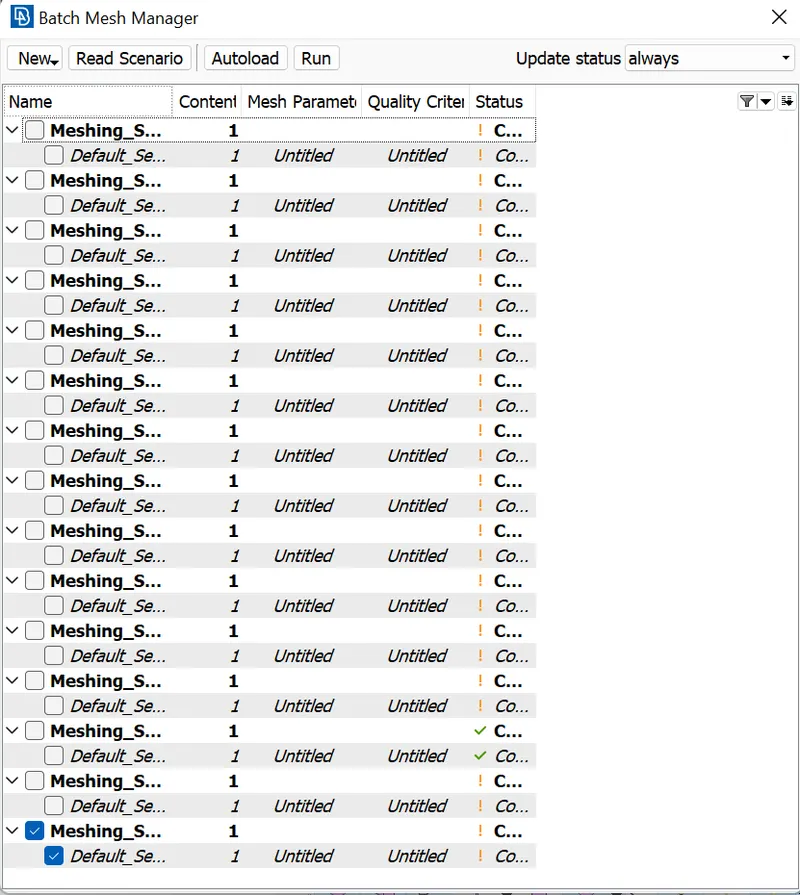
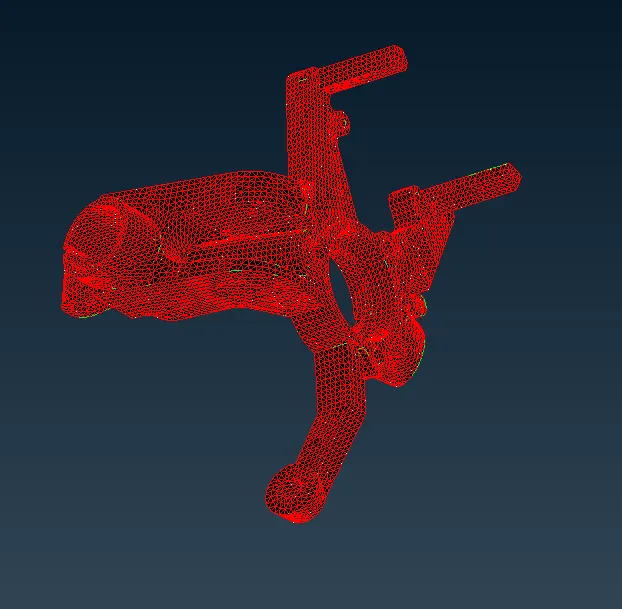
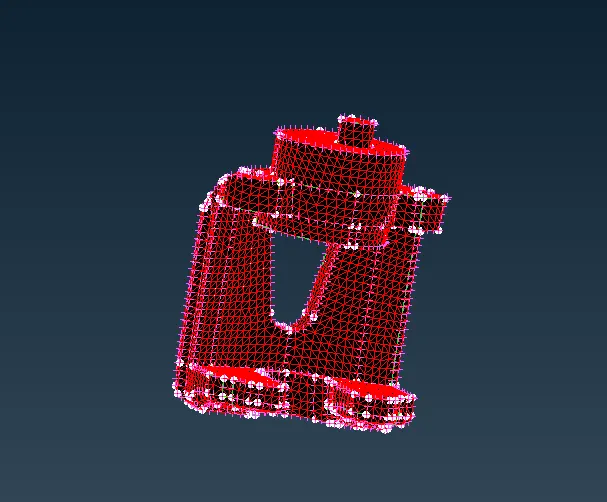
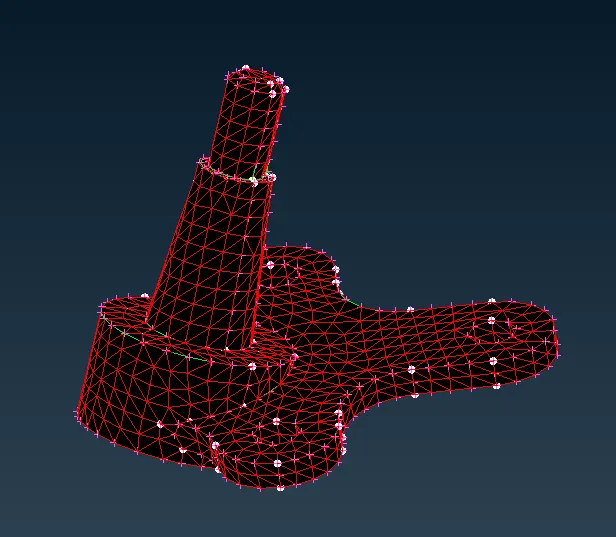
- meshing the non uniform by using batch mesh
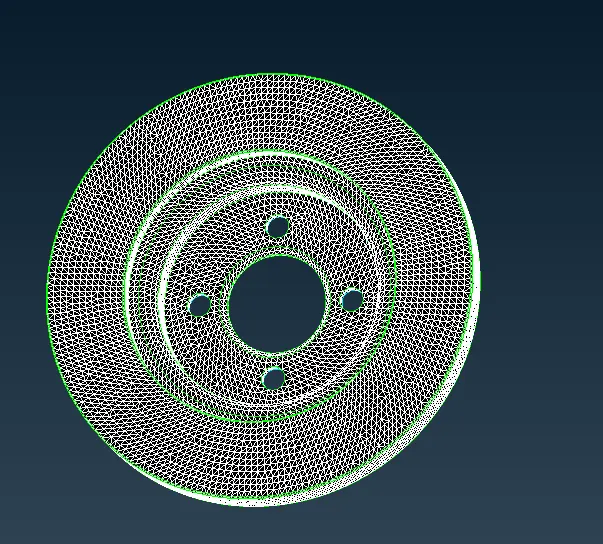
- correcting all errors in the showm model by using reconstruction and smooth and moven free tools
GRID > MOVE FREE
SHELL MESH > RECONSTRUCTION / SMOOTH
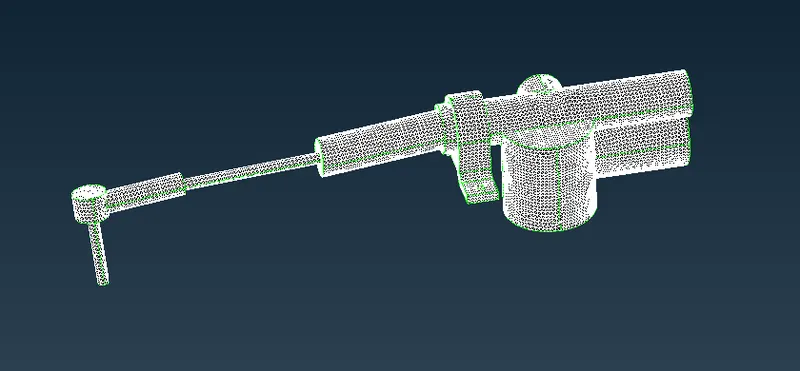
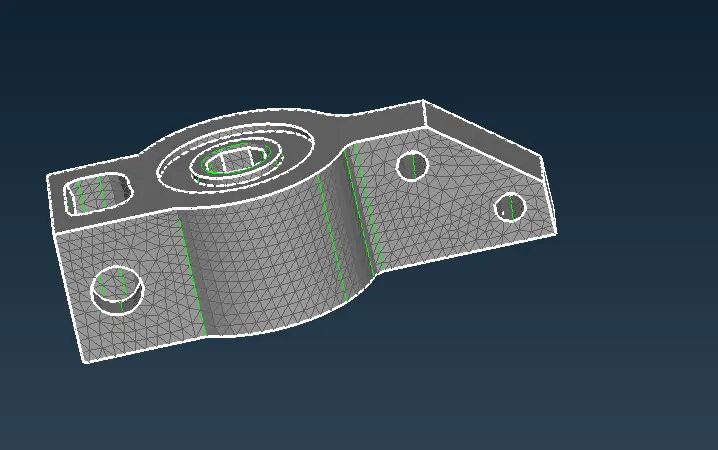
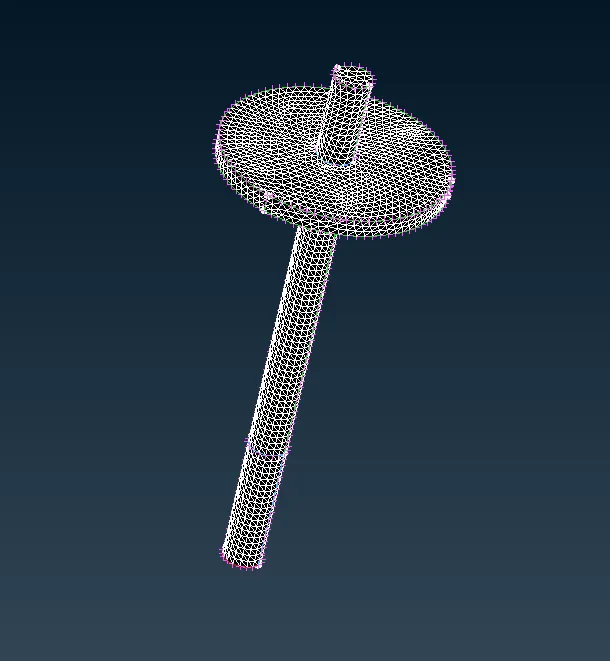
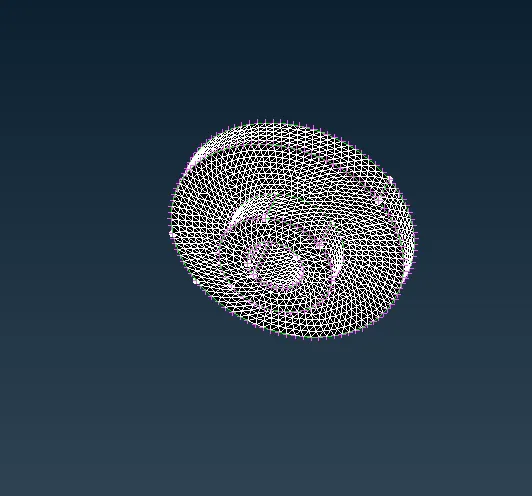
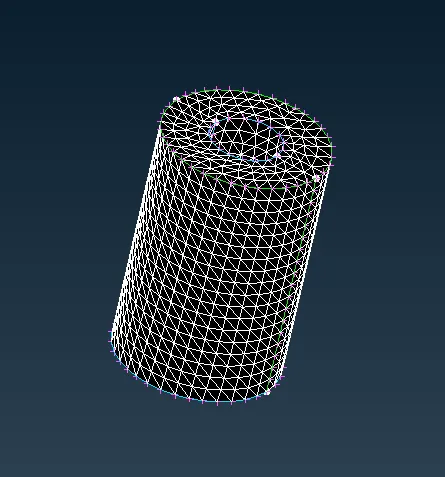
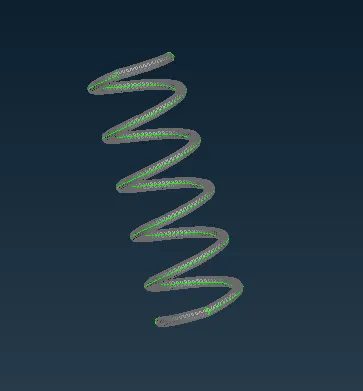
- for making volume mesh in the rim model
-- set the PSOLID for volume mesing
VOLUME > DEFINES > MANUAL > AUTO
--open the list table and remesh used to mesh the models
LIST > PSOLID
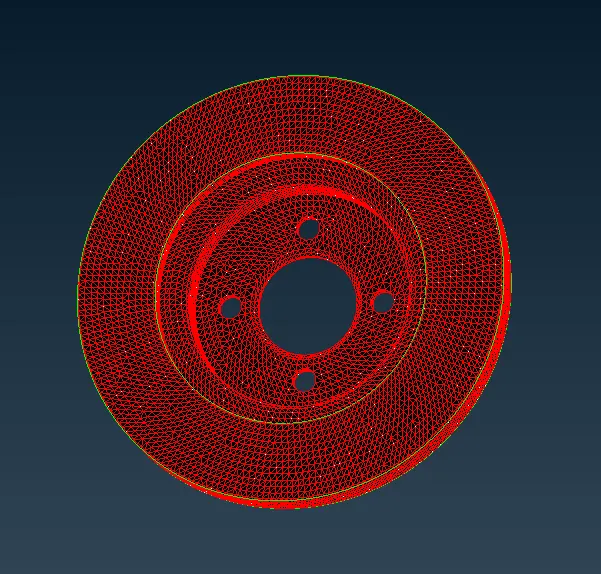
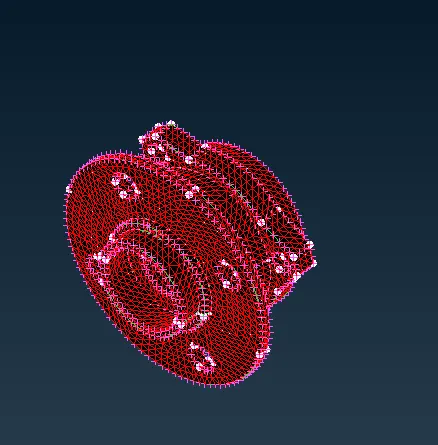
step 7:
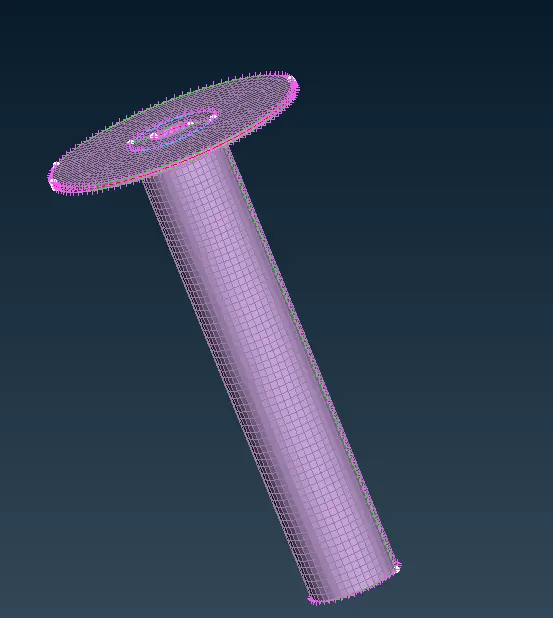
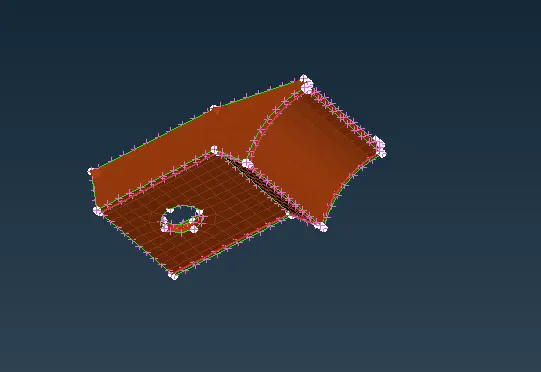
MESH GENERATION IN UNIFORM SURFACE MODELS
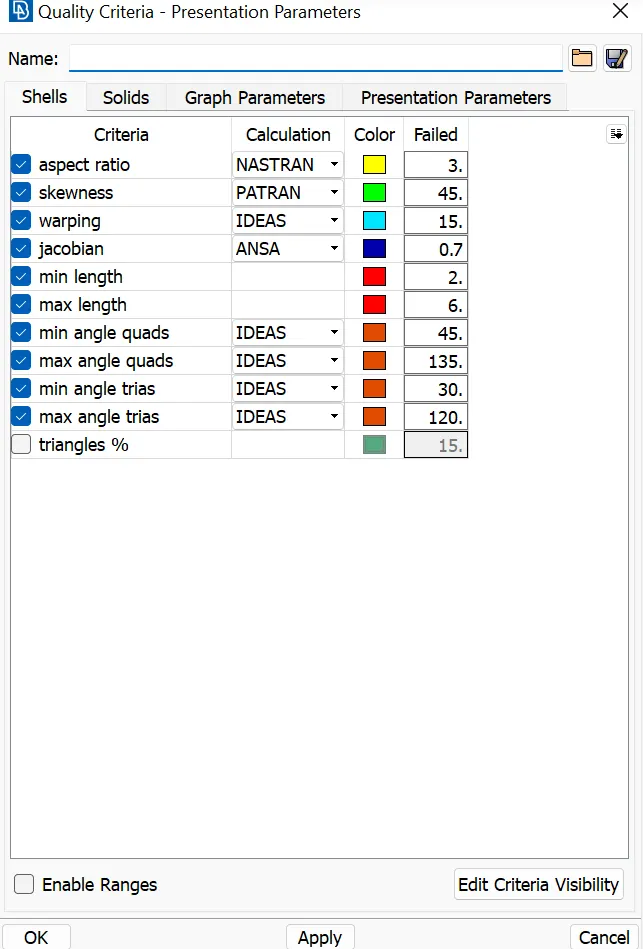
- setting the quality criteria as given values
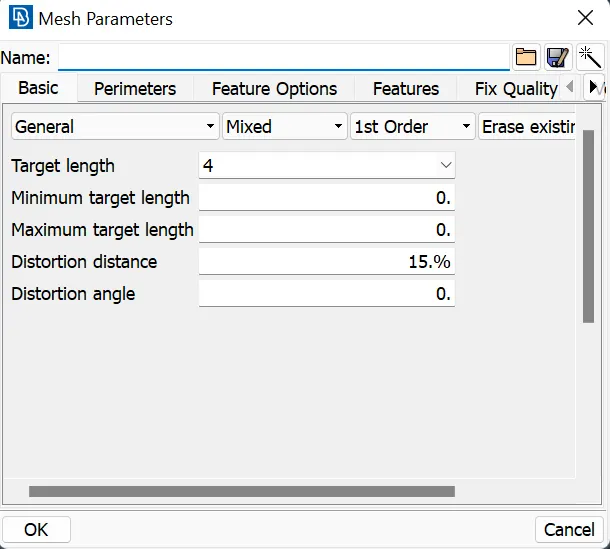
- setting the meshing parameter as given values
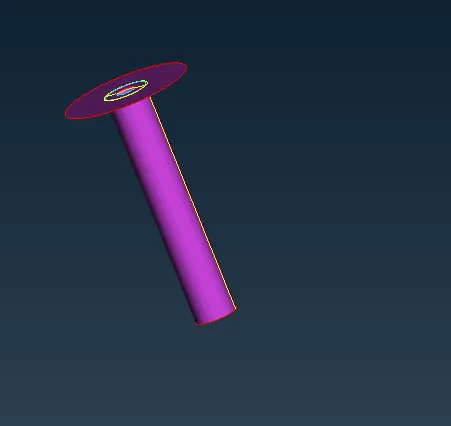
-making the midd surface of the model using offset and middle tool
FACE > OFFSET / MIDDLE
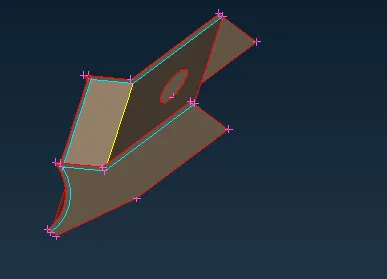
- enter the model length can change into 4
PERIMETER > LENGTH
- setting the holes into even number and paralel into peremeter line
PEREMETER > SLIDE
PEREMETER > NUMBER
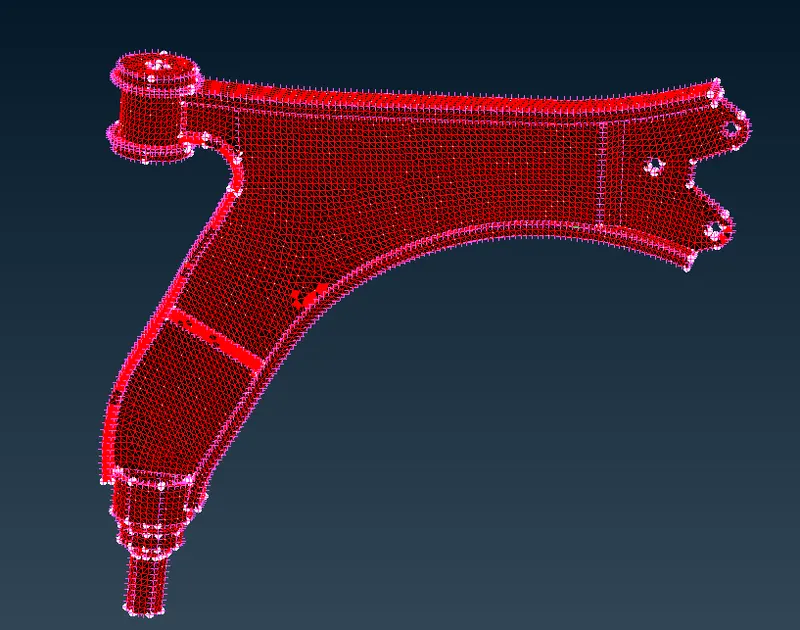
- meshing the tyre by using spot / best mesh
MESH GENERATION >BEST / SPOT MESH
- correcting all errors in the showm model by using reconstruction and smooth and moven free tools
GRID > MOVE FREE
SHELL MESH > RECONSTRUCTION / SMOOTH
step 8:
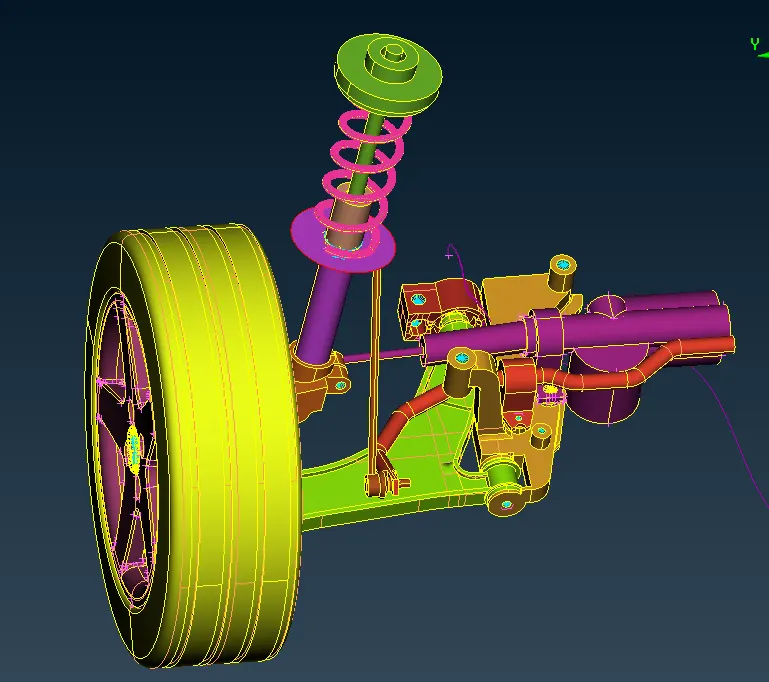
CONNECTIONS
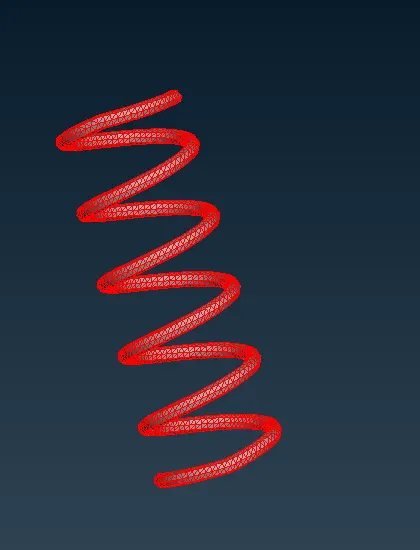
-spring can be making into 1d bar
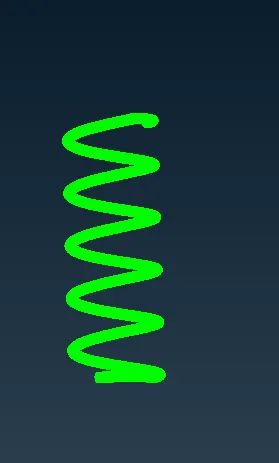
-connecting all model parts using RBE2 and RBE3 & SEAM WELD & BOLTS
Step 9:
TRANSFORM
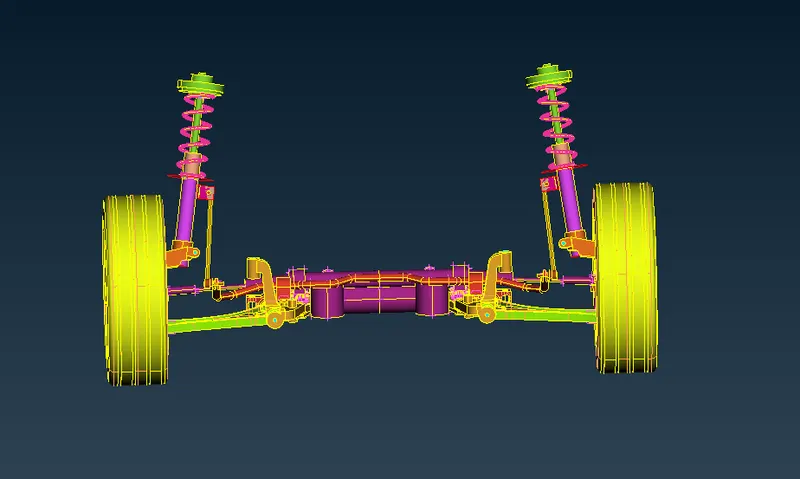
the compleate model connections can be create the exact mirrior in other side using transform option
TRANSFORM > ENTITES >
SYMMETRY> MIRROR 3 POINT PLANE
select 3 points and apply to ckick
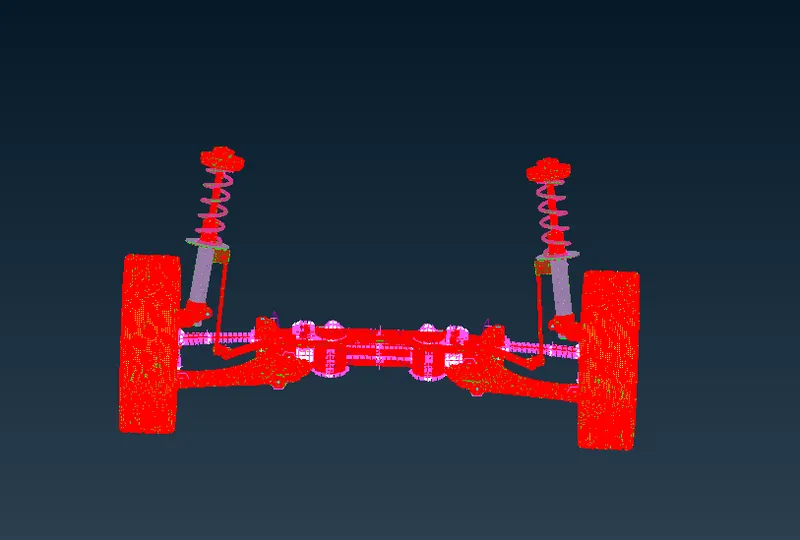
FINAL PART;
CONCLUSION:
in this project can maked the midsurface , meshing , volume mesh ,connection of model and tranform by mirror option
GOOGLE DRIVE LINK:
https://drive.google.com/file/d/1AwBMBTROBDrU3UPEZcwoyUVqHBaSf-Yz/view?usp=sharing