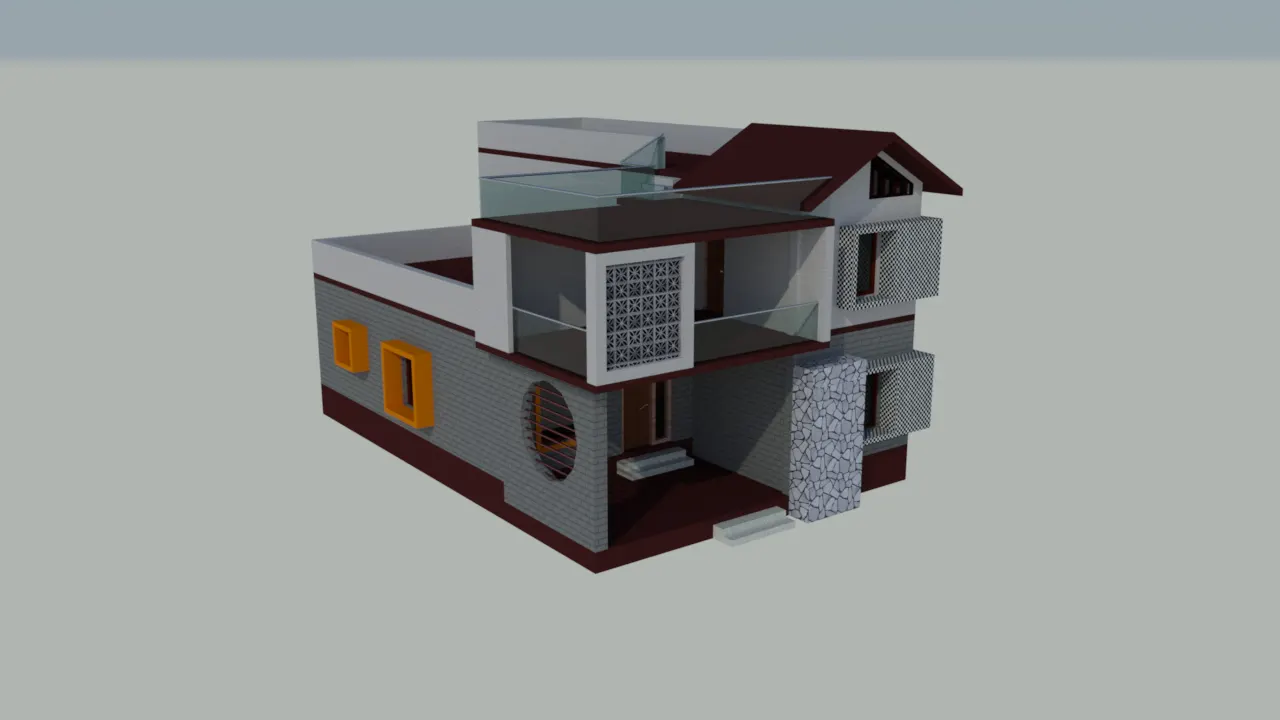
Project 2_Creating a 3D rendered model for a Residential Building in AutoCad
Create a 3 dimensional model of the residential building with a rendered view.
Aim: To create a 3D rendered model for a Residential Building in AutoCad.
Introduction:
- 3D modeling is a more advance form of drawing presentation in architecture, and construction. 3D models are used to visualize, simulate and render graphic designs.
- It gives additional boost to the efficient communication on how the project would be once constructed.
Procedure:
A. Setting the Drawing Parameters;
- Set up the measurement units as imperial measured in inches.
- To set up that, a much faster way is to type “units” in the command line and hit enter or space bar. The Drawing Units Dialog box will then pop up and measurement parameters will then set up in line with the requirements. Similar thing, you need to set up the dimension through the D command.
- As for the gridlines, you may right click gridline icon in the status bar and go for the drafting settings. Under the Snap and Grid of the Drafting Settings Dialog box, you may set up the needed spacing of grids along its X and Y axis. “DS” command will also work to pop up the Drafting Settings Dialog box.
Command Used;
- Units
- LIMMAX
- DDIM
- DI
- LINE
- XREF
- PASTECLIP
- OFFSET
- MLINE
- TRIM
- ERASE
- EXTEND
- DIM
- COPY
- POL
- REC
- JOIN
- C
- UCS
- EXTRUDE
- SWEEP
- LOFT
- UNION
- PRESSPULL
- REGION
- RENDER
- CAMERA
- LIGHTS
- MATERIAL
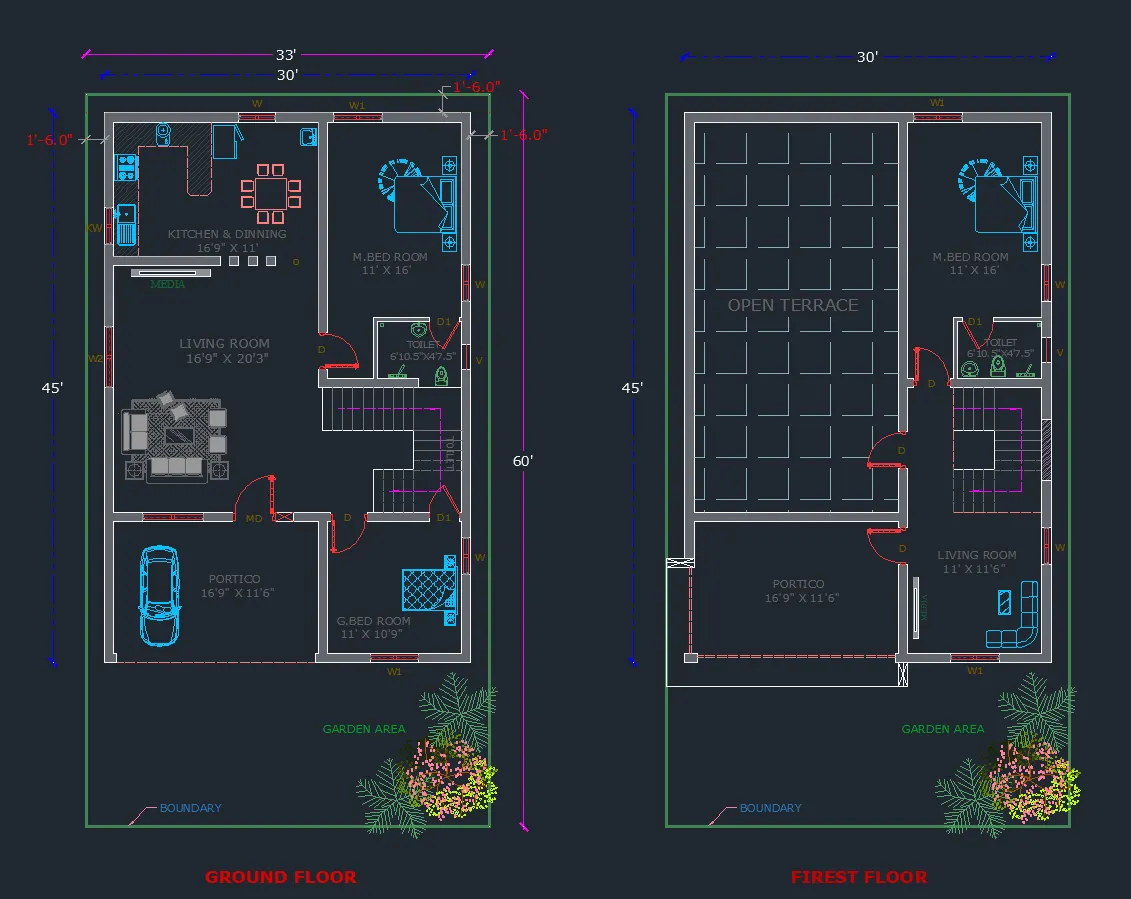
2D FLOOR PLAN :
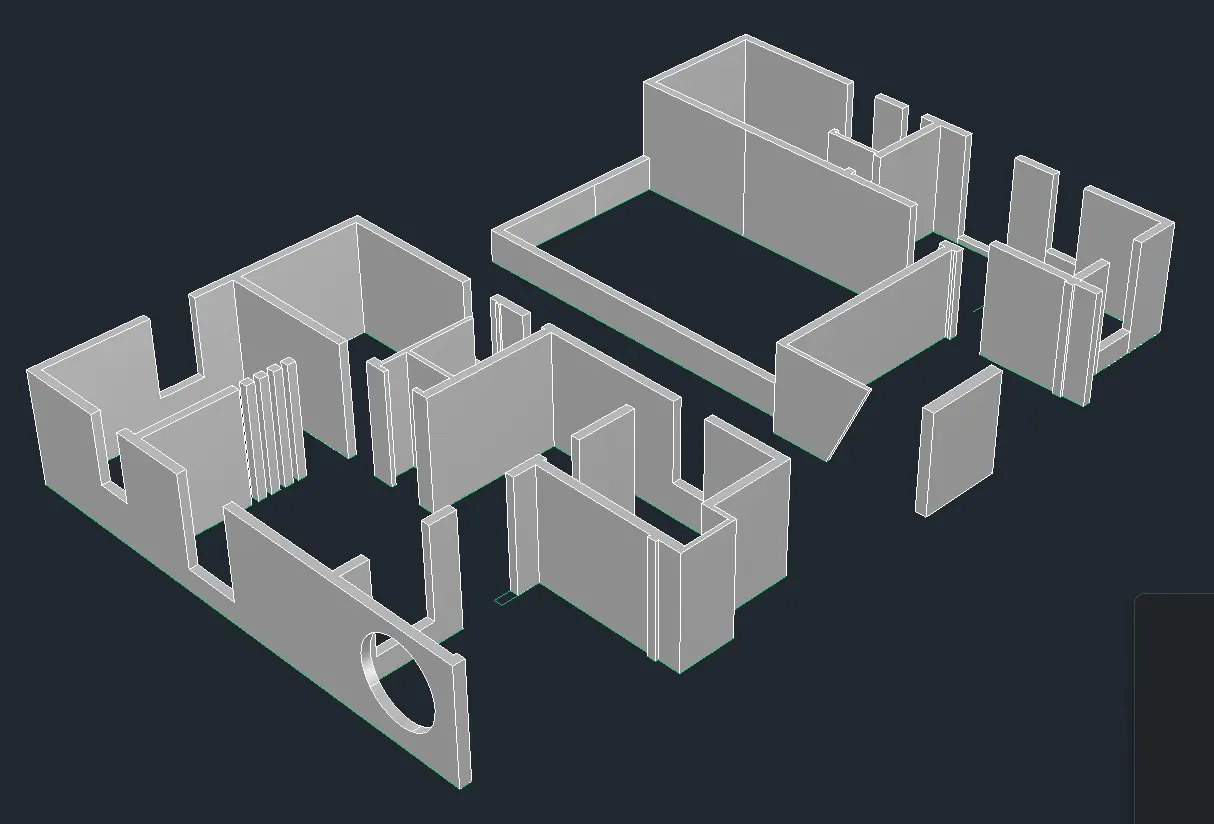
3D STRUCTURE ;
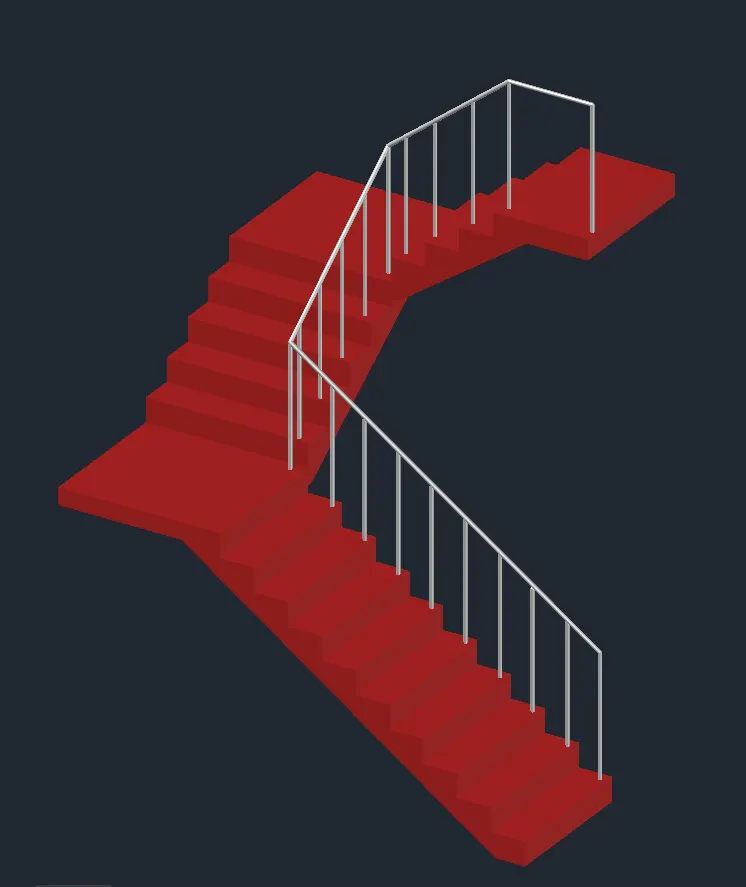
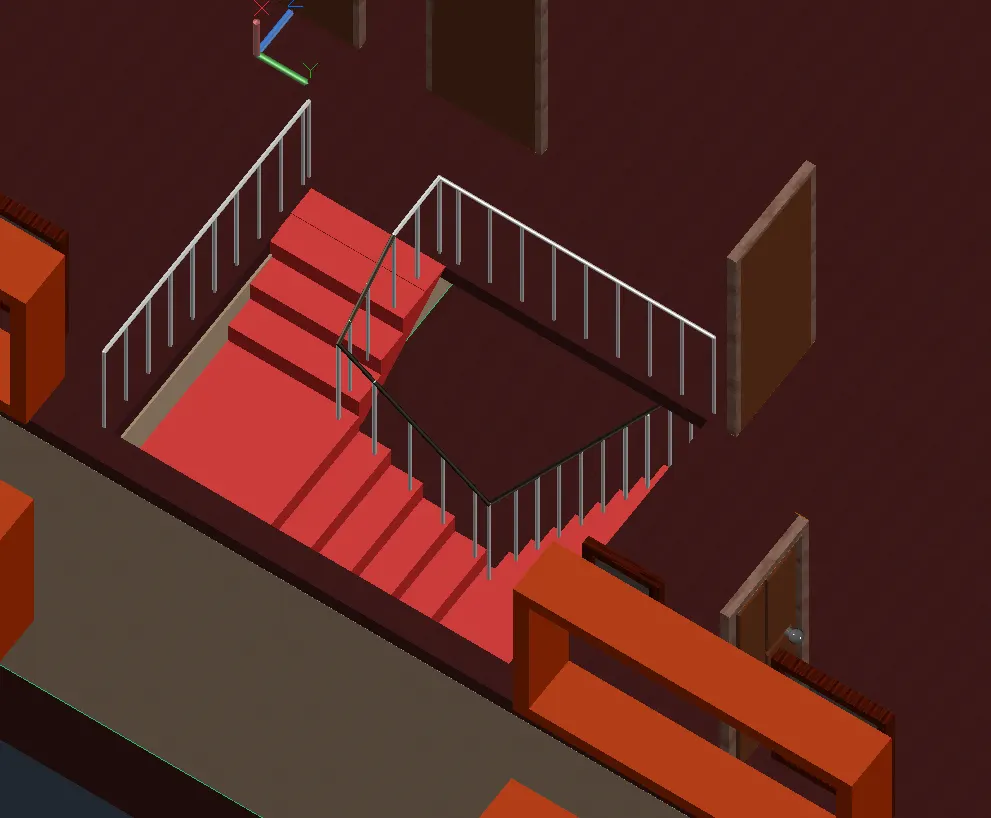
STAIRCASE STRUCTURE;
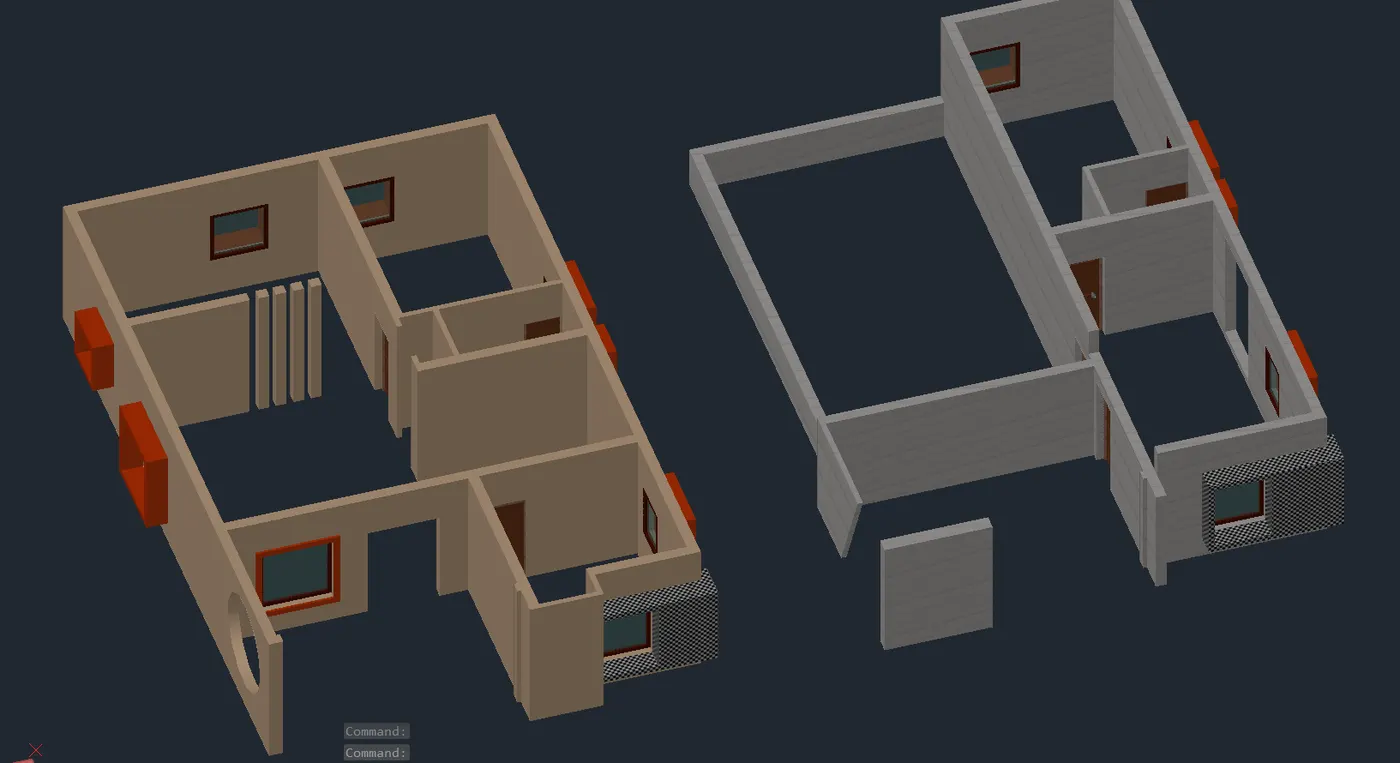
3D WALLS AND WINDOWS
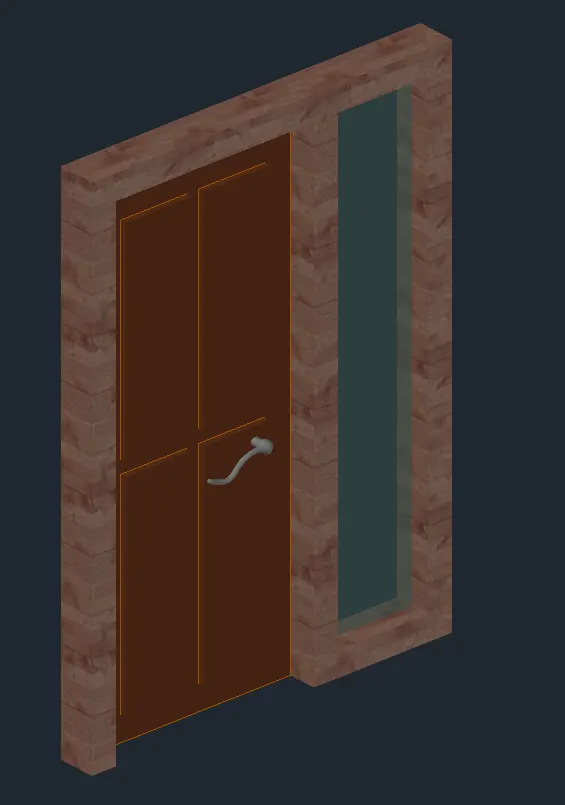
MAIN DOOR
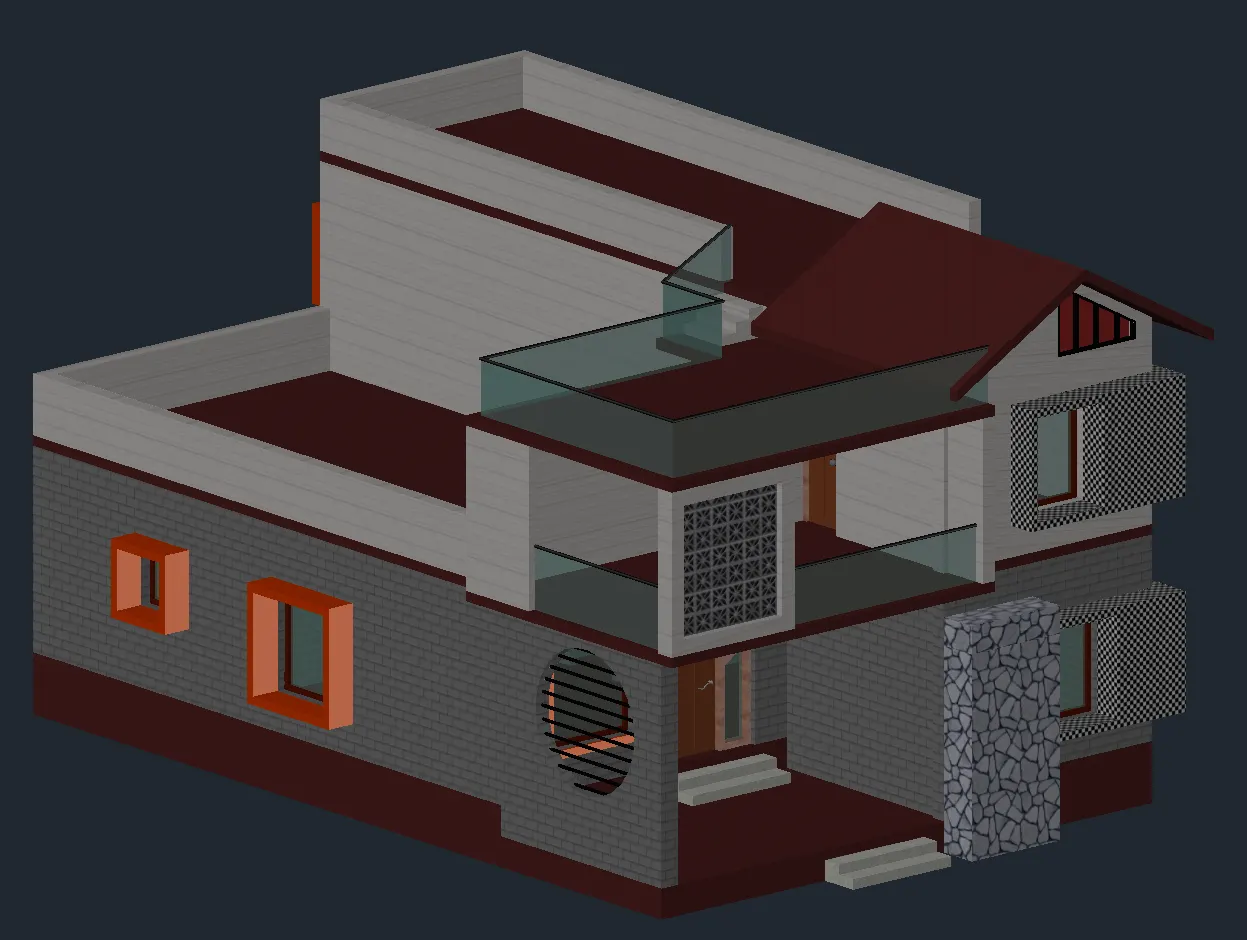
FULL ELEVATION VIWE :
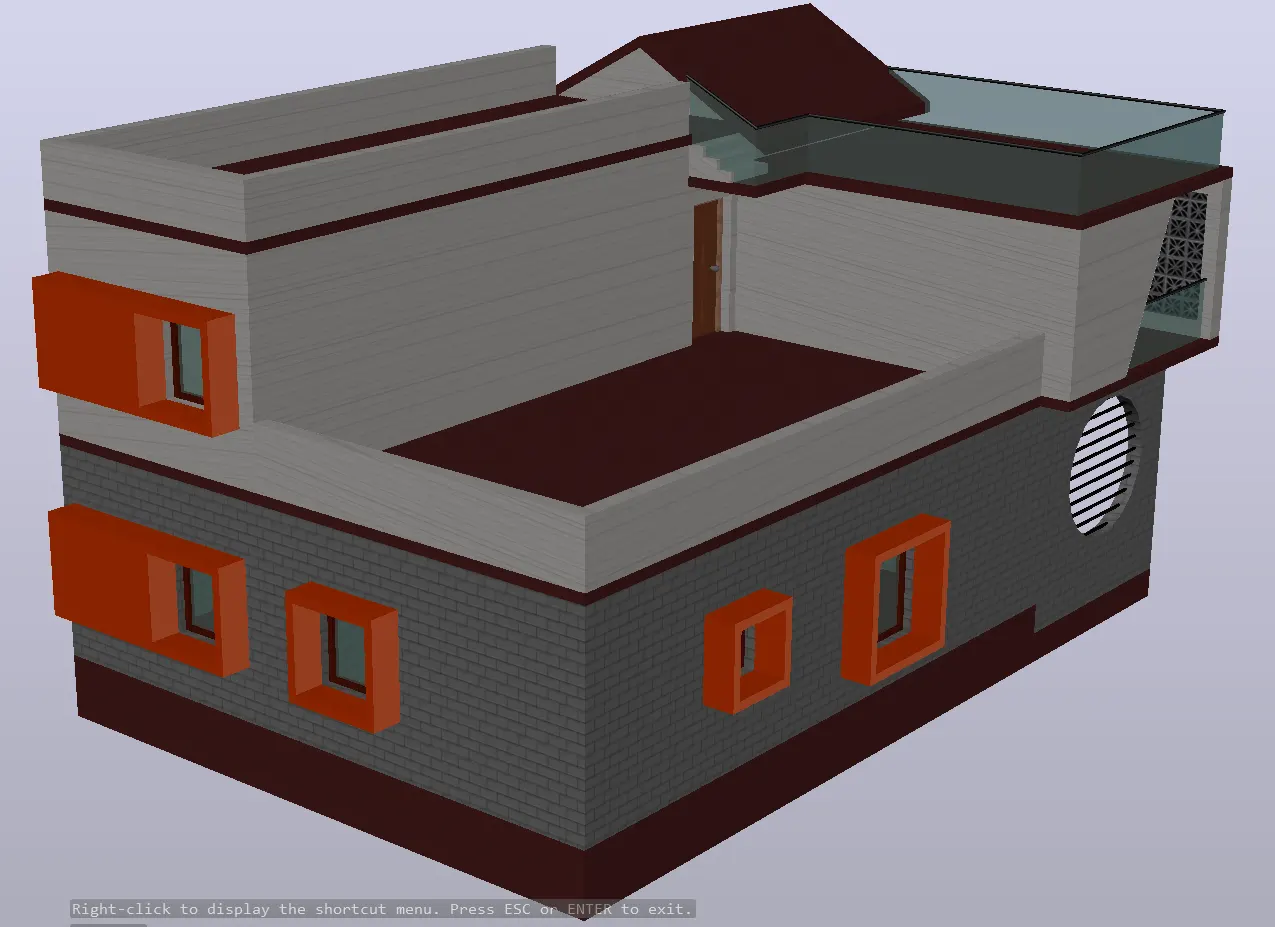
STAIRCASE POSITION
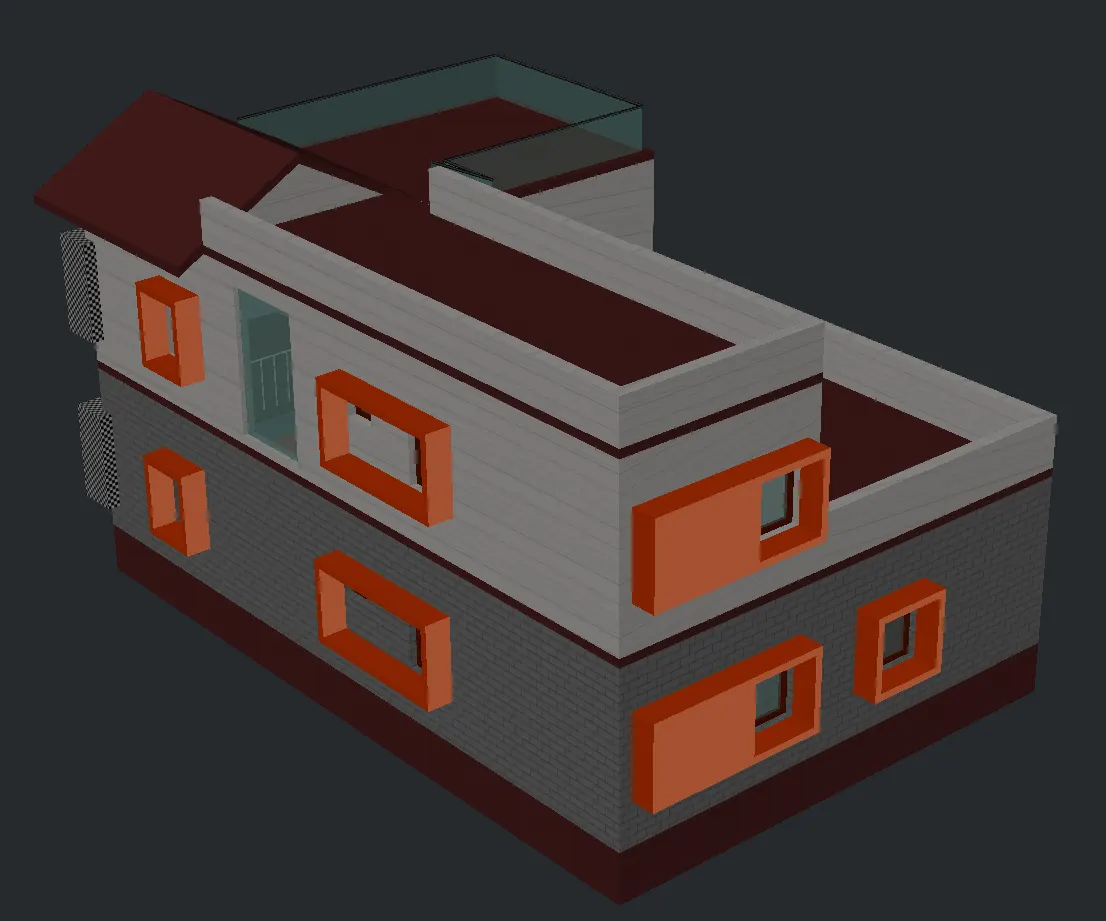
FINAL RENDERING VIWE :