Project 2_Analyze and Design the RC office building as per IS standard code in TEKLA STRUCTURAL DESIGNER
AIM : To develop a model as per the given plan and analyze and design the structure.
TOOLS USED :
- Paint.
- Manage property sets.
- Construction levels.
- Grids.
- Columns.
- Beams.
- REports.
- Model report.
- Show report.
- Interactive design.
- Slabs on beams.
- Frames.
- Roof panels.
- Wall panels.
- Loads.
- Loadcases.
- Seismic wizard.
PROCEDURE :
- Take the screenshots of the plan and open them in paint.
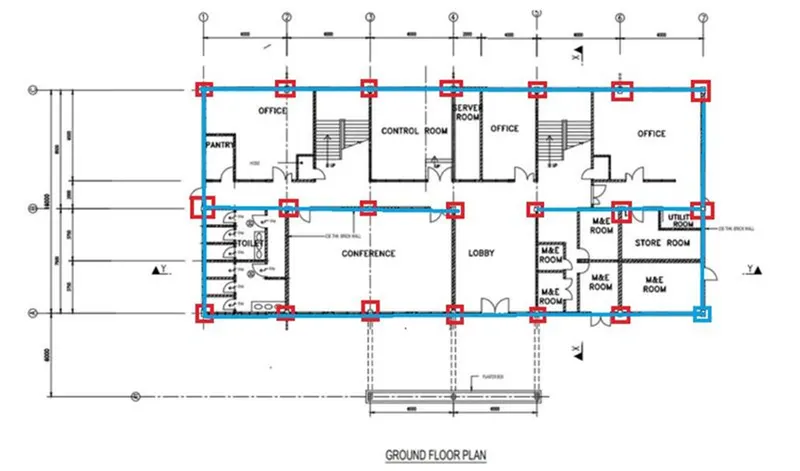
- Draw the positions of columns and beams in paint.
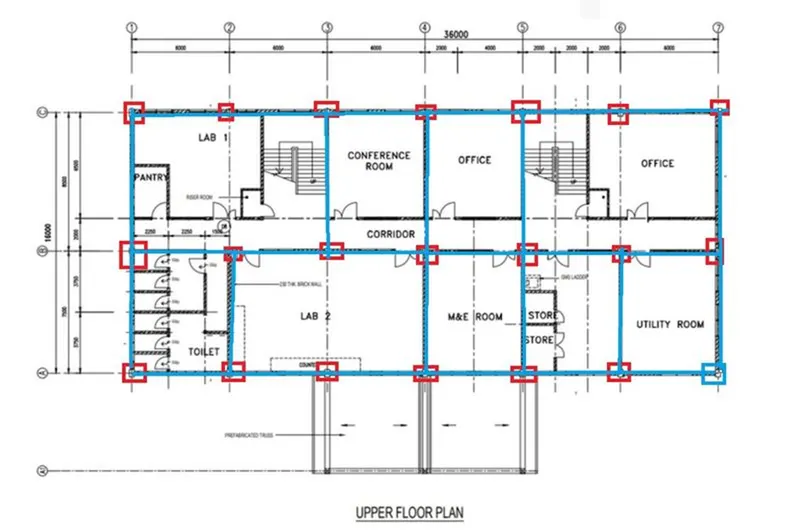
- Open tekla file and create the construction levels for the structure according to the plan.
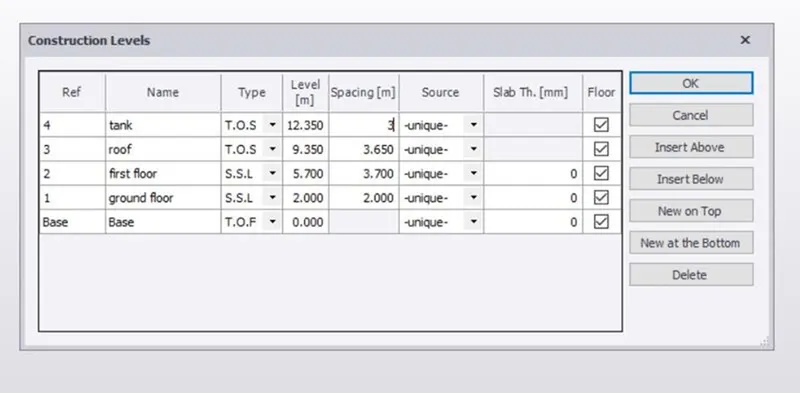
- Construct horizontal and vertical grid lines.
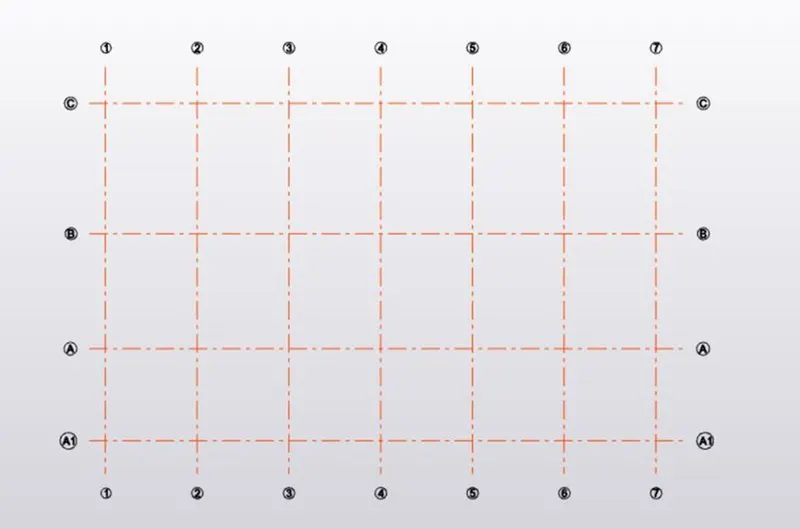
- Select the size of the concrete column section used in the construction as per the requirement.
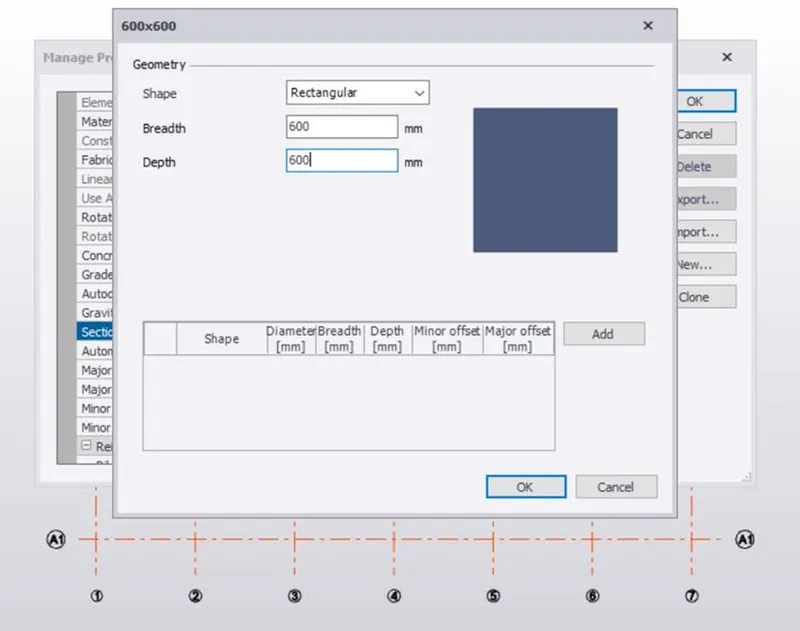
- Go to manage property sets and create members used for the modeling.
- Go to model tab and insert concrete columns in the structure.
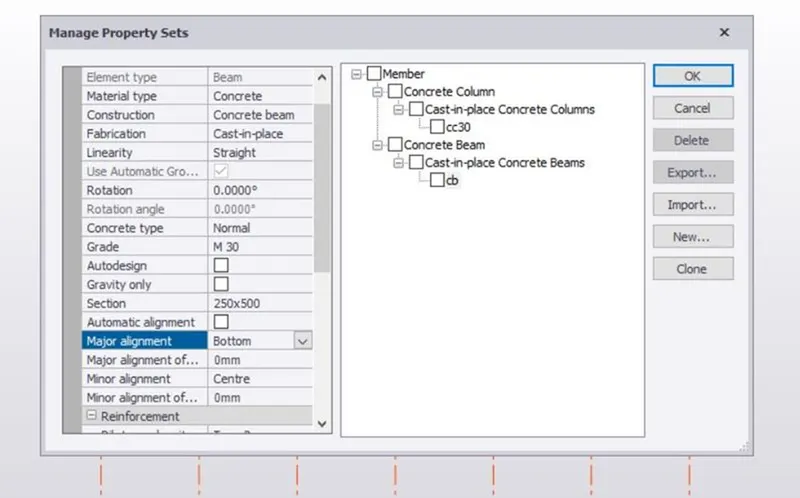
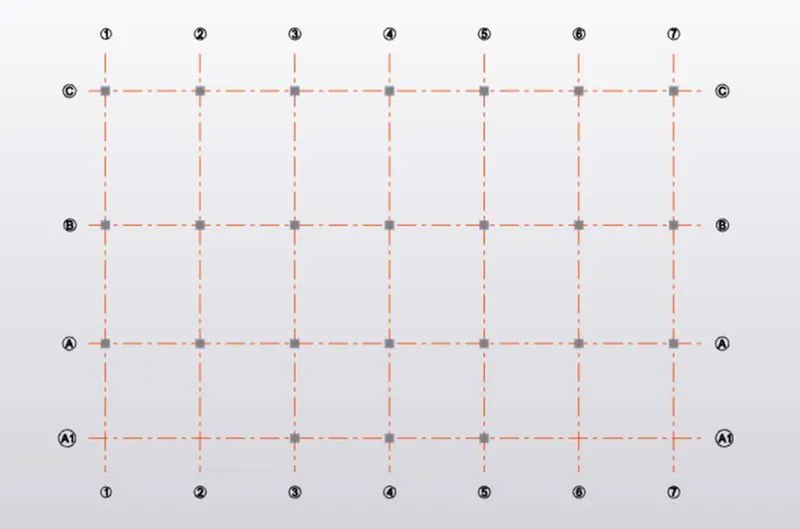
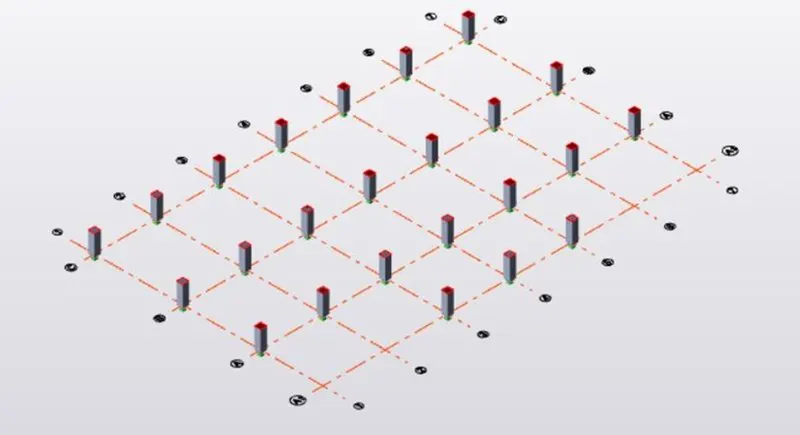
- Go to model tab and select the beams tool and draw the beams as per the plan.
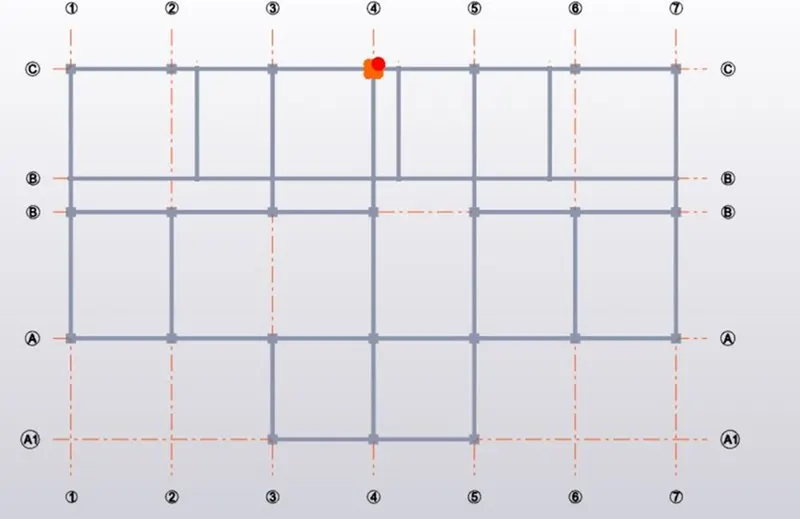
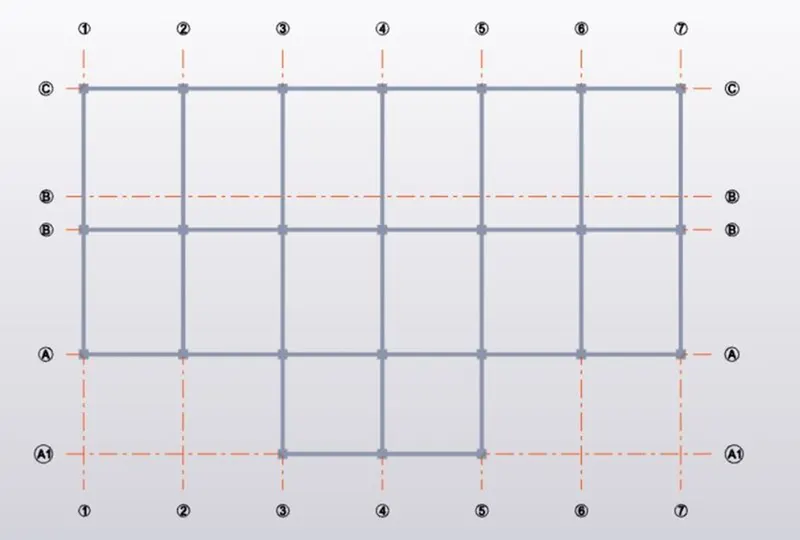
- We can check the structure in 3D for neat view.
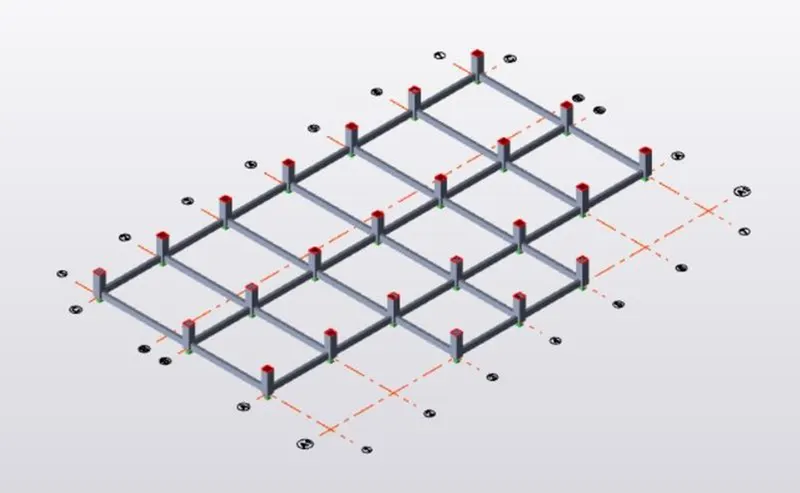
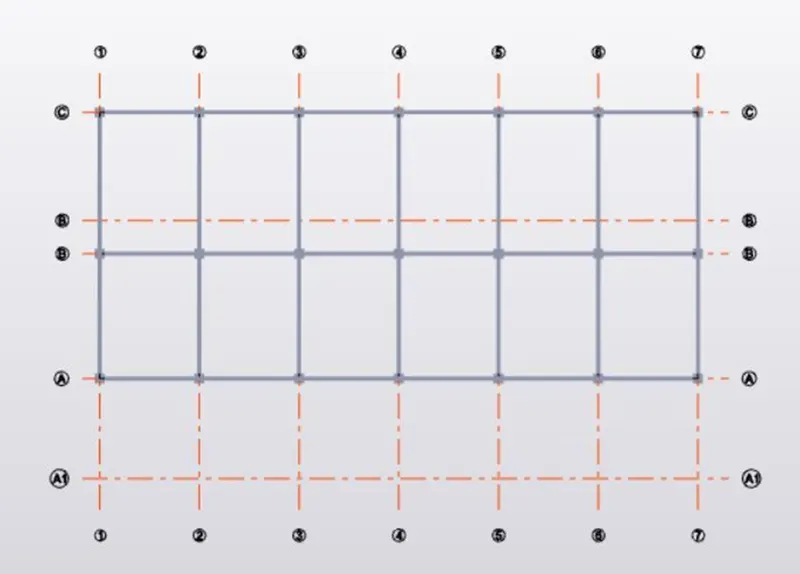
- Repeat the same process for the the levels as per the plan.
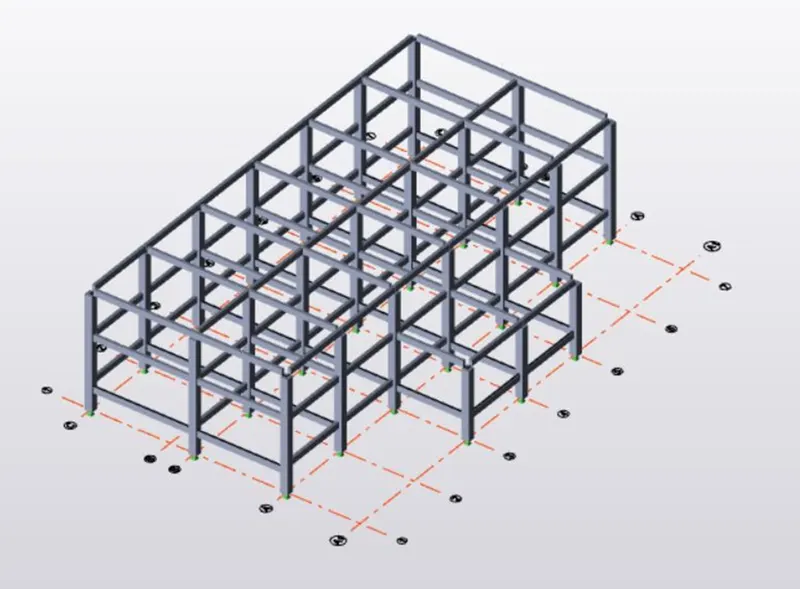
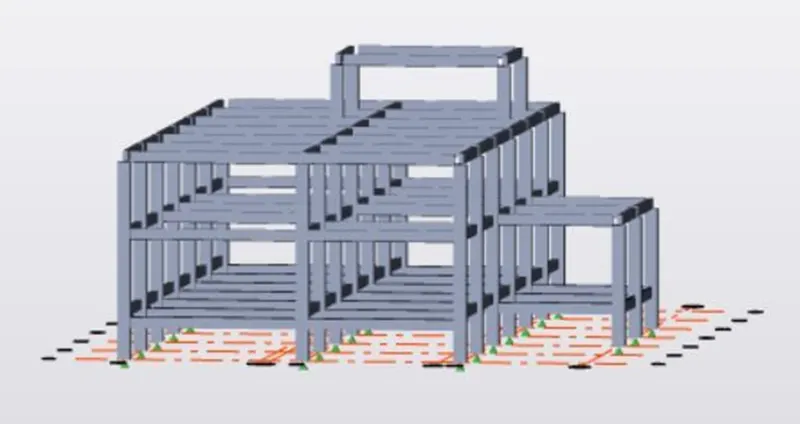
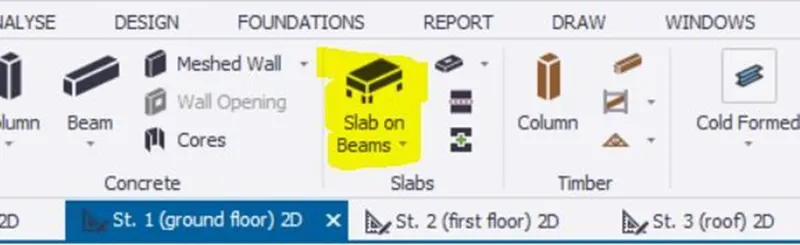
- Select slabs on beams and insert slabs for all the floors, where ever required.
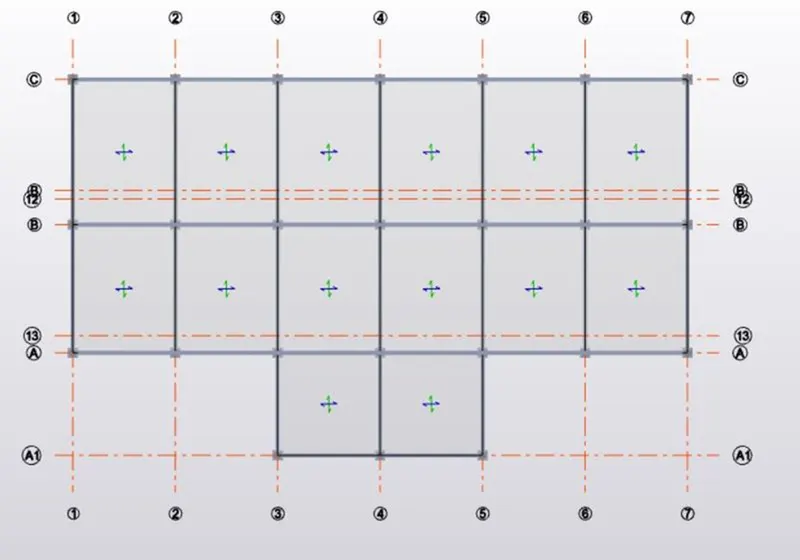
- Go to 3D view to get a clear view of the slabs inserted.
- Insert frams which will be helpful while applying loads on the structure.
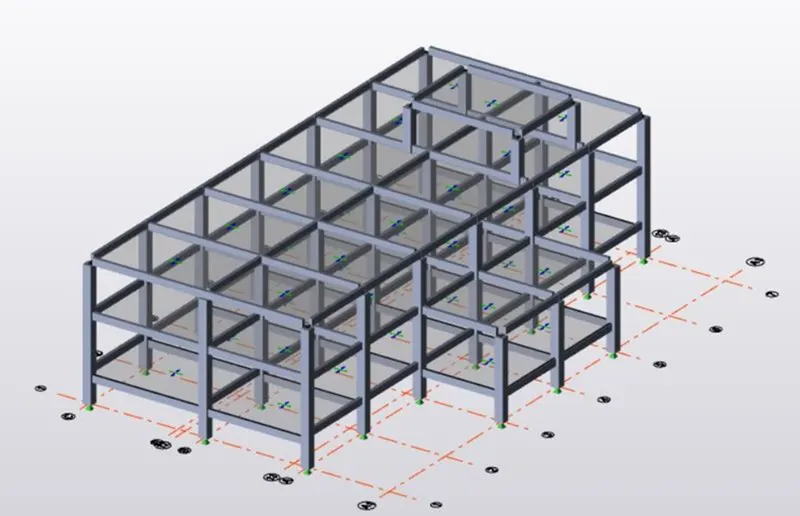
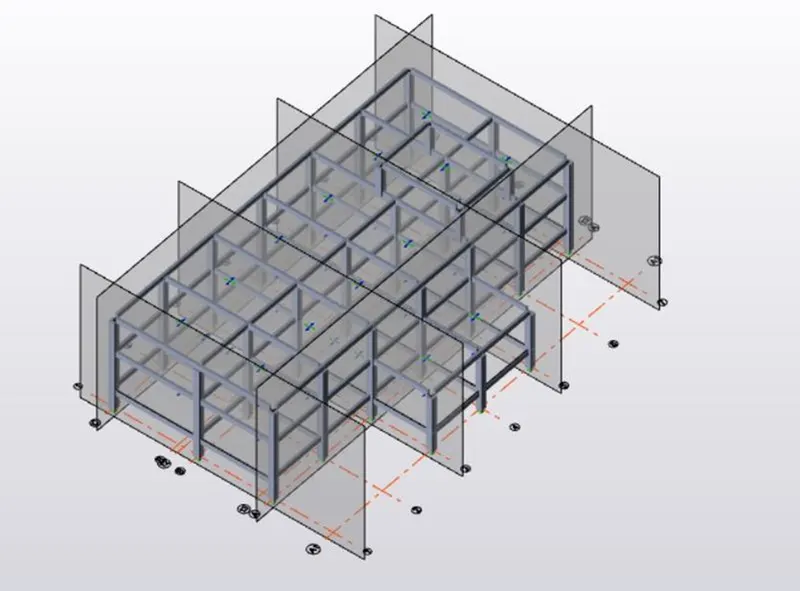
- Add wall panels to the structure.
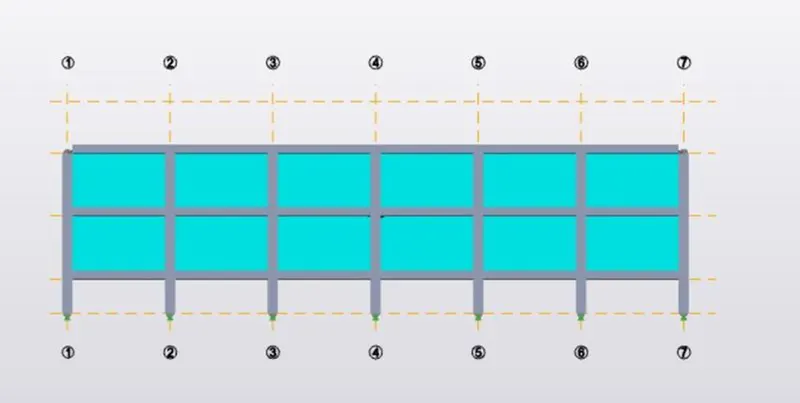
- Repeat the same step for all the walls.
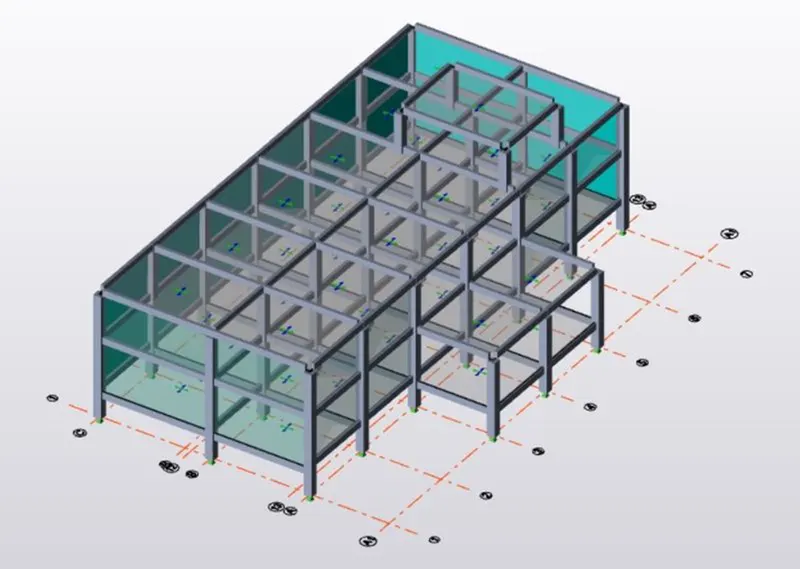
- Go to loads and create new load cases.
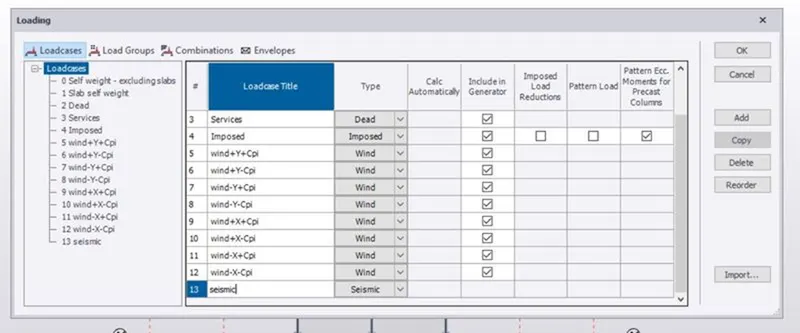
- Add the dead load on the beams.
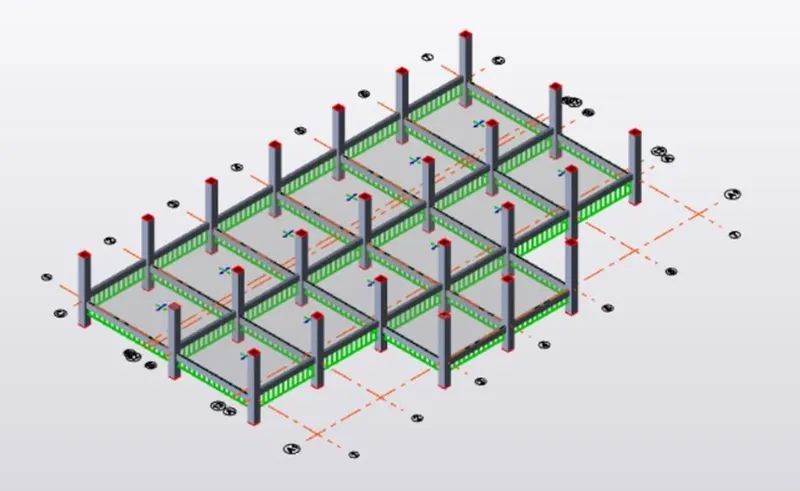
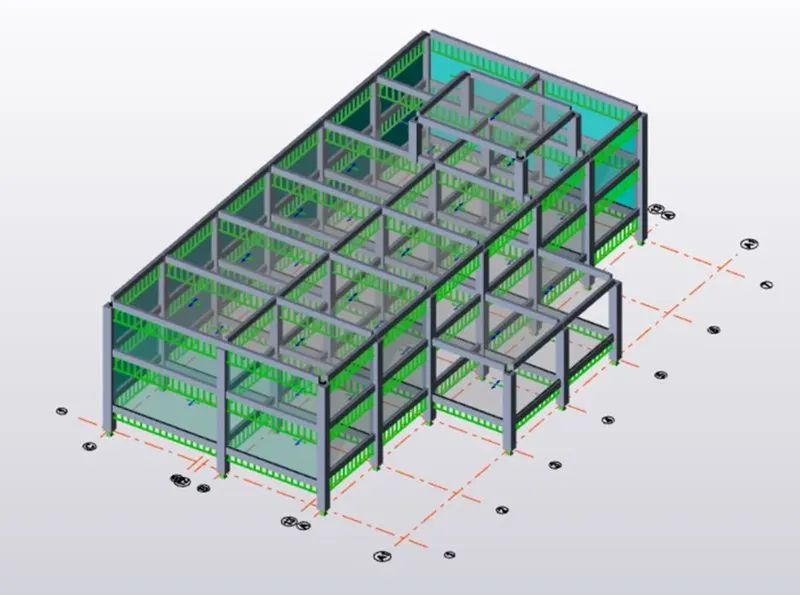
- Add the dead loads on the slabs.
- Repeat the same step for all the floors.
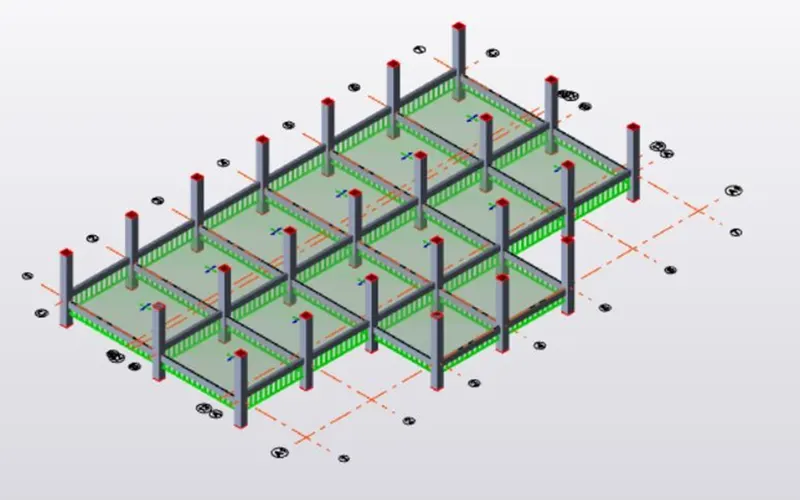
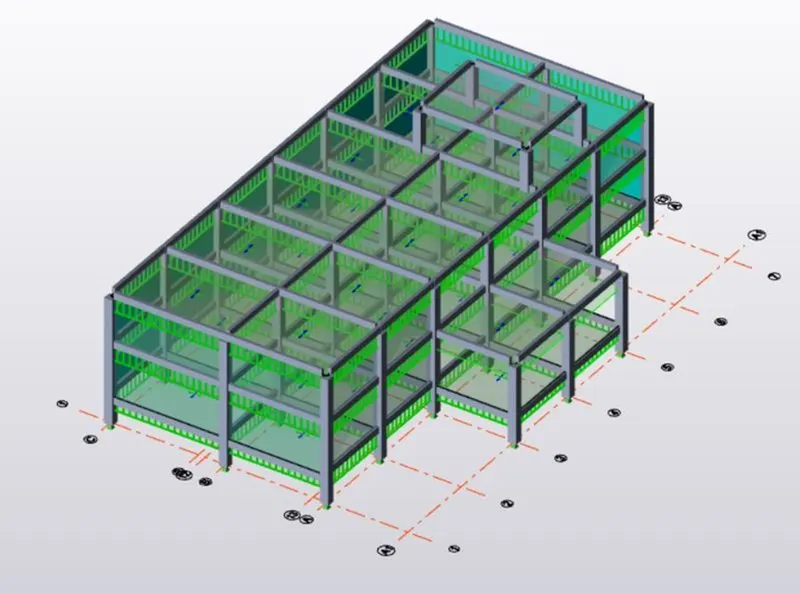
- Add live load on the structure for all the floors.
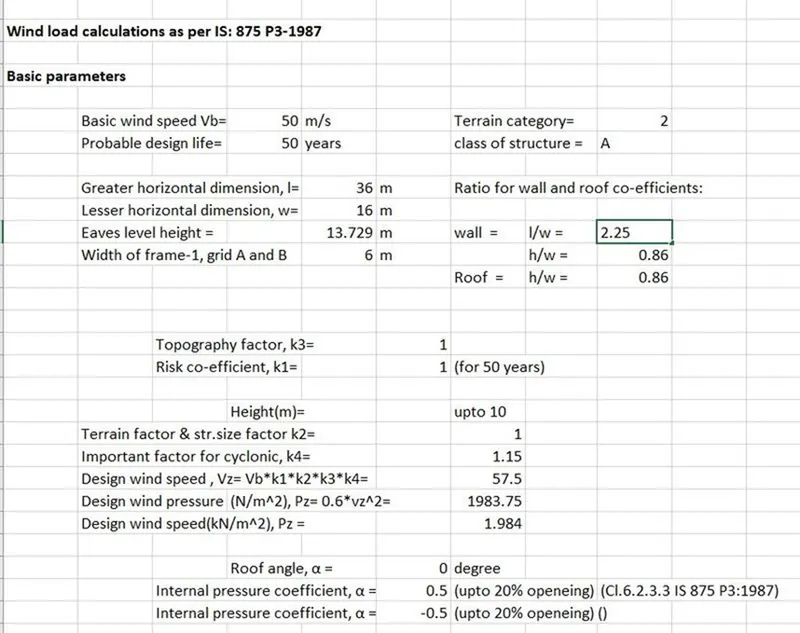
- Do the wind load calculation for all the sides for both X and Y ( including both +Cpi and -Cpi values).
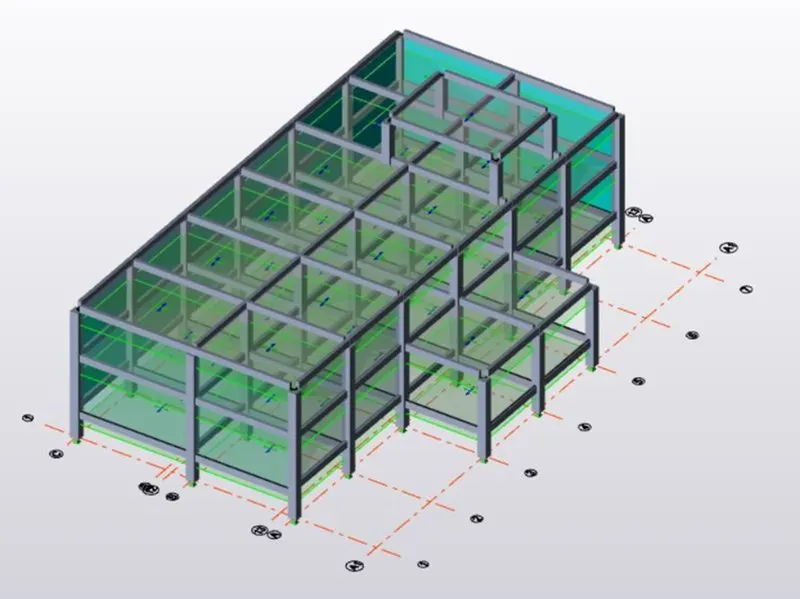
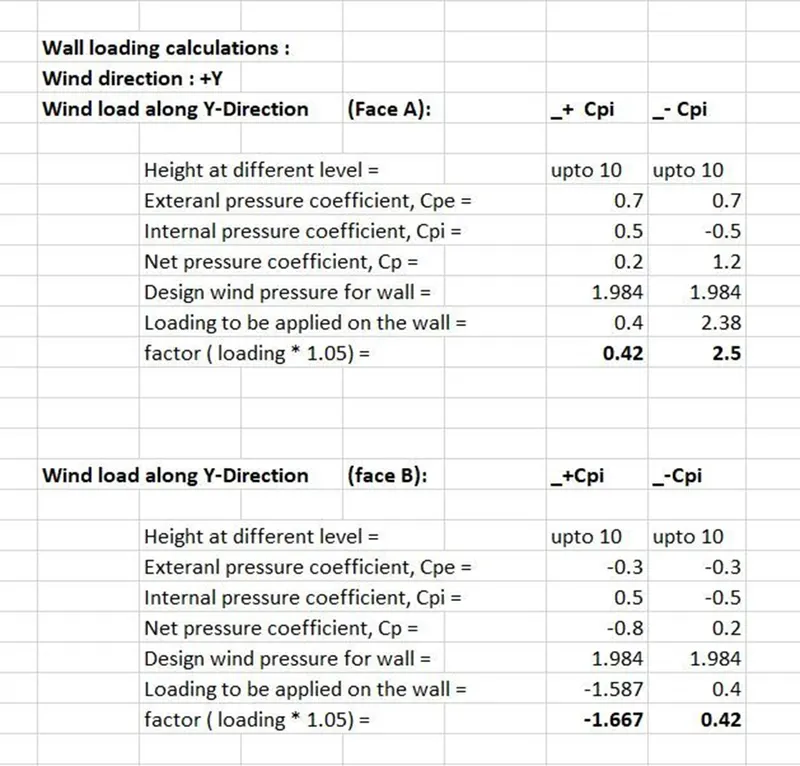
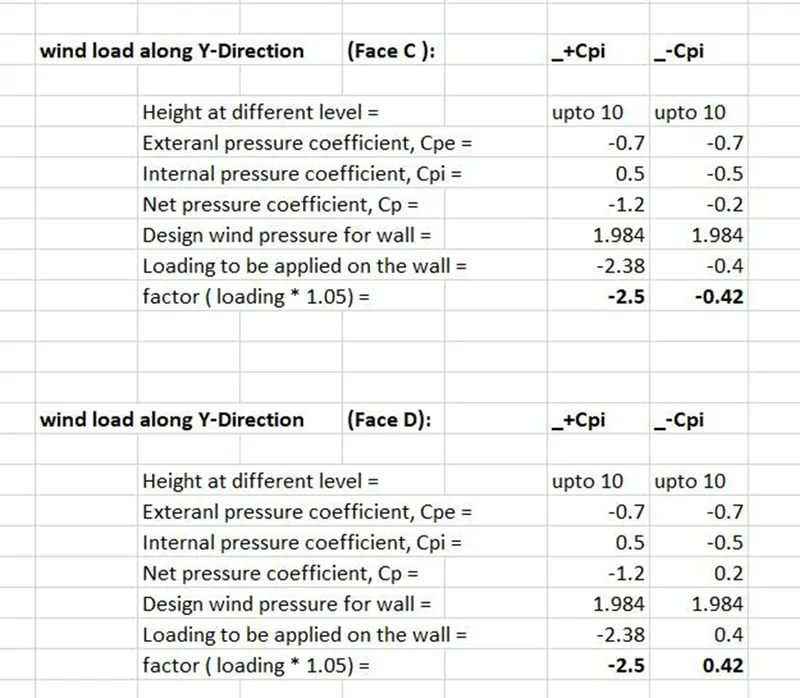
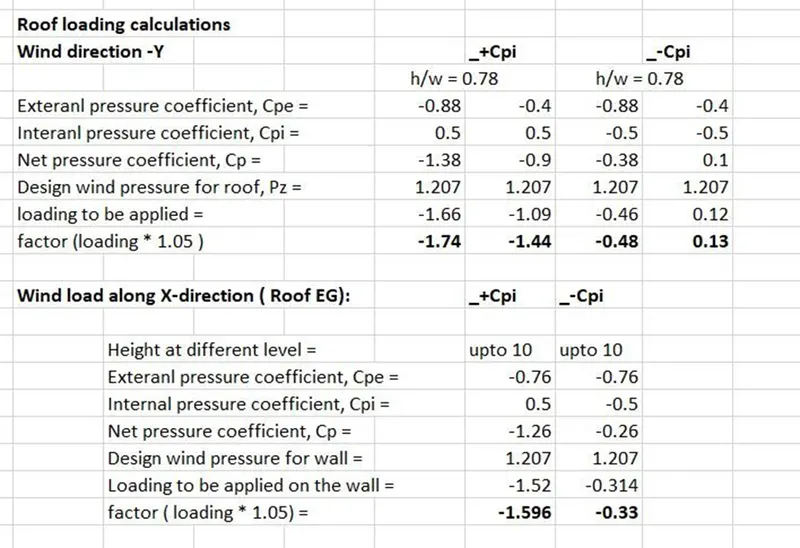
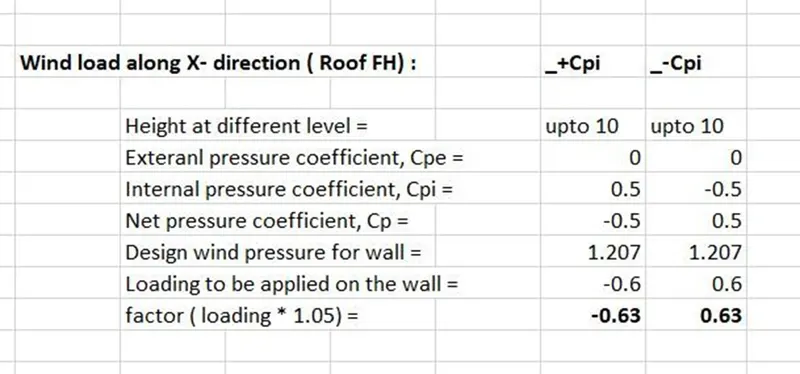
- Start applying the wind loads on the structure.
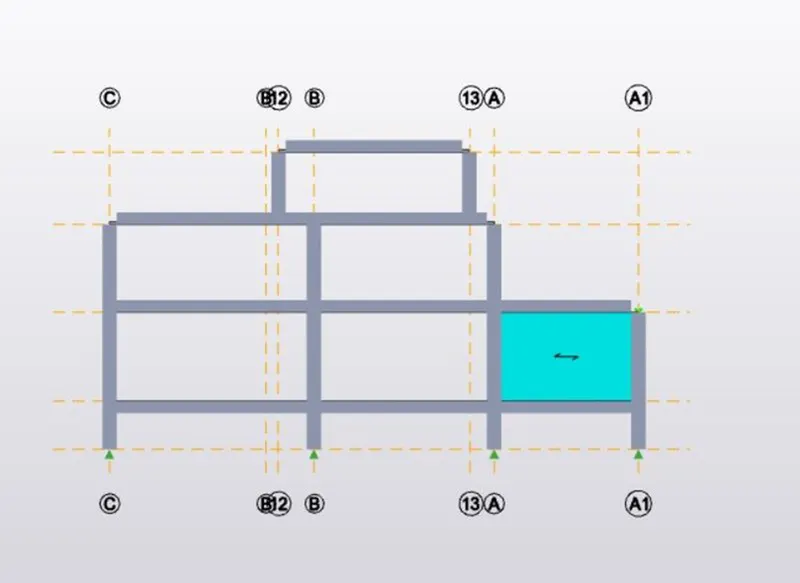
- Repeat the same process for all the sides.
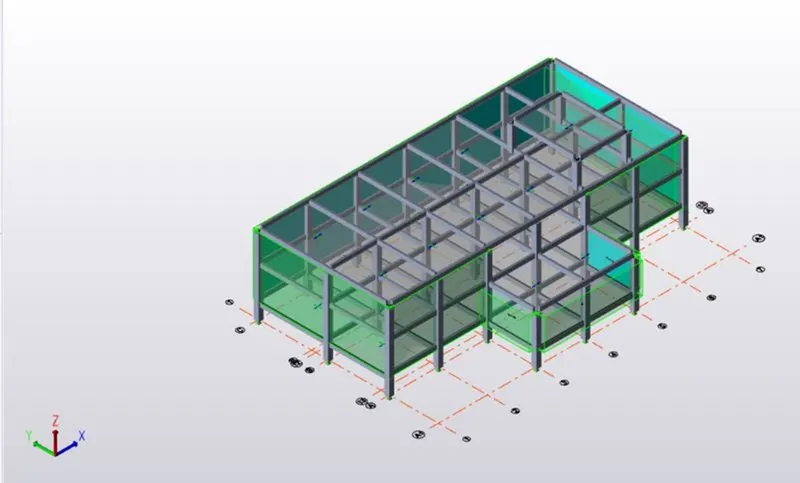
- Add roof panels to the structure and also add roof load.
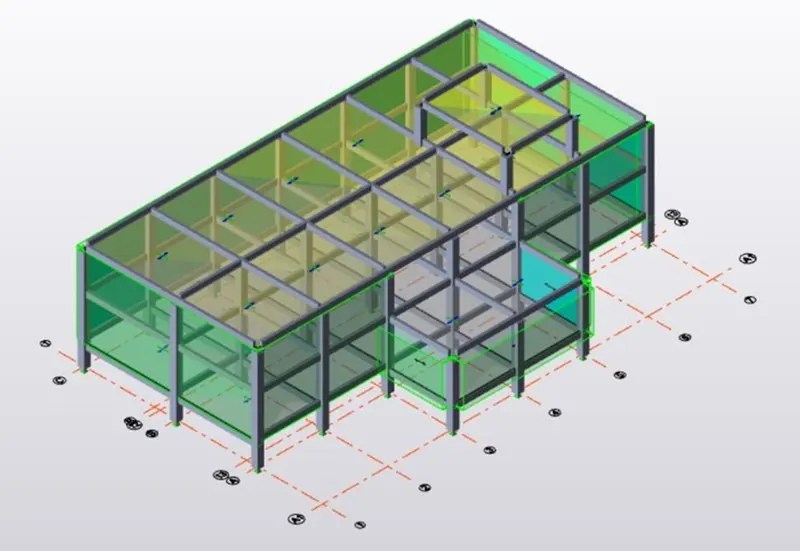
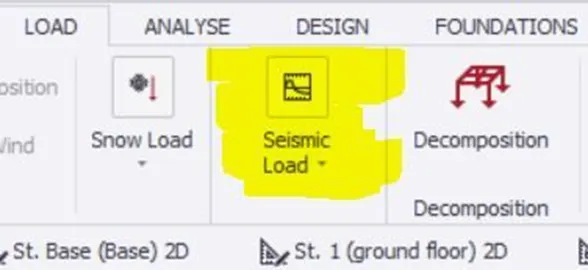
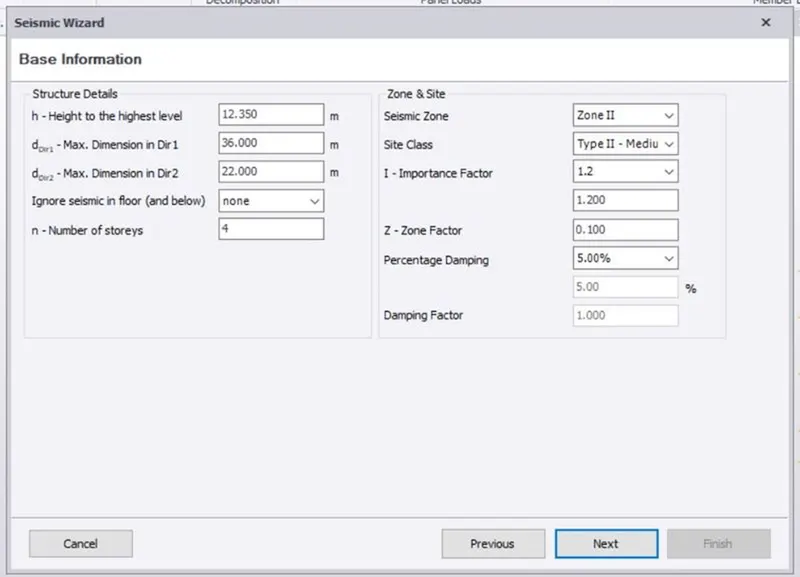
- Apply seismic load on the structure by selecting seismic wizard.
- Seismic wizard dialog box appears.
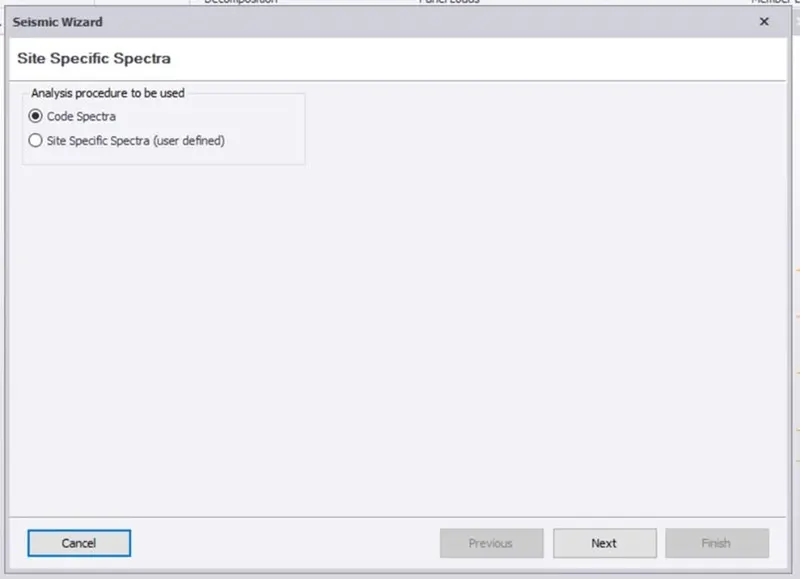
- Enter the required values required for seismic load calculation.
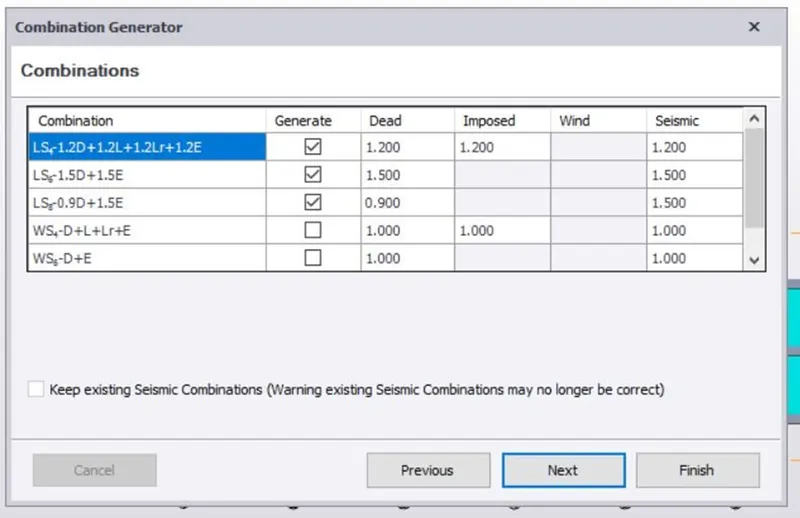
- Add loads which will be applied are visible now.
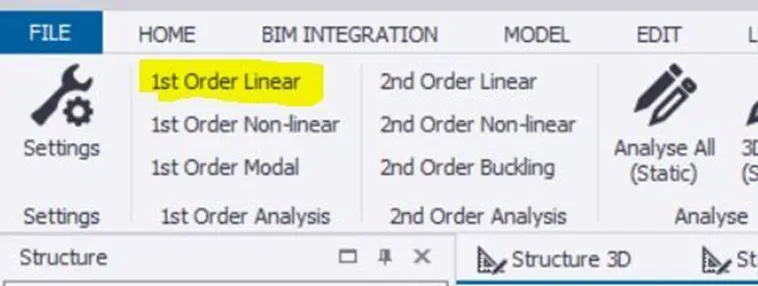
- Analyze the structure by selecting 1st order Linear option.
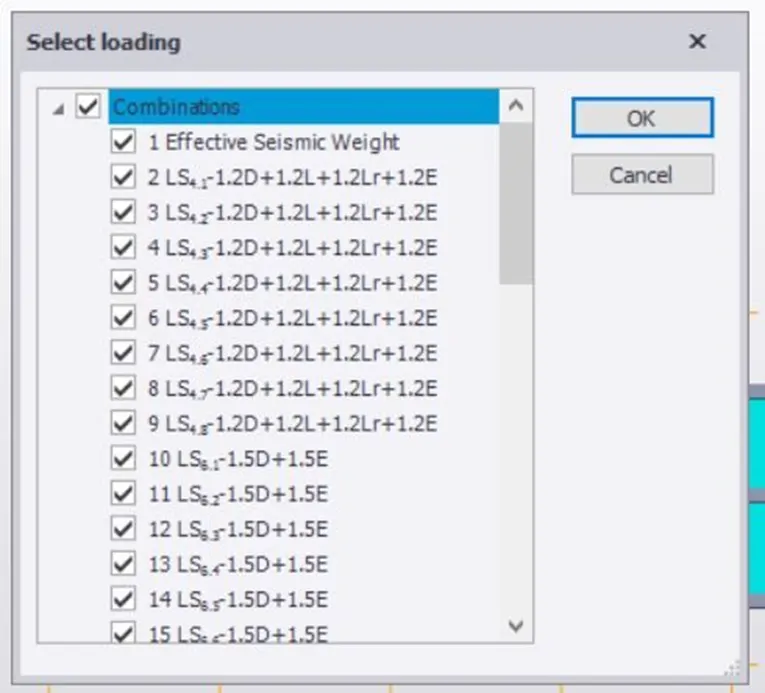
- Select all the loadings required for the analysis.
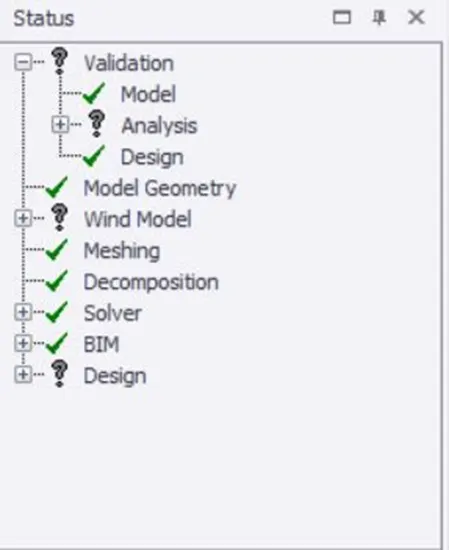
- Validate the model to check that there are no errors.
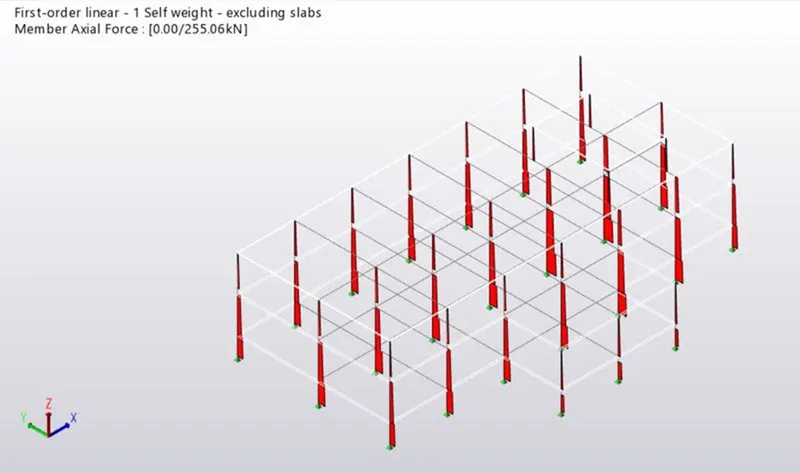
- Check the axial load diagram.
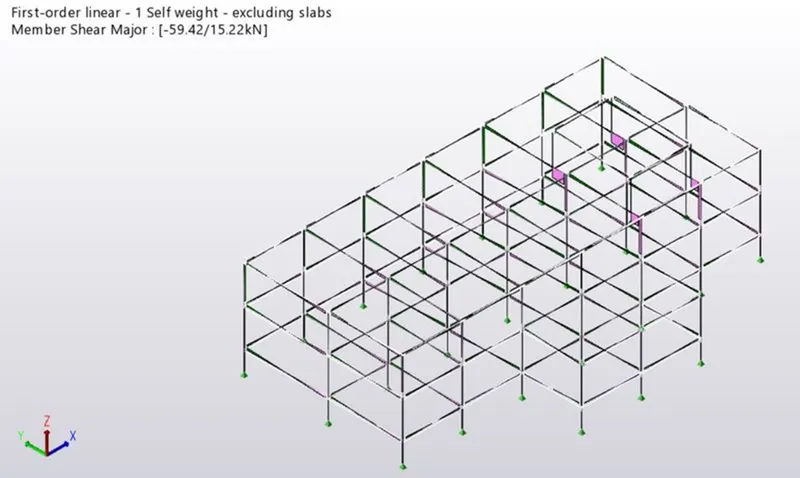
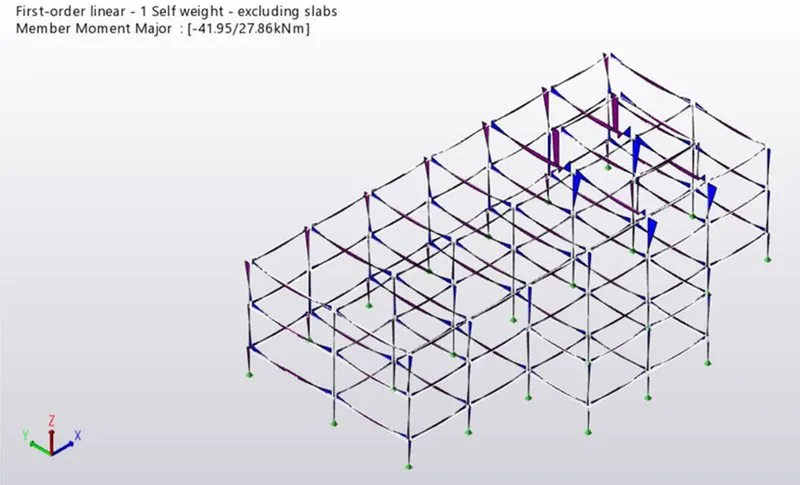
- Check the shear force and bending moment diagram.
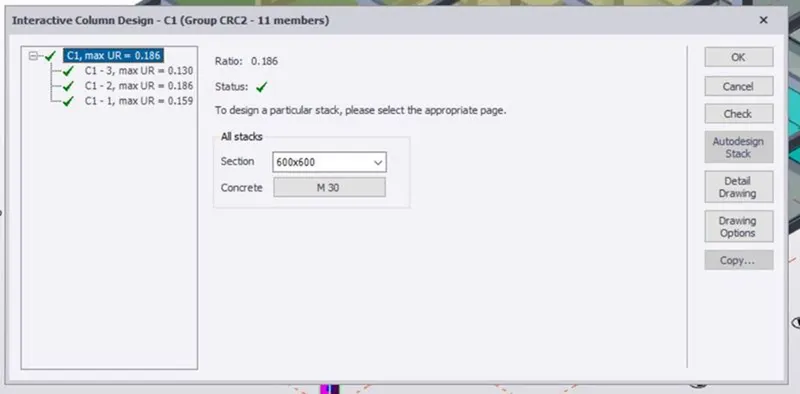
- Check eachand every coumn and perform interactive design.
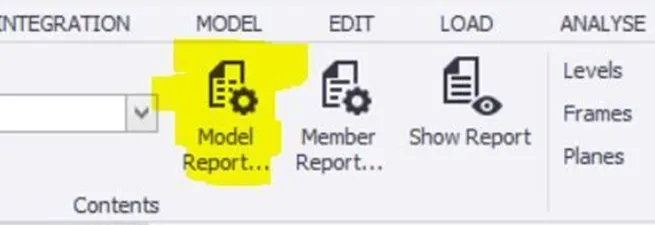
- Now we can model the structure by pressing on model report to obtain the reports.
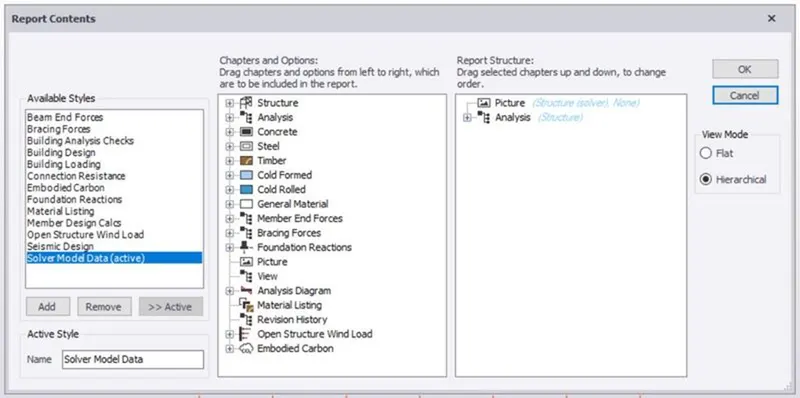
- Select what all reports we need.
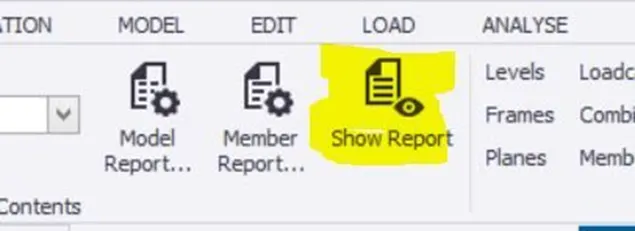
- Now for seeing the reports we have to press on show reports option.
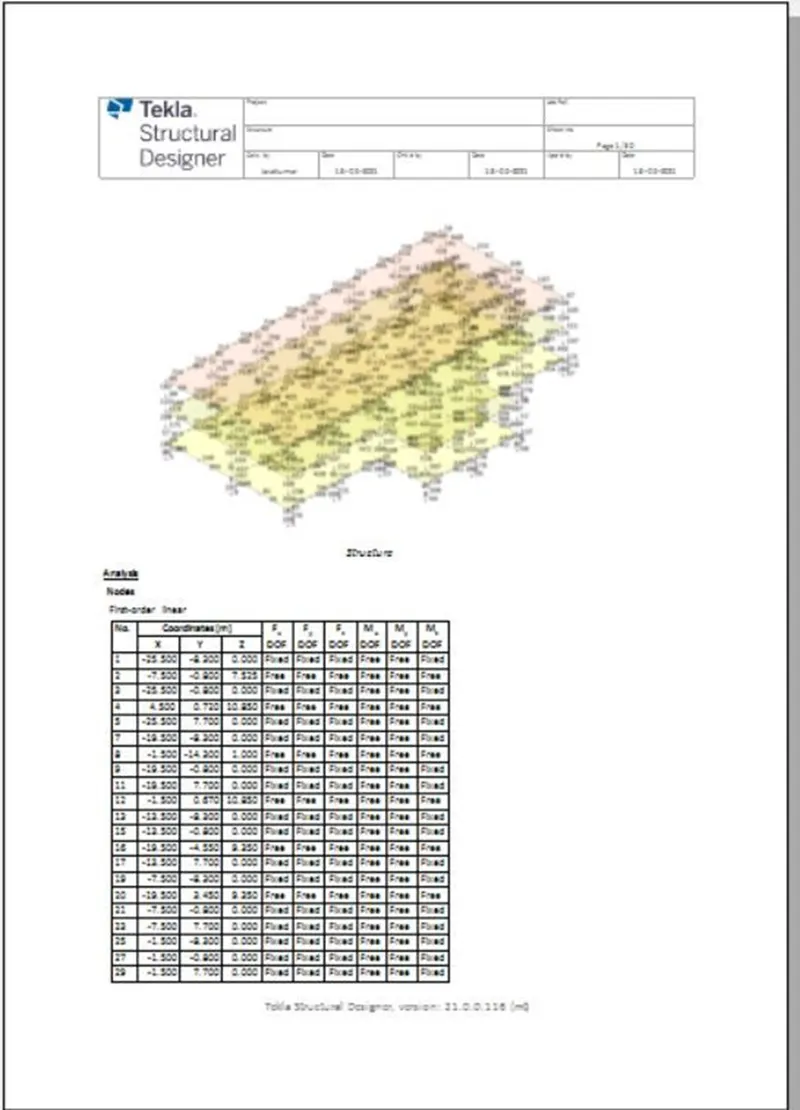
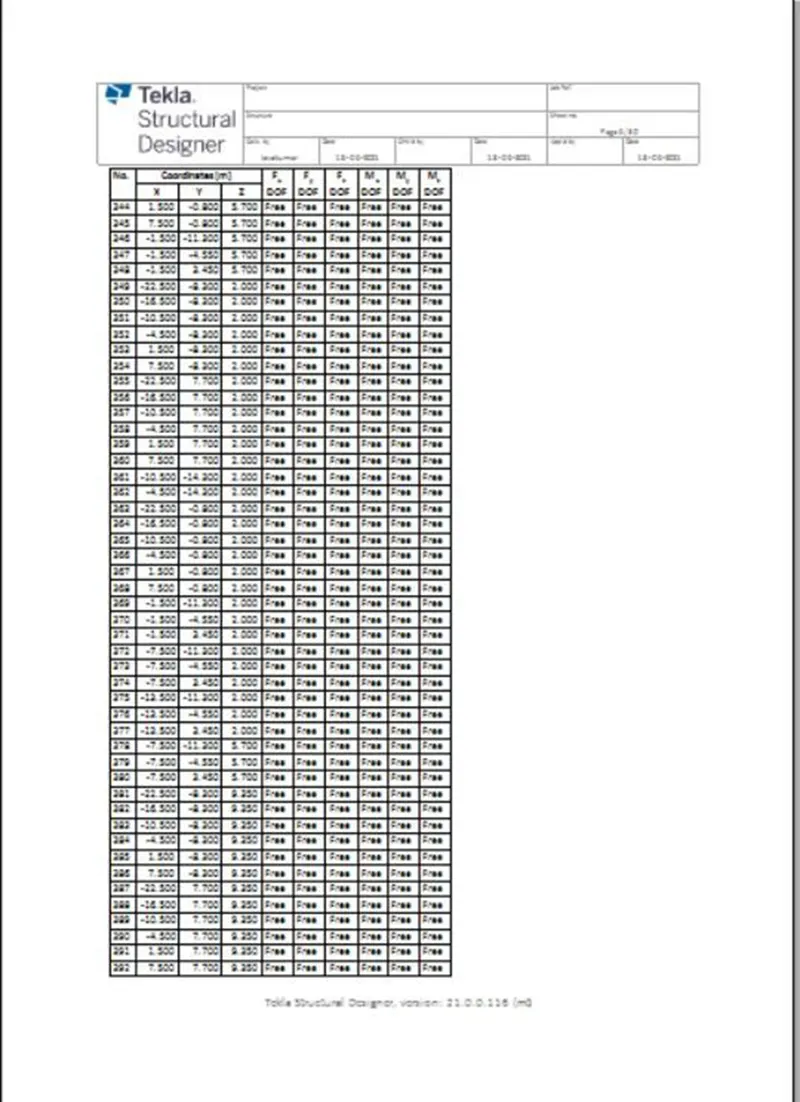
RESULT :
With the above steps we can design and model the structuer as per the given plan. We can add loads ( dead, live, wind and seismic) on the structure and analyze the structure.