Project 2
Aim: Perform Shell , Volume Meshing alongwith creation of 1D connections for Rear Macpherson Strut Suspension Assembly
Procedure:
- Perform Geometry check and do topology cleanup of CAD model
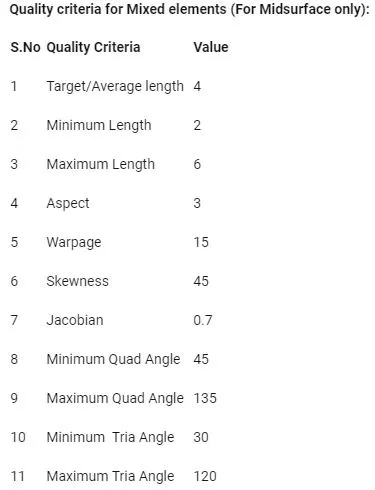
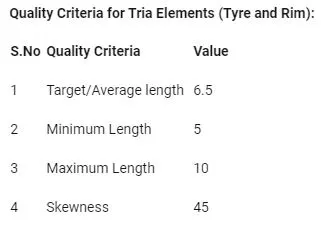
- Use Volume mesh for Tyre and Rim with below Quality criteria. (Use Tria Element)
- Use mid surface only when the thickness is uniform and less than 5 mm. (Use Mixed elements)
- Create 1D CBAR elements suspension spring
- Create Rigid connections for different assembly parts
- Create Seamweld connections for necessary parts
- Perform Symmetry to get Complete full Rear Suspension Assembly
Geometry cleanup:
As soon as when we import our CAD model in ANSA , we need to do geometry check on it to see if model has any issue . If it contains some issue then cleanup has to be done on it.
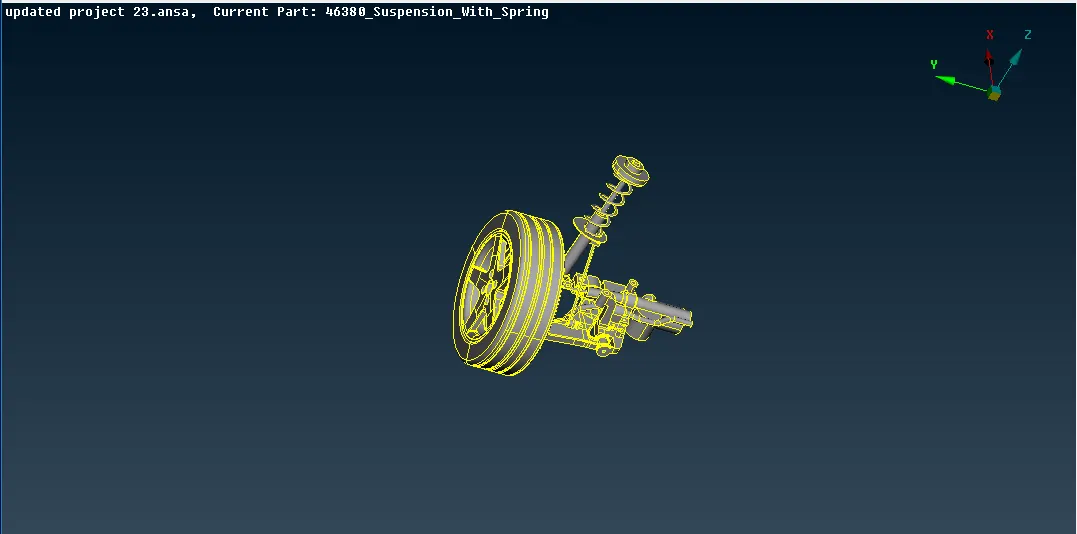
Image of imported CAD model of Rear suspension
Mid surface extraction of some components:
There are some components in suspension assembly which are having uniform thickness or having thickness less than 5 mm . For such components shell meshing is performed. Element quality to be maintained are given as:
The components such as Lower Control Arm with Ball joint part at the end, Lower mounting Strut for which shell meshing is done except for Suspension spring which is denoted by 1D CBAR elements
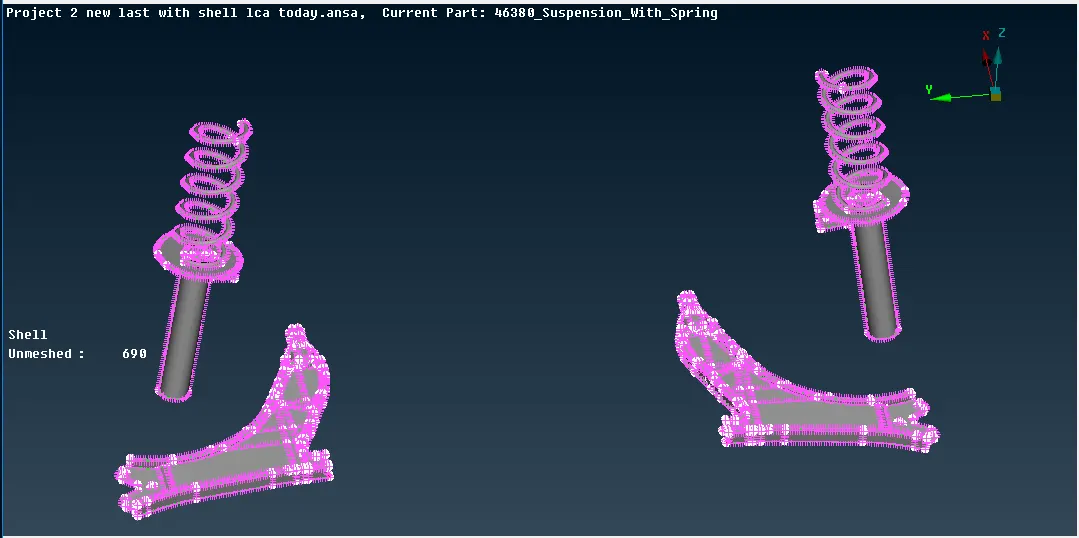
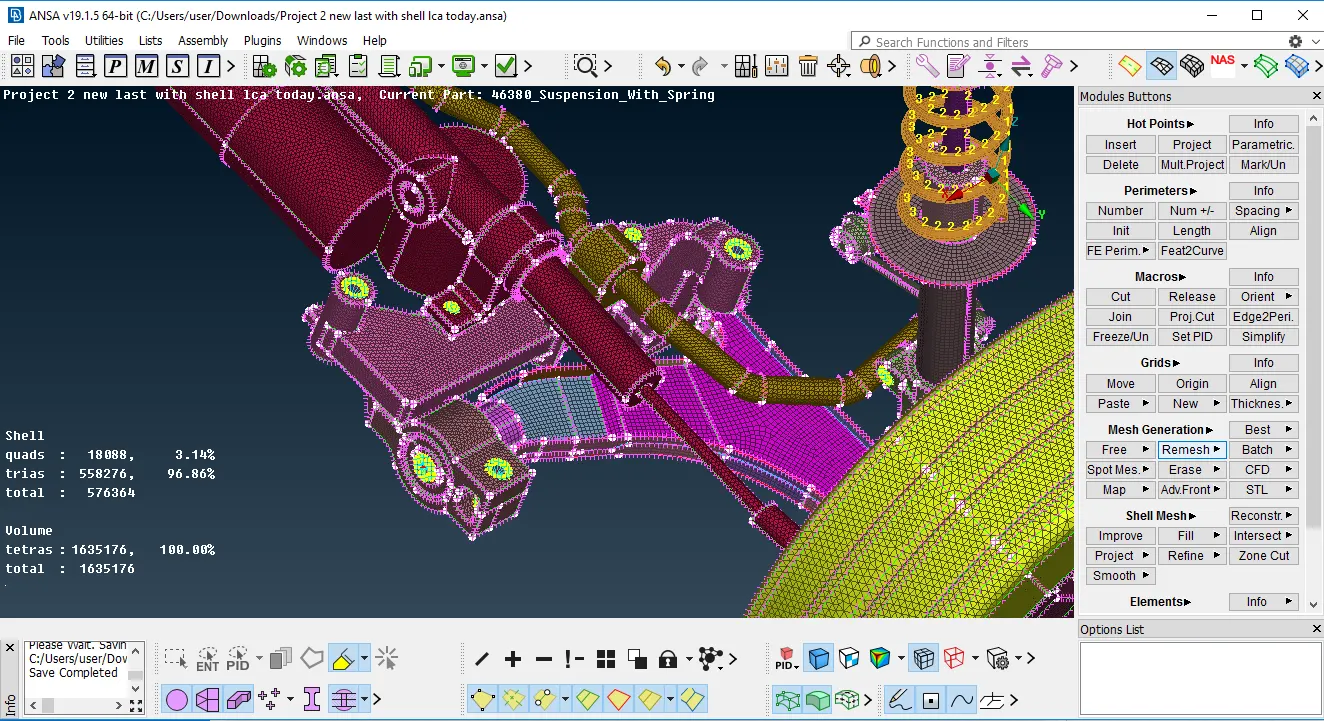
Image of Shell mesh created on LCA with Ball joint and Lower Mounting strut
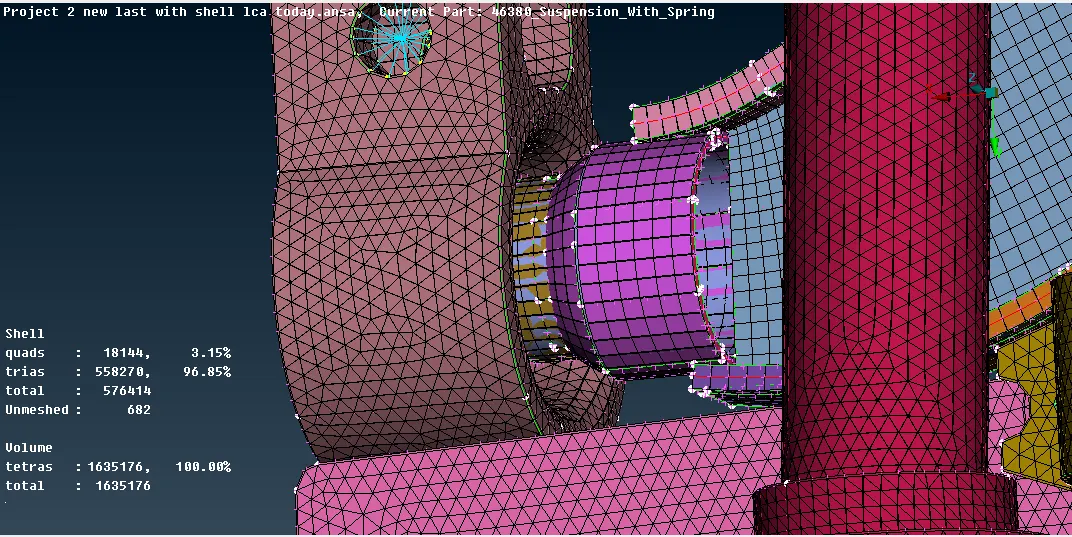
Image of Shell to Solid mesh representation created on LCA with Ball joint and Lower Mounting strut
Image of PIDs created for Suspension assembly:
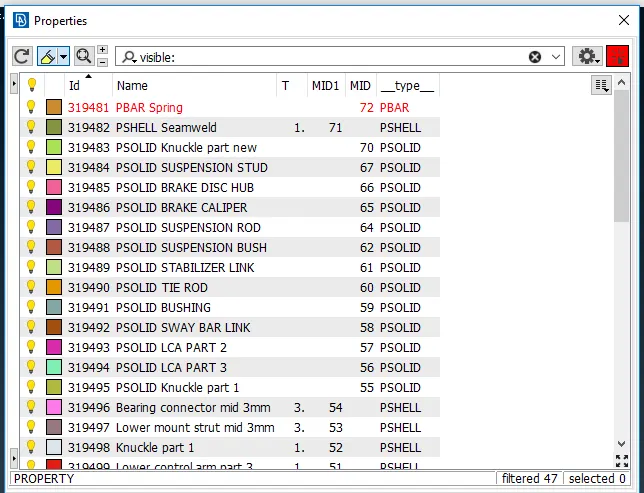
Volume Tetra Meshing For Tyre, Rim and Other Suspension components:
In order to perform Tetra mesh , we need to create 2D shell mesh with TRIA and Ortho TRIA elements on components with proper maintaining of Element quality parameters and then convert these 2D shell mesh in 3D Solid Tetra by defining Volume for it, creating Solid property card and Meshing with Tetra Rapid in List on SOLID mesh deck. Element quality use for maintaining 2D shell and 3D solid mesh are:
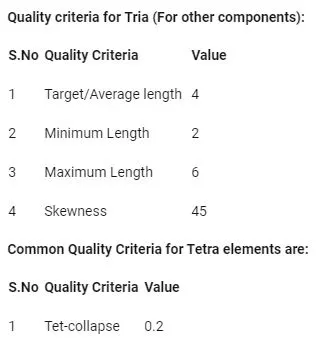
Tyre:
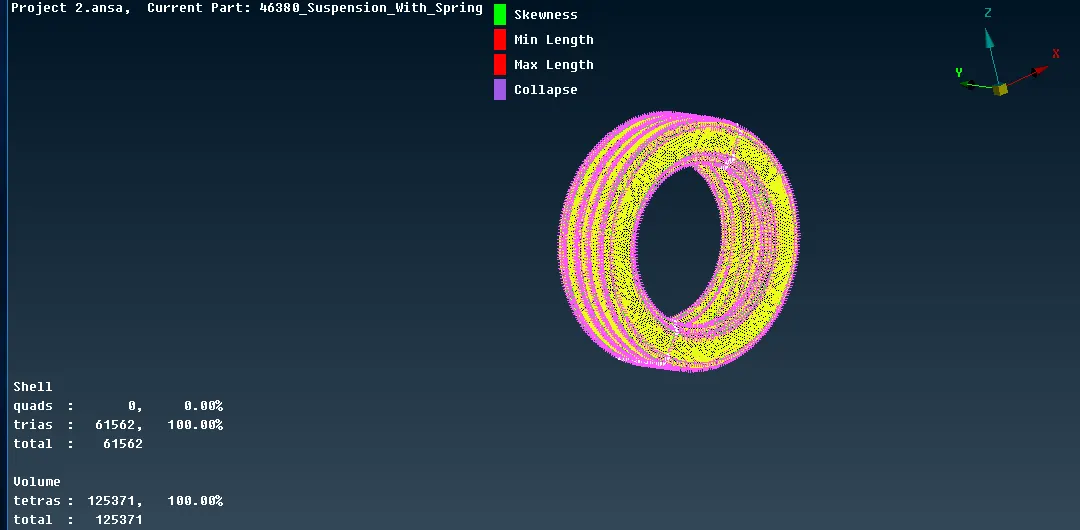
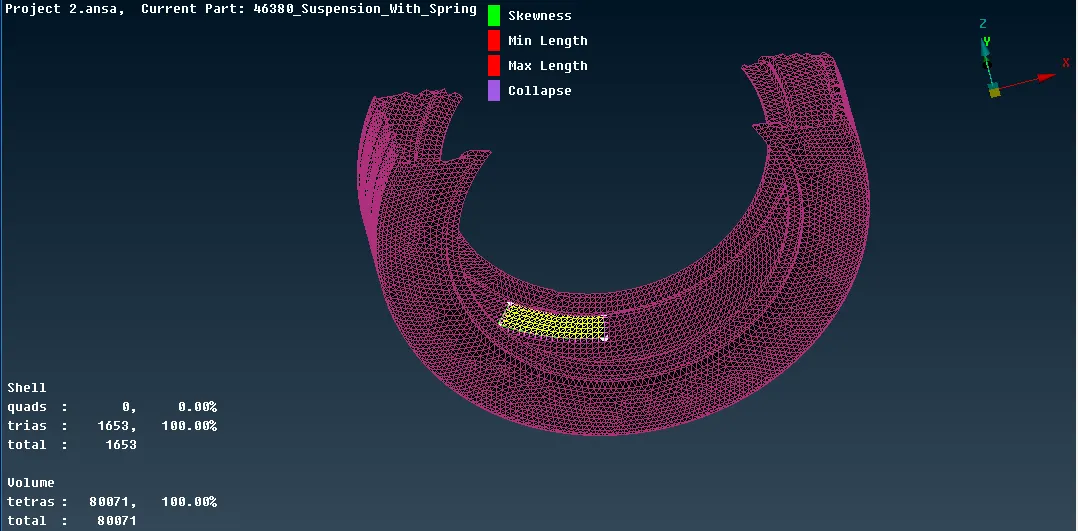
Images of Tetra mesh created on Tyre
Rim:
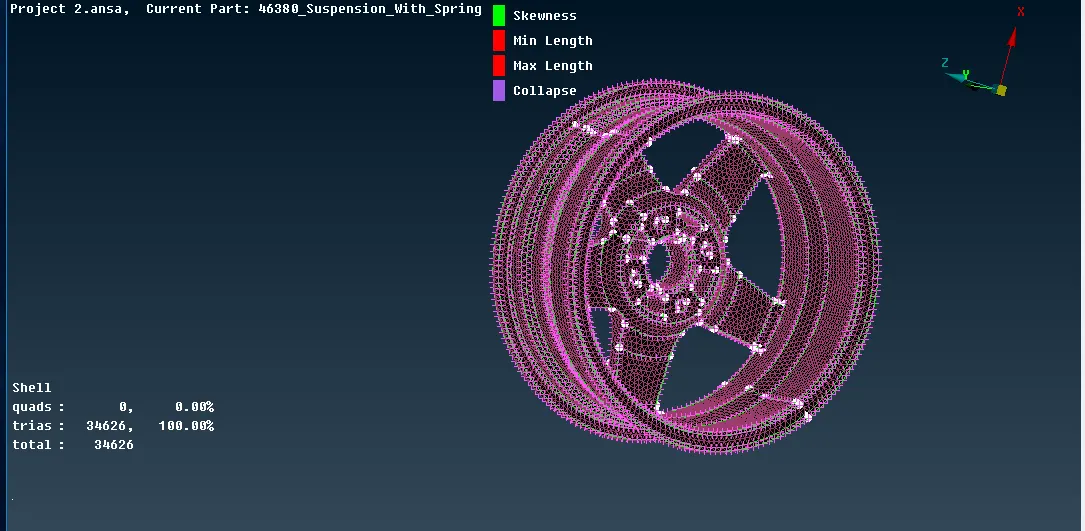
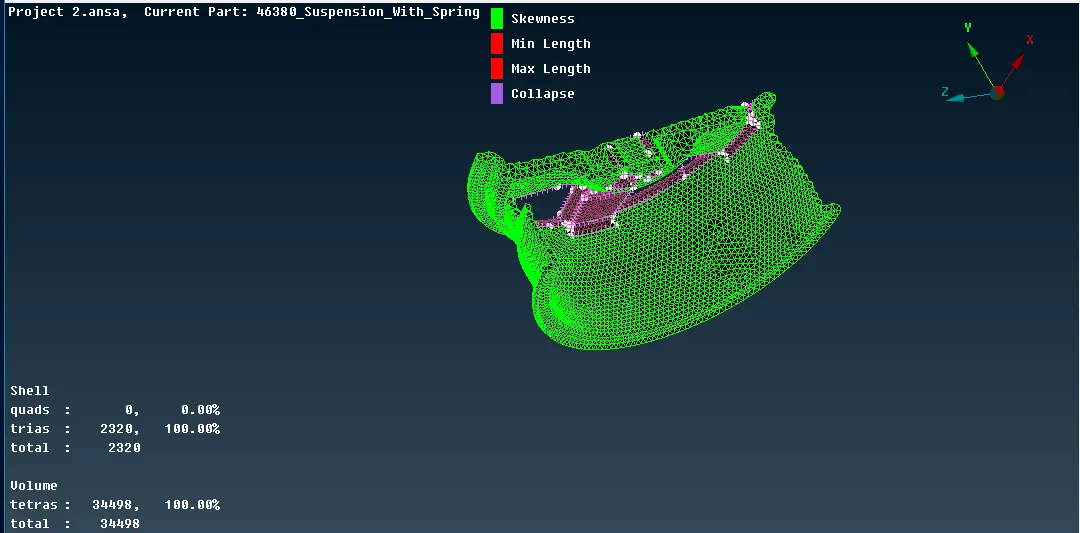
Images of Tetra mesh created on Rim
Different parts of Suspension Assembly:
Brake assembly parts including Knuckle , Brake caliper , Brake disc and more:
Images of Tetra mesh created on Knuckle parts
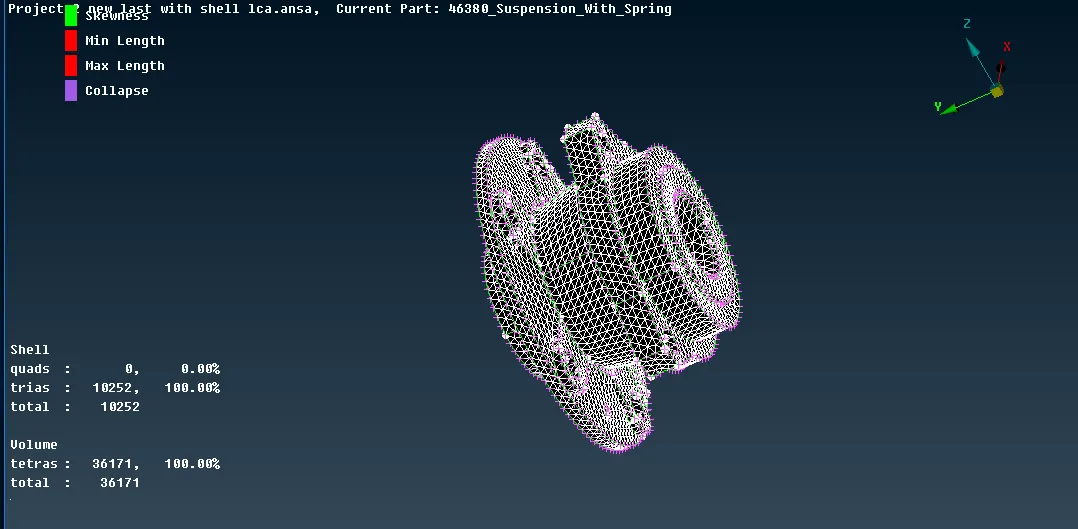
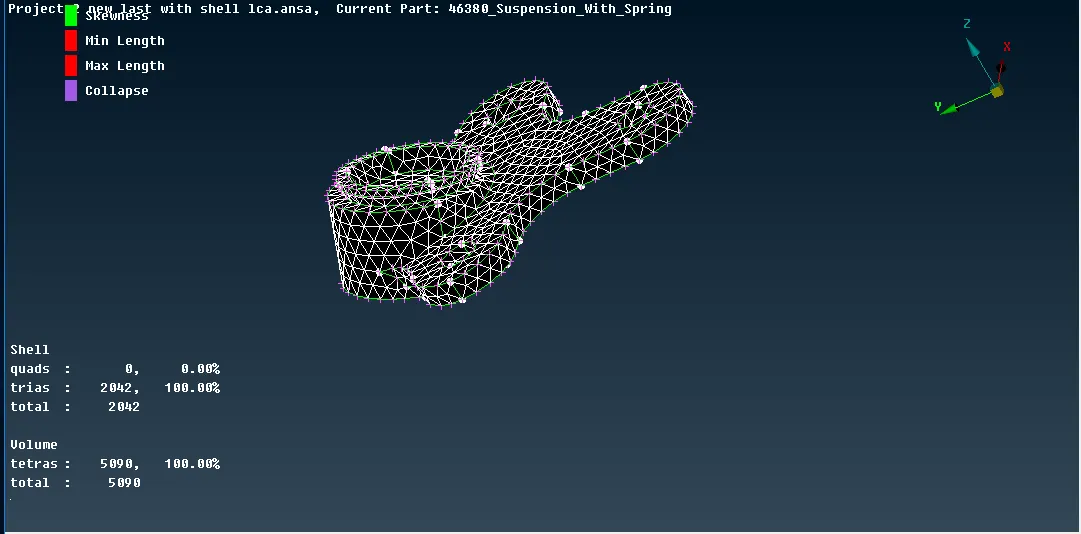
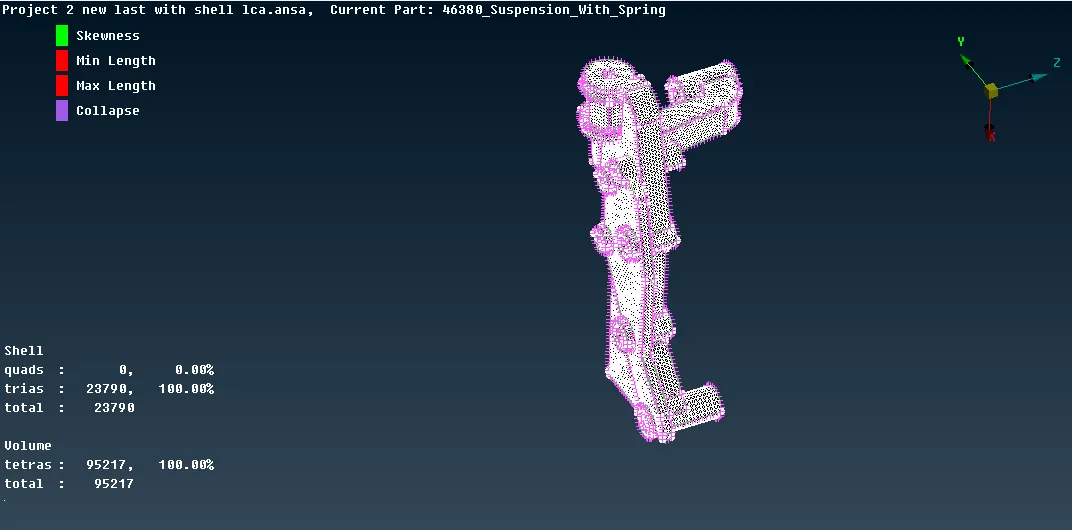
Image of Tetra mesh created on Brake caliper
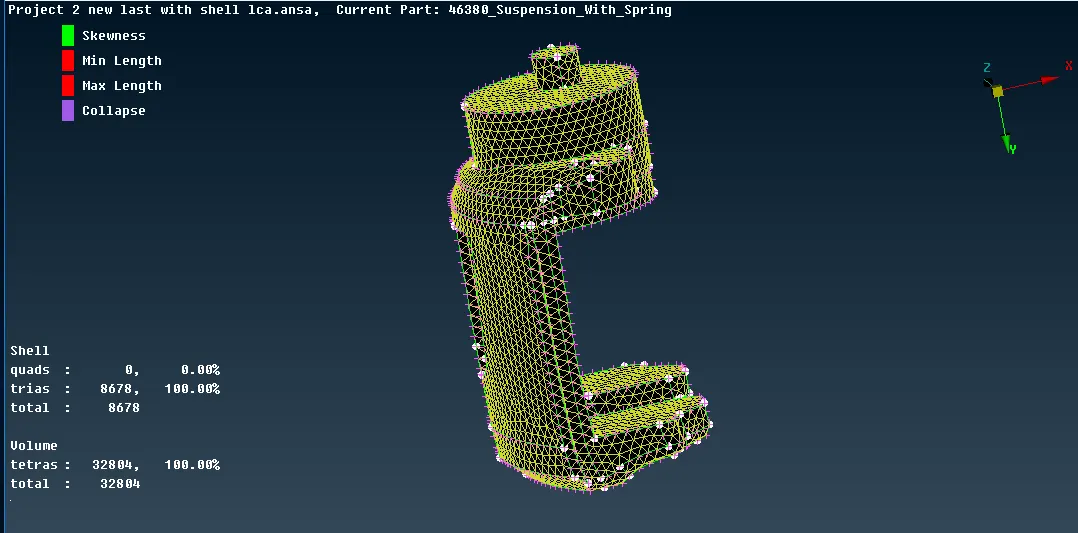
Image of Tetra mesh created on Brake disc
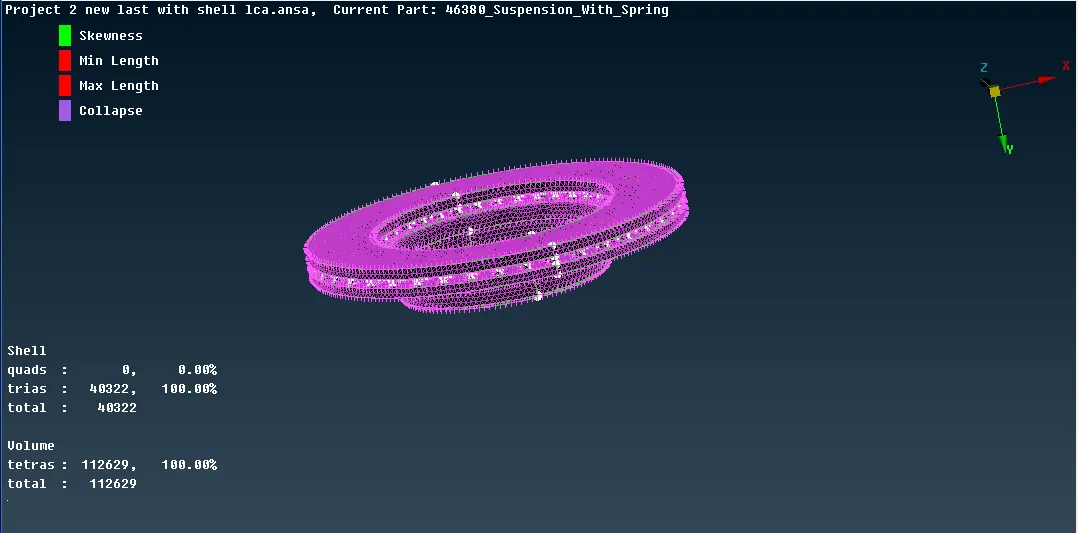
Image of Tetra mesh created on Sway bar
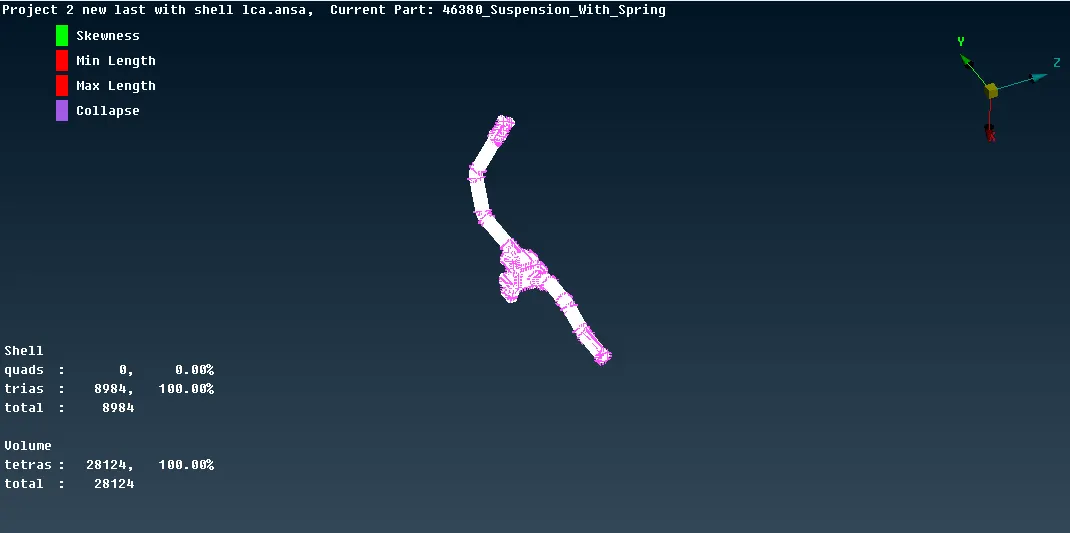
Image of Tetra mesh created on Bushing
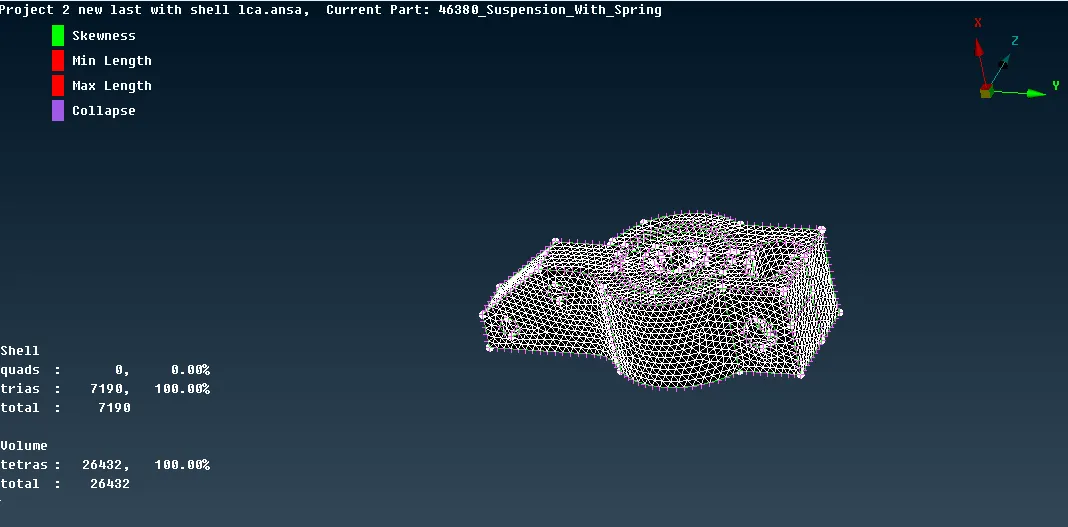
Image of Tetra mesh created on Drive shaft assembly with Tie rod
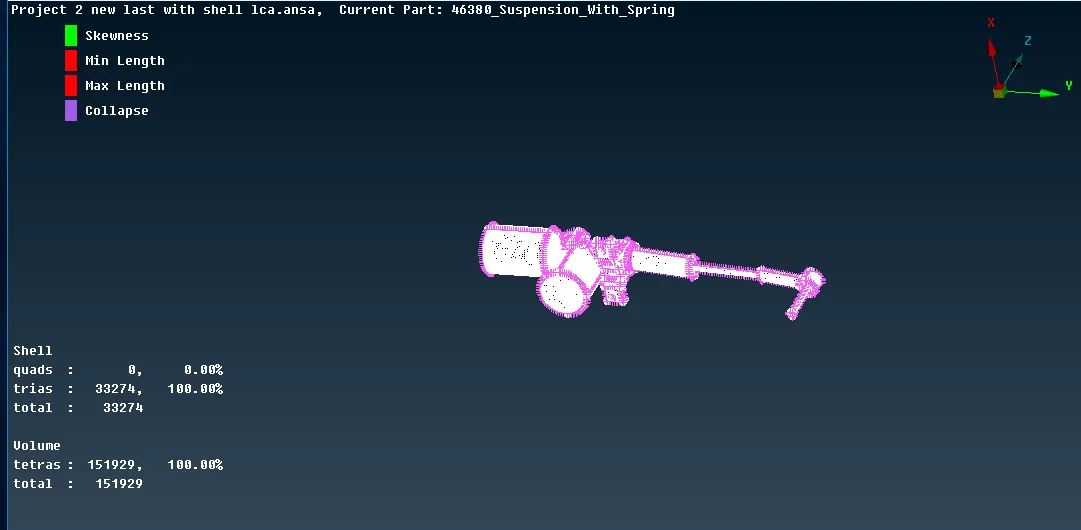
Image of Tetra mesh created on Stabilizer link
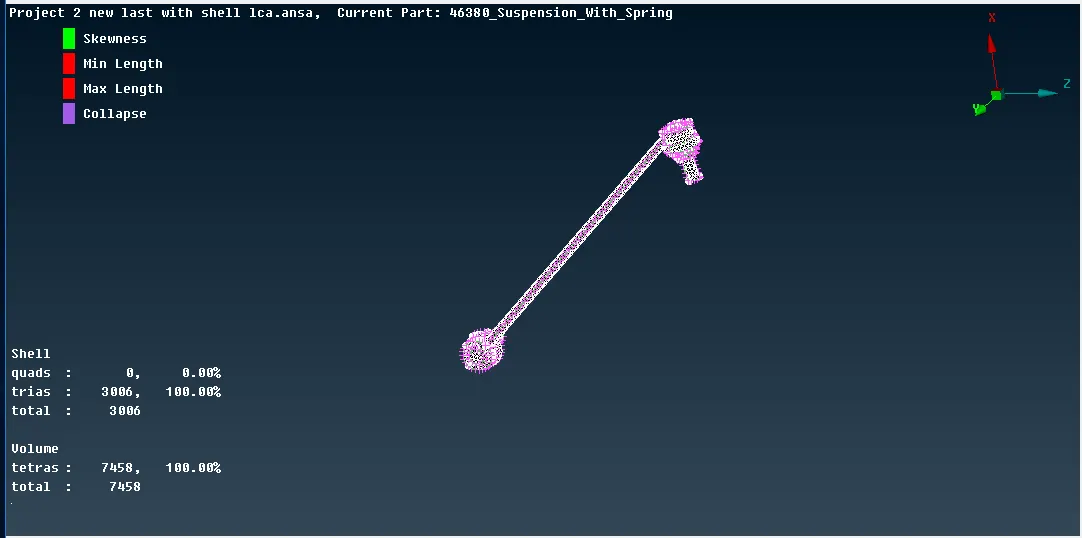
Image of Tetra mesh created on Suspension rod
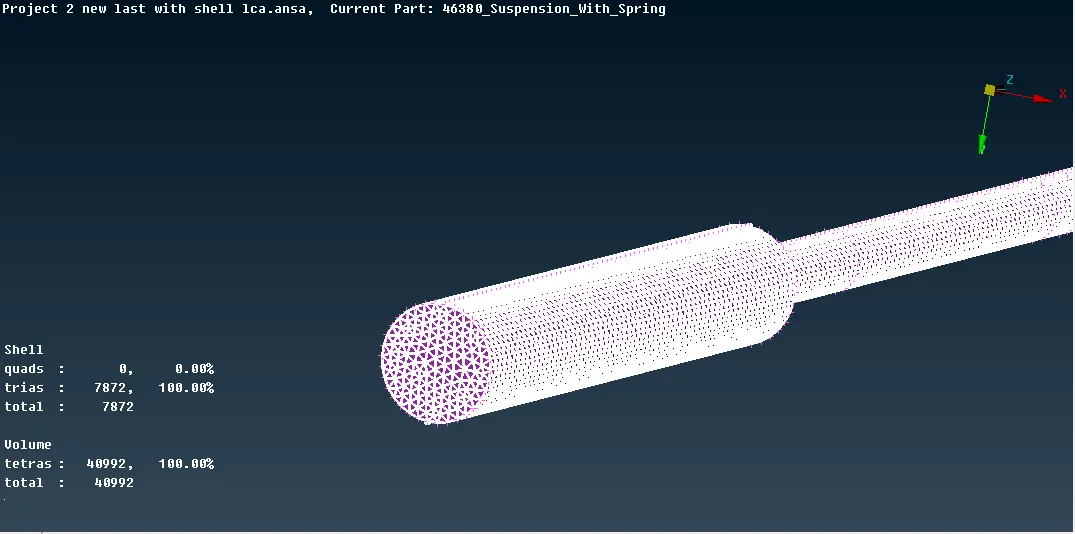
Image of Tetra mesh created on Suspension Bushing
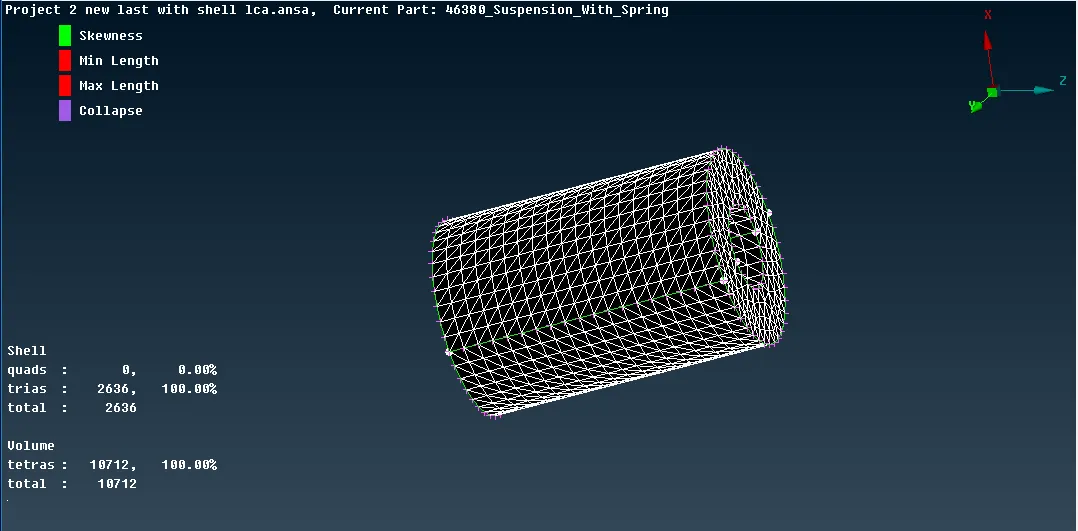
Image of Tetra mesh created on Suspension stud
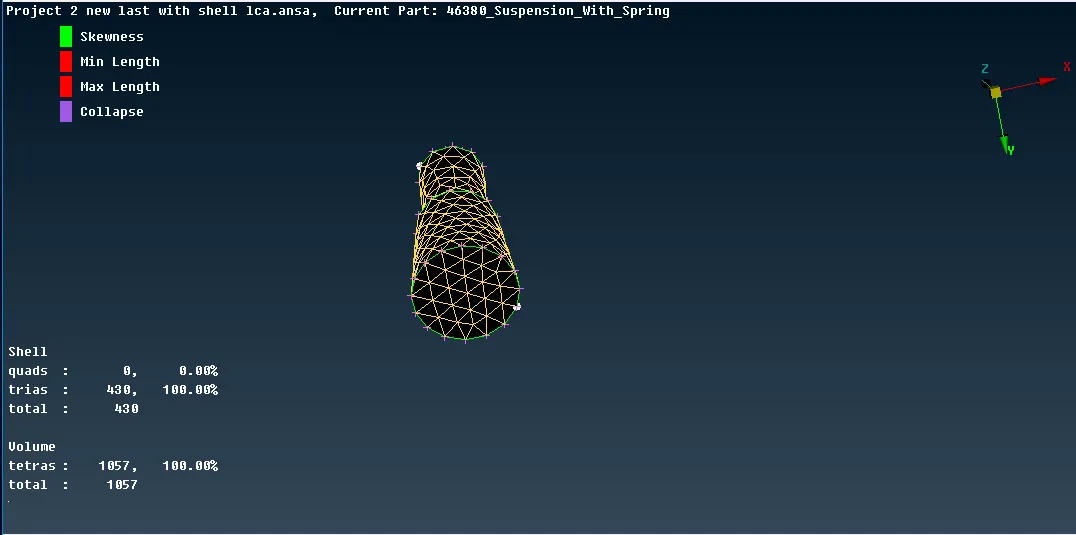
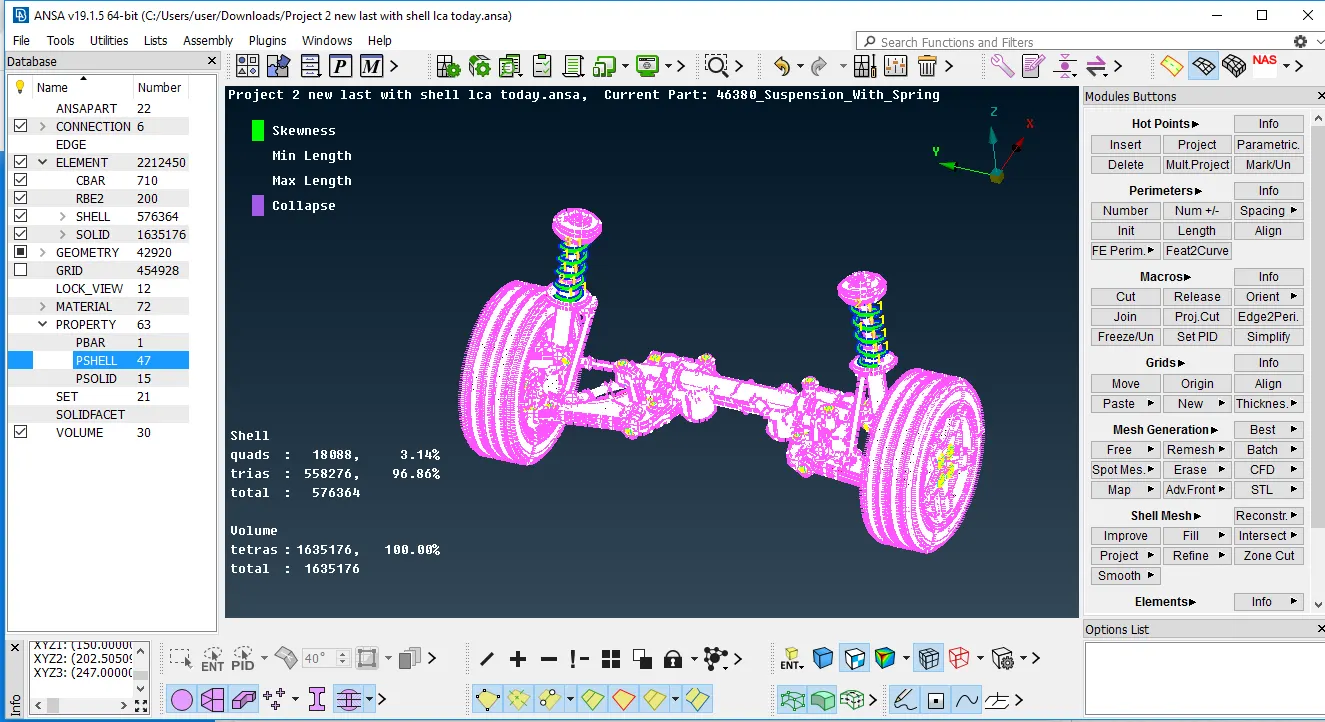
Images of Half Suspension assembly with tire and rim:
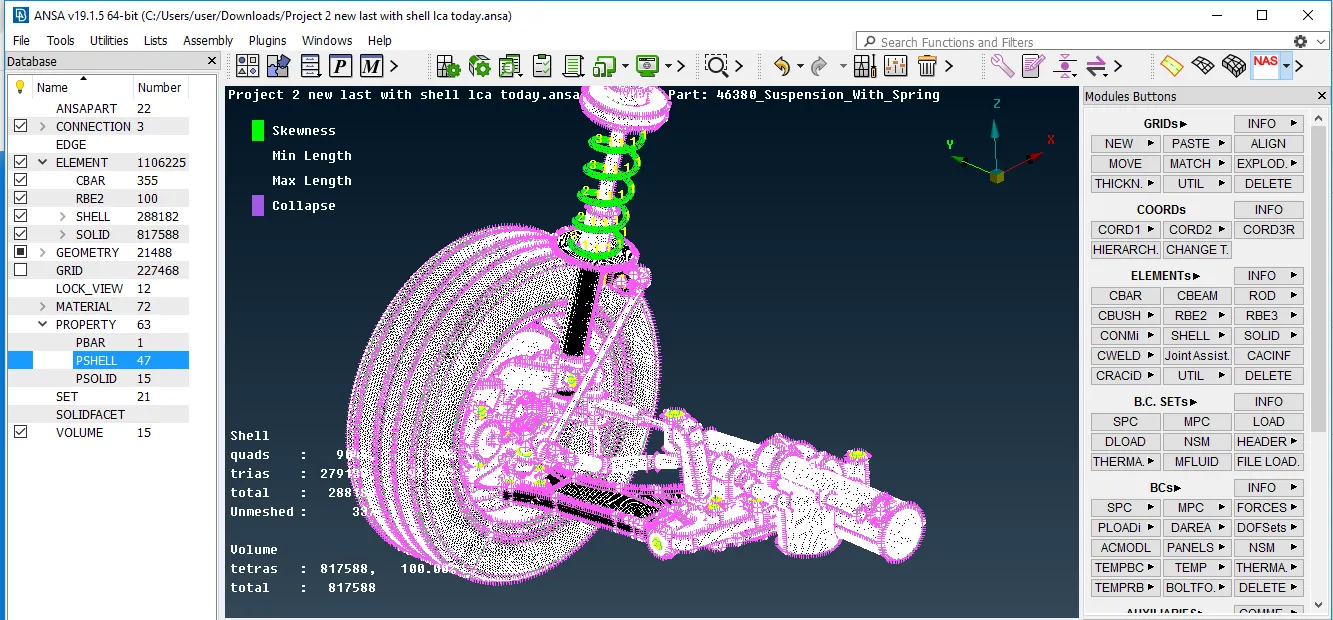
Some images of Rigid connection created on Suspension assembly:
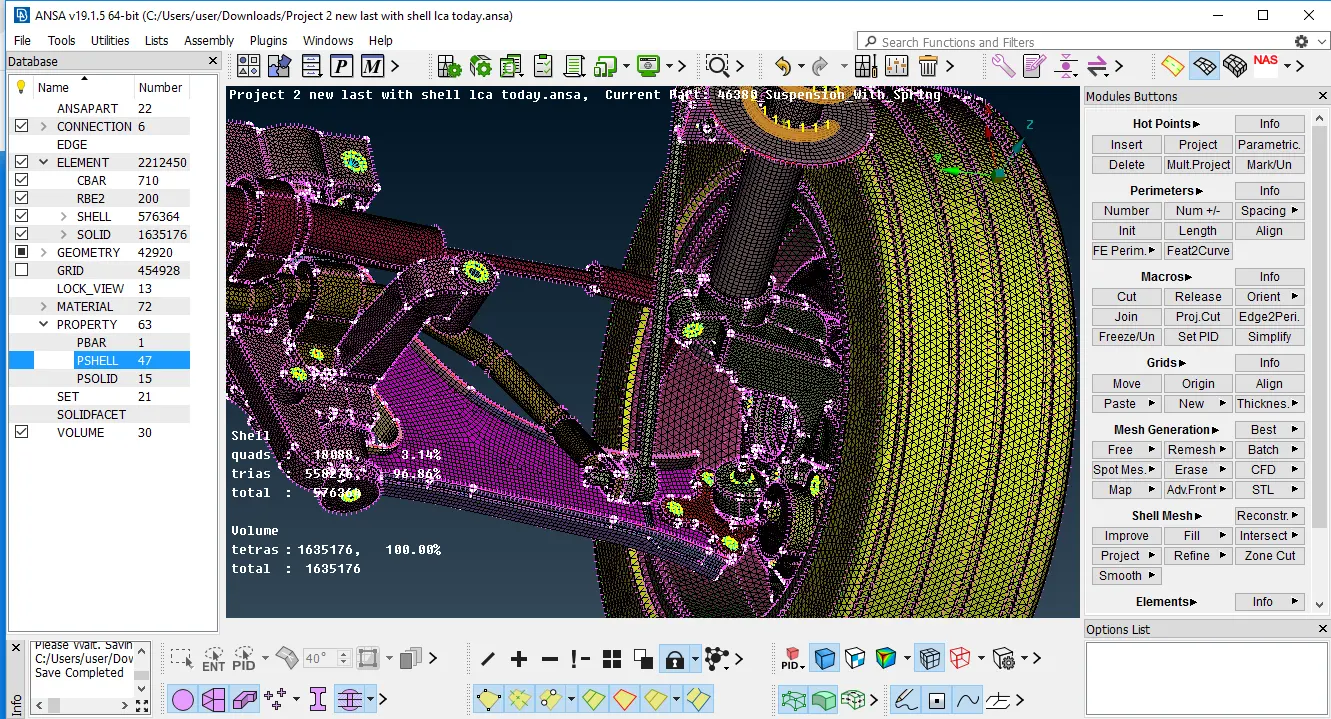
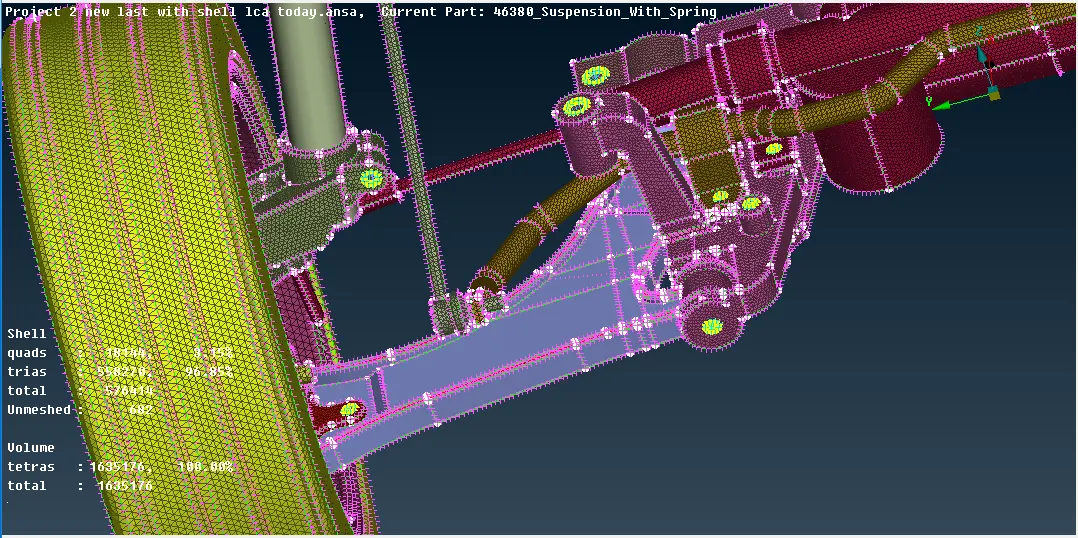
Image of 2D shell created without Solid representation
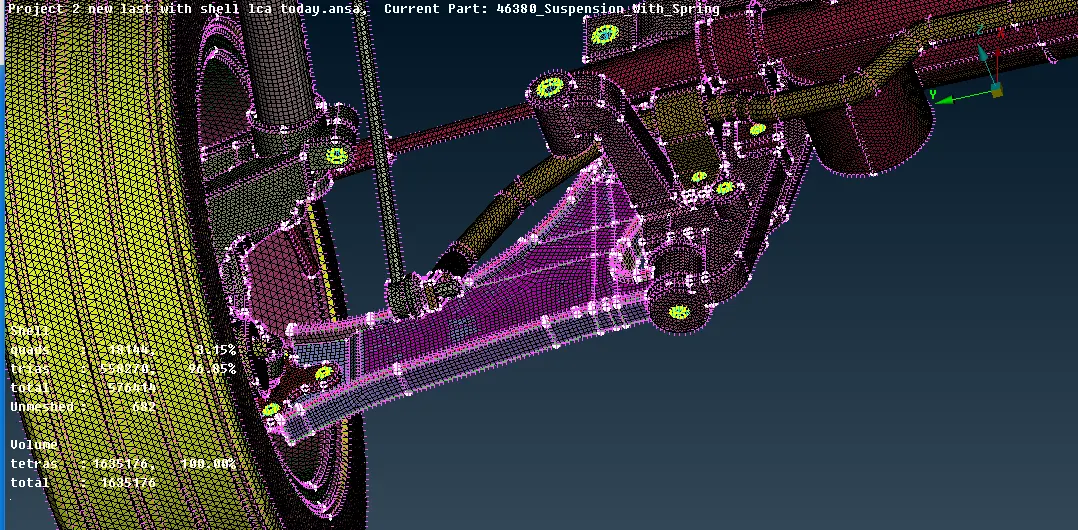
Image of 2D shell created with Solid representation
Image of Spring represented as CBAR elements:
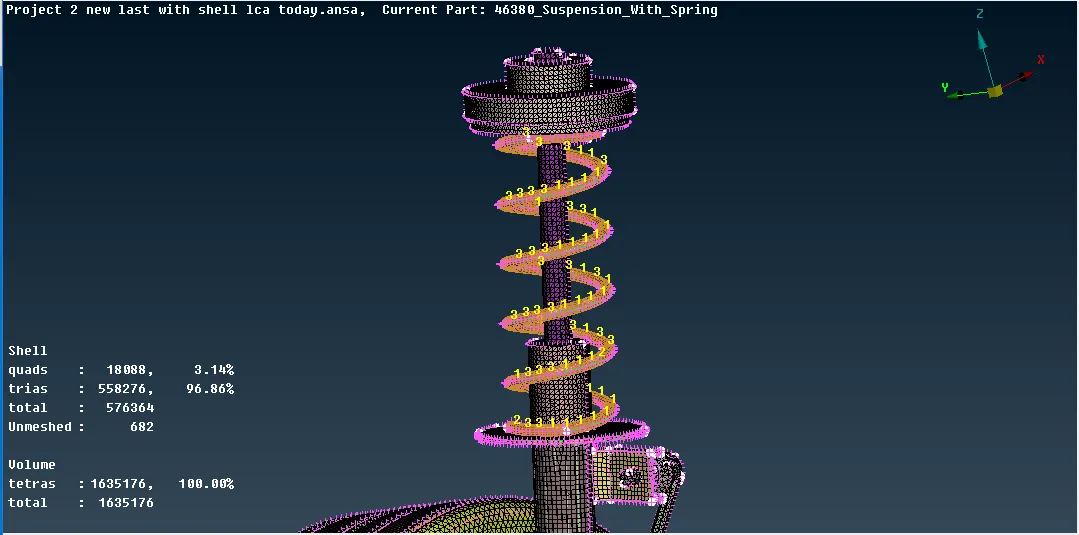
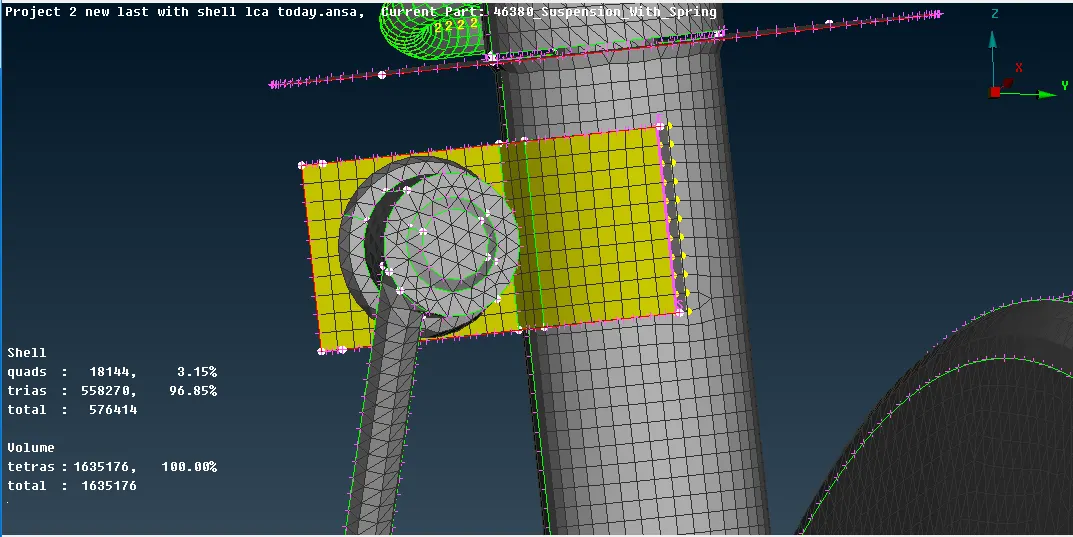
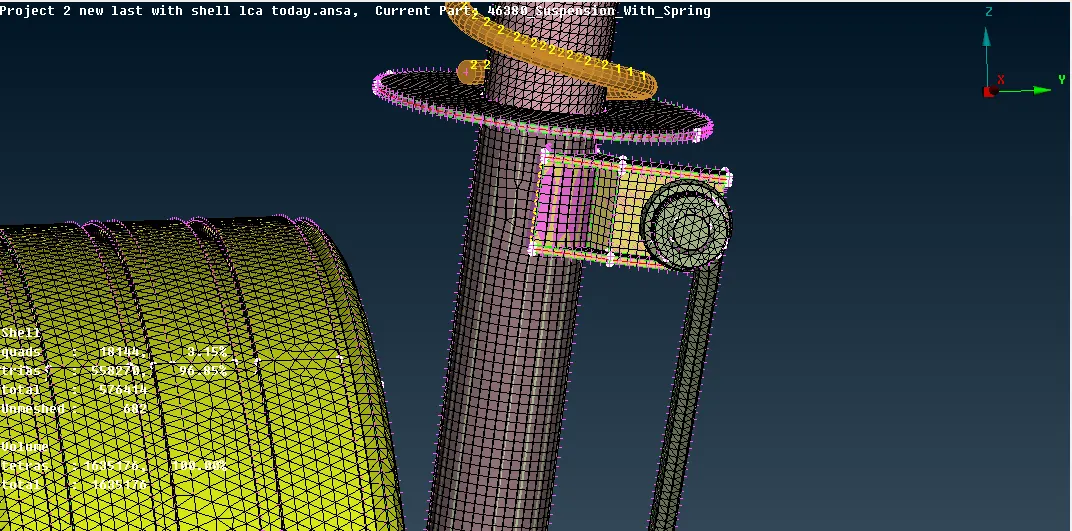
Images of Seamweld created on Strut part:
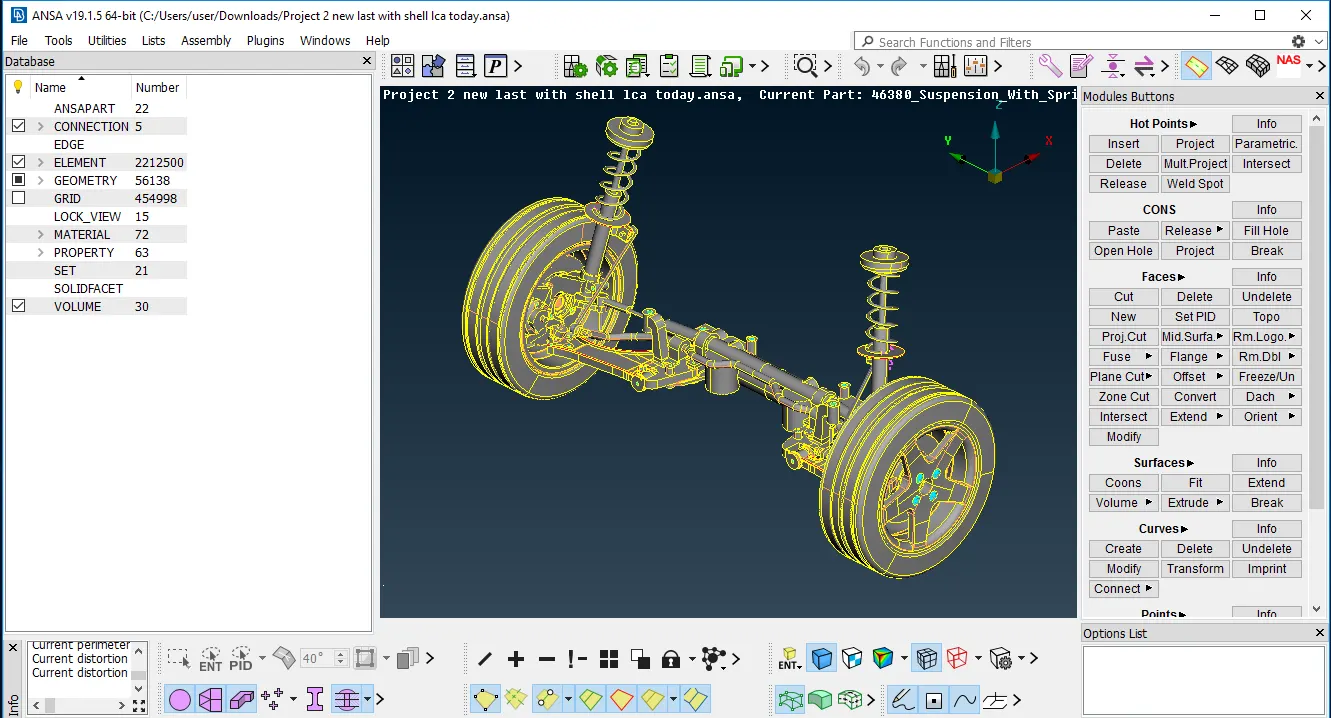
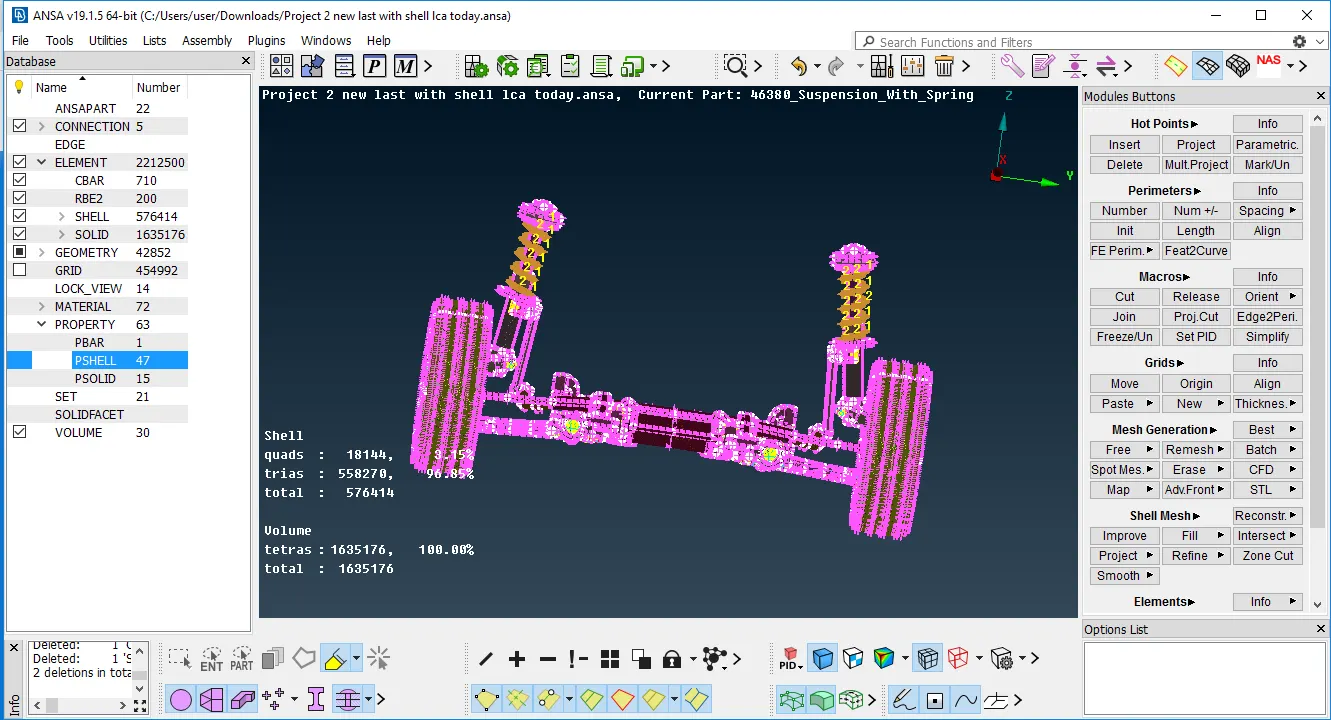
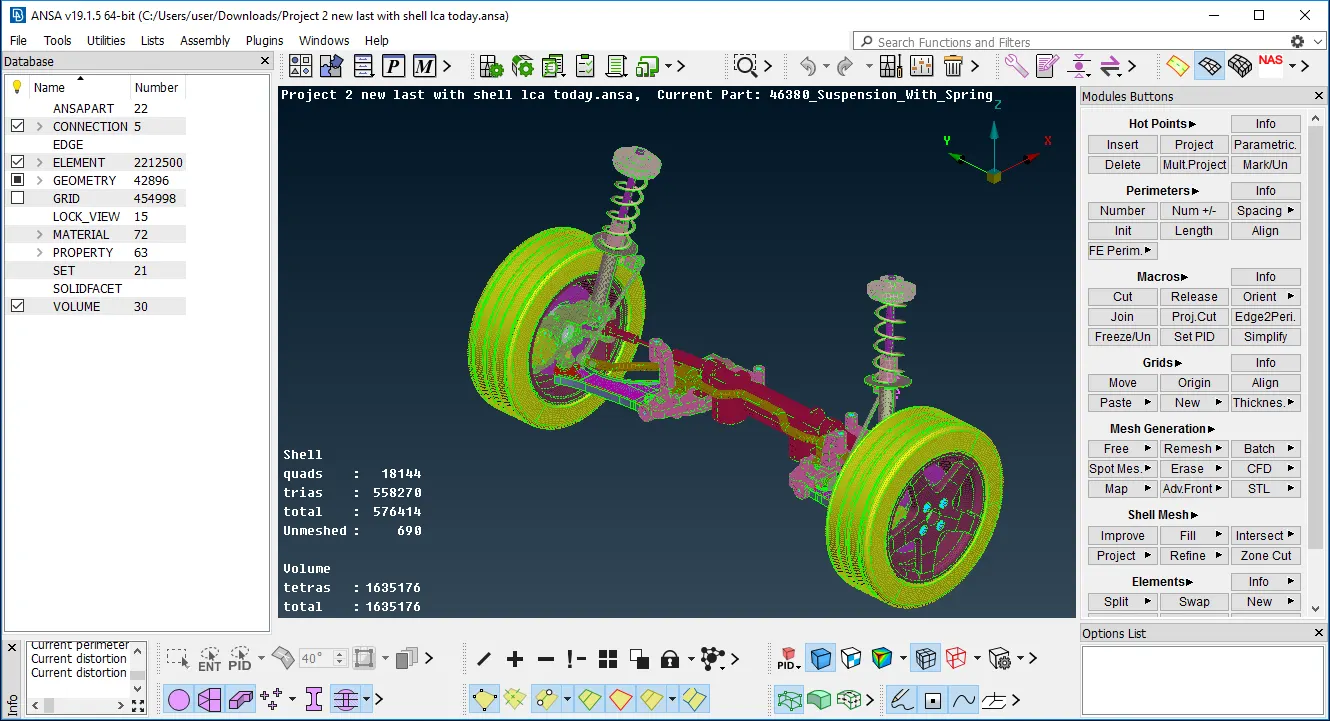
Images of Whole Rear Suspension assmebly by doing Symmetry :
Learning outcomes:
- Got knowledge of Doing 2D shell and 3D Solid mesh
- Got knowledge of how to approach such complicated model
- Got knowledge of creating different 1D connections such as Cluster RBE2 , Two noded RBE2 , Seamweld , CBAR
- Got knowledge of doing half model mesh and converting it to full model mesh with help of symmetry
Conclusion:
Successfully completed meshing and forming 1D connections for Full Rear Suspension Assembly