Project 2
Project 2 - Car Back Door Wiring Harness
The wiring harness is made using required connectors,furr tree clips to route the bundle on the backdoor which operate the electrical components of the back door like tail lights,indicators,wipper etc.
By following the design and packaging rules we have developed the wiring harness in Catia V5 using different workbench and commands.
DESIGN METHOD
1. Download the part file of back door which has to be routed.
2. Define the connectors as Electrically using electrical part design workbench as the bundle entry face and connector connection to develop the wiring harness.
12 terminal Connector as interconnection connector used define electrically shown below 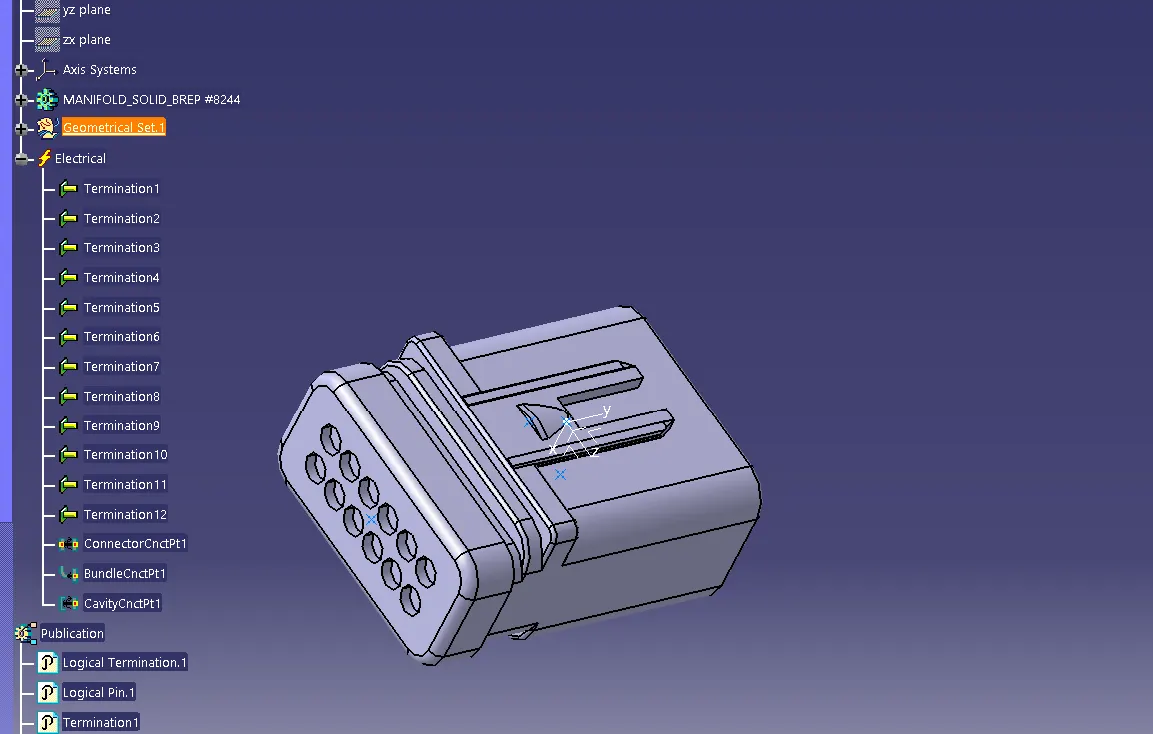
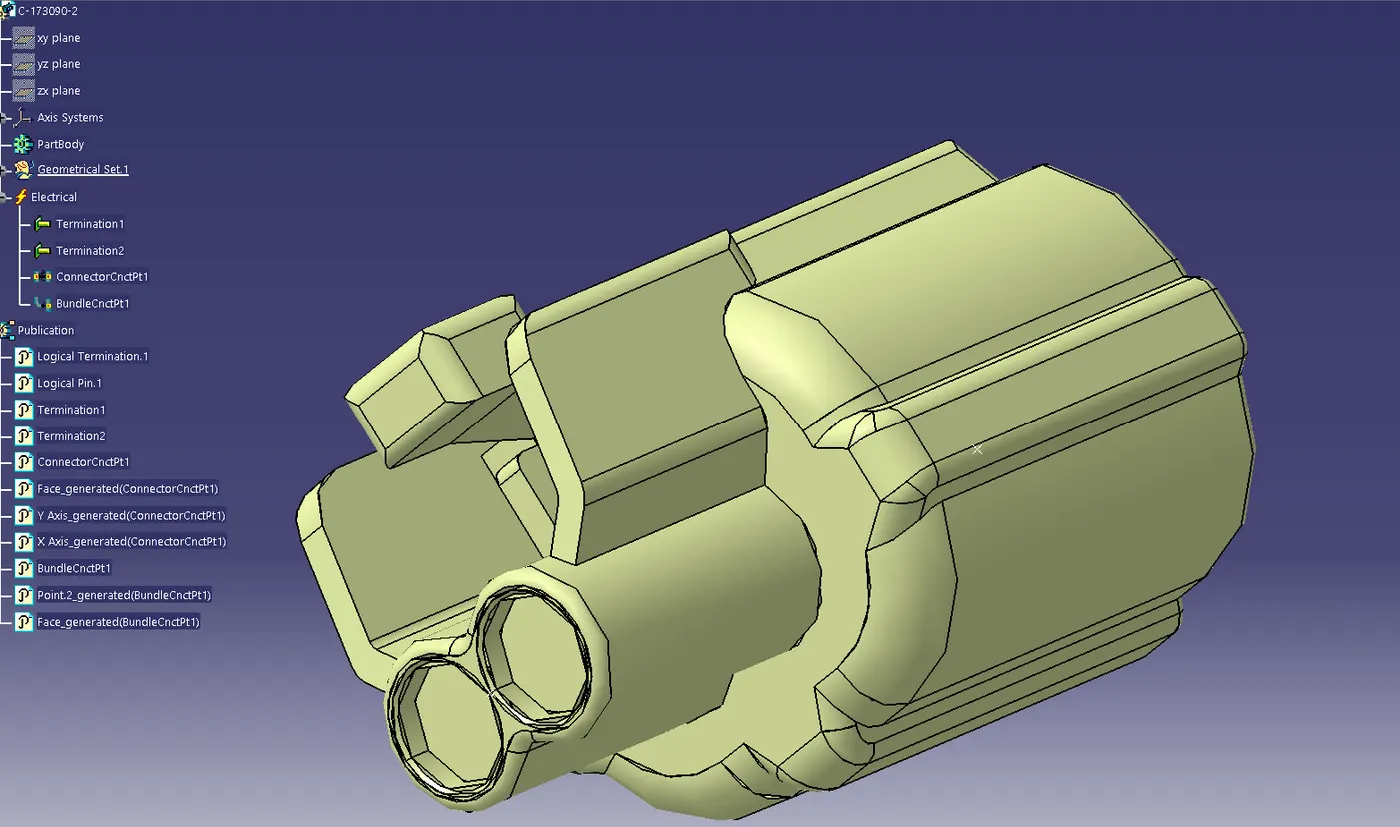
Required 2 pole terminal connectors for the backdoor components are used
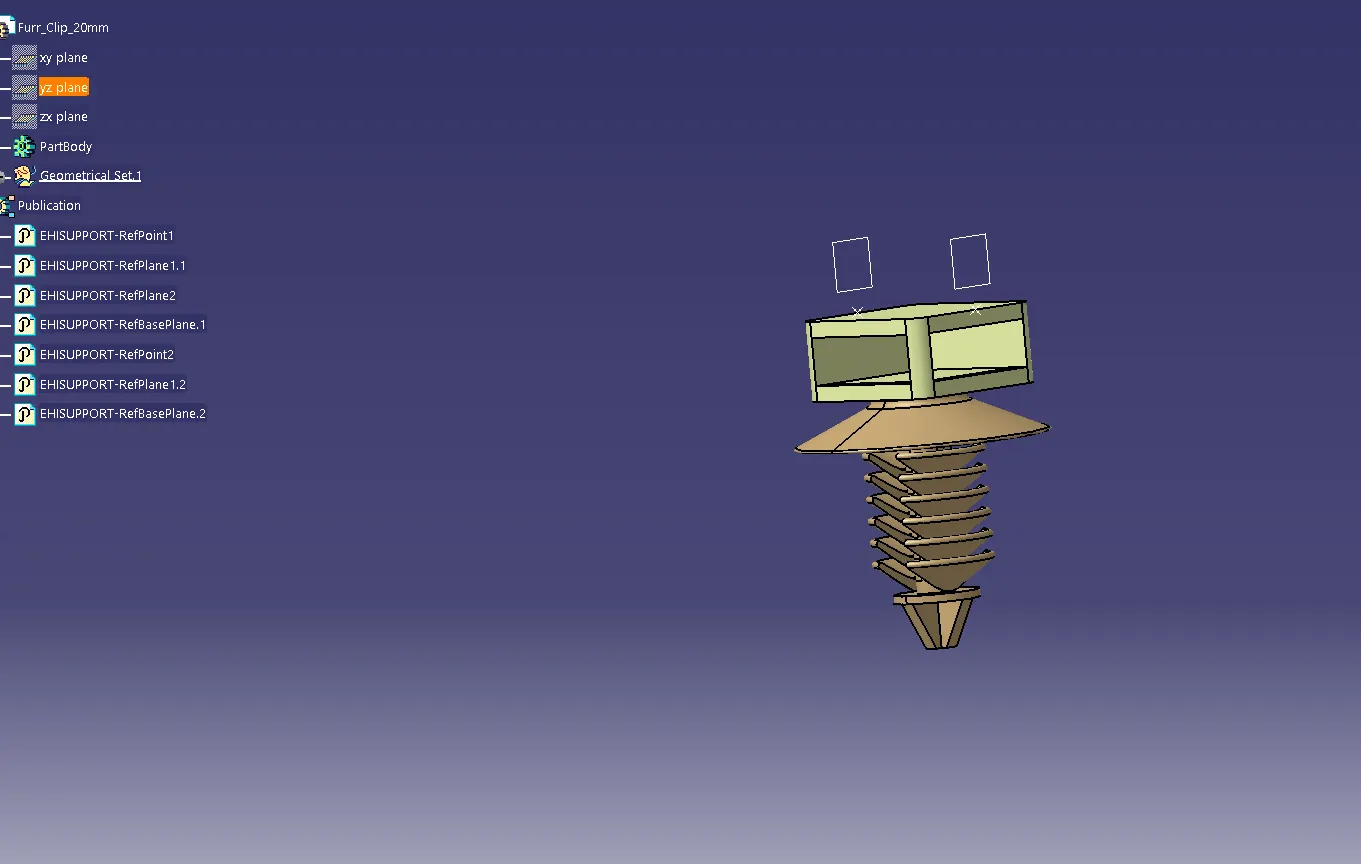
Furr tree clips are also defined as electrically using 'define support' command to use for the harness mounting,the clips are used to mounting the harness on the back door accordingly
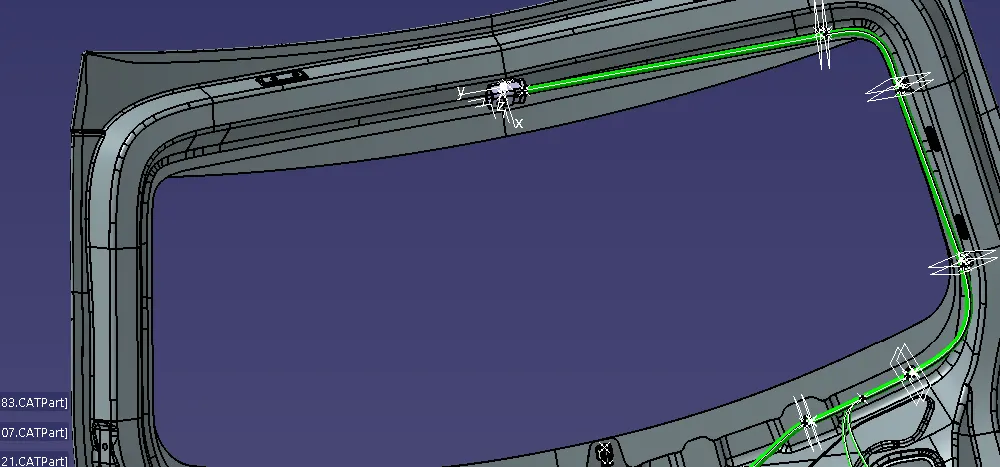
3. Create a product file as 'Back door routing' in which part file of 'Back door' along with all the part and product files of connectors and clips has assembled which are required for the routing. Now,Place the connectors and clips using the 'Smart Move' or 'Manipulation Tool' command and the compass into their desired location using the packaging rule then the wire routing is started from the interconnection connector via clips mounted to all the connectors placed.
On the back door we have placed the connectors for various purposes like:
01 connector for Interconnection Connector at the top of the door 02 Connectors for Brake Light 02 Indicator Light Connectors 01 for Number plate light Connectors
01 for Wiper Motor Connector
01 Door Lock connector
01 for Door Lock connector
After placing all the connectors we have route the harness using electrical harness assembly workbench
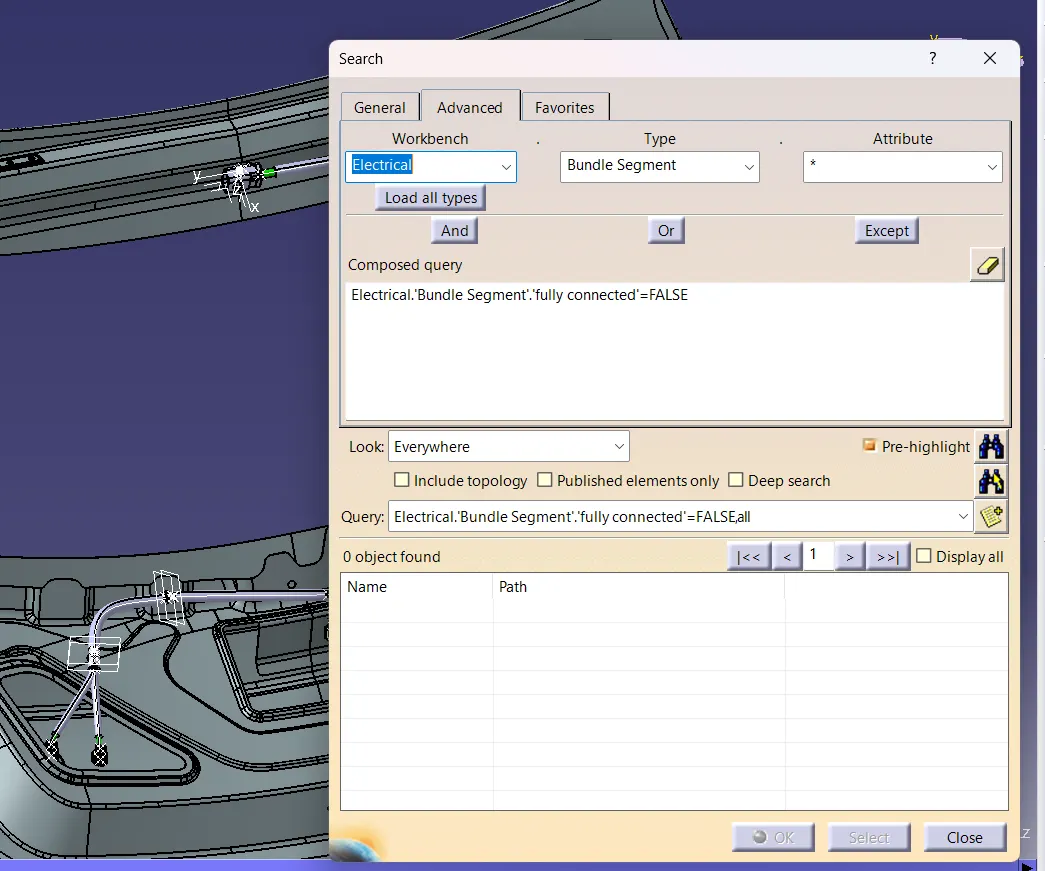
4.Check the bundle continuity to ensure that all the bundle segments are fully connected so that there will be no problem during flattening of the wire.
False segments check:
5. Apply the protective covering to the whole harness to it protect from physical damage as we routed on the metal parts.
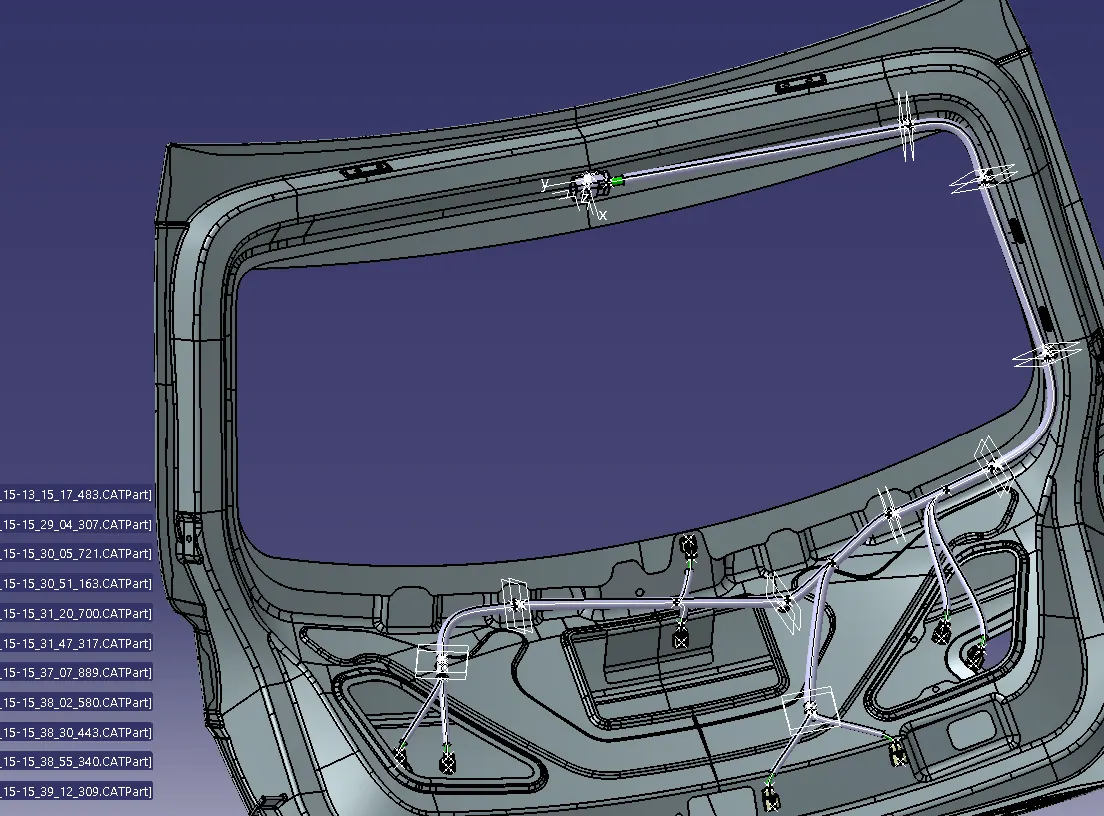
All the connectors, clips ,multibranchable ,COT Tubes files used are shown below
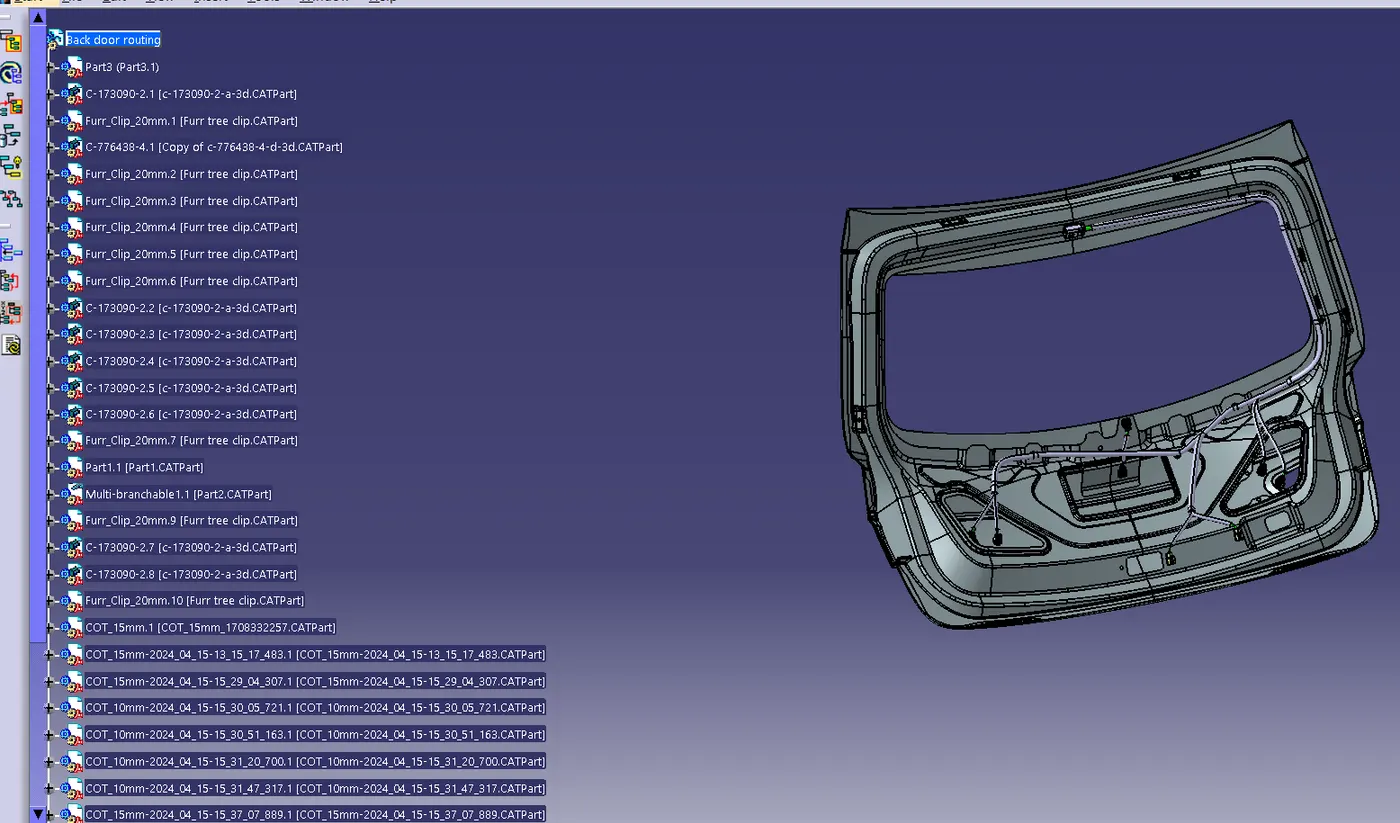
6. Flatten the Geometrical Bundle Using 'Electrical harness flattening' workbench
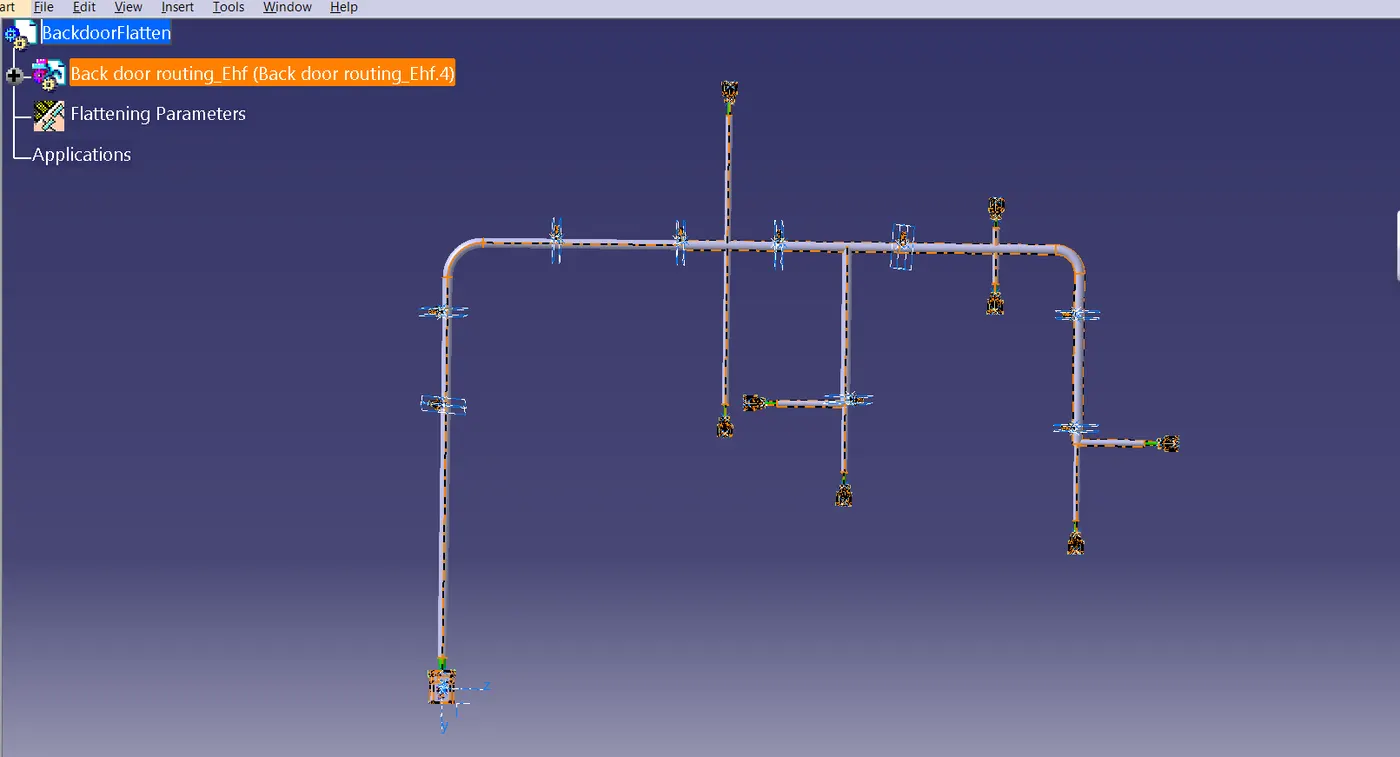
7.After Flattening the geometrical bundle it can be represented in the drawing sheet on which creation of f drawing has made along with bill of material. Bill of Material, different connectors used and different clips and clamps used can be added to the drawing sheet for further reference.
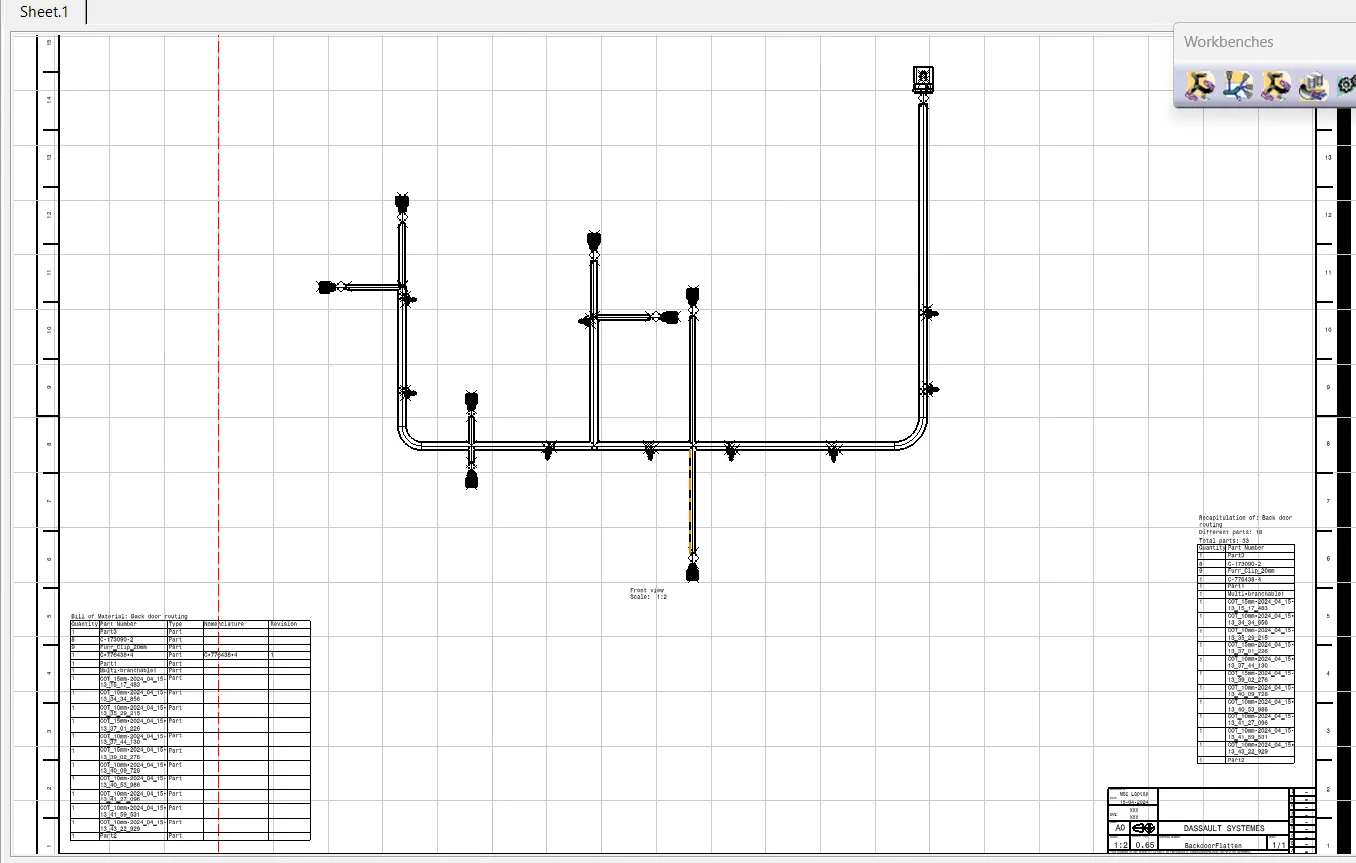
Hence, we have route wire harness on a backdoor / tailgate of a car.
Note :- All files of project are attached .
filename "Back door routing" has context assembly of the project
filename "BackdoorFlatten" has flattening model
filename "FlattenDrawing" has drawing and bill of material.