Project 1 - Wiper control system and Vehicle speed calculation for ABS using Wheel Speed sensor
Develop the Simulink model based on the given descriptions for the below challenges and also create SLDD file and link the same to the model. Perform the complete V and V workflow for the obtained models.
- Wiper control system
Develop Simulink/state flow model for wiper control system based on the given conditions.
Description of Challenge:
- If the density of the rain is low, then wiper rotates with low speed & the output signal should be 100rpm
- If the density of the rain is medium, then wiper rotates with medium speed & the output signal should be 200rpm
- If the density of the rain is high, then wiper rotates with high speed & the output signal should be 500rpm
Note: Rain density input comes from the external sensor, for the simulation purpose constant block with knob can be taken.
ANSWER :
Main Model
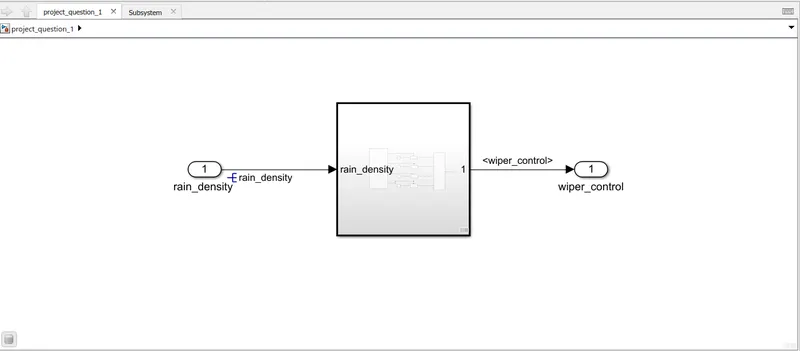
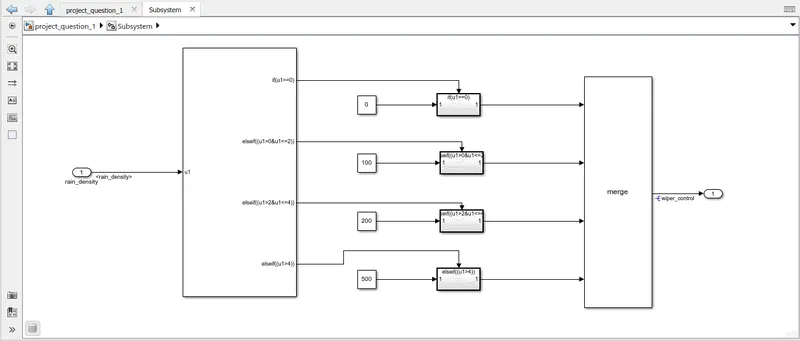

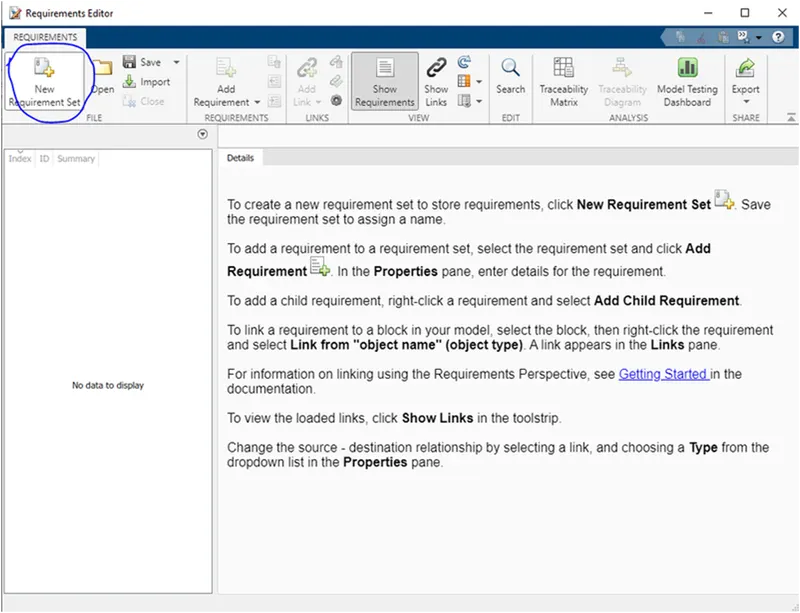
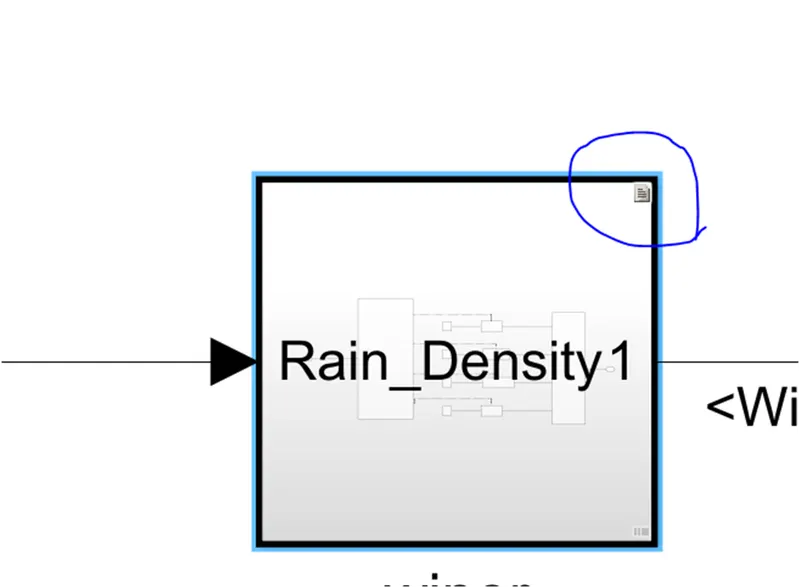
Requirement Tagging
Click on requirement Manager



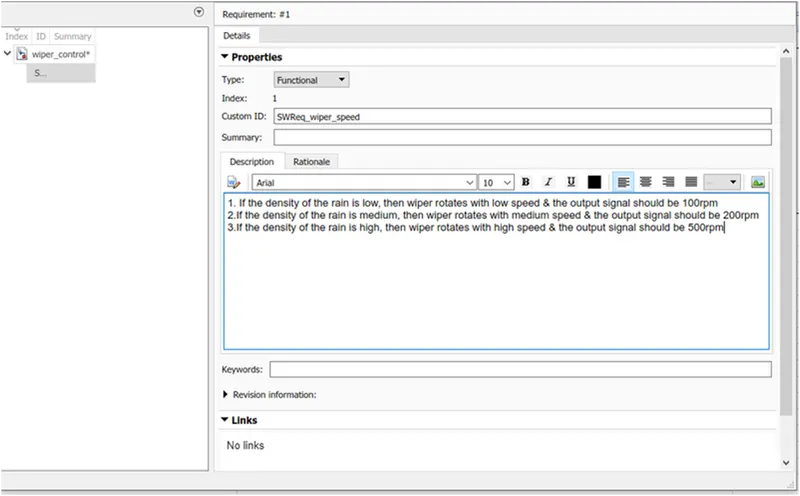

We can see the requirement tagging in model
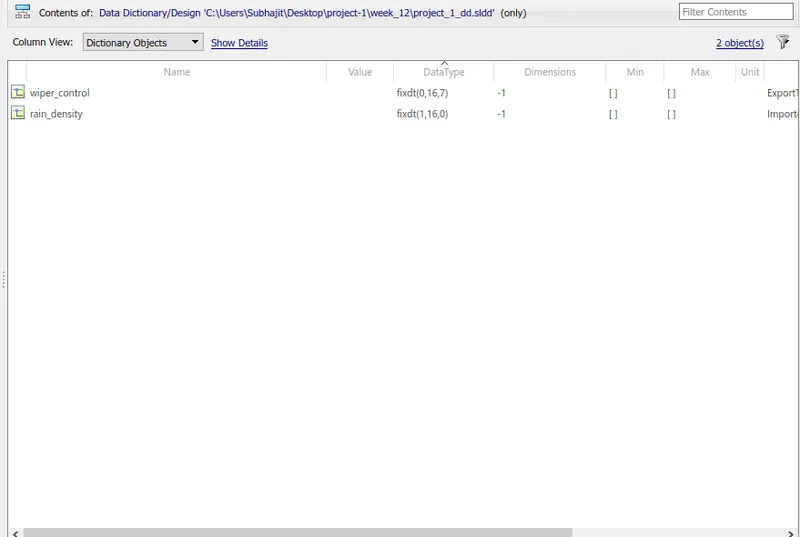
Fixed point tool:

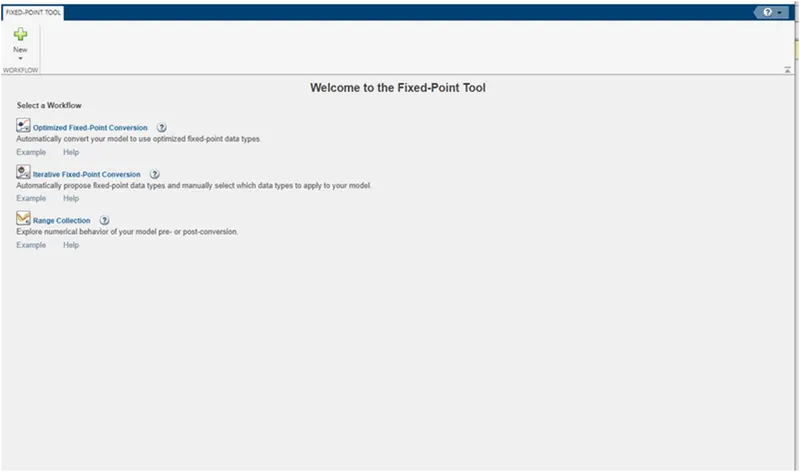
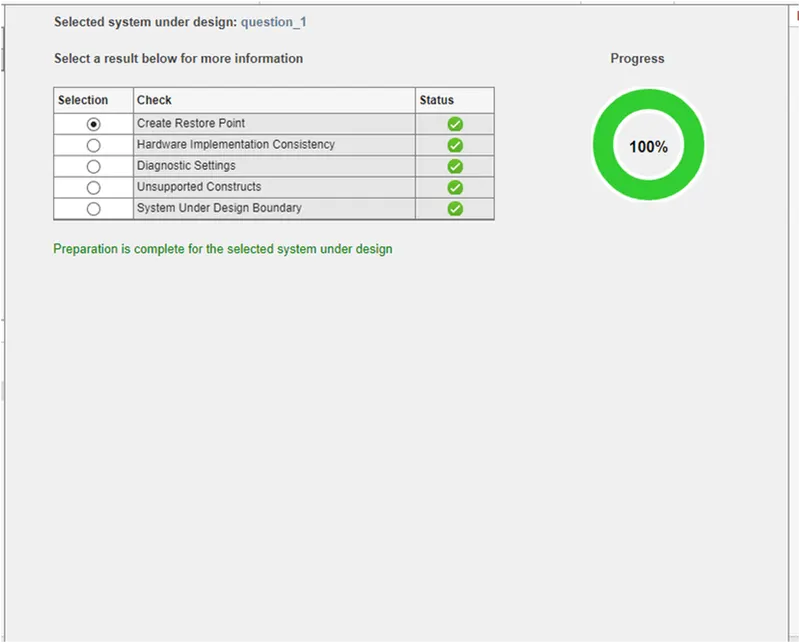
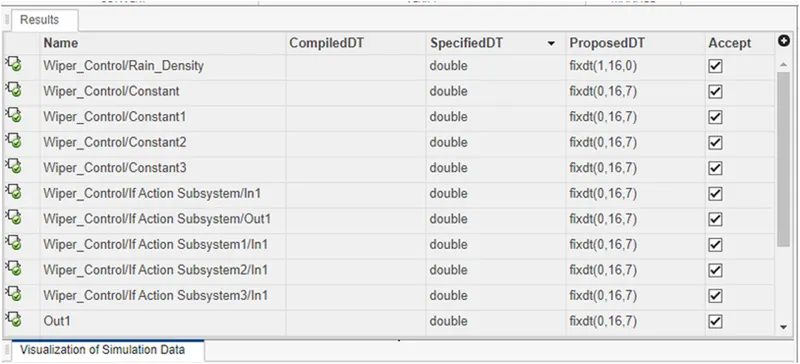
Now we click on propose data type data type-> apply data type-> Simulate with embedded type.

We can see the inport data type has changed to fixed data type.
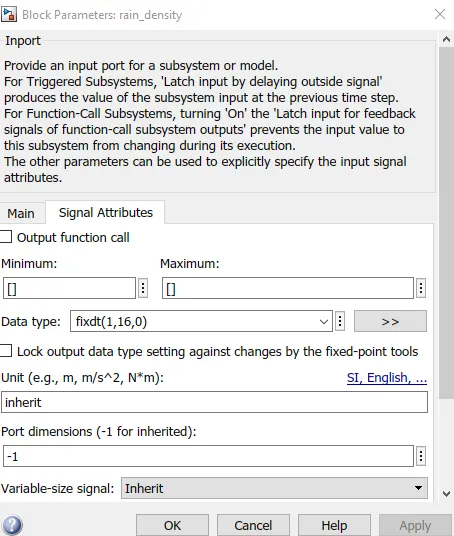
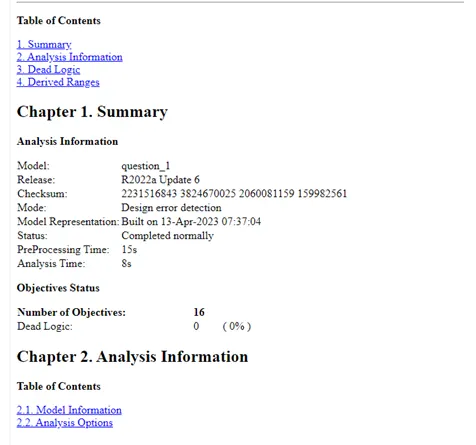
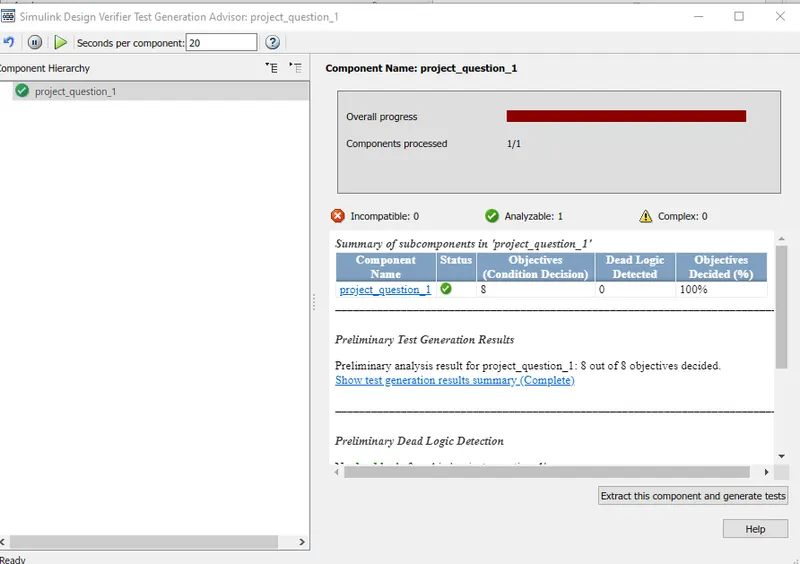
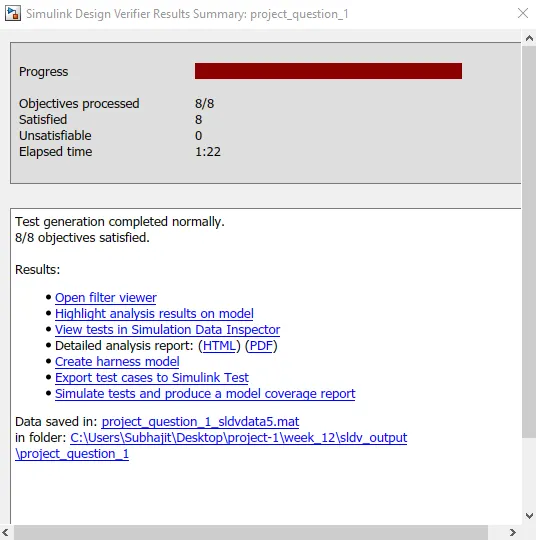
Now select test generation mode.

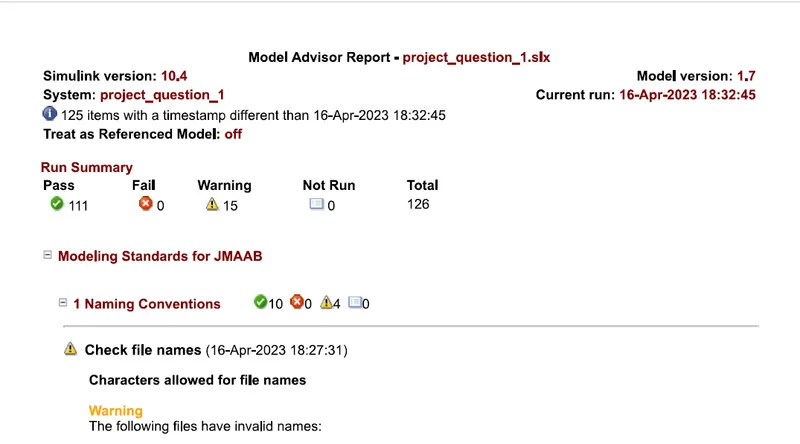
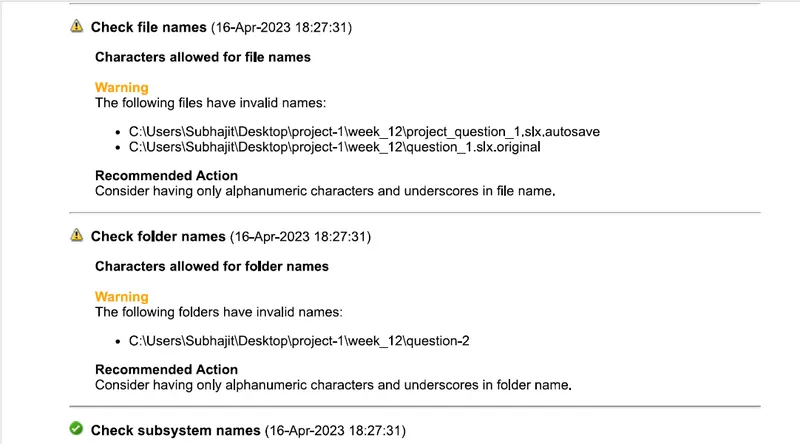
Advisor Report
 * File: project_question_1.c
 *
 * Code generated for Simulink model 'project_question_1'.
 *
 * Model version                  : 1.16
 * Simulink Coder version         : 9.6 (R2021b) 14-May-2021
 * C/C++ source code generated on : Mon Apr 17 23:15:40 2023
 *
 * Target selection: ert.tlc
 * Embedded hardware selection: Intel->x86-64 (Windows64)
 * Code generation objectives: Unspecified
 * Validation result: Not run
 */

#include "project_question_1.h"
#include "project_question_1_private.h"

/* Block signals (default storage) */
B_project_question_1_T project_question_1_B;

/* External inputs (root inport signals with default storage) */
ExtU_project_question_1_T project_question_1_U;

/* External outputs (root outports fed by signals with default storage) */
ExtY_project_question_1_T project_question_1_Y;

/* Real-time model */
static RT_MODEL_project_question_1_T project_question_1_M_;
RT_MODEL_project_question_1_T *const project_question_1_M =
  &project_question_1_M_;

/* Model step function */
void project_question_1_step(void)
{
  /* Outputs for Atomic SubSystem: '/Subsystem' */
  /* If: '/If' incorporates:
   *  Inport: '/rain_density '
   */
  if (project_question_1_U.rain_density == 0) {
    /* Outputs for IfAction SubSystem: '/If Action Subsystem' incorporates:
     *  ActionPort: '/Action Port'
     */
    /* Merge: '/Merge' incorporates:
     *  Constant: '/Constant'
     *  Inport: '/In1'
     */
    project_question_1_B.wiper_control = 0U;

    /* End of Outputs for SubSystem: '/If Action Subsystem' */
  } else if ((project_question_1_U.rain_density > 0) &&
             (project_question_1_U.rain_density <= 2)) {
    /* Outputs for IfAction SubSystem: '/If Action Subsystem1' incorporates:
     *  ActionPort: '/Action Port'
     */
    /* Merge: '/Merge' incorporates:
     *  Constant: '/Constant1'
     *  Inport: '/In1'
     */
    project_question_1_B.wiper_control = 100U;

    /* End of Outputs for SubSystem: '/If Action Subsystem1' */
  } else if ((project_question_1_U.rain_density > 2) &&
             (project_question_1_U.rain_density <= 4)) {
    /* Outputs for IfAction SubSystem: '/If Action Subsystem2' incorporates:
     *  ActionPort: '/Action Port'
     */
    /* Merge: '/Merge' incorporates:
     *  Constant: '/Constant2'
     *  Inport: '/In1'
     */
    project_question_1_B.wiper_control = 200U;

    /* End of Outputs for SubSystem: '/If Action Subsystem2' */
  } else if (project_question_1_U.rain_density > 4) {
    /* Outputs for IfAction SubSystem: '/If Action Subsystem3' incorporates:
     *  ActionPort: '/Action Port'
     */
    /* Merge: '/Merge' incorporates:
     *  Constant: '/Constant3'
     *  Inport: '/In1'
     */
    project_question_1_B.wiper_control = 500U;

    /* End of Outputs for SubSystem: '/If Action Subsystem3' */
  }

  /* End of If: '/If' */
  /* End of Outputs for SubSystem: '/Subsystem' */

  /* Outport: '/wiper_control' */
  project_question_1_Y.wiper_control = project_question_1_B.wiper_control;
}

/* Model initialize function */
void project_question_1_initialize(void)
{
  /* (no initialization code required) */
}

/* Model terminate function */
void project_question_1_terminate(void)
{
  /* (no terminate code required) */
}

/*
 * File trailer for generated code.
 *
 * [EOF]
 */
MIL &SIL Testing
Test cases
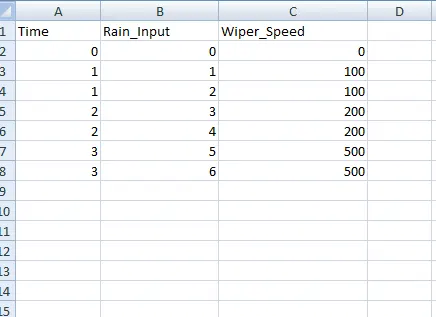
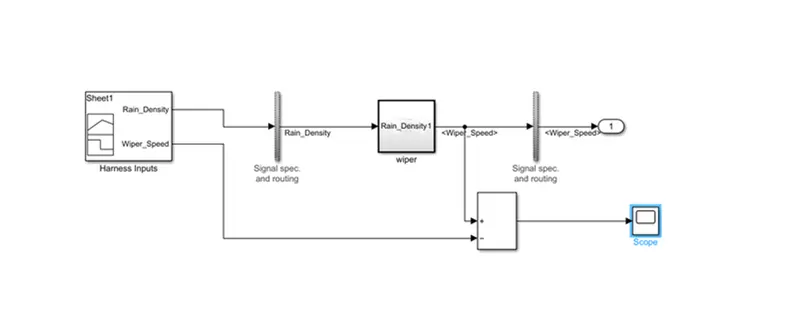
Now go to Test harness and create one test harness by selecting Import as signal builder.
MIL Harness
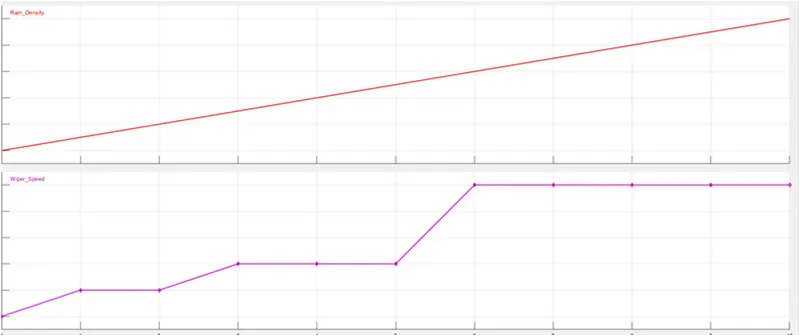
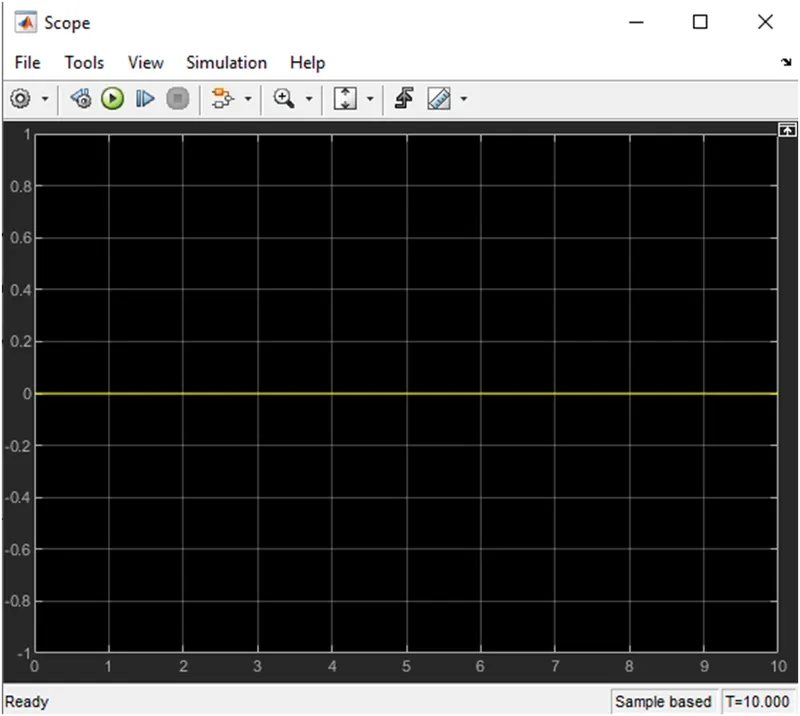
scope output
SIL Harness.
At first Build the model , and generate .mex file. to Build the model. now select the coding option as embedded coder.
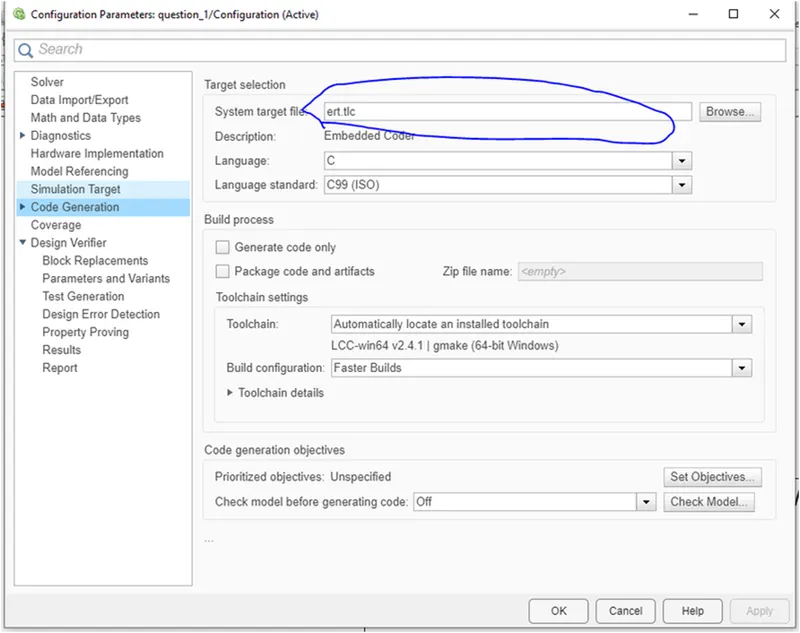

Now click on Build.it will create a .MEX File.

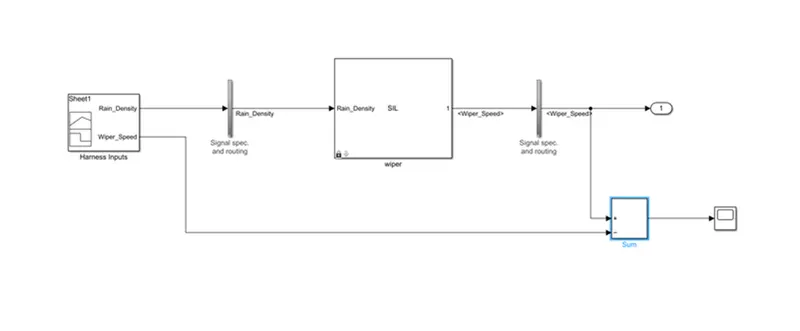
Now go to Test harness and select SIL Testing. which create the SIL Test harness .
Polyspace Bug report:-
As we dont have the polyspace licence, only steps to find out the polyspace bug finder report is written below.
Polyspace Bug Finder is a static code analysis tool that can help you identify potential bugs in your MATLAB code. To generate a Polyspace Bug Finder report, you can follow these steps:
- Open MATLAB and navigate to the directory where your code is located.
- Open the Polyspace Bug Finder interface by typing "polyspace" in the MATLAB command window.
- In the Polyspace Bug Finder interface, select "Create New Project" and give your project a name.
- Select "MATLAB" as the programming language for your project.
- In the "Project Settings" window, select the files you want to analyze and specify any additional analysis options.
- Click "Run Analysis" to start the analysis process.
- Once the analysis is complete, Polyspace Bug Finder will generate a report that lists any potential bugs it has identified in your code.
- To view the report, select "View Report" in the Polyspace Bug Finder interface.
- The report will display a list of potential bugs, along with detailed information about each bug and recommendations for how to fix it.
- You can save the report in various formats, such as PDF, HTML, or XML, by selecting "Export Report" in the Polyspace Bug Finder interface.
- Review the report and fix any potential bugs identified by Polyspace Bug Finder to improve the quality and reliability of your MATLAB code.
Polyspace code prover output:-
Polyspace Code Prover is a static analysis tool that can help you verify the absence of run-time errors in your MATLAB code. To generate a Polyspace Code Prover output, you can follow these steps:
- Open MATLAB and navigate to the directory where your code is located.
- Open the Polyspace Code Prover interface by typing "psrun" in the MATLAB command window.
- In the Polyspace Code Prover interface, select "Create New Project" and give your project a name.
- Select "MATLAB" as the programming language for your project.
- In the "Project Settings" window, select the files you want to analyze and specify any additional analysis options.
- Click "Run Analysis" to start the analysis process.
- Once the analysis is complete, Polyspace Code Prover will generate an output that indicates whether your code is free of run-time errors.
- To view the output, select "View Results" in the Polyspace Code Prover interface.
- The output will indicate whether your code is free of run-time errors or if any errors were detected.
- You can save the output in various formats, such as PDF, HTML, or XML, by selecting "Export Results" in the Polyspace Code Prover interface.
- Review the output and address any errors identified by Polyspace Code Prover to ensure the correctness and reliability of your MATLAB code.
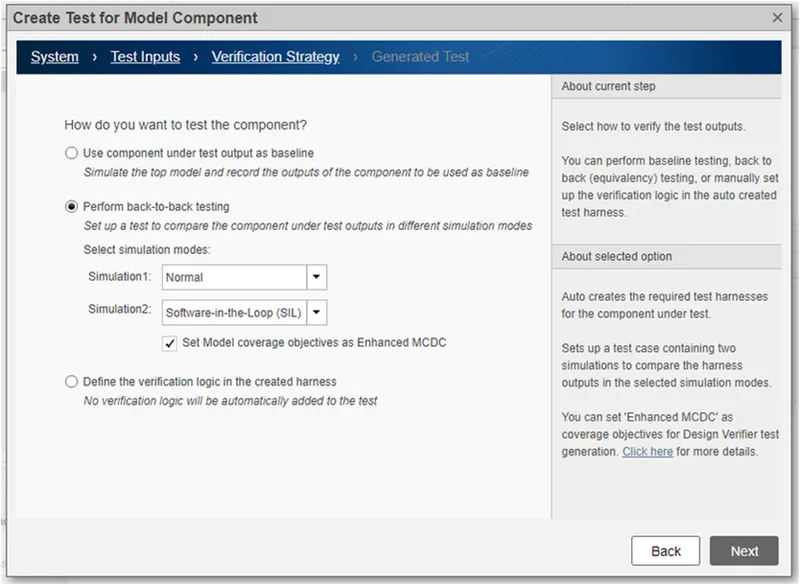
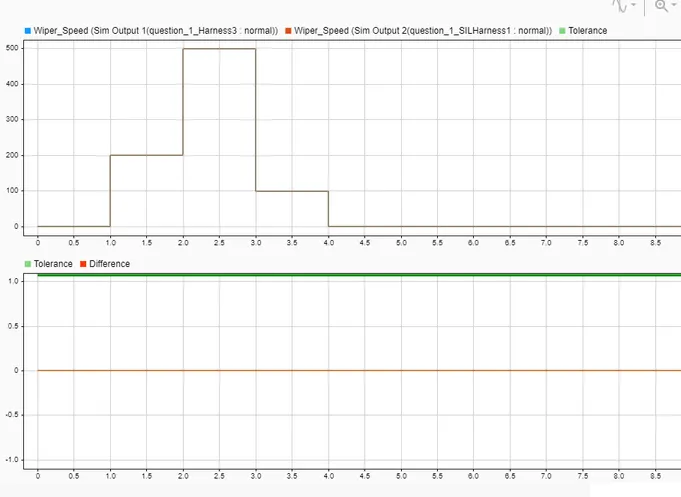
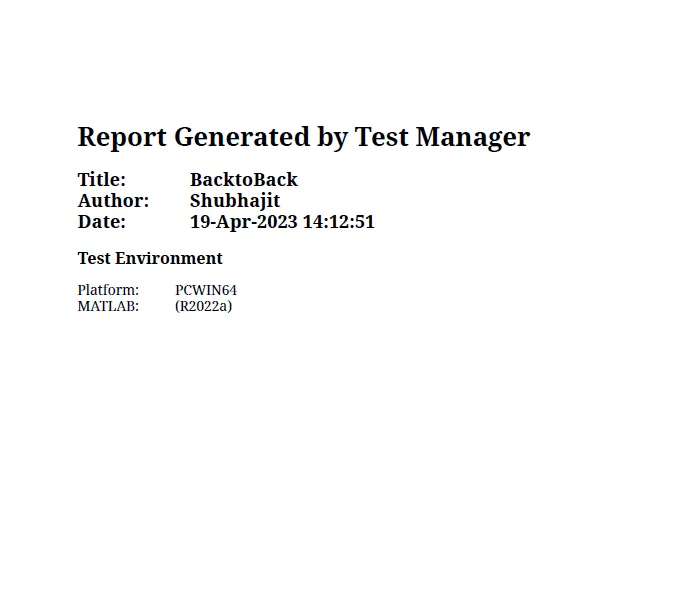
Baseline and BacktoBack Test:-
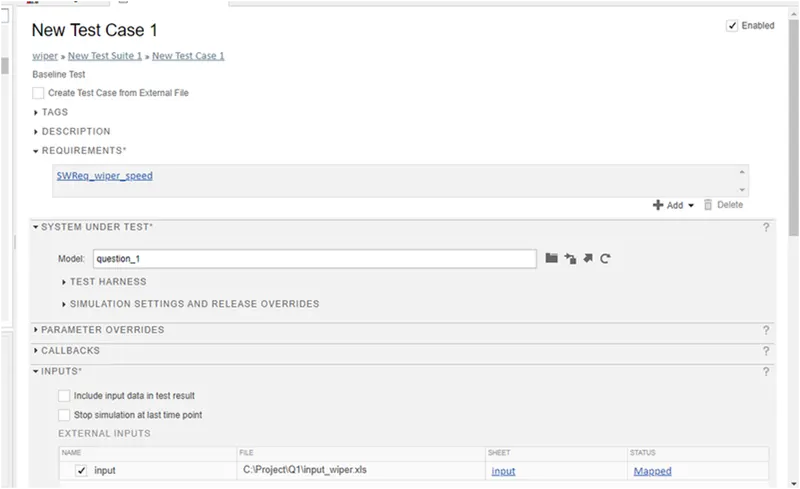
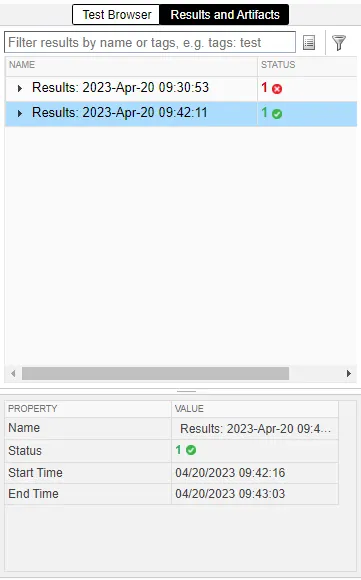
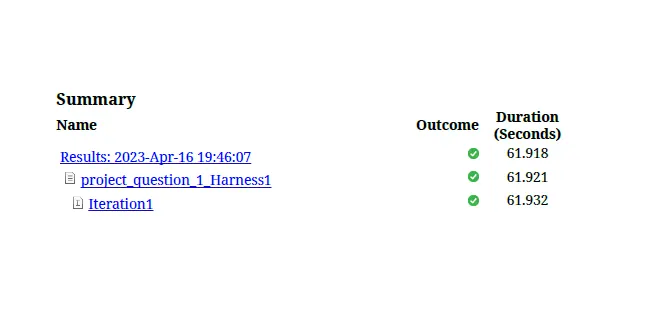
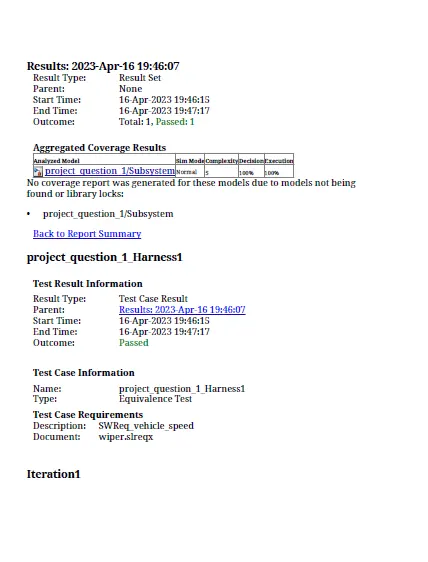
Go to apps and click apps-> simulink test->Test Manager


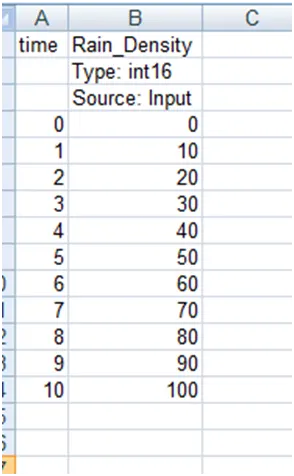
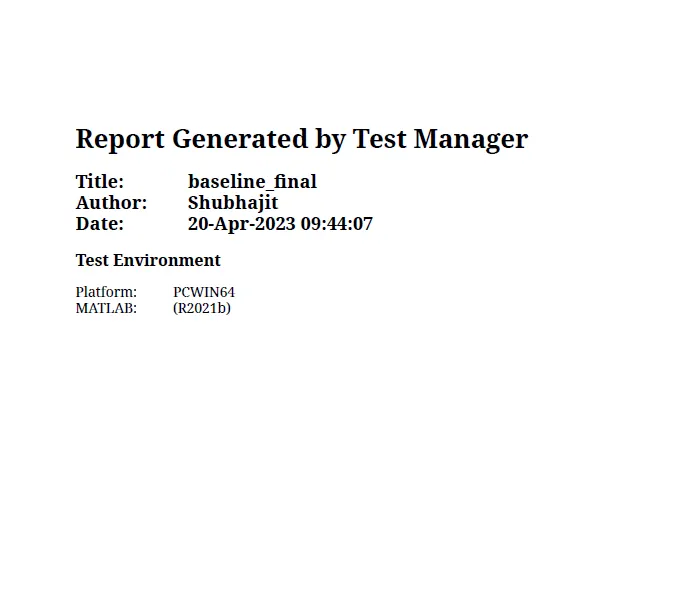
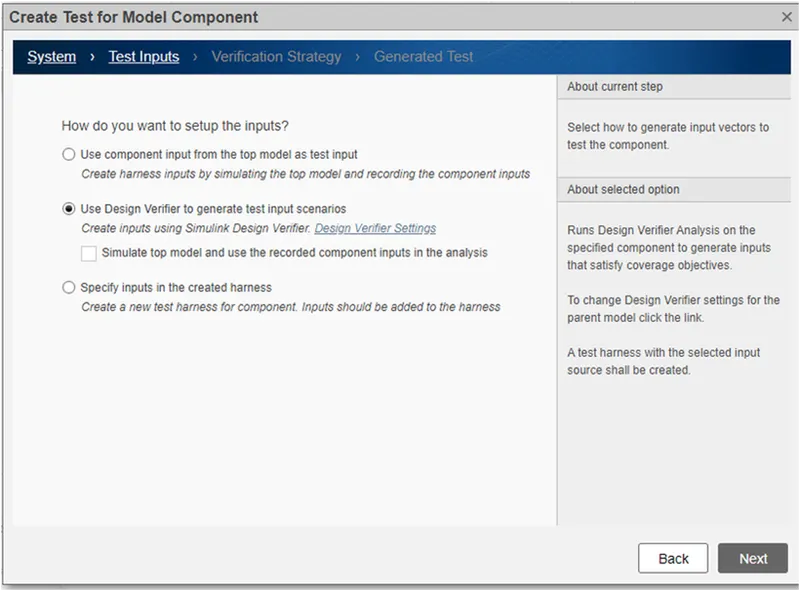
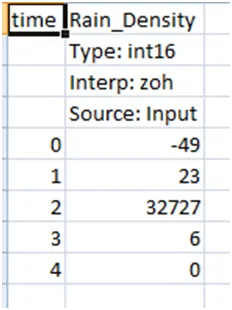
It will create new .mldatx file. where we do the requirement tagging, select the system where we going to perform the test, then select the inputs. where system will by default create one excel file. where we put all the inputs. from Test cases.
2.Vehicle speed calculation for ABS using Wheel Speed sensor
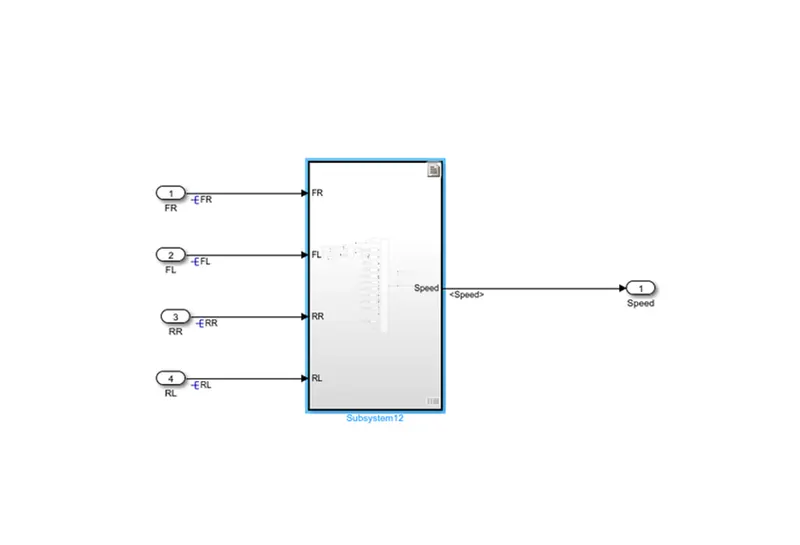
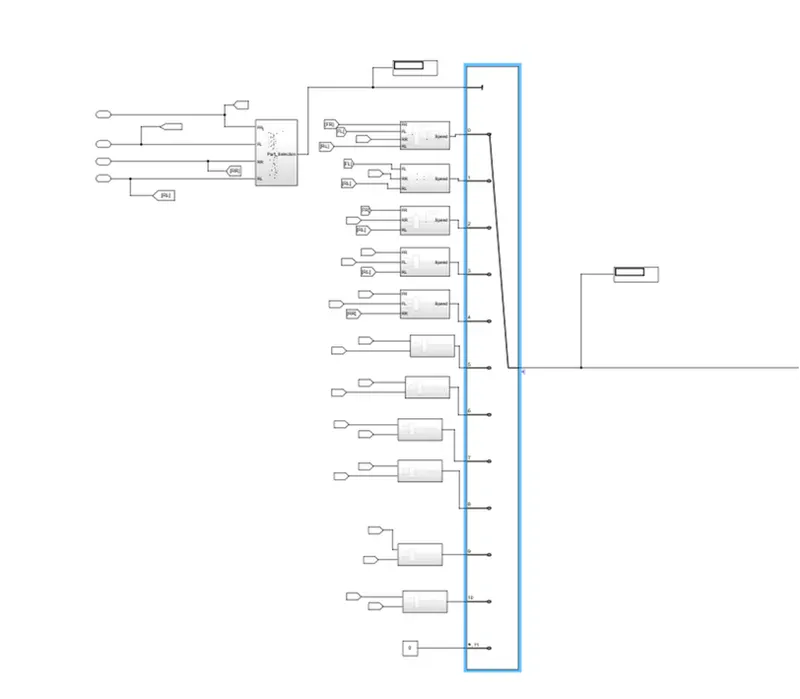
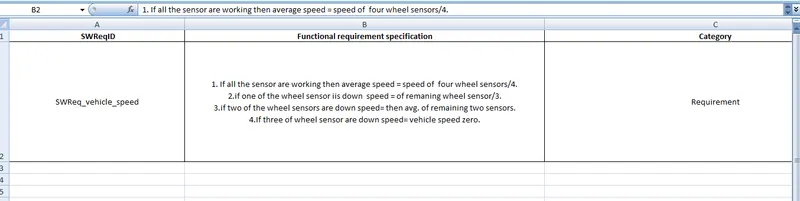
Develop Simulink/state flow model for the vehicle speed calculation unit inside the ABS system for the below conditions.
Description of Challenge:
fl, fr, rl and rr are the wheel speeds of front left, front right, rear left and rear right respectively.
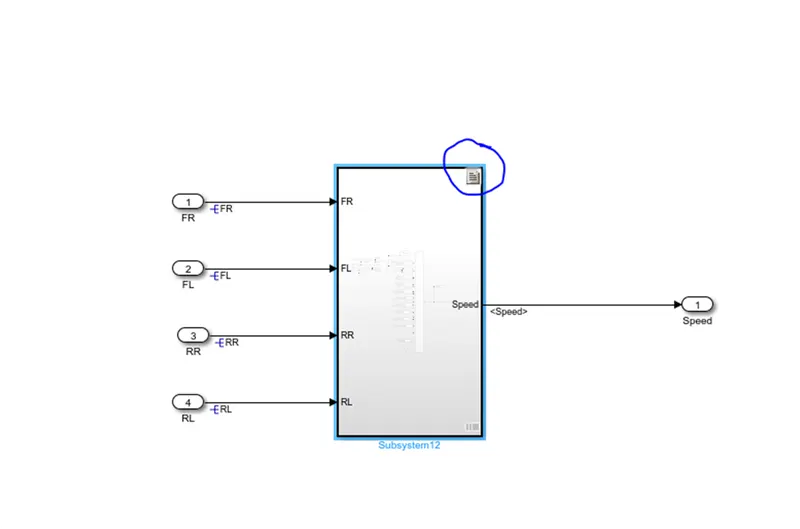
Main model :
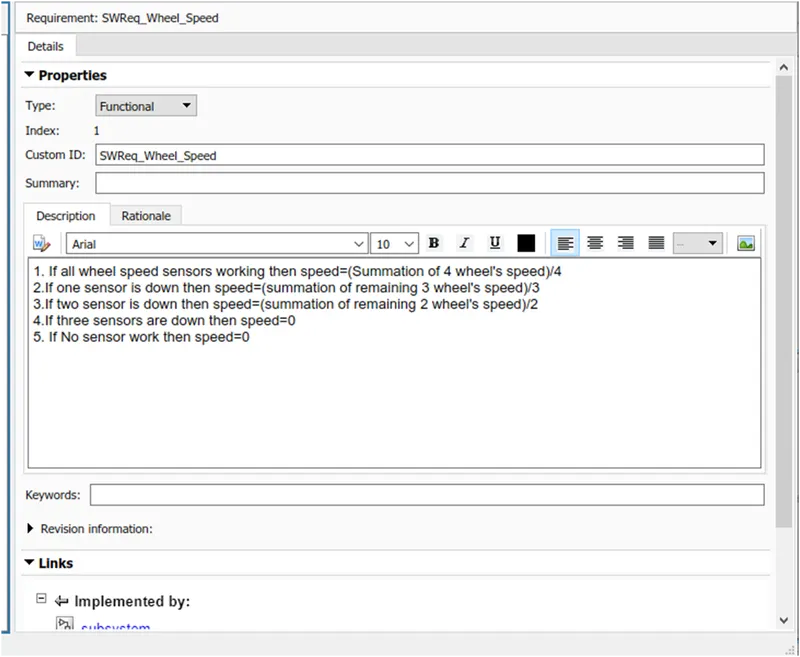
Now do the requirement Tagging procedure is same as previously described.
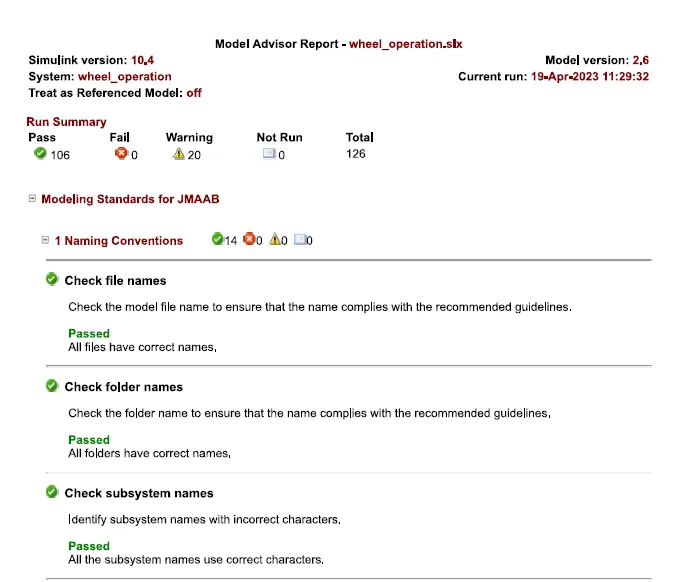
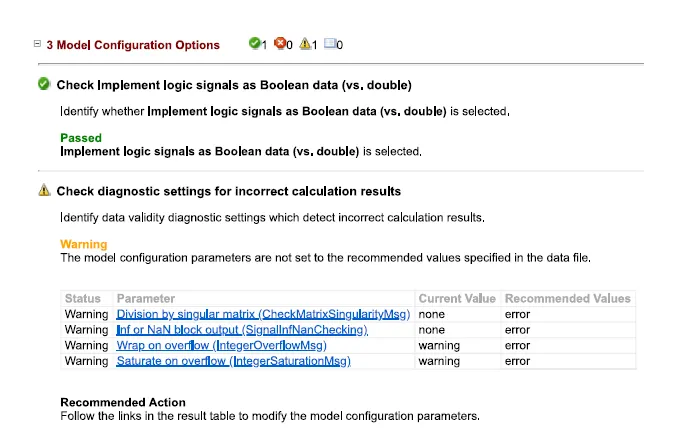
JMAB Report:-
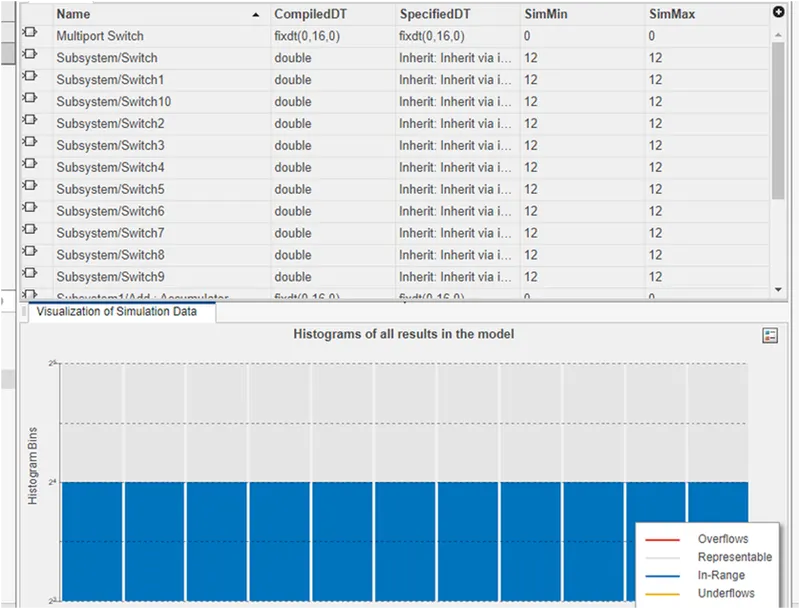
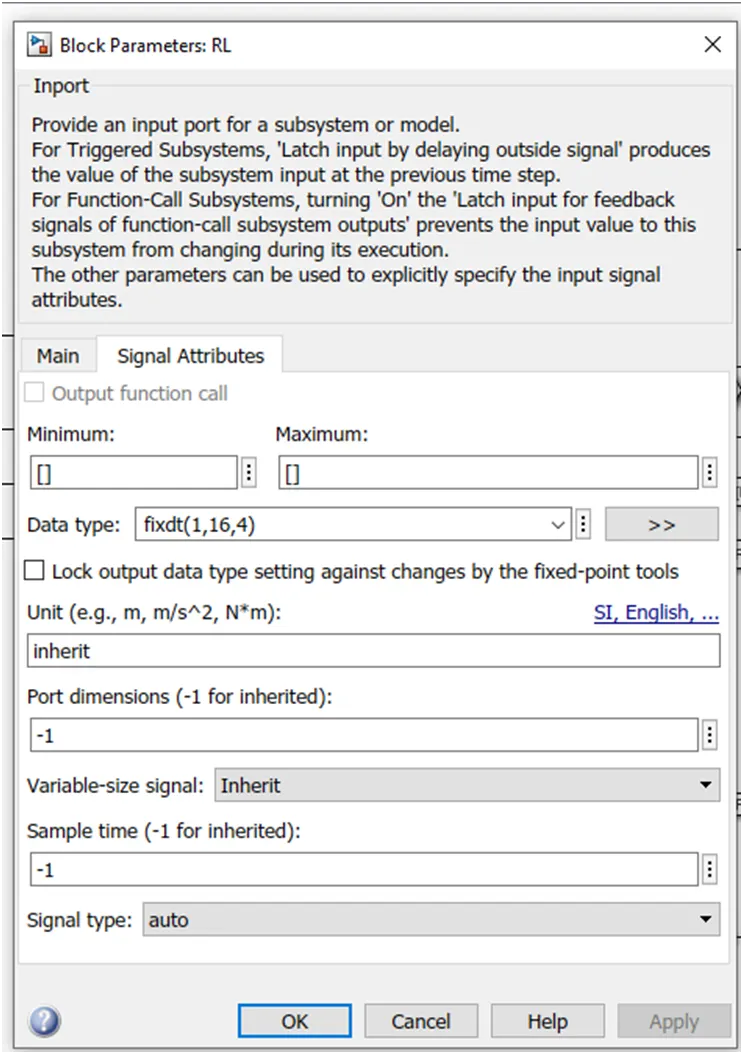
FIXED POINT TOOL:-
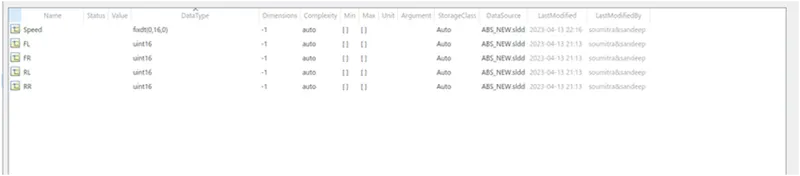
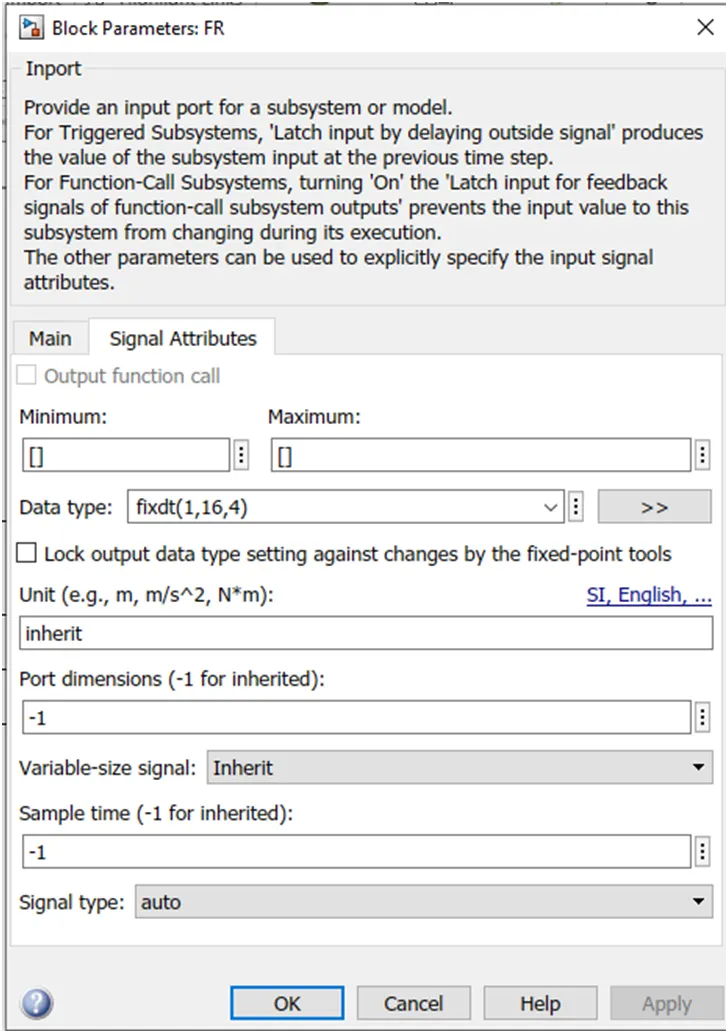
we do the fixed point tool configuration and it's reflected in sldd as well as in model.
By running this it's reflected on sldd and in blocks.
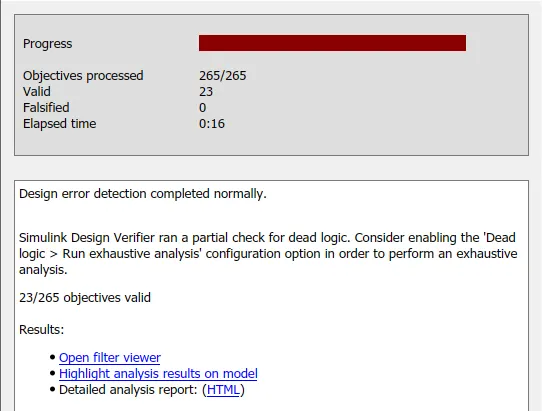
SLDV Design Verifier Report :
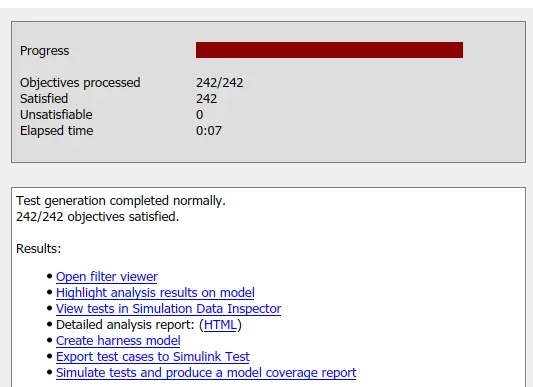
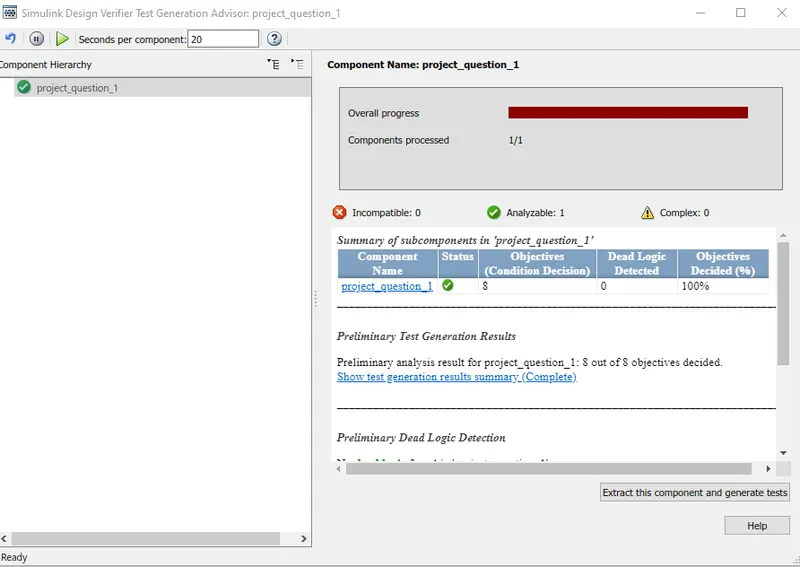
Advisor Report :
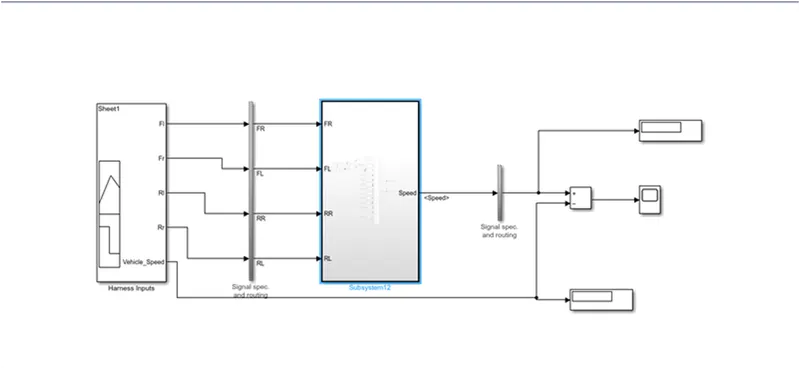
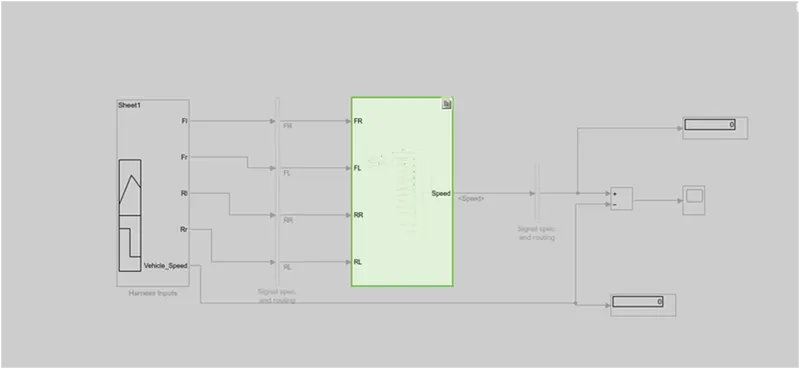
MIL Harness
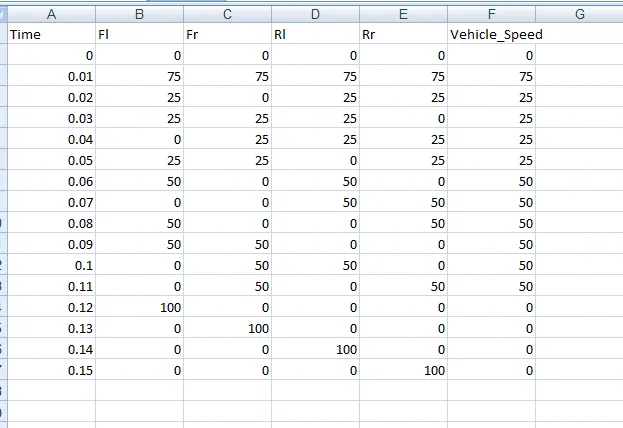
Test cases:-
coverage :
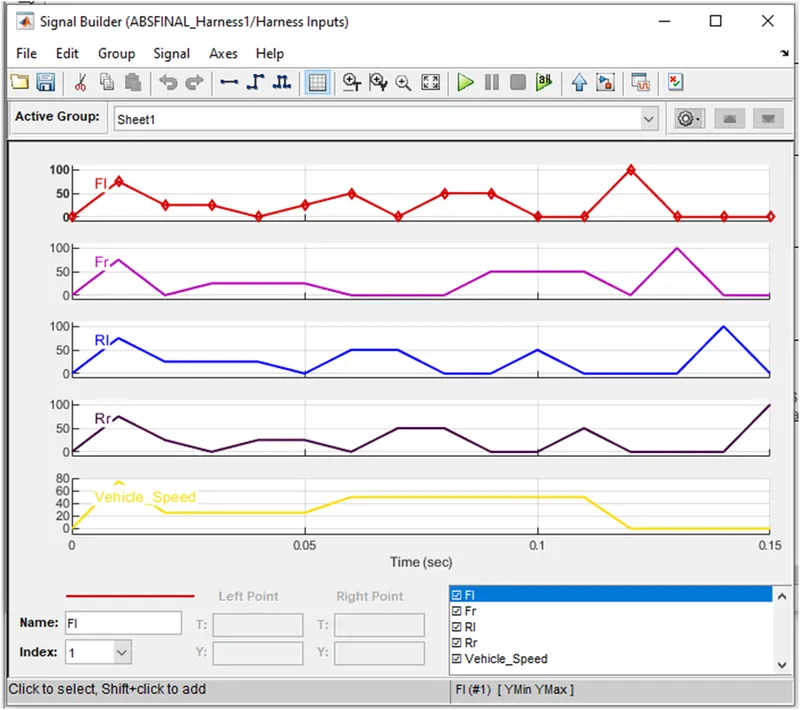
Signal builder :
scope :
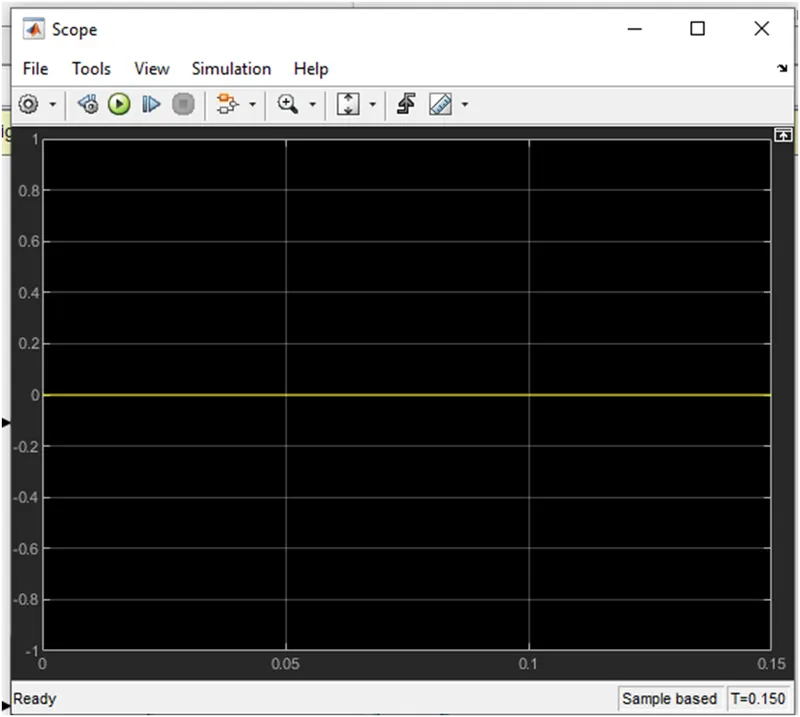
SIL:-
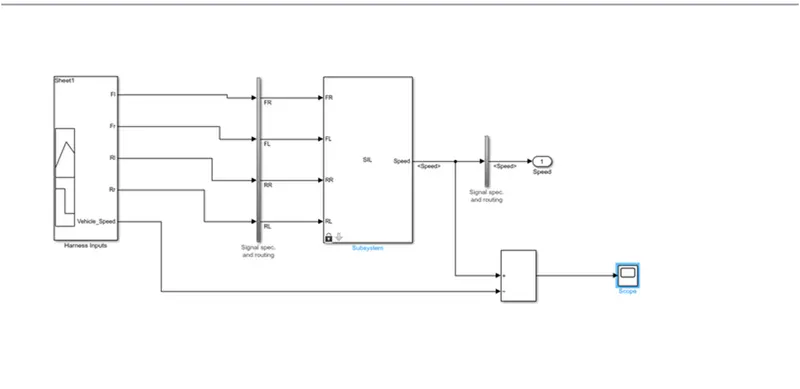
Signal builder output will be same. output of the scope.
Polyspace Bug report:-
As we dont have the polyspace licence, only steps to find out the polyspace bug finder report is written below.
Polyspace Bug Finder is a static code analysis tool that can help you identify potential bugs in your MATLAB code. To generate a Polyspace Bug Finder report, you can follow these steps:
- Open MATLAB and navigate to the directory where your code is located.
- Open the Polyspace Bug Finder interface by typing "polyspace" in the MATLAB command window.
- In the Polyspace Bug Finder interface, select "Create New Project" and give your project a name.
- Select "MATLAB" as the programming language for your project.
- In the "Project Settings" window, select the files you want to analyze and specify any additional analysis options.
- Click "Run Analysis" to start the analysis process.
- Once the analysis is complete, Polyspace Bug Finder will generate a report that lists any potential bugs it has identified in your code.
- To view the report, select "View Report" in the Polyspace Bug Finder interface.
- The report will display a list of potential bugs, along with detailed information about each bug and recommendations for how to fix it.
- You can save the report in various formats, such as PDF, HTML, or XML, by selecting "Export Report" in the Polyspace Bug Finder interface.
- Review the report and fix any potential bugs identified by Polyspace Bug Finder to improve the quality and reliability of your MATLAB code.
Polyspace code prover output:-
Polyspace Code Prover is a static analysis tool that can help you verify the absence of run-time errors in your MATLAB code. To generate a Polyspace Code Prover output, you can follow these steps:
- Open MATLAB and navigate to the directory where your code is located.
- Open the Polyspace Code Prover interface by typing "psrun" in the MATLAB command window.
- In the Polyspace Code Prover interface, select "Create New Project" and give your project a name.
- Select "MATLAB" as the programming language for your project.
- In the "Project Settings" window, select the files you want to analyze and specify any additional analysis options.
- Click "Run Analysis" to start the analysis process.
- Once the analysis is complete, Polyspace Code Prover will generate an output that indicates whether your code is free of run-time errors.
- To view the output, select "View Results" in the Polyspace Code Prover interface.
- The output will indicate whether your code is free of run-time errors or if any errors were detected.
- You can save the output in various formats, such as PDF, HTML, or XML, by selecting "Export Results" in the Polyspace Code Prover interface.
- Review the output and address any errors identified by Polyspace Code Prover to ensure the correctness and reliability of your MATLAB code.
Baseline and BacktoBackTest
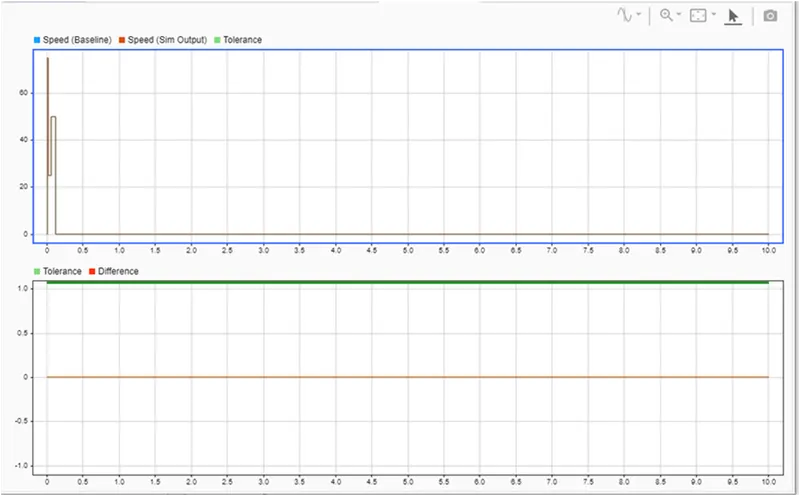
Baseline Test:-
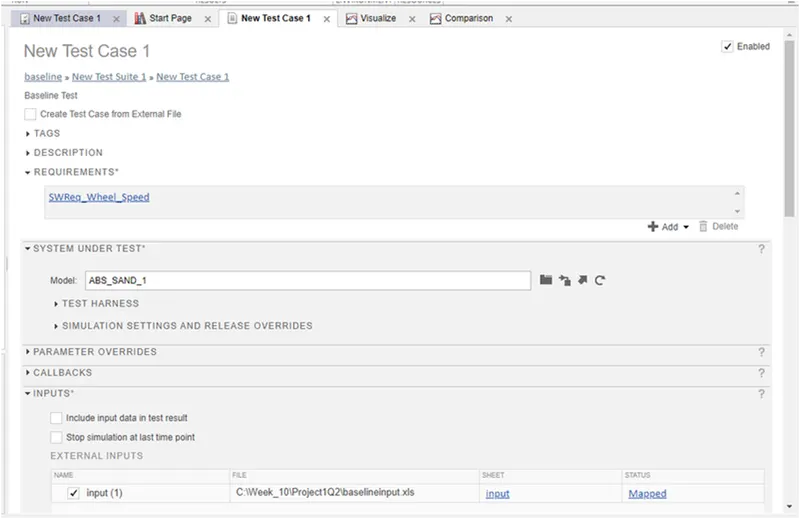
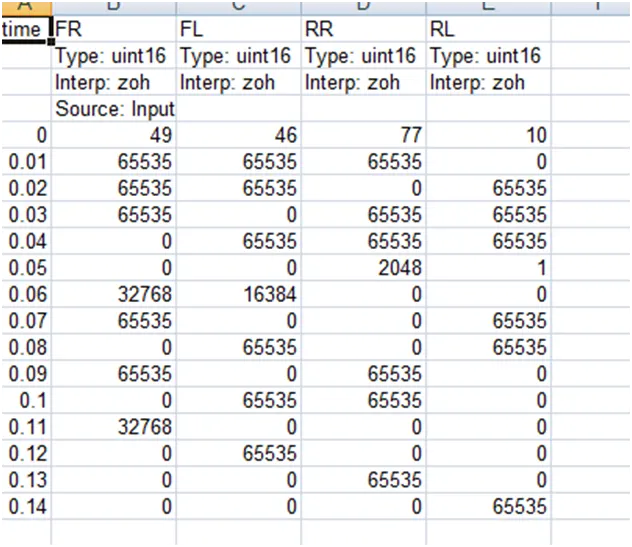
Inputs :
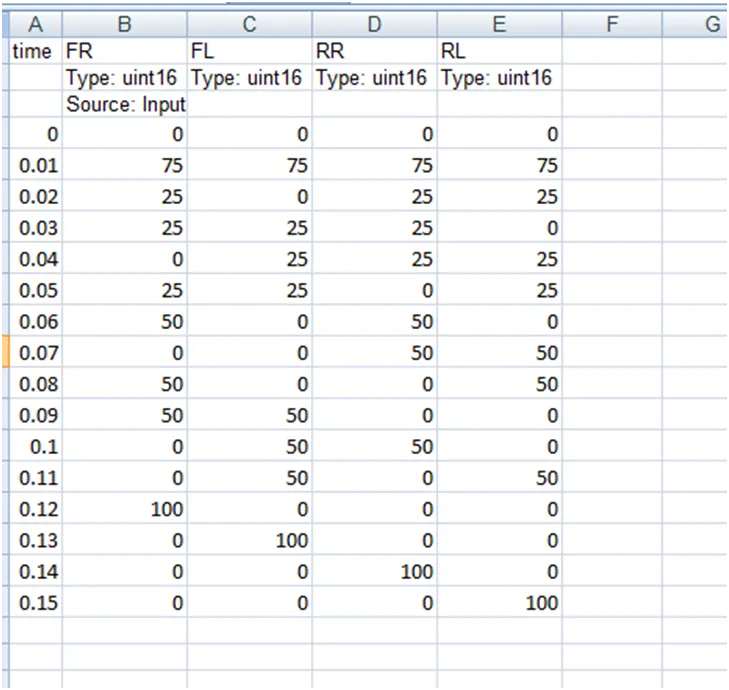
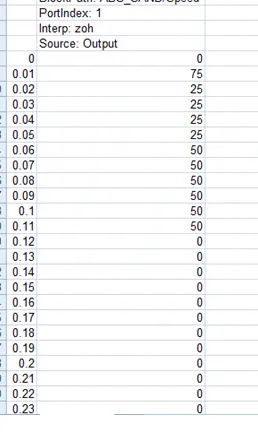
Baseline criteria :
Here i have attached two rar file for two question.kindly check it ,if anything missing kindly tell me.
If anything missing kindly consider me.Here i try my best.