Photo Realistic Rendering
Modelling of Assembly Chopper in Solidworks
Objectives :-
The Main objectives are:
- To create a separate parts of chopper to using a SOLIWORKS application.
- Assembly the making separtate parts into chopper
- The application to apply decals, lights, camera and other features.
- To create a photorealistic model and render section to using a photoview 360 in a solidworks.
Introduction :-
Solidworks is a one of the prominent modelling software and now today this software is main use of model 3D parts and 2D sketch. It also option to specify the material and look of the model which we created the model. It has add in feature and photoview 360 to helps as rendering and final model to make a photo realistic. In this project we learn the detailed design in American chopper parts and assembly with rendering to final submission and after assembly.
Methodology :-
- Part Modelling
- Assembly
- Rendering
Flow Chart :-
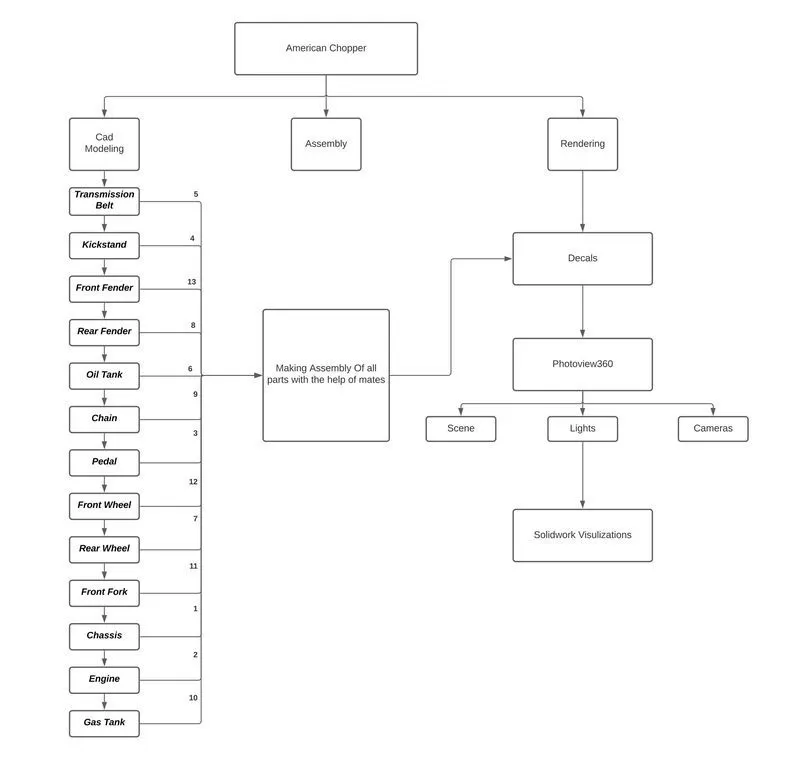
Features used in Soldiworks :-
The sketch is used to create the 2D representatiion of the model in solidworks there are different type of enetities are available in there are ;
- Line
- Circle
- Arc
- Rectangle
- Polygon
- Fillet
- Ellipse
Then the other this entities to given some other features are ;
- Boss Extrude
- Extrude Cut
- Fillet
- Lofted Boss/Base
- Split
- Dome
- Shell
- Combine
- Chamfer
- Linear Pattern
- Curve Driven Pattern
- Circular Pattern
- Resolve Boss Base
- Revolve Cut
- Move/Copy Body
- Mirror
- Sweep
- Sweep Cut
- Swept Surface
- Boundary Surface
- Loft Surface
- Knit Surface
- Surface Trim
- Projection Curve
- Blocks
- Trim Entities
- Appearance
Assembly :-
Assembly is most referred to putting components together in an assembly line. but more specifically, it refers to creating complete product that performs an intended function. The components are automatically reflect in the assembly. The rebuild are options to automatically take place it will ask the user to rebuild the document ot ask them.
Rendering :-
The image synthesis are automatic process of generating a photorealistic or non-photorealistic image in 2D and 3D model using computer to program.
Software Use :-
- Photoview 360
- Pre-Rendering
Component Design :-
- Transmission Belt
- Kick Stand
- Front Fender
- Rear Fender
- Chain
- Oil Tank
- Pedal
- Front Wheel
- Rear Wheel
- Front Fork
- Chassis
- Engine
- Gas Tank
Description :-
Transmission Belt :-
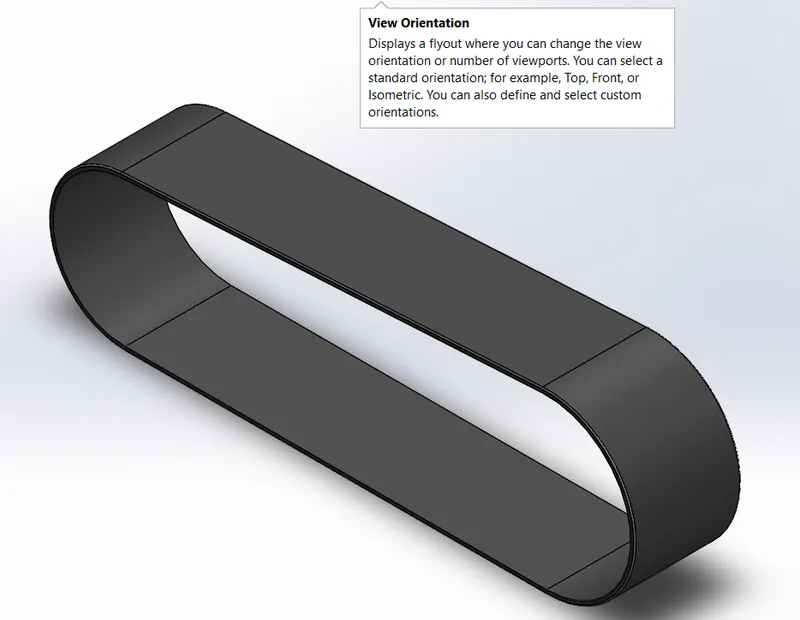
Feature Used :-
- Offset entities
- Extrude cut
- Fillet
- Appearance
The transmission belt is design to adapt to the two pulleys created on one side of the engine block. Its is a simple model created using very fewer tools like line, curve and extrude boss/base.
Kick Stand :-
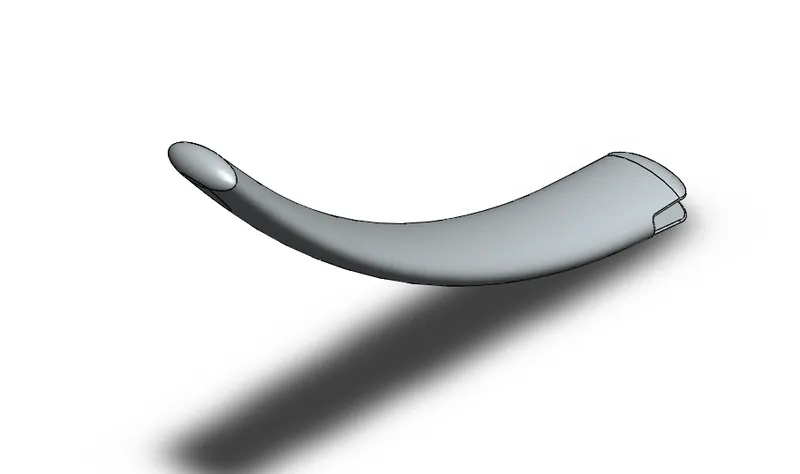
Feature Used :-
- Loft boss
- Extrude boss
- Extrude cut
- Dome
- Split
- Fillets
- Appearance
Kickstand this bike is a very simple kind made by the application of sweep feature. An opening kept for it fix it the chassis and the dome applied at the ends of the kickstand.
Front Fender :-
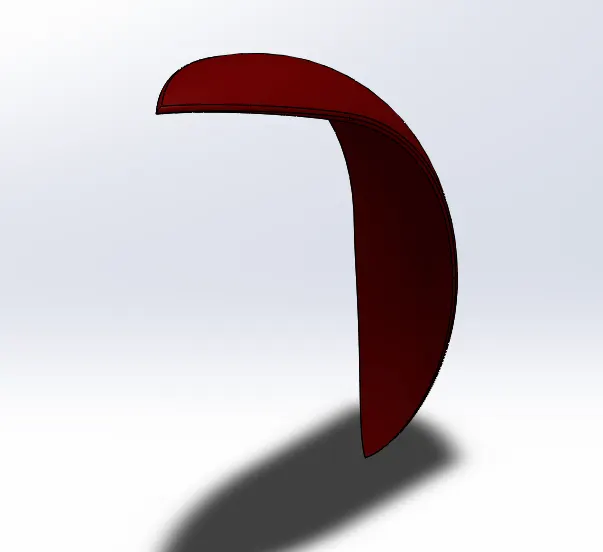
Feature Used :-
- Offset entities
- Trim entities
- Revovle boss
- Dynamic mirror
- Split
- Appearance
The front fender this bike design simply by revolving cross-section and cutting away material the end to make it pointed. Revolve and split tools are the most used tools in there.
Rear Fender :-
Feature USed :-
- Offset entities
- Trim entities
- Revolve boss
- Appearance
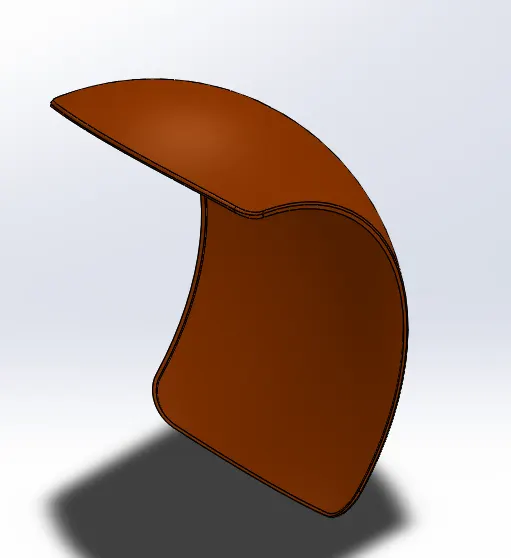
The fear fender thicker and shorter compared front fender. It does not have pointed like front fender, rather rounded end as the idea of sketch. Revolve and split tools the most used tools.
Chain :-
Feature Used :-
- Trim entities
- Fillet
- Blocks
- Extrude boss
- Linear Patterns
- Appearance
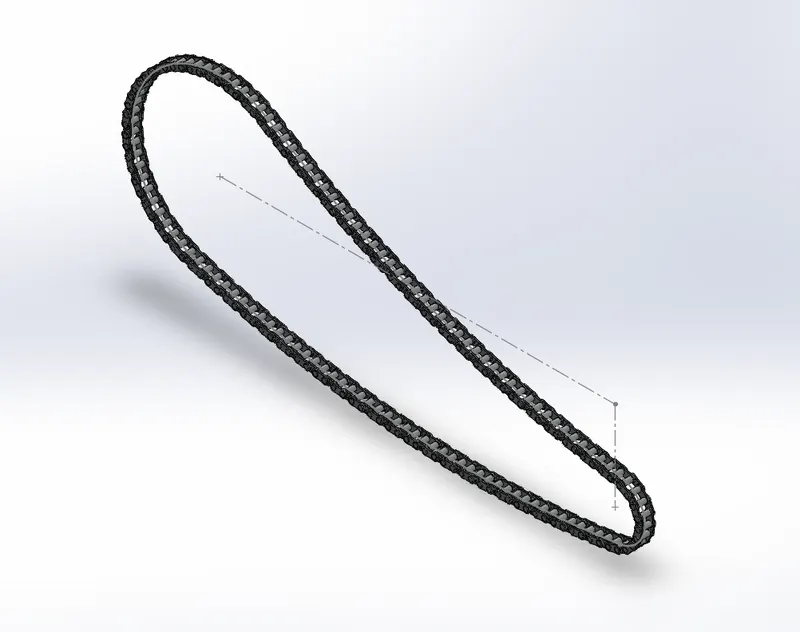
It is the complex part of the whole design project. It cosists 390 bodies including separate bodies all the inner plates, outer plates, and the pins. The major feature used part is the curve driven pattern which allows each instance chain parts follow the curve drwan intially for the chain. It is essential keep all the elements of the chain as separate body because it has rotate along the curve and arouund the sprocket.
Oil Tank :-
Feature Used :-
- Boss extrude
- Combine
- Fillet
- Shell
- Appearance
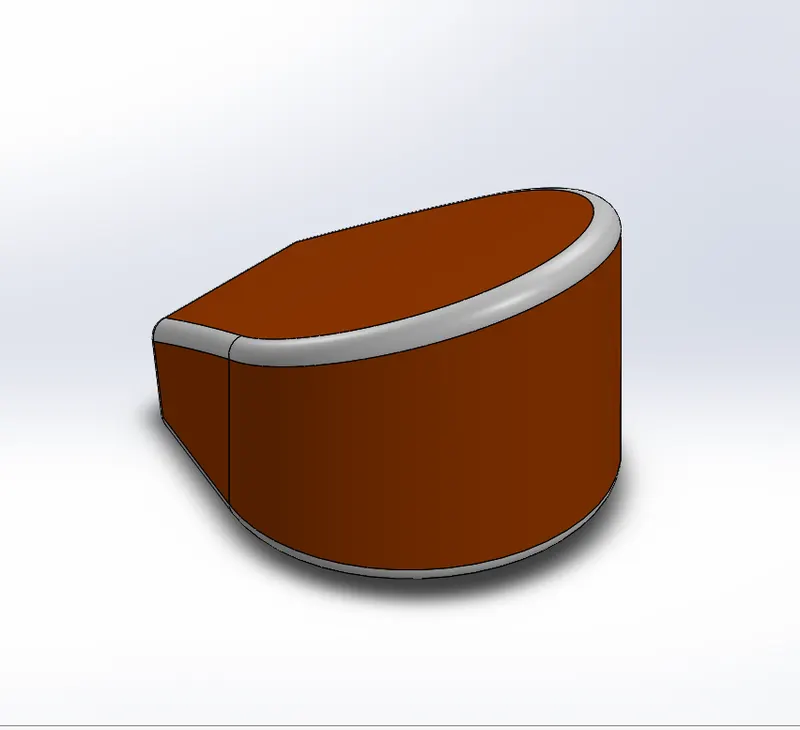
The oil tank place above the engine block is also made hollow inside. Extrude and shell, are the major features uused in this tank part.
Pedal :-
Feature Used :-
- Extrude boss
- Fillet
- Linear pattern
- Dome
- Chamfer
- Appearance
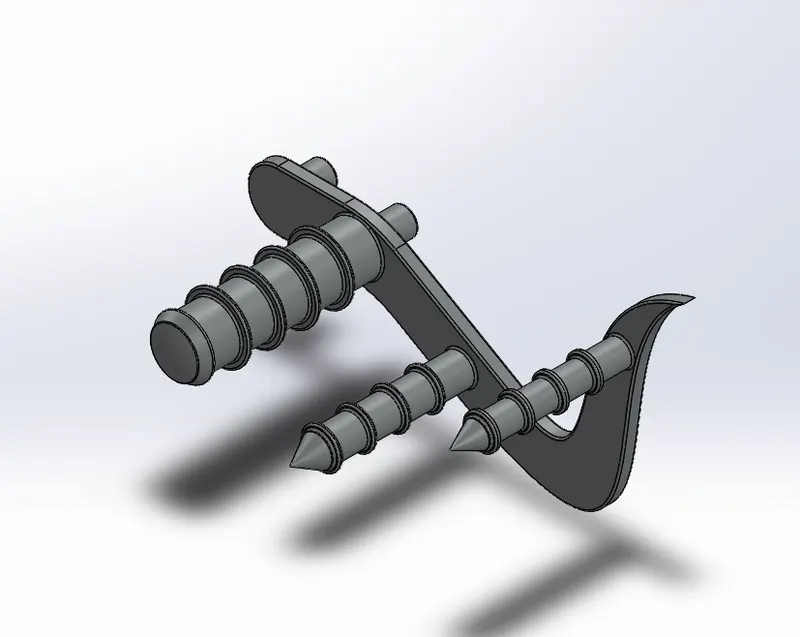
There are two pedals left and right. Only the right pedal sketched and designed in the part design environment and left was made using context feature of the assembly environmetn features sit into the holes provided at the bottom of the chassis on both sides.
Front Wheel :-
Feature Used :-
- Revolve boss
- Trim entities
- Sketch fillet
- Boss extrude
- Revolve cut
- Linear pattern
- Chamfer
- Cut extrude
- Circular pattern
- Appearance
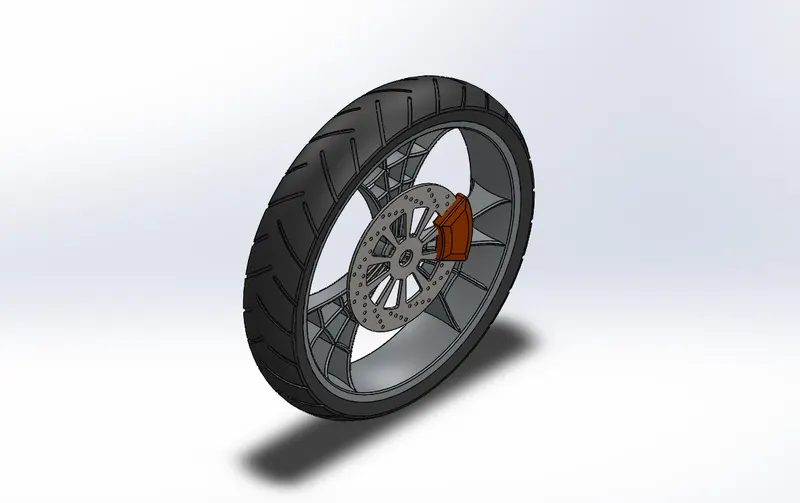
The front wheel thinner than the rear wheel. It is designed to be multi-body part consisting of the rotor, sprocket, rim, tire and the calliper are made to be single bodies. Mostly used feature include revolve, extruded cut, and circular pattern.
Rear Wheel :-
Feature Used :-
- Revolve boss
- Trim entities
- Fillet
- Extrde boss
- Planes
- Revolve cut
- Linear pattern
- Chamfer
- Fillet feature
- Extrude cut
- Circular pattern
- Appearance
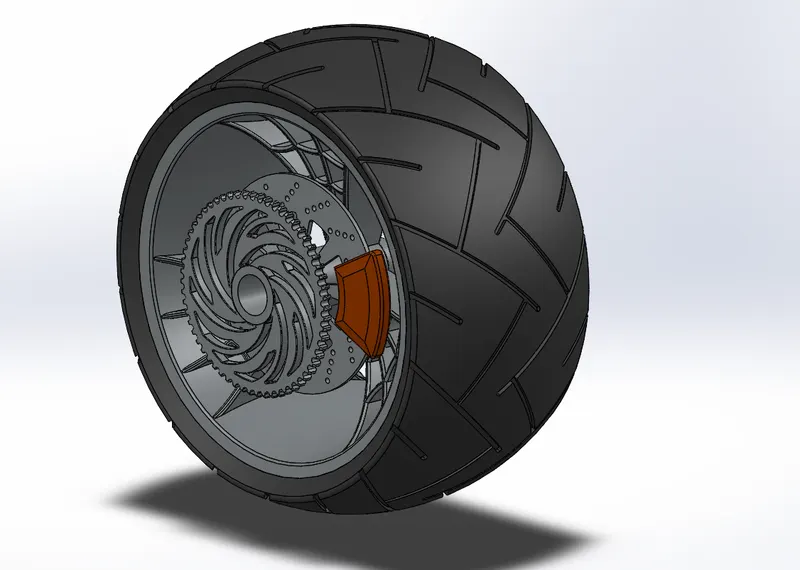
The reat wheel much thicket than the front wheel, just like the front wheel also designed to be multi-body part consisting of the rotor, sprocket, rim, tire, and the calliper all in single part. Mostly used features include revolve, extrude cut, and circular patter.
Front Fork :-
Feature Used :-
- Extrude boss
- Trim entities
- Revolve boss
- Split
- Move/copy bodies
- Dome
- Mirror
- Combine
- Projected curve
- Sweep boss
- Appearance
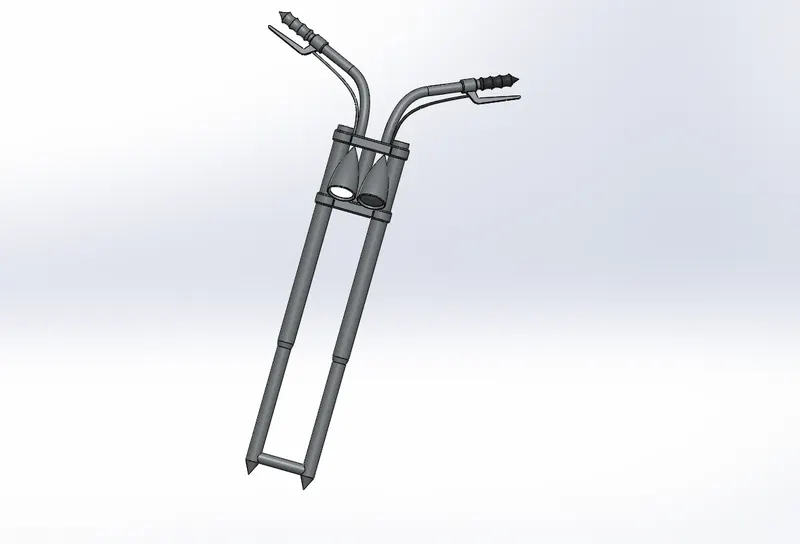
It is the most unique part American chopper bike. It is longer usual bike and the angle extremely low the respect to the horizontal. The handles are shorter and are customized according to their comfort. For model, revolve feature mostly used.
Chassis :-
Feature Used :-
- Offset entities
- Convert entities
- Project Curve
- Trim entities
- Sweep boss
- Split
- Revolve cut
- Extrude boss
- Fillet
- Combine
- Appearance
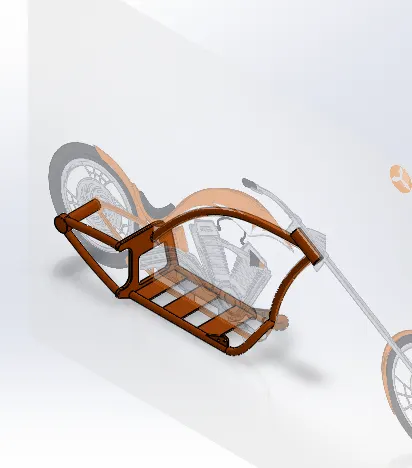
The chassis is frame that bears most of the load on the bike, in the design process this chassis, the mostly applied feature splines, sweeps, project curves, split etc. Lower tube mirror with respect to the mid plane the rear plate support rear arm which holds hub from one direction stiff enough.
Engine :-
Feature Used :-
- Trim entities
- Revovle boss
- Exturde cut
- Offset entities
- Dome
- Fillet
- Projected curve
- Composite curve
- Sweep boss
- Mirror
- Circular pattern
- Split
- Appearance
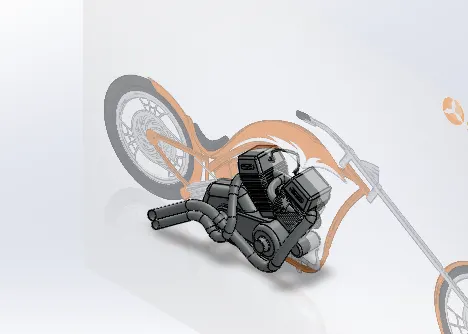
The engine used in the bike is V engine with two exhaust pipes, although it is solid modelling the engine block, it cover aspect of the engine block. It intake and exhaust manifolds, transmission unit with belt and pulleys.
Gas Tank :-
Feature Used :-
- Projected curve
- Trim entities
- Sweep boss
- Loft surface
- Knit surface
- Sweep cut
- Fillet
- Appearance
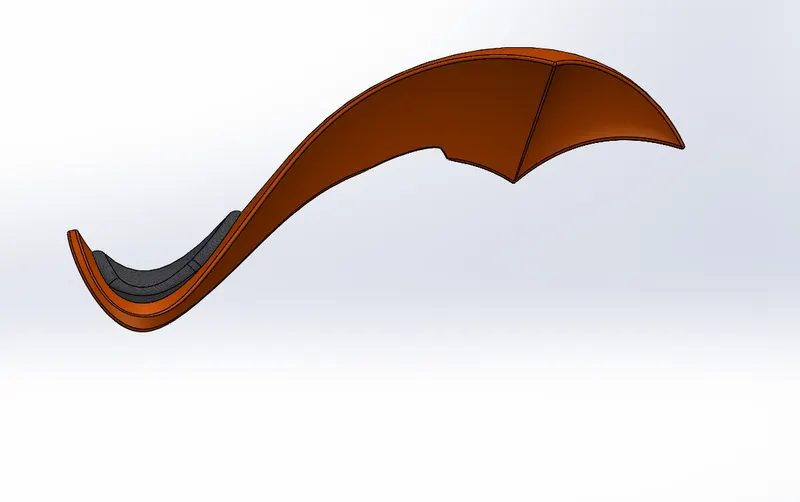
The fuel tank for this American chopper designed as per info sketch, it is hollowed out to make tank for the fuel inside. Mostly applied features extrude surface, boundary surface, shell, and knit surface. Sienna is assigned as appearance and decals are applied.
Assembly:-
Assembly is the most often reffered to putting components together in an assembly line, but more specially, it refers to creating complete products performs intended function. Changes components automatically reflected in the assembly. The rebuild option will automatically take place the user to rebuild the document.
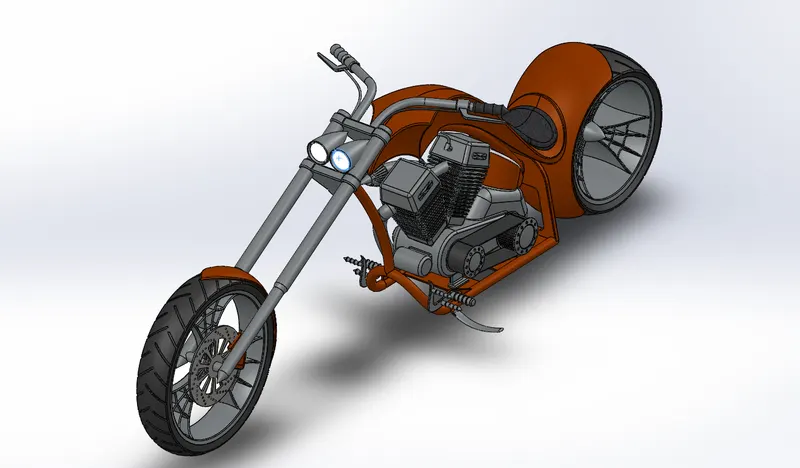
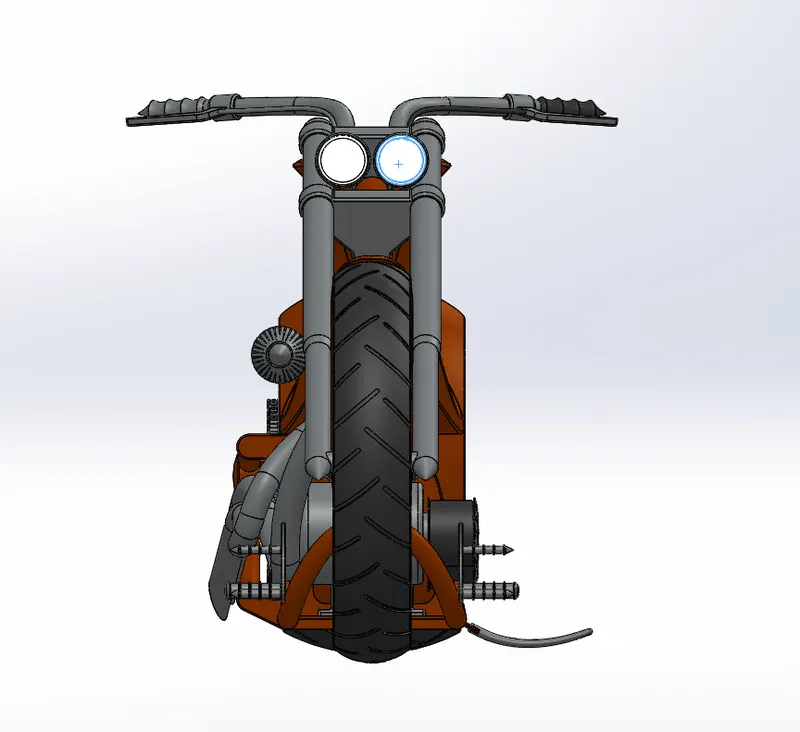
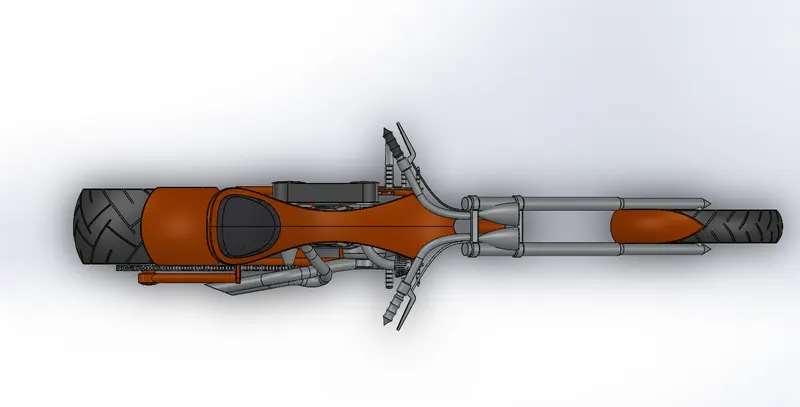
The American chopper assembled using the feature called mates. Each and every part is mate with the other or the base part with specific relation. Some relations that are used to mate the parts of American chopper are mentioned below,
- Concentric
- Coincident
- Parallel
- Tangent
- Width
Final Renders of American Chopper :-
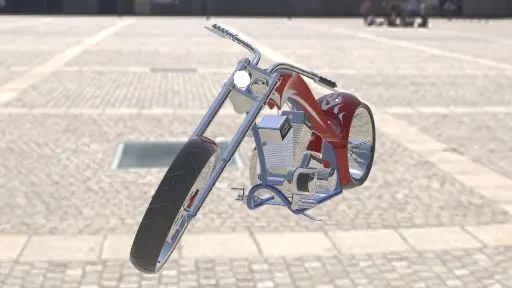
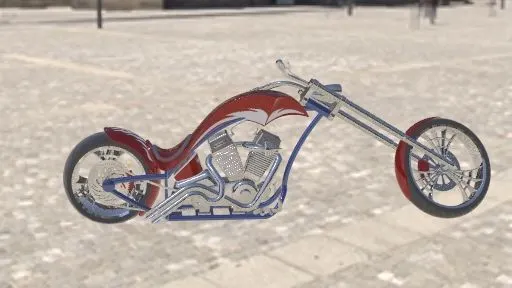
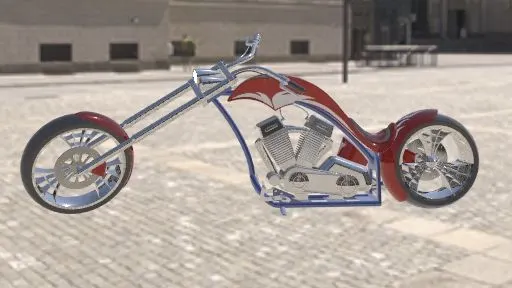
Conclusion :-
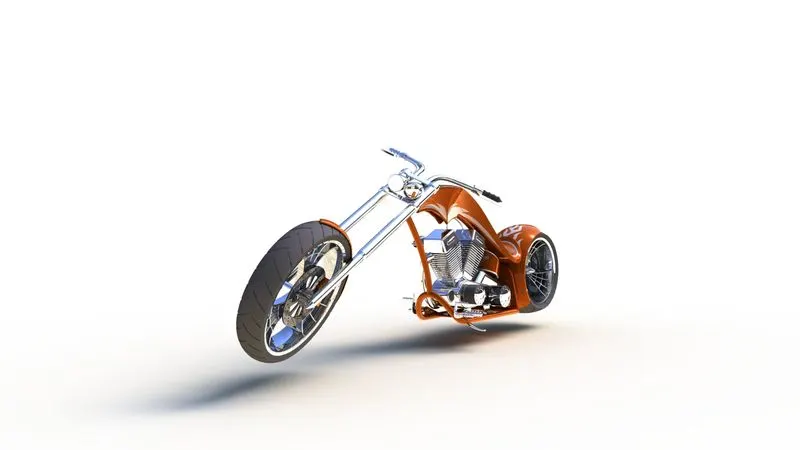
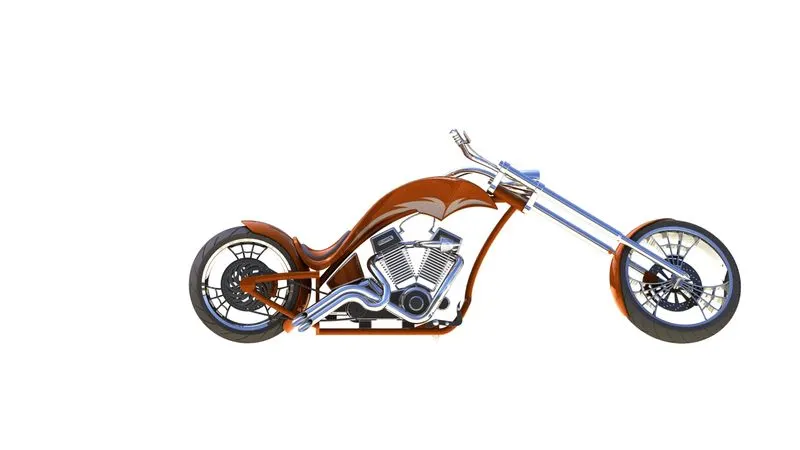
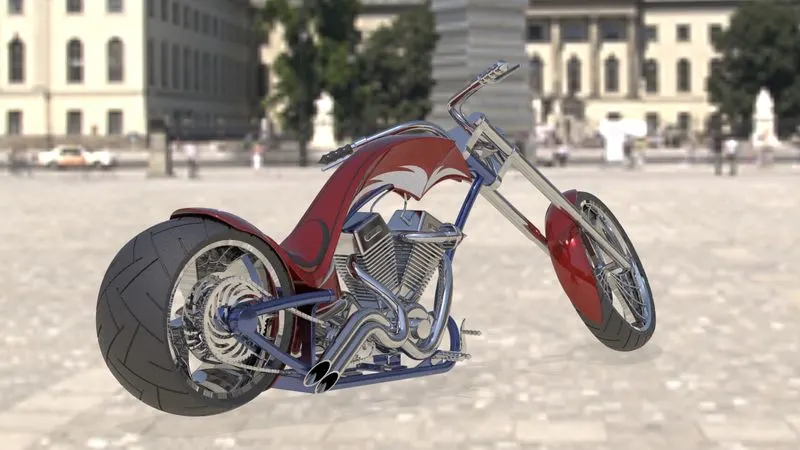
The given American chopper are designed and assembled using SOLIDWORKS and are rendered to phtorealistic images using PHOTOVIEW 360 and SOLIDWORKS VISUALIZE.
Assemble, Parts and Rendering :-
https://drive.google.com/file/d/1OnbJMAmIn_-wstr0N6aLaiwEhIBPOkXS/view?usp=sharing