Photo Realistic Rendering
ASSEMBLY OF AMERICAN CHOPPER AND RENDERING
OBJECTIVE: To create a model of an American chopper and to perform rendering of the chopper.
INTRODUCTION: The chopper model is created using solid works, and then rendered using the Solidworks visualize. Individual components of the chopper are first created in Solidworks such as; ( chassis, engine, pedal, kickstand, transmission belt, oil tank, front wheel, rear wheel, front fender, rear fender, chain, and gas tank), once the individual components are created using Solidworks, the assembly process is carried out and then the model is rendered in Solidworks visualize to obtain a clean and realistic appearance of the model in a realistic environment.
METHODOLOGY: The following parts are sketched and modeled to create the Chopper;
1. Transmission Belt:
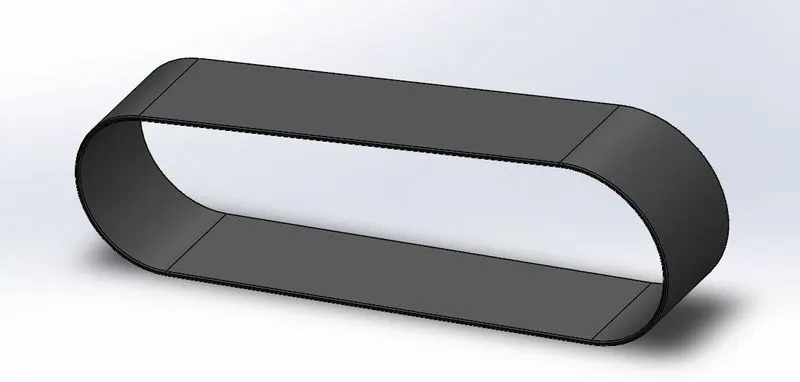
The transmission belt is first sketched and then extruded to create the belt, next the square edges are given fillets to give a smooth finish to the belt. The matte rubber material is then applied to the belt, to finish the part.
2. Kickstand:
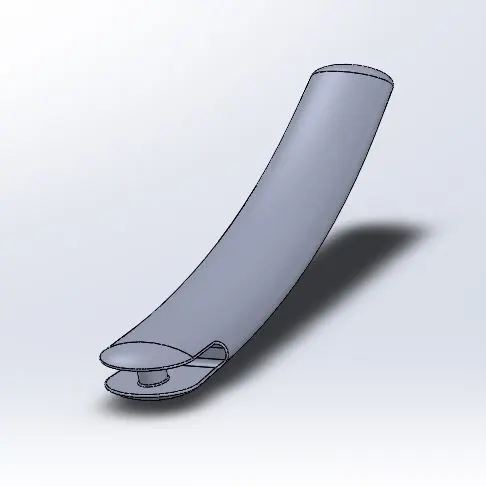
The major tools used to create the kickstand are lofted boss/base, extrude cut, extrude boss/base, Dome and fillet.
The sketch for the stand is first drawn and then lofted to create the shape of the kickstand. A dome is created at the end of the stand and then a chrome material is applied to the stand.
3. Chain:
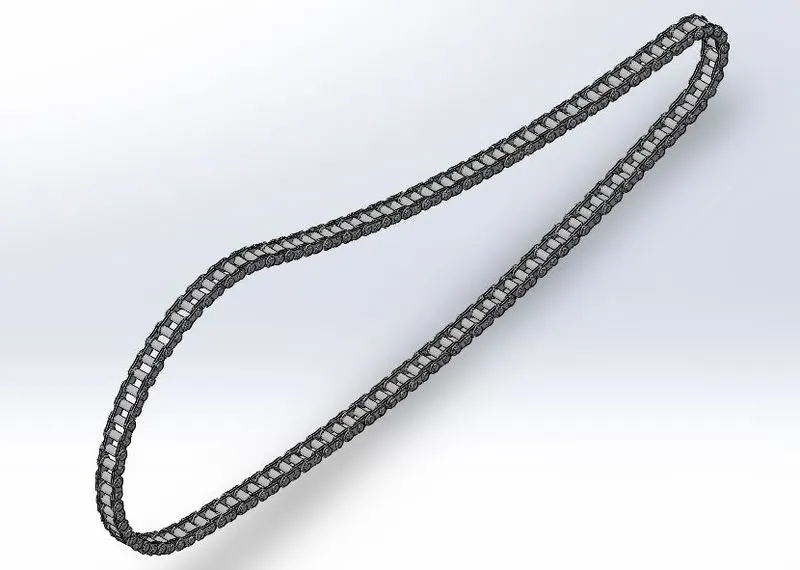
The chain sketch is created using 3 point arcs and is split into 2 sketches. The chain links are then created using linear and circular patterns and then mirrored. A metal chrome material is applied to the chain.
4. Rear fender:
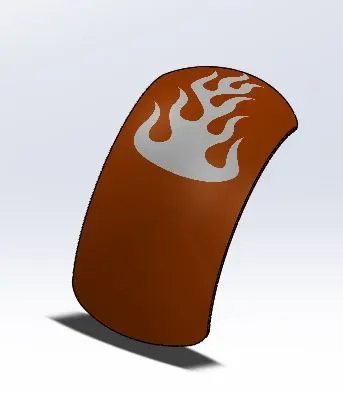
The Revolve boss/base and the shell feature are used to create the rear fender of the chopper.
The sketch for the fender is drawn and the revolved to give it the shape required. The shell feature creates a smooth curve for the fender and then fillets are applied to its edges, followed by a chrome plate material and a siana color for its appearance.
5. Rear wheel:
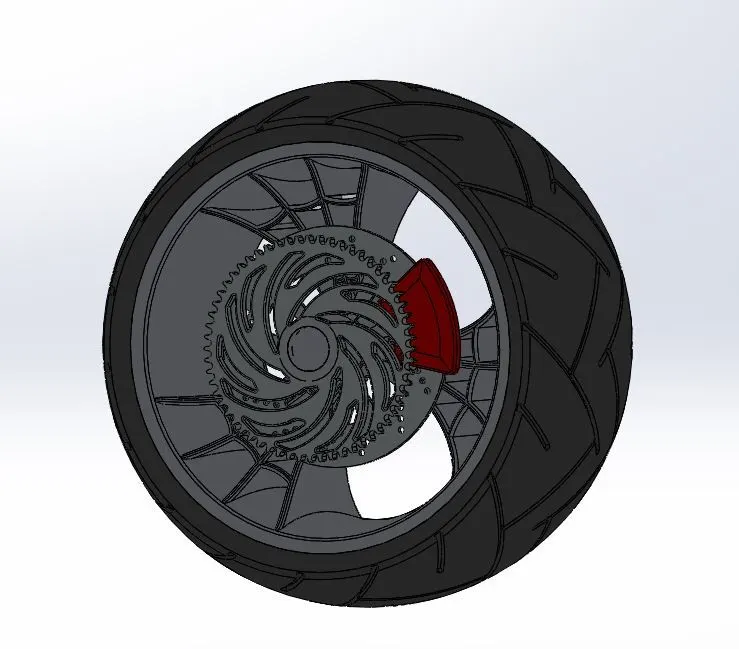
The features used in creating the rear wheel are;
Extrude boss/base,revolve boss/base,extrude cut,revolve cut,combine,mirror,linear and circular pattern,chamfer and fillet.
At first, the rim of the wheel is created and spider web design is given to it, using the circular pattern feature. The rotor is the made which is also designed, followed by the brake calipers which are placed on the rotor. Extruding out of the rotor lies the sprocket. Materials for each component of the tire are then applied accordingly.
6. Pedal:
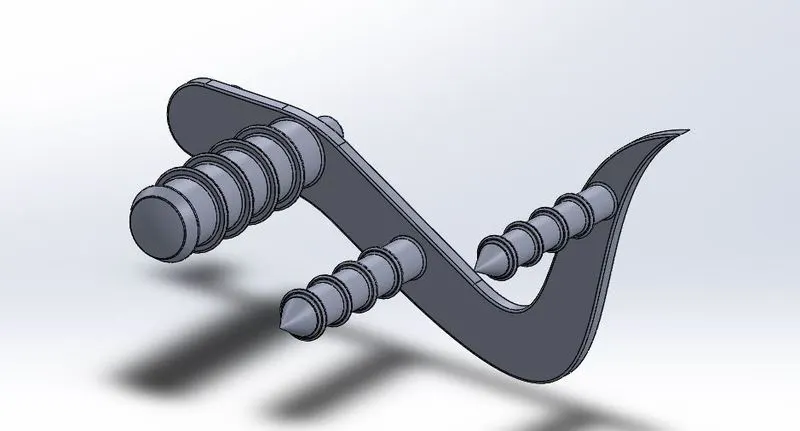
Extrude boss/base, revolve boss/base, linear pattern, dome, chamfer, and fillet are some features used in modeling the pedal of the chopper.
The sketch is drawn for the pedal and then circles are drawn and extruded to create the footrest and the connections for fixing the pedal with the chassis. A chrome steel material is applied to the pedal.
7. Front fender:
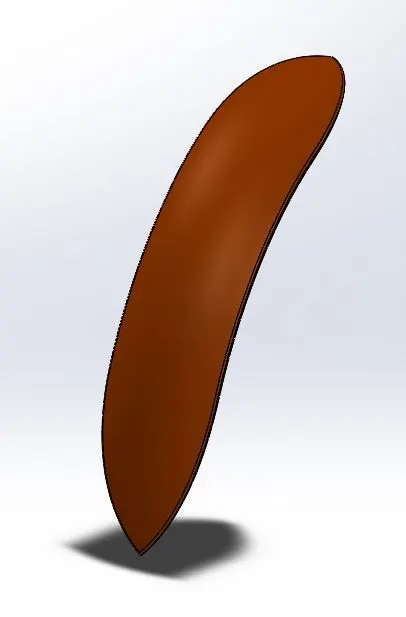
The Split feature is used in creating the front fender along with a few other familiar tools.
Two different sketches are created in different planes and are then cut, to create the front fender shape. Fillets are applied to the sharp edges and material is applied.
8. Front wheel:
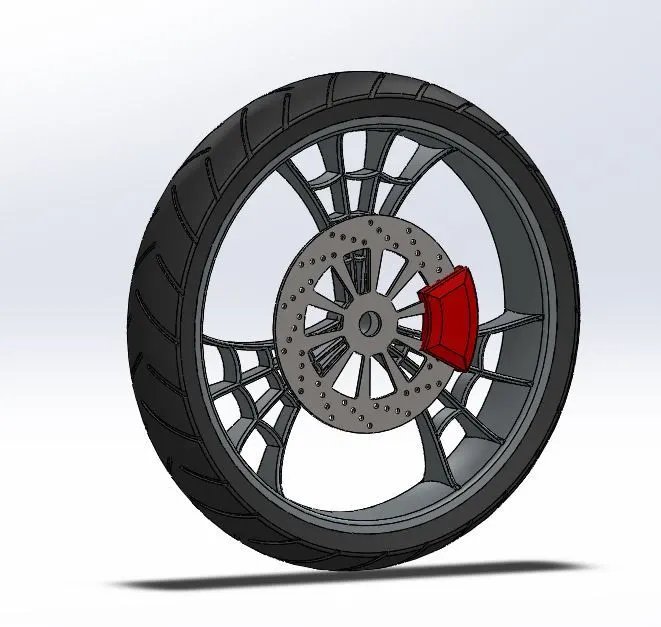
Creating the front wheel is quite similar to how we created the rear wheel of the chopper. The difference is that the tyre size of the front wheel is smaller compared to the rear and there is no sprocket.
9. Oil tank:
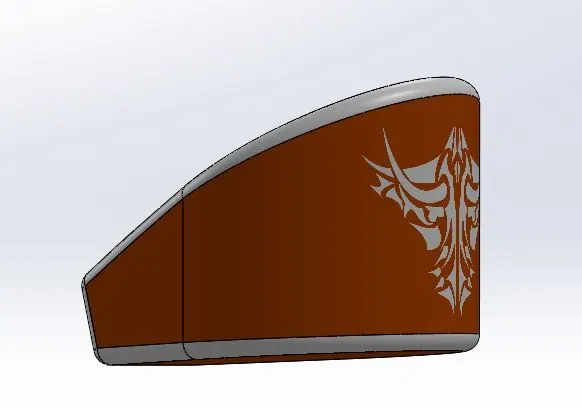
The Shell feature is a new feature that we have used in the design of the Oil tank.
3 point arcs are used to create the sketch of the tank with tangent relations. The Shell feature is used to create a hollow space in the oil tank, fillets are then applied to the required regions of the oil tank and appropriate material is applied.
10. Front fork:
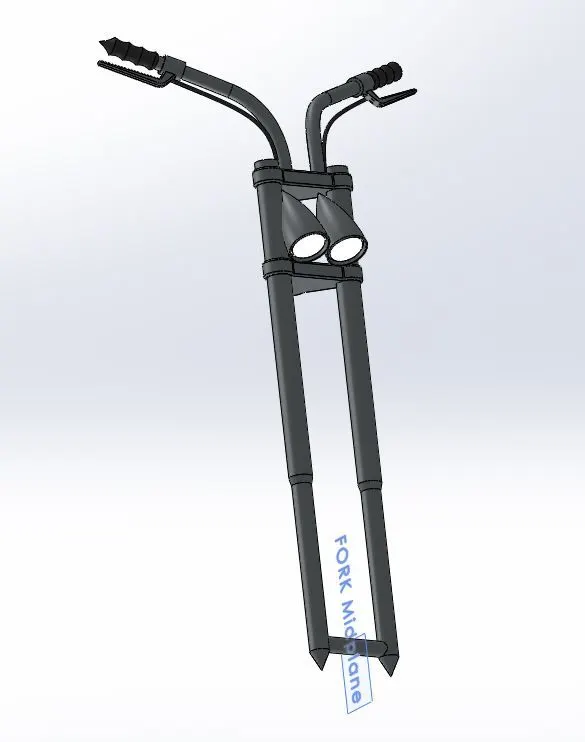
Features used; Extrued boss/bass,revolve boss/base,extrude cut,revolve cut,project curve,mirror,sweep boss/base,combine,dome,chamfer and fillets.
Create a long tube structure and revolve it, the triple clamp and the headlights are created on the same plane and the created model is then mirrored to create the entire model. A chrome plate appearance is given to the front fork.
11. Chassis:
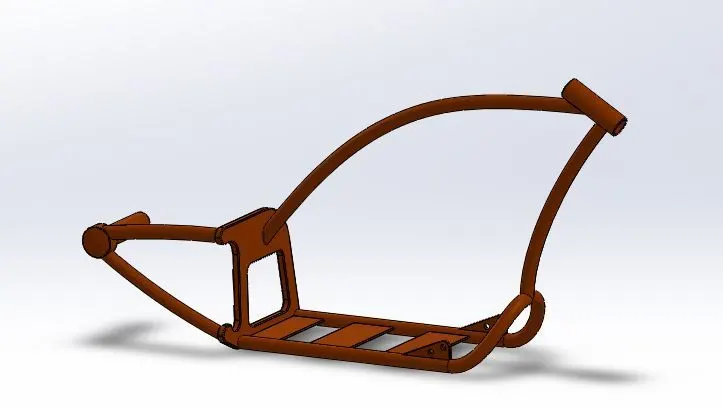
The chassis is the skeleton of the motorcycle. A blueprint of the chopper is placed in the background for reference and the chassis is created using 4mm thick tubes, that extend from the front to the rear of the chopper. Splines and projects curves are used to create the chassis.
12. Engine:
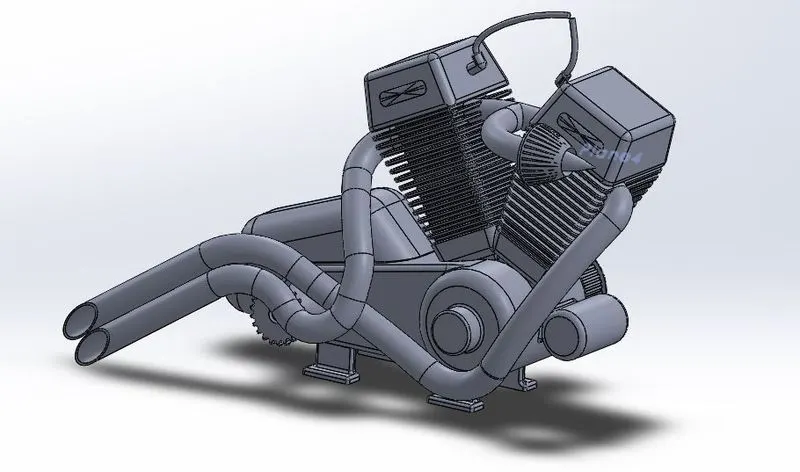
The Engine is known as the heart of the motorcycle. At first, the twin engines are created in a V-shape, followed by the pulley over which the transmission belt runs. A cylinder is created in front of the engine and using splines and the projects curve, the twin exhaust pipes for the chopper are modeled, followed by the spark plug at the end.
13. Gas tank:
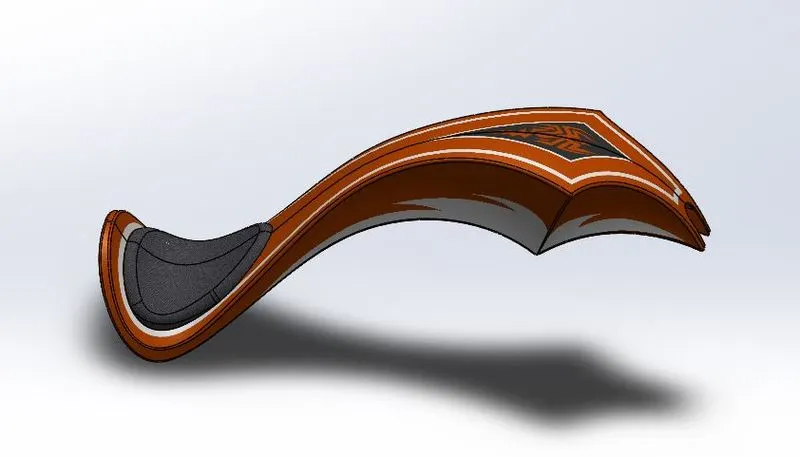
Swept, loft, boundary, and knit surfaces are few features used in modeling the gas tank.
Splines and project curves are used to create the gas tank and the tank is created as two halves which are then Knit together to create a single body. A fabric seat is made on the gas tank.
ASSEMBLY:
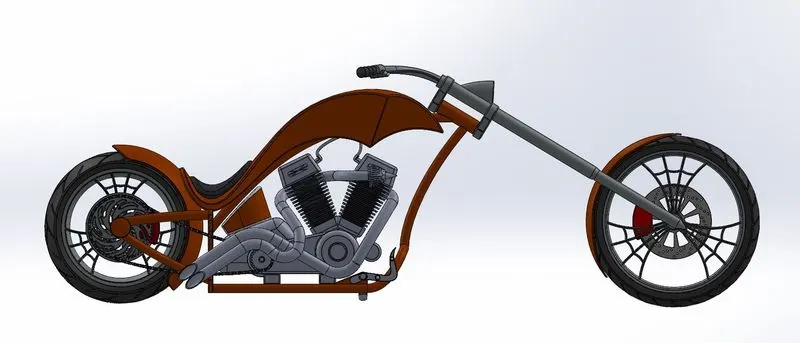
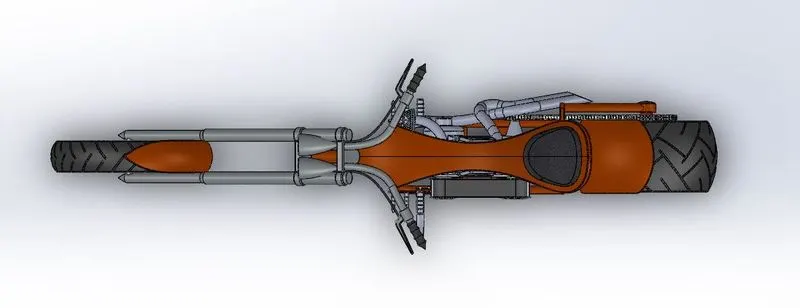
Once the individual components of the chopper are created, the parts are taken into the assembly section of Solidworks and are assembled using different MATE options to create the chopper. Decals are then applied to the chopper.
RENDERING:
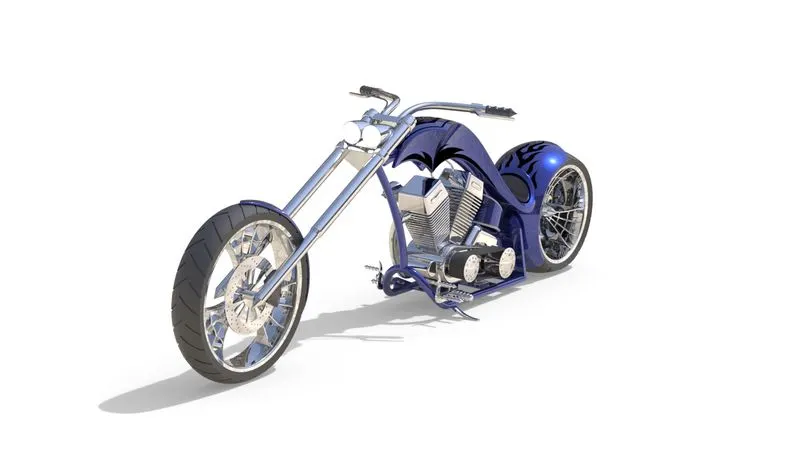
A Render is a process where, we make a realistic image of the model in an appropriate environment using Solidworks Visualize and Photoview 360, where we can give a background for the chopper and adjust its lightings and camera angle to give it as much as a realistic look.
The final rendered images are given below;
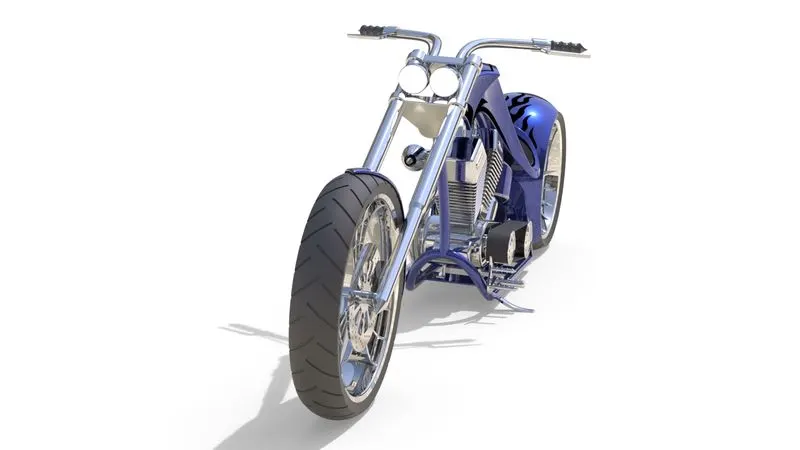
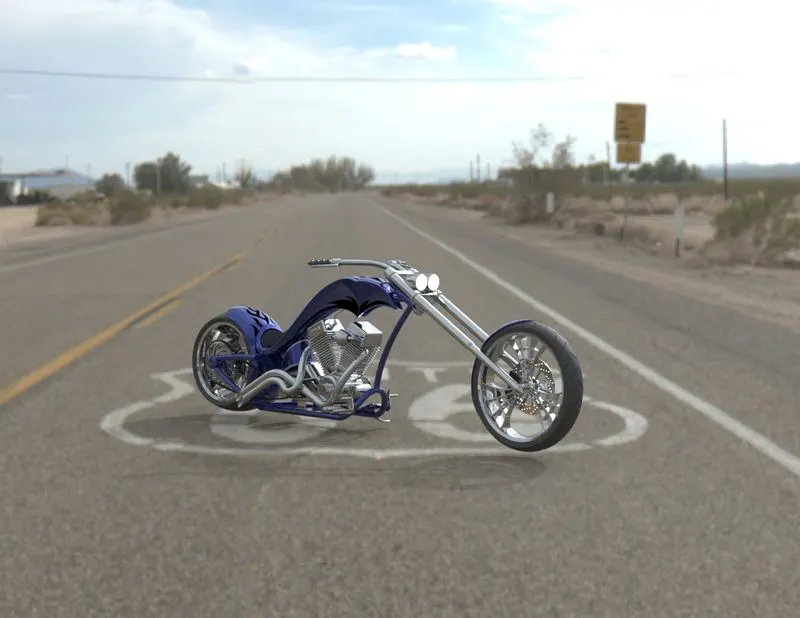
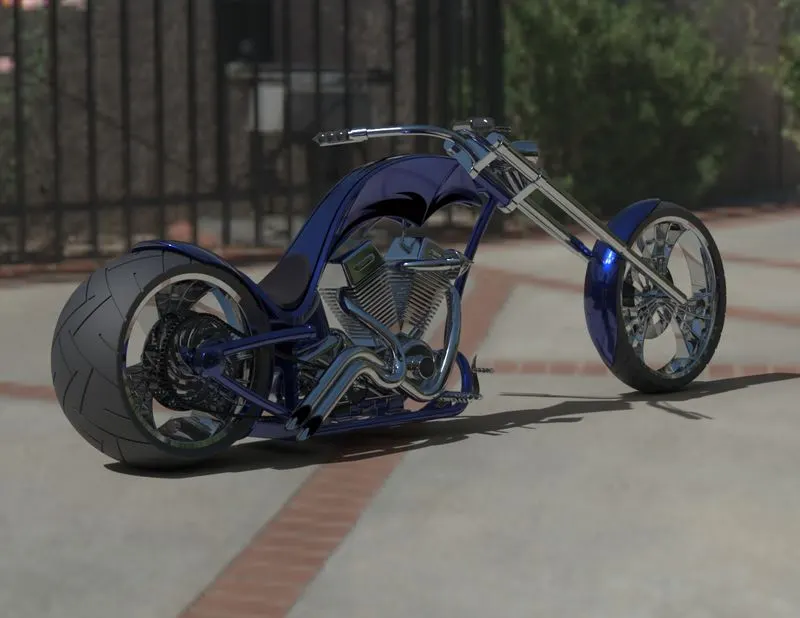
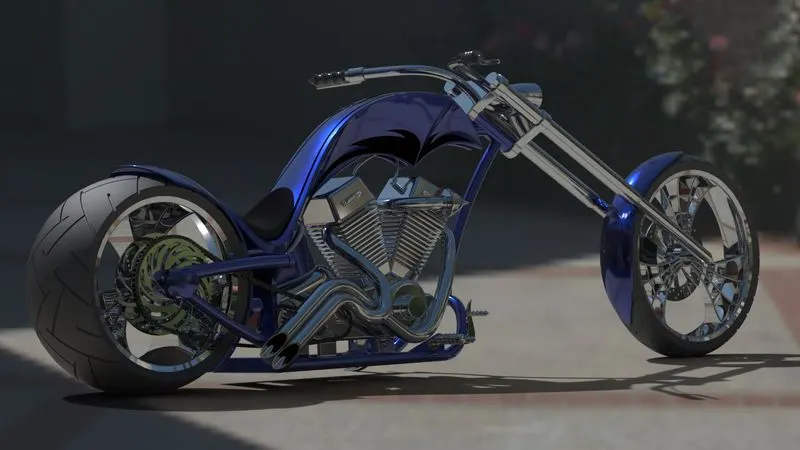
CONCLUSION: Thus using Solidworks we have created an American Chopper model and performed rendering on the model, using Solidworks Visualize and Photoview 360.