Meshing of Hood model using ANSA
Aim:
To create a meshing of Hood check for the geometrical errors and mesh with the given element Quality criteria. After meshing the component the thickness has to be assigned.
Procedure:
1. Open the model in Ansa before assigning the quality check for geometry issues and fix them.
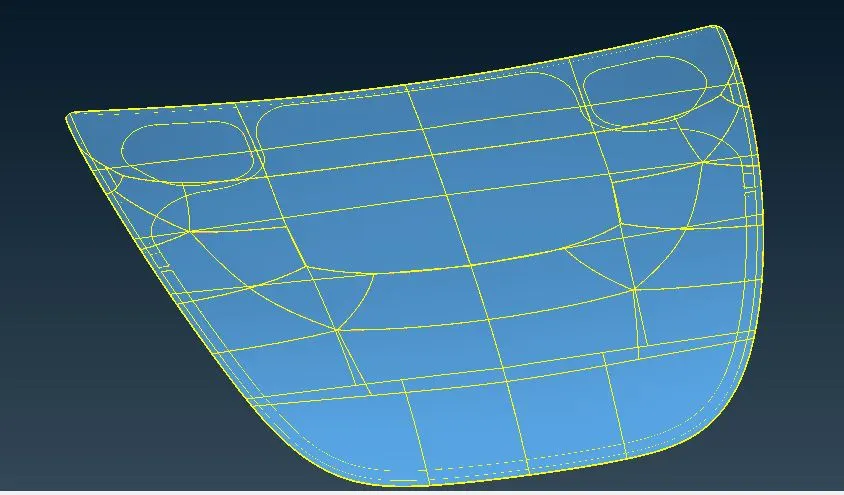
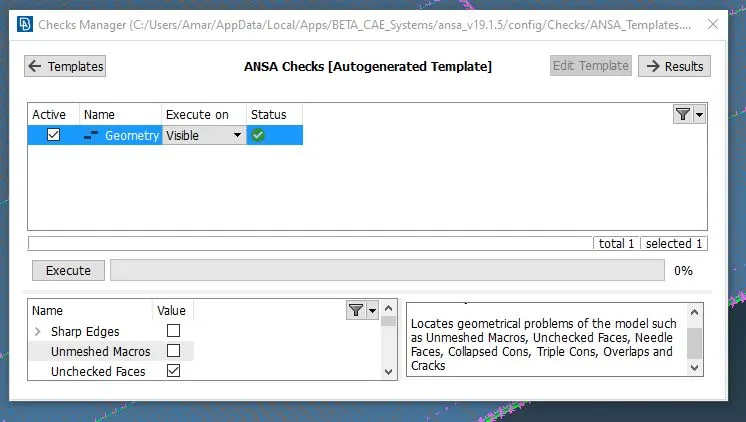
2. After geometry check extract mid surface for each part in the hood in the current model we have five parts Latch, Sheetmetal Hood, Hood frame, LHS Hinge, and RHS Hinge
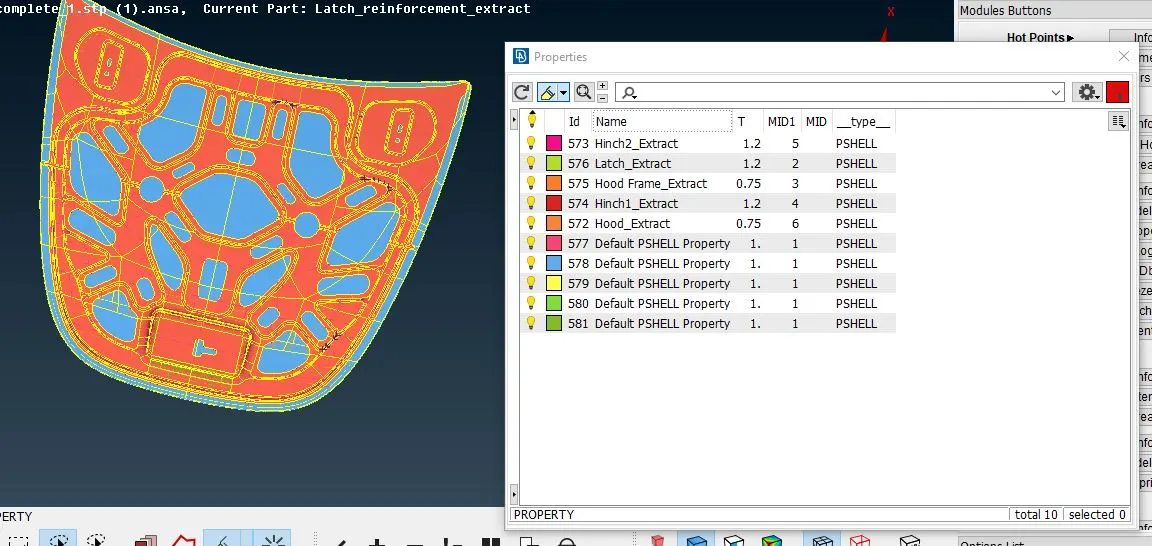
3. Here I have used manual mid surface and auto mid surface.
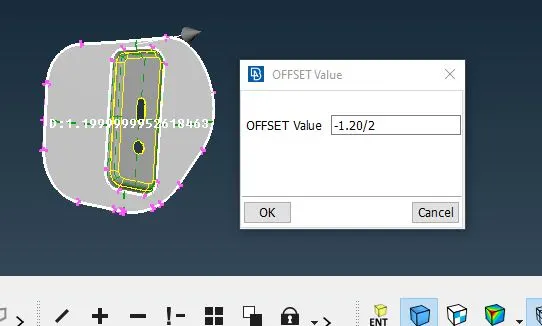
Here this is RHS Hinge the thickness is same for the complete part so I am using manual offset to get the mid surface for the complete surface.
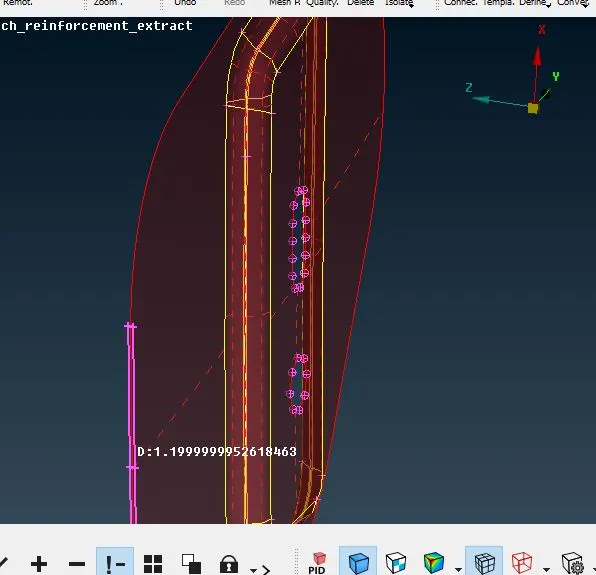
Here we can see the mid surface is extracted from the parent body.
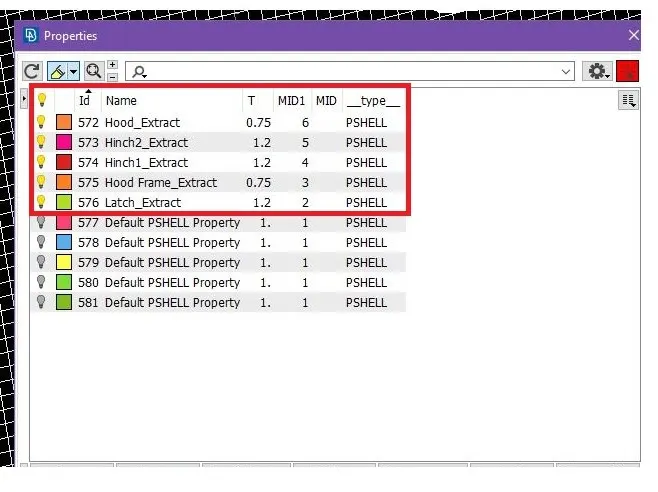
4. After extracting the mid surface I have assigned a new property ID for all five mid surface.
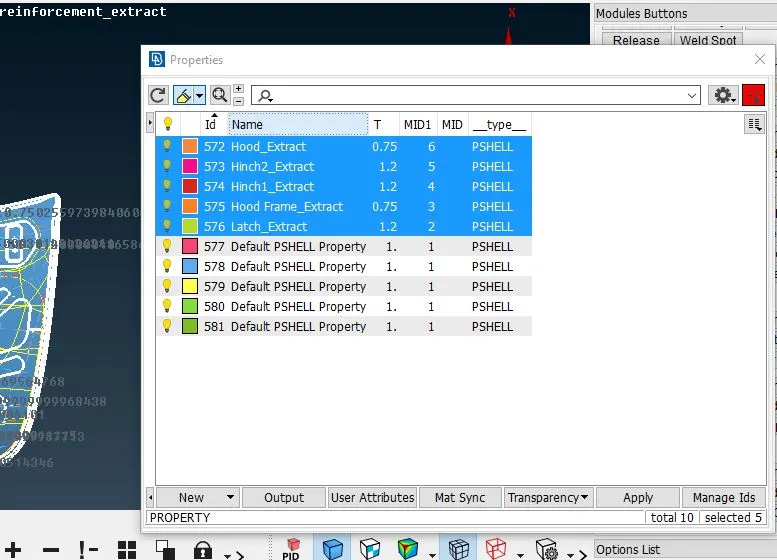
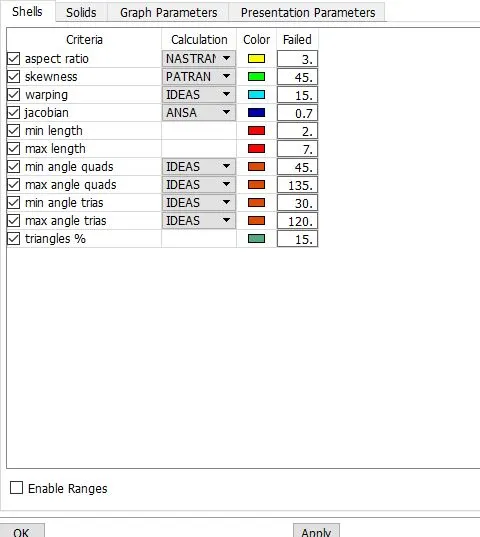
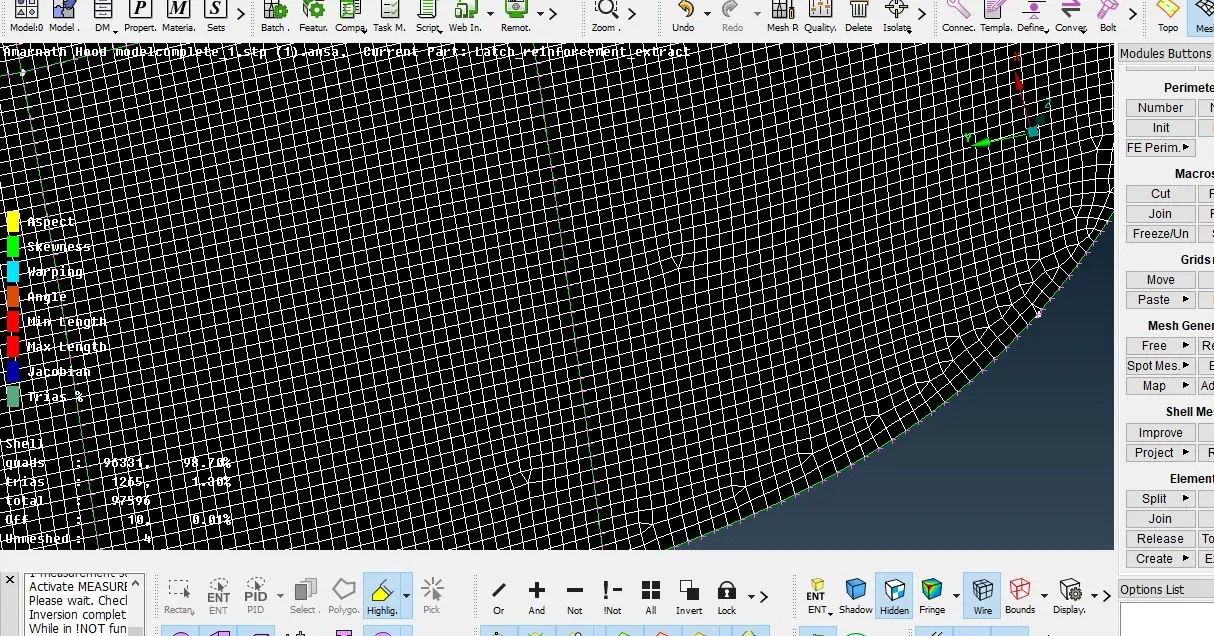
5. Now assign the quality criteria and in mesh mode enable Hidden drawing style so that the quality issues will be visible.
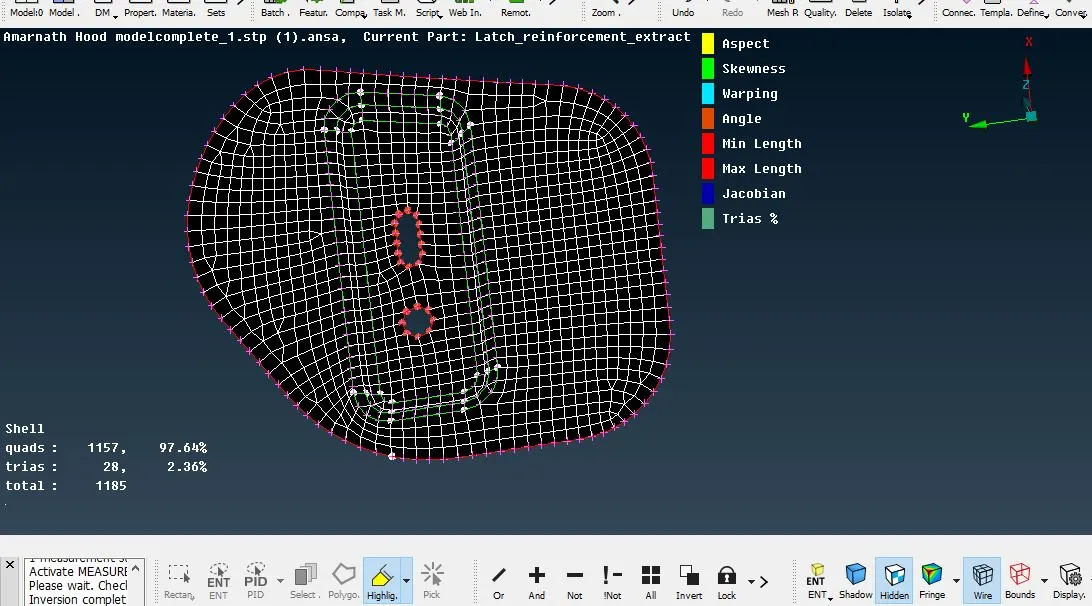
The above image is where the mesh flow and quality analysis is done in a hidden drawing style.
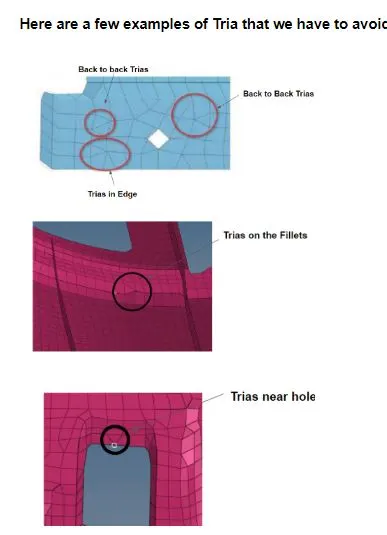
There are a few ways to handle the mesh flow:
The Tria elements should never be opposite to each other
No Tria elements should be connected back to back
No Tria elements should be on the edge of the geometry
No Tria elements should be near the holes
No Tria elements should be on the feature and the fillets.
There should be less Tria concentration, i.e., there should be a considerable distance between Tria elements.
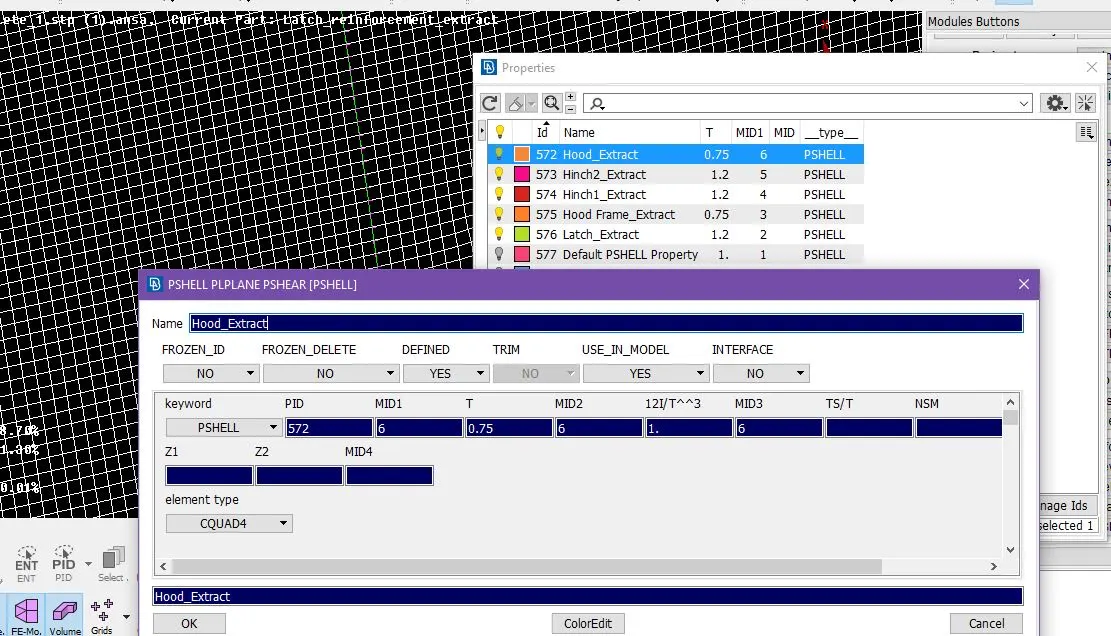
6. Now after completing the mesh we have to assign thickness for all five parts. Thickness is measured with the parent body part and added to the mid surfaced part.
Result:
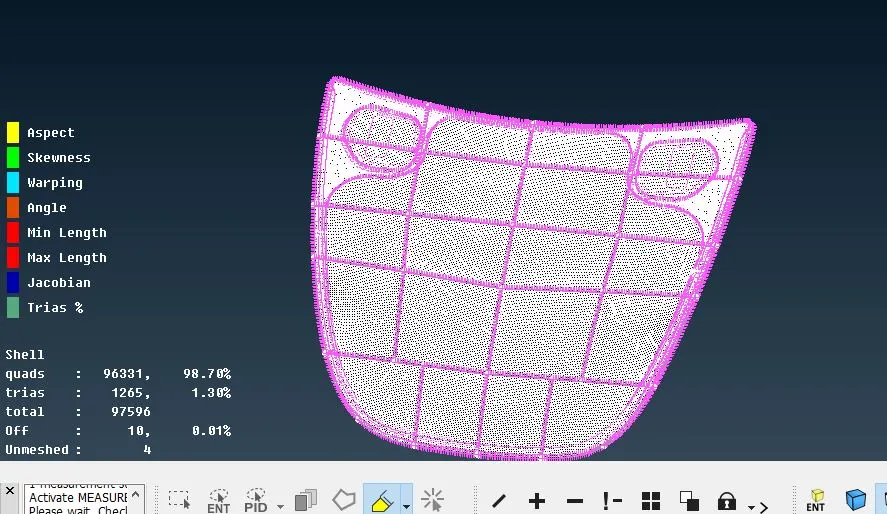
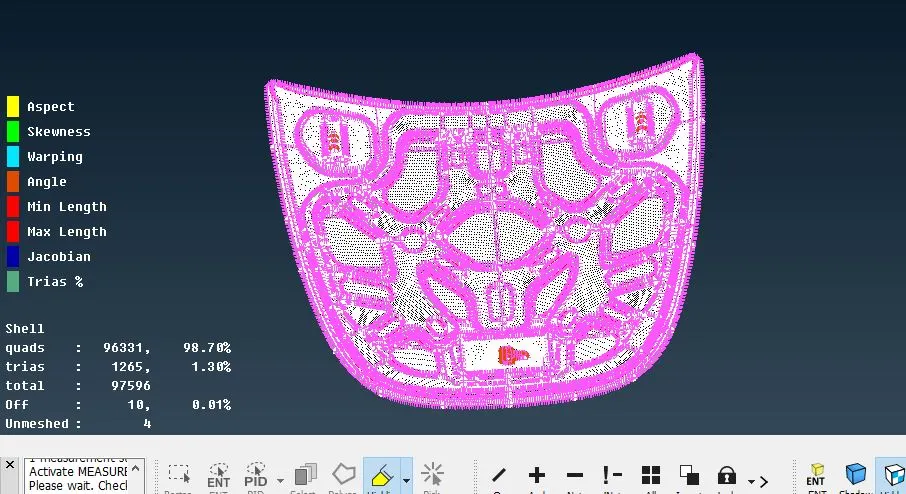
Few images below show the complex mesh model of hood parts as per the quality criteria and also the thickness has been assigned.
Conclusion:
The given Hood Model has undergone geometry clean up, mid surfacing and mesh flow with the given quality criteria. the mesh is used as CFD for better accuracy and flow.