Introduction to REVIT concepts
1. AIM: Creating a new project (Architectural) and naming it.
- Clicking on the 'NEW' to create a new Architectural template.
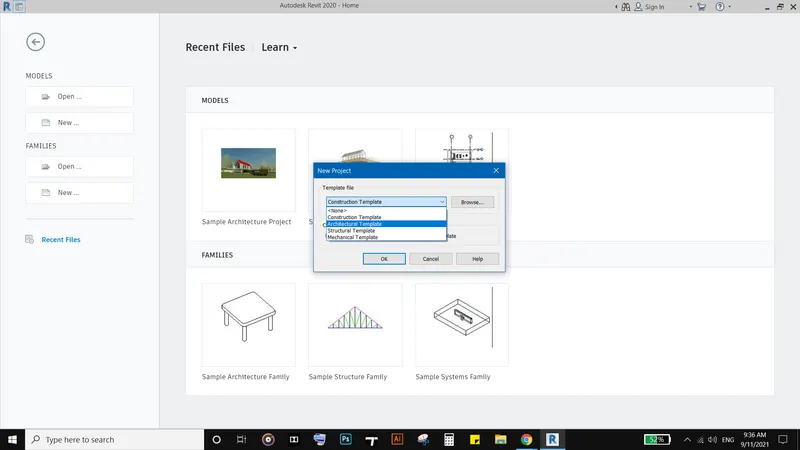
Result: This created a new file of the Architectural template by accessing 'NEW' from the left side of the window.
2. AIM: Saving The project from the 'FILE' tab.
- Saving the newly opened file by accessing 'SAVE' from the file.
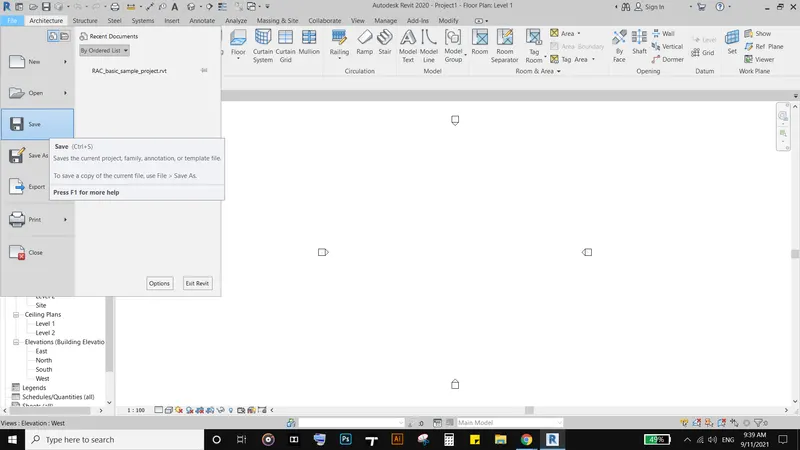
- Saving the project under an appropriate name.
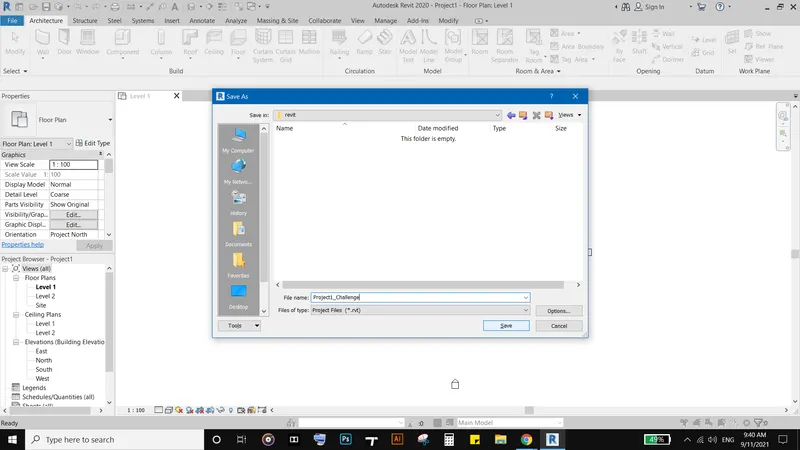
RESULT: By opening the file tab from the topmost left corner and saving the file by accessing the save option with a name
3. AIM: Drafting a rectangular room 40’-0” X 35’-0”
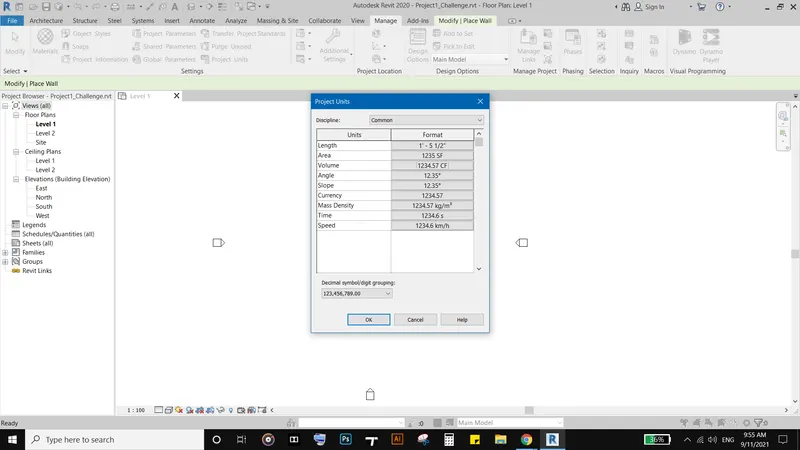
- Changing the units of the project by selecting 'MANAGE' tab and then the project units from the settings panel.
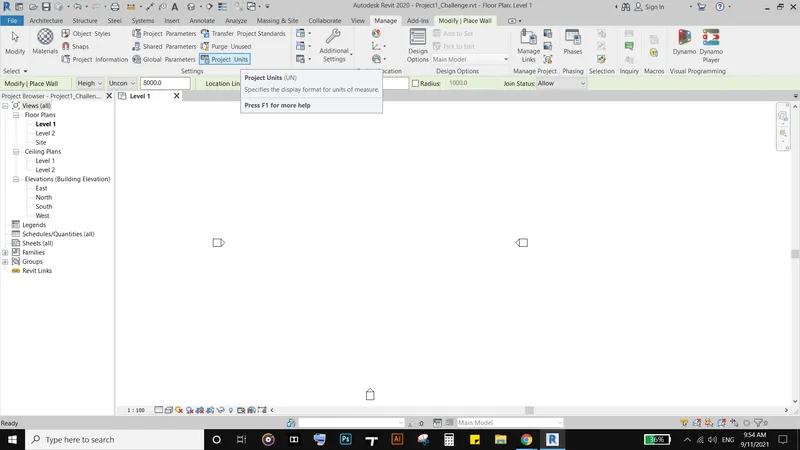
- Changing units from Default settings to FEET and INCHES.
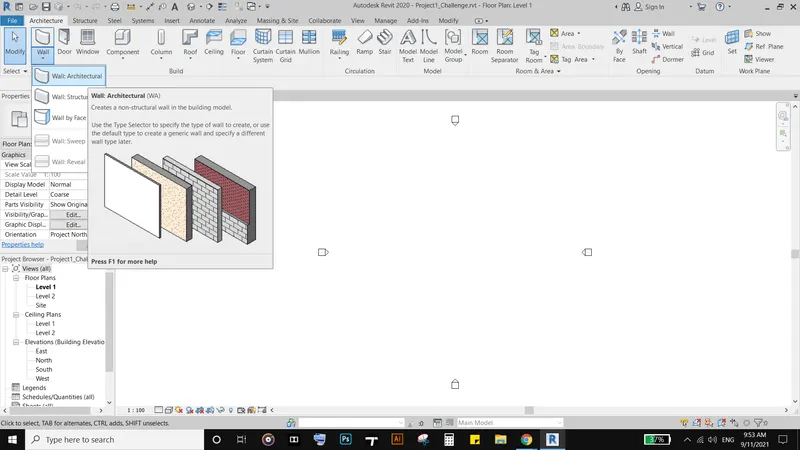
- Clicking on the 'Wall ARCHITECTURAL' to draft the walls.
- Drafting walls of measurement 40'0" x 35'0" by using SHIFT to draw it straight.
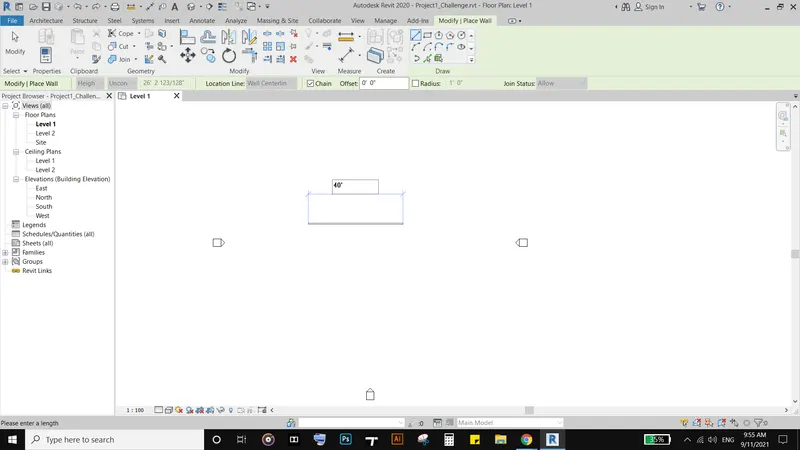
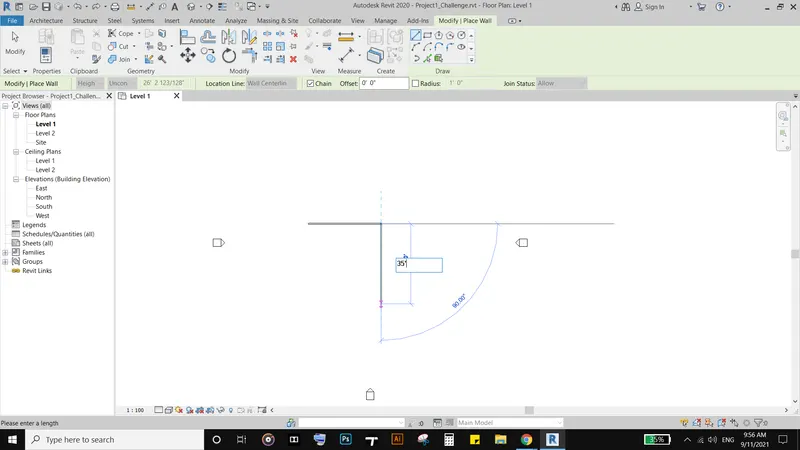
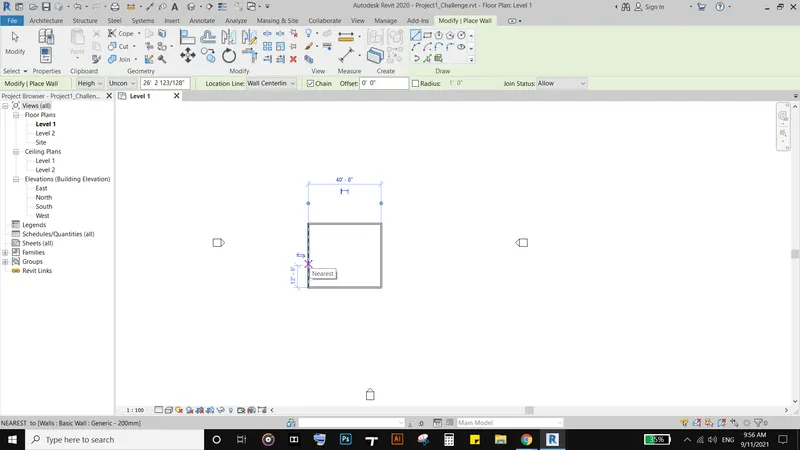
RESULT: To understand the Architectural panel and settings regarding drafting walls with the given measurements.
4. AIM: Annotating the Drafted walls with their measurements
- Clicking Annotate tab to access the aligned from the Dimensions panel
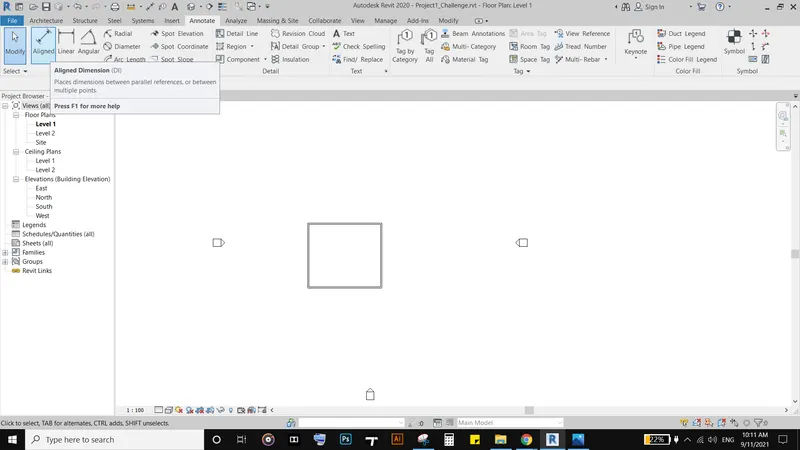
- Giving dimensions to the walls under the 'wall centreline' settings.
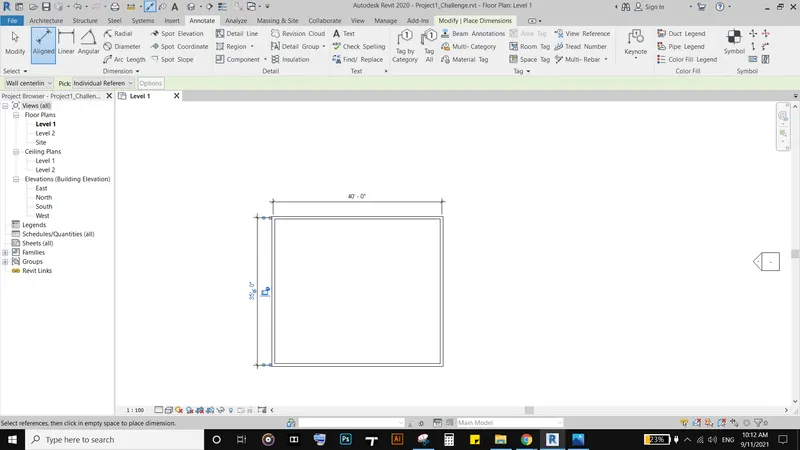
5. AIM: to know about Properties browser and different wall types
- Selecting walls and assigning respective wall types to them.
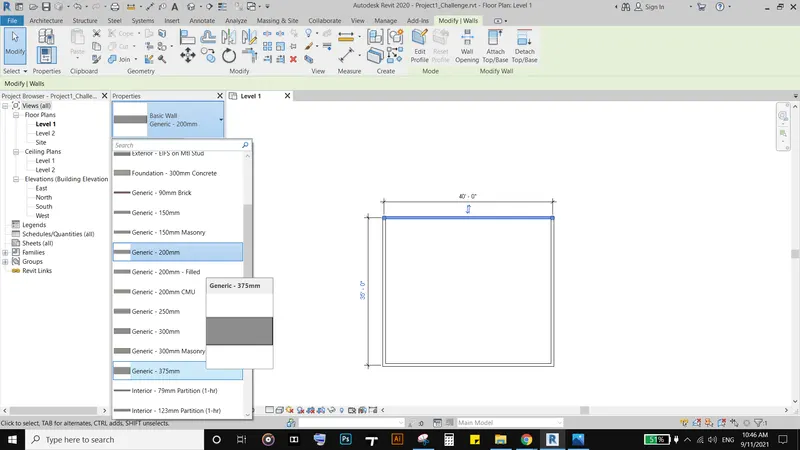
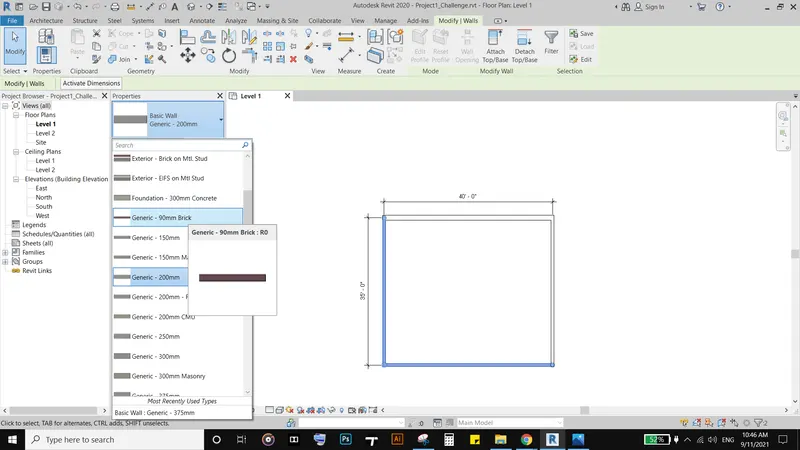
RESULT: Easily assign the needed characters to the wall regarding material, width, use, etc.
6. AIM: To create a 3D view and name it.
- Selecting 3D view from view tab and creating an appropriate view using it. Now giving an isometric view and then saving it under the view template with a name
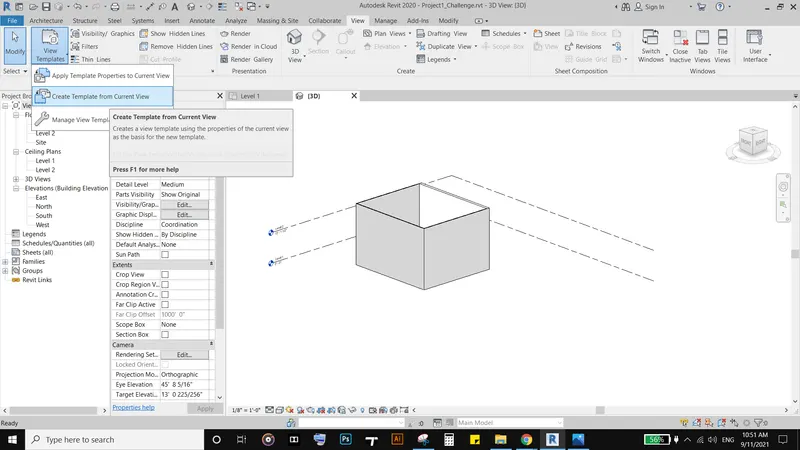
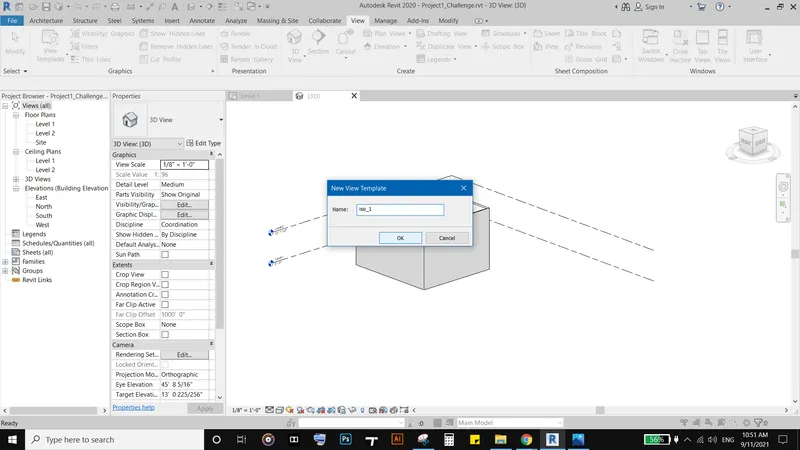
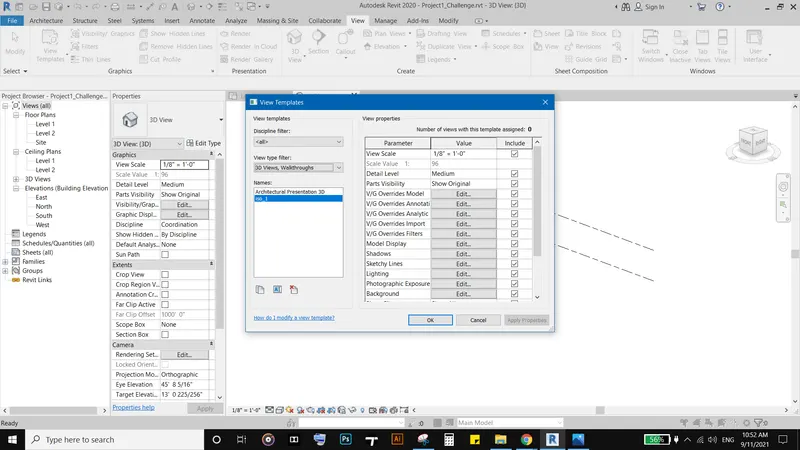
RESULT: Helps in creating a fixed view and saving it, So it can be accessed easily whenever needed.
7. AIM: Navigating a 3D model
- The 3D model is easily navigated using the view cube on the right most corner of the window and pan and orbit is used with the shortcuts of using middle of the mouse and shift + middle of the use respectively.
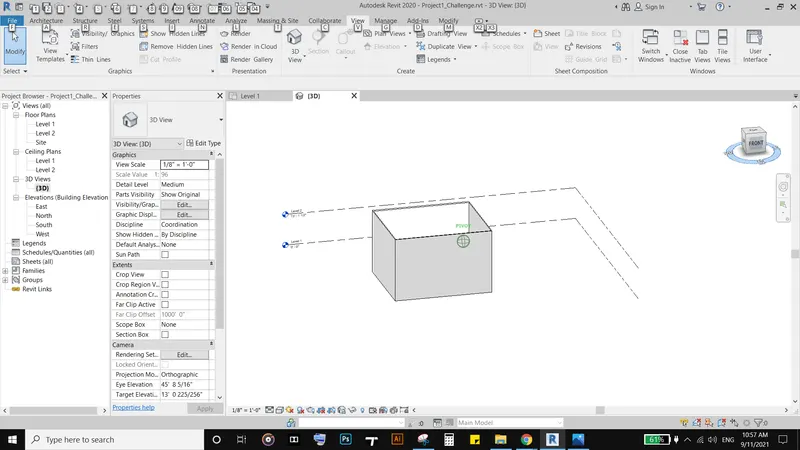
RESULT: It's an easy to access the model in the way we wanted to see using view cue regardless of the isometric or top view.
8. AIM: Using Visibility settings
- The Visibility option enables us to view models in different settings like shaded, realistic, and hidden lines.
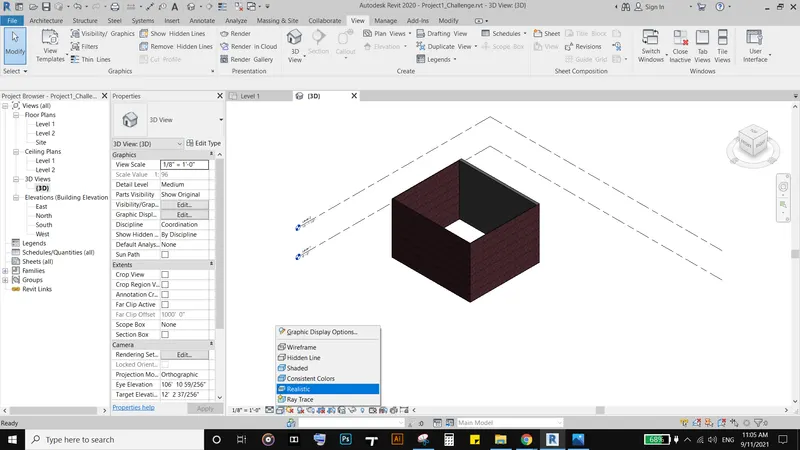
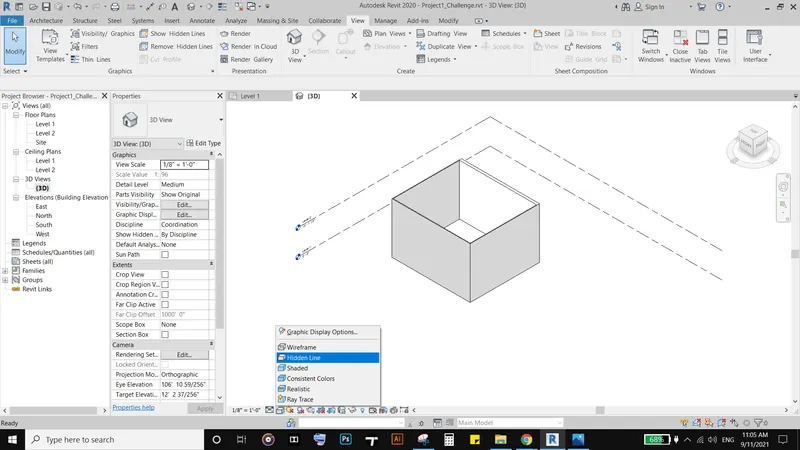
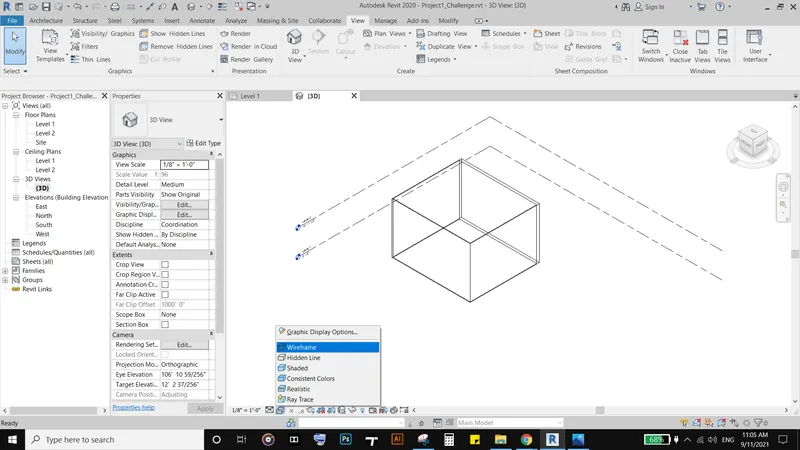
RESULT: It's an easy to access the model in the way we wanted to see
9. AIM: Using Sunpath
- To use sunpath in out project
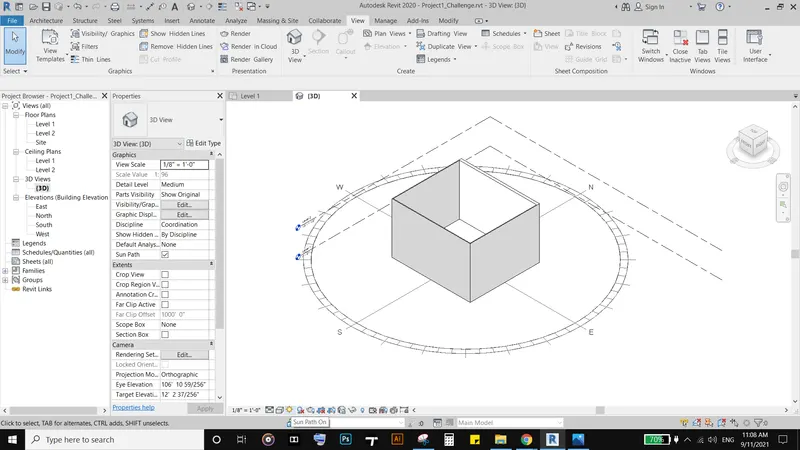
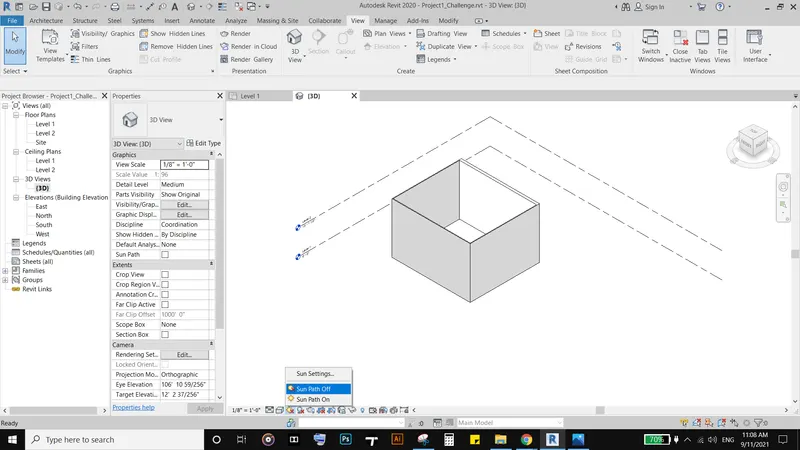
RESULT: Sunpath provide us the information of shading details, the sun set and rise, azhmuth angales, etc to deign building according and their shading devices.
10. AIM: Using Project manager
- It is accessed under the manage tab and project information.
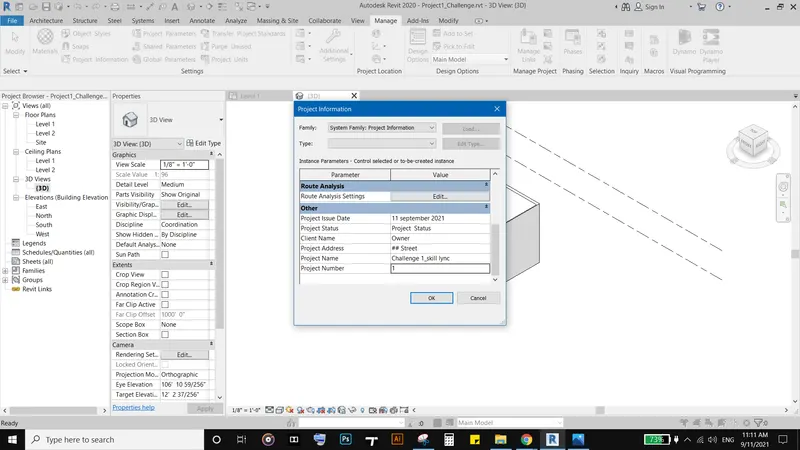
RESULT: Helps in loading project information from the name , date, clients name, to analysis.
11. AIM: Analysing tab
The Analyse tab consists of various options regarding loads, energy considerations, heating and cooling loads, duct pressures, etc. This is important for any building to learn its sustainability in the environment regarding all the aspects of the buildings. This helps to analyze and create a better environment for outdoor and indoor quality. The designing and modeling can also be done according to the analysis.
RESULT: Creating a better environment not just by building in reality but also by working on the analysis while designing and modeling using the software.
12. AIM: Revit support links used in models
This allows the model to be linked to the other Revit models, IFC files, CAD files, and typography layouts. This makes it easier while working on a model/ building with various specialized personnel involving around the same model. It also monitors the changes by using links.
RESULT: Linking the model to various other supporting files to make the working process easier.
13. AIM: Analysing the Collaborate tab of Revit.
The Collaborate works in combining the work of every different personnel working in the project to work simultaneously. It makes it easier to work on the project at different locations and regardless of being a barrier to make necessary changes in the project.
RESULT: Collaborate engage every sector to work on a project and makes the industry monitor the changes, update information and communicate.