Introduction to REVIT concepts
Q1:
Aim and introduction:To create a new project using file menuand name the project appropriately
Procedure:
Steps:
- Open the Revit software
- Go to the file menu
- Click on the new
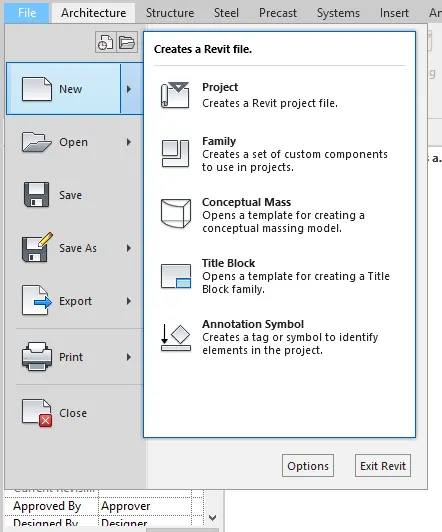
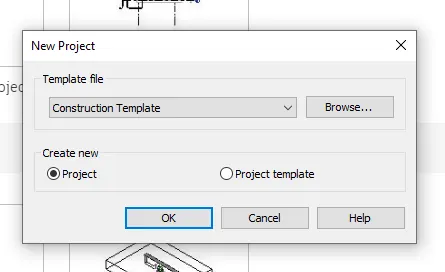
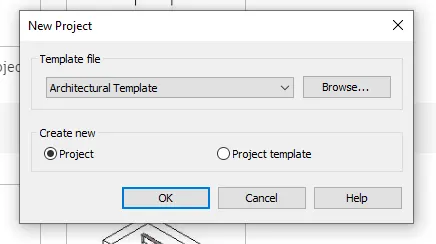
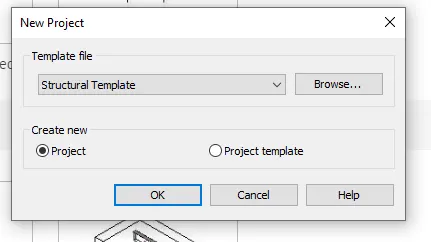
- Then select a template construction/structural/architectural
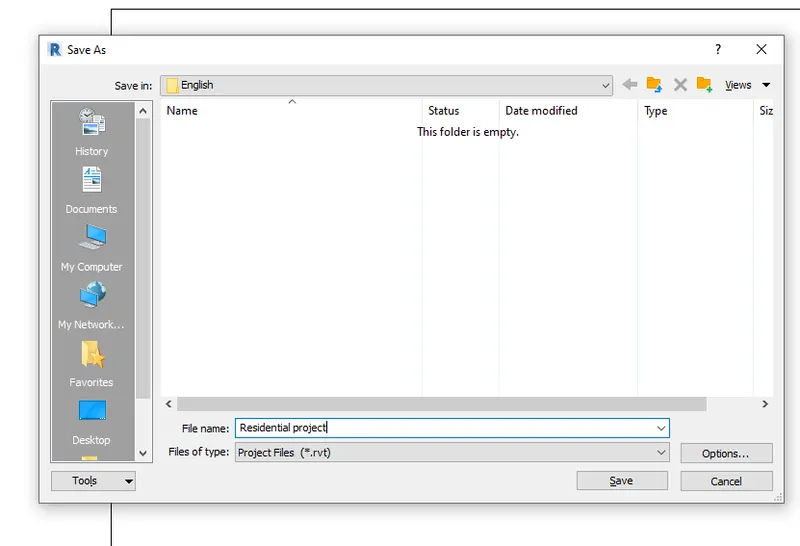
- Save the project as Residential building.
Results:Creation of a new project using a file menu in a Revit.
Q2:
Aim and introduction:To save the new project file ,Close and open using icons from toolbar.
Procedure:
Steps:
- Click the save
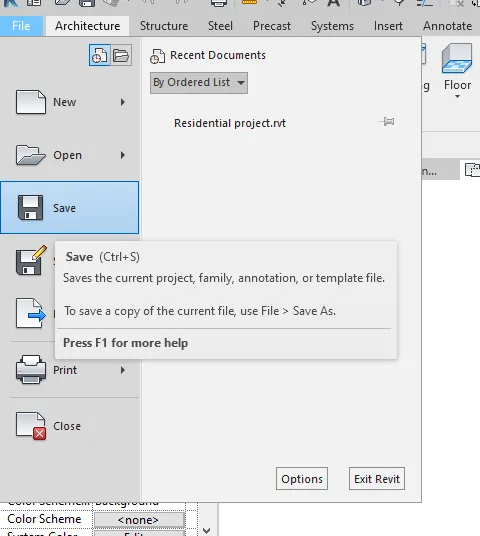
- Open using the open option in a file toolbar
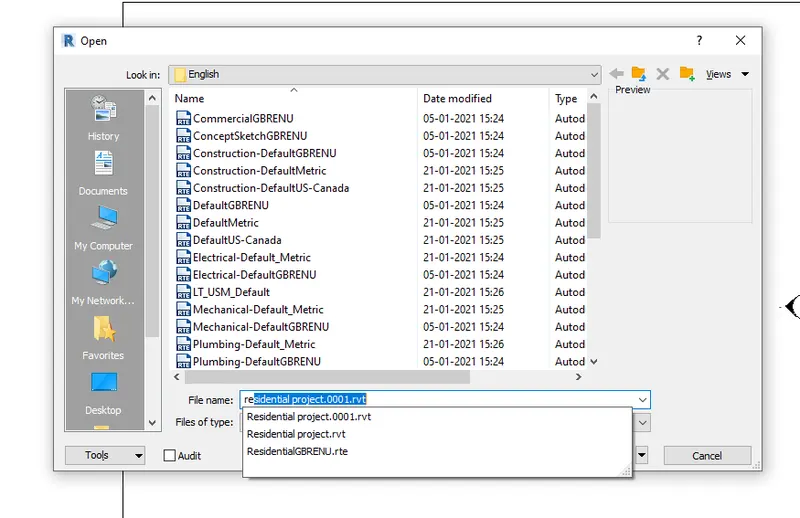
Results:Close and open the saved project using the icons in toolbar.
Q3:
Aim and introduction:From the architecture/ structure toolbar familiarize with options to draw a wall.To Create a rectangular layout of walls of about 40’-0” X 35’-0".
Procedure:
Steps:
- Go to the architecture
- Click on the wall
- Specify the first point
- Move the cursor in the direction of wall give the value as 40'
- Move the cursor downwards and give the value as 35'
- Further 40' in left direction and 35' in upward direction
- Hence the rectangular layout of walls is created
- In 3d view its also shown as below
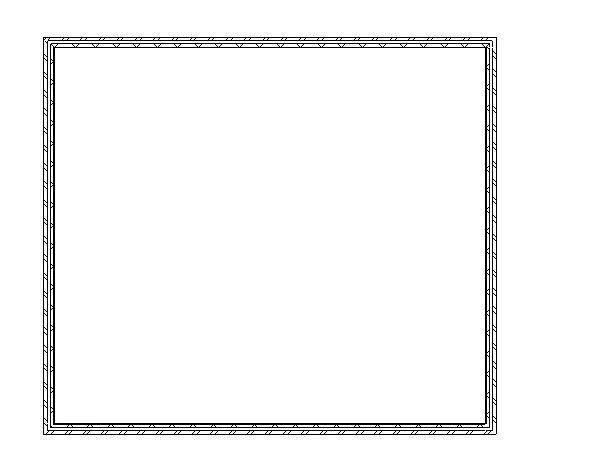
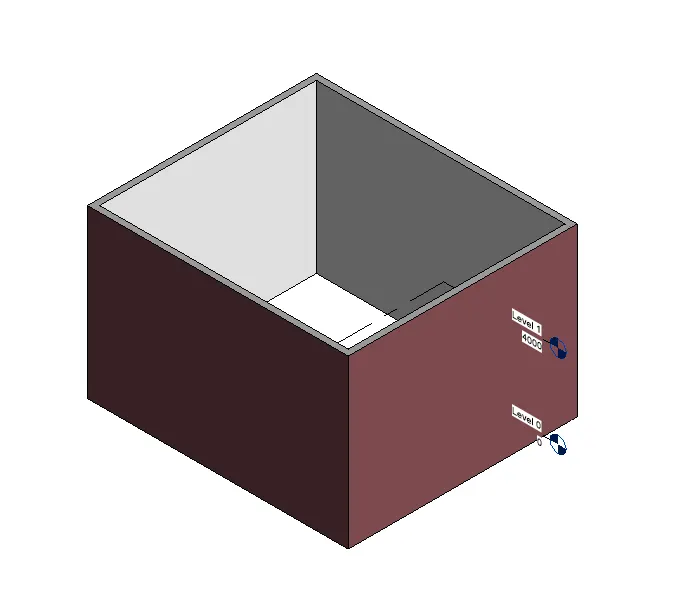
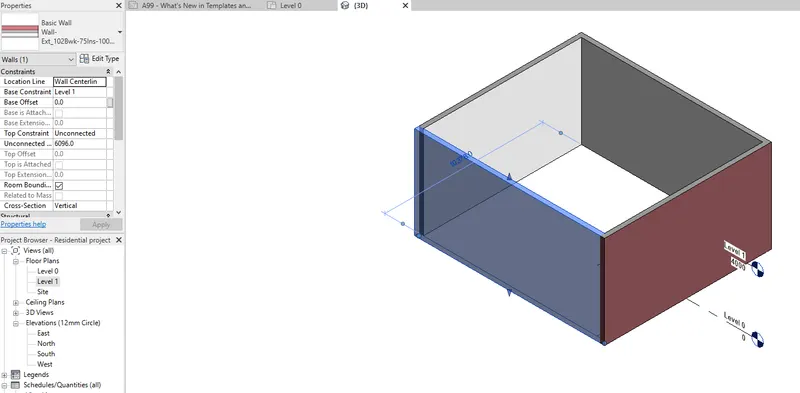
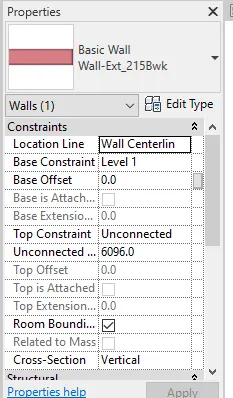
Results:Creation of a rectangular layout of walls of about 40’-0” X 35’-0" from the architecture tool bar.
Q4:
Aim and introduction: From the Annotate toolbar use the aligned option to add dimensions to the layout
Procedure:
Steps:
- Go to the annotate tab
- Select the aligned option
- choose the line which we want to measure.
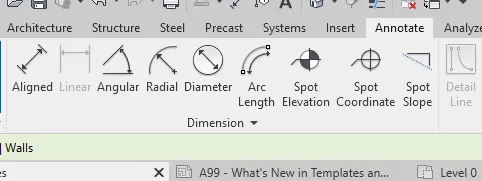
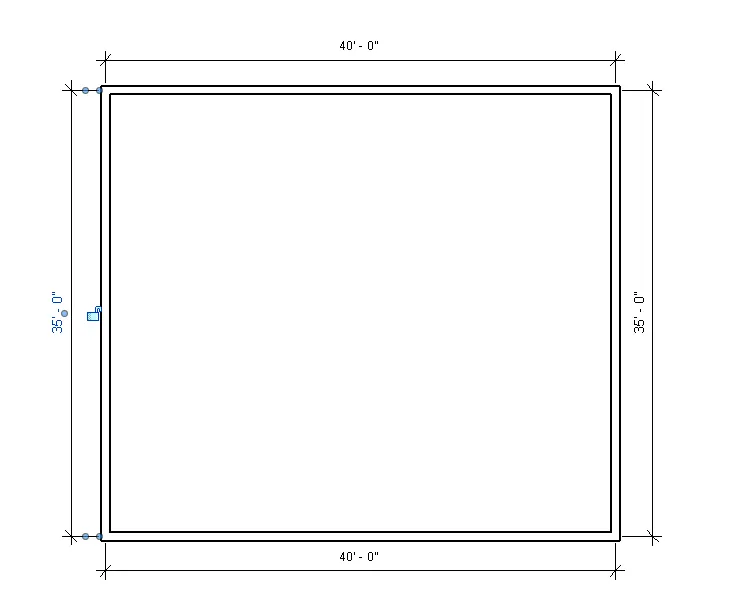
Results: From the Annotate toolbar use the aligned option to add dimensions to the layout in Revit.
Q5:
Aim and introduction:To Use the properties browser to switch to different wall types.
Procedure:
Steps:
- Select the wall
- Go to the properties change the type of wall
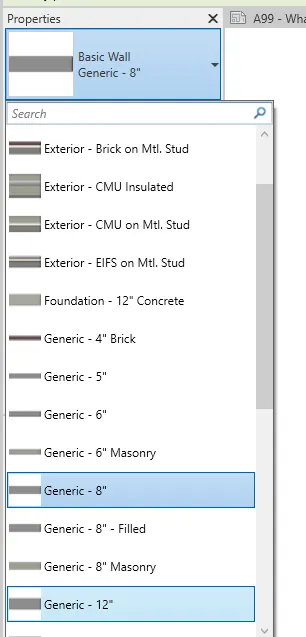
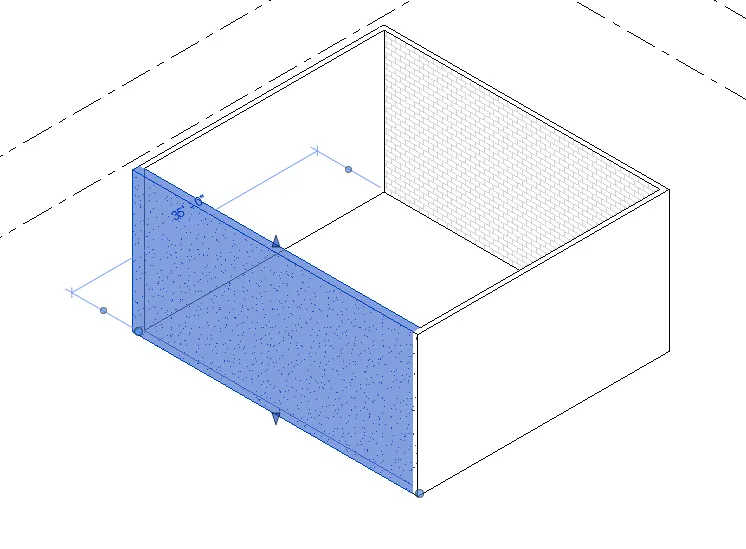
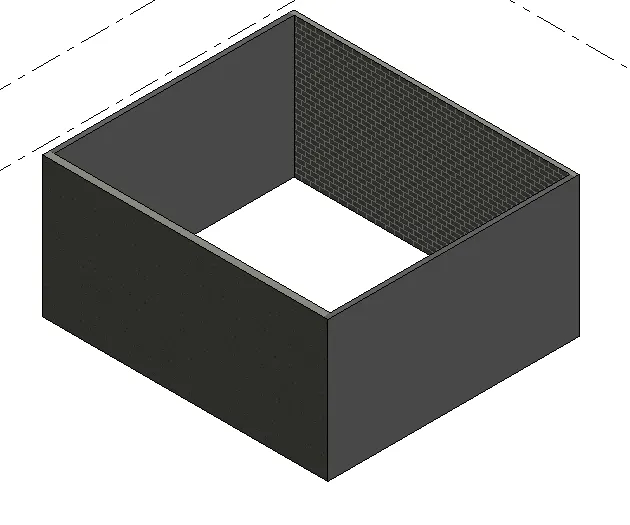
Results:Use the properties browser to switch to different wall types.
Q6:
Aim and introduction:To Create a 3D view from the view toolbar and save the view with the appropriate name
Procedure:
Steps:
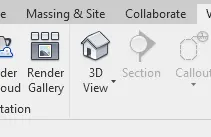
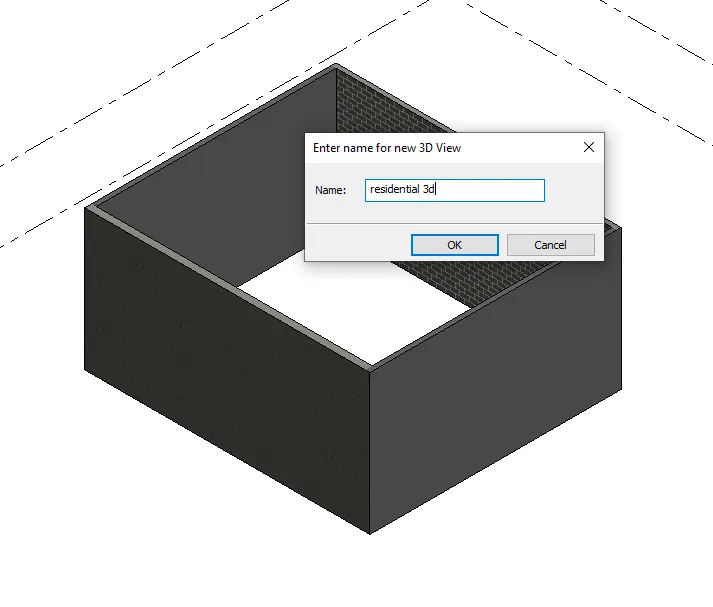
Results:Creation of a 3D view from the view toolbar and save the view with the appropriate name
Q7:
Aim and introduction: Navigate through the 3D model using the view cube. Orbit/pan through the model layout created.
Procedure:
Steps:
- Go to view
- Select the 3d view
- Click on the navigation wheel
- The object is selected will we can view 360 degree
- Pan is used to see the direction.
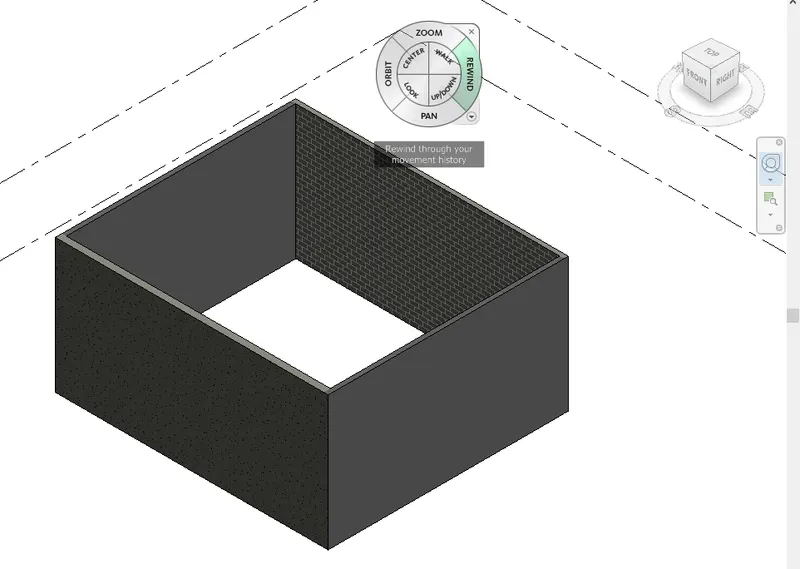
Results:Navigation through the 3D model using the view cube.
Q8:
Aim and introduction:To Use the visibility settings option below to switch model to shaded, realistic, hidden lines option.
Procedure:
Steps:
- Go to the visibility settings
- Select the views which we want
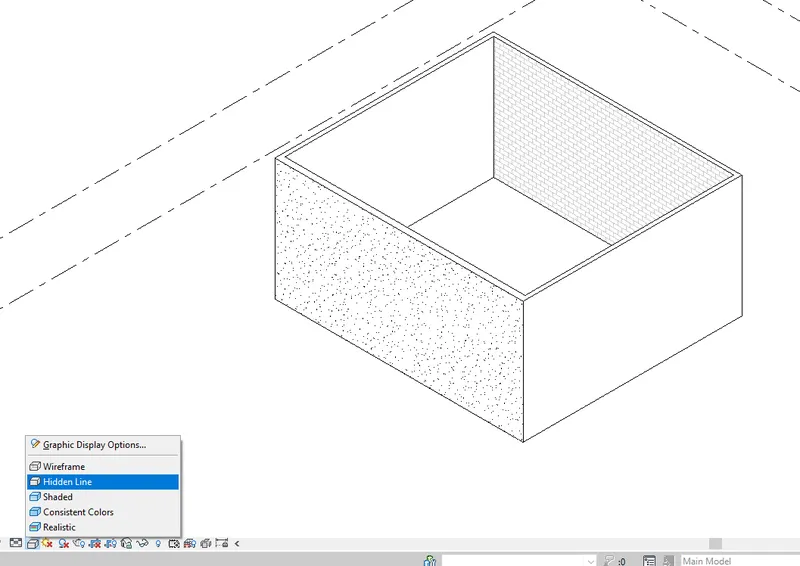
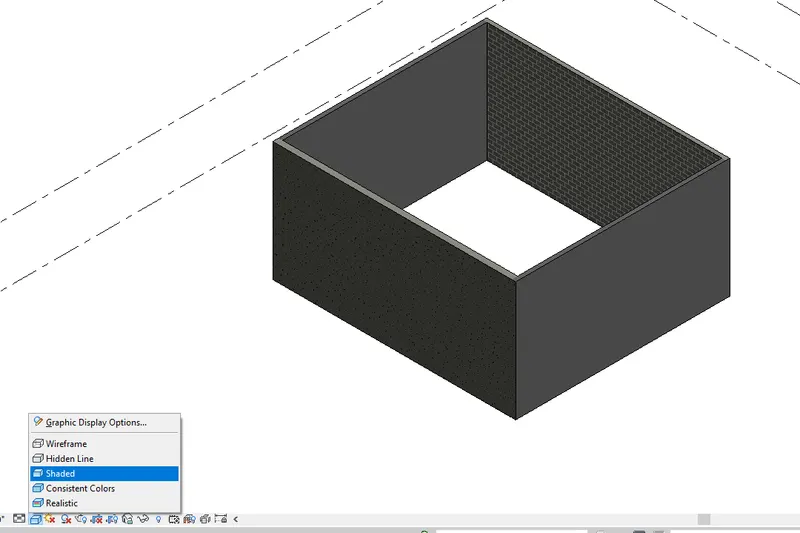
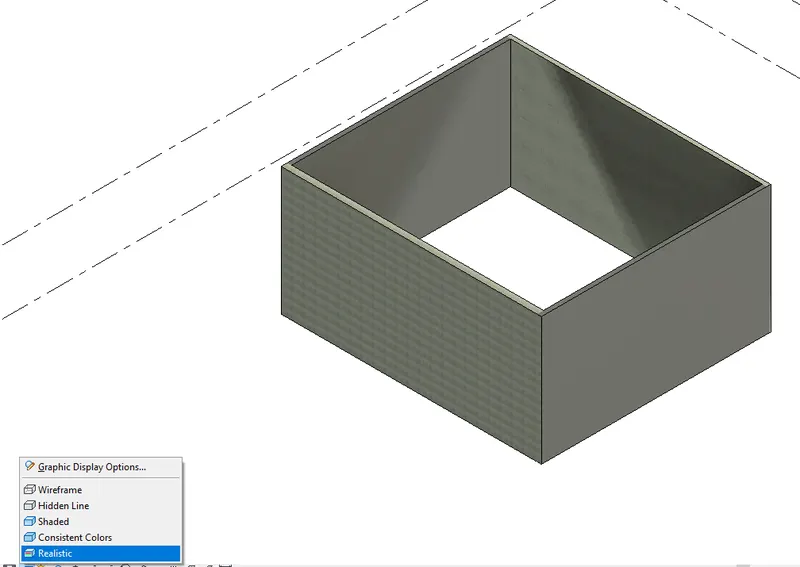
Results:Using visibilty settings switch model to shaded,realistic and hidden lines.
Q9:
Aim and introduction:To Turn the sun path on and off to view shadings in the layout created
Procedure:
Steps:
- When the sunpath is off.
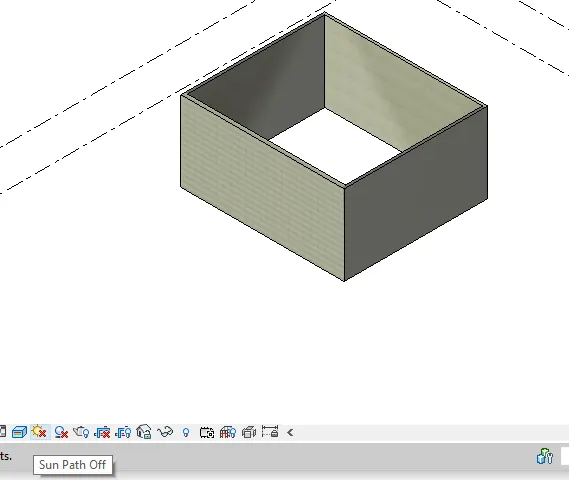
- when the sunpath is on.
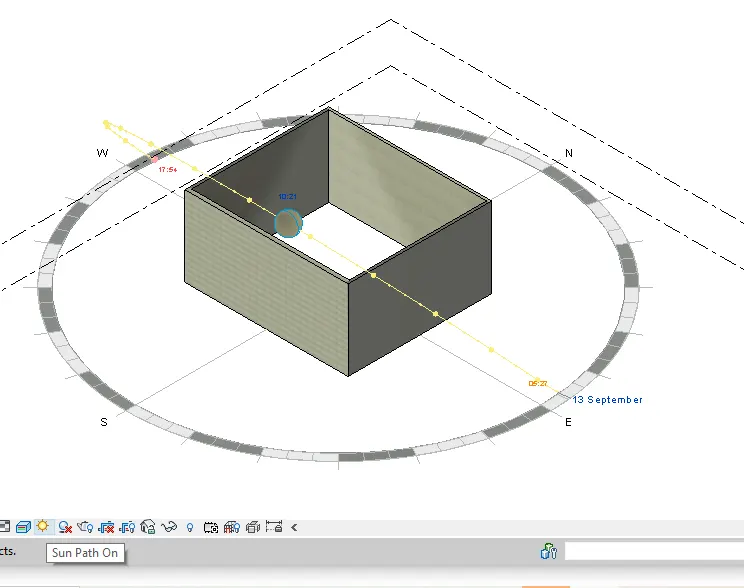
Results: Turn the sun path on and off to view shadings in the layout created.
Q10:
Aim and introduction:To Use the Manage toolbar to enter project settings, project name, and project issue date
Procedure:
Steps:
- Go to the manage tool
- Move to the project information
- Enter the project name and issue date.
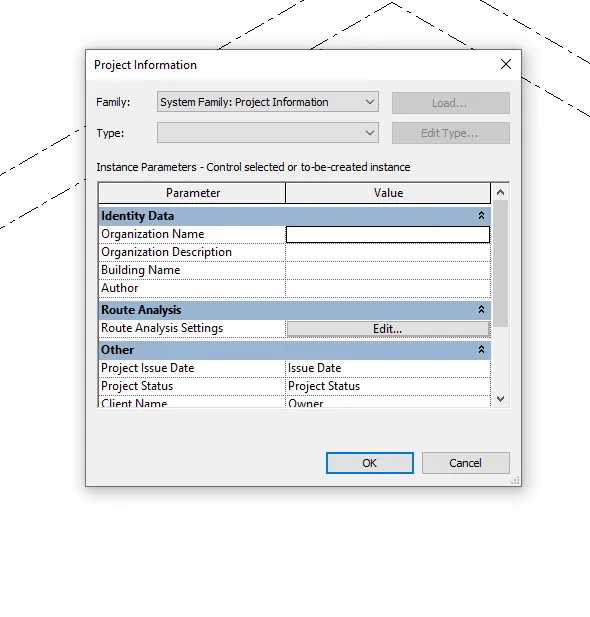
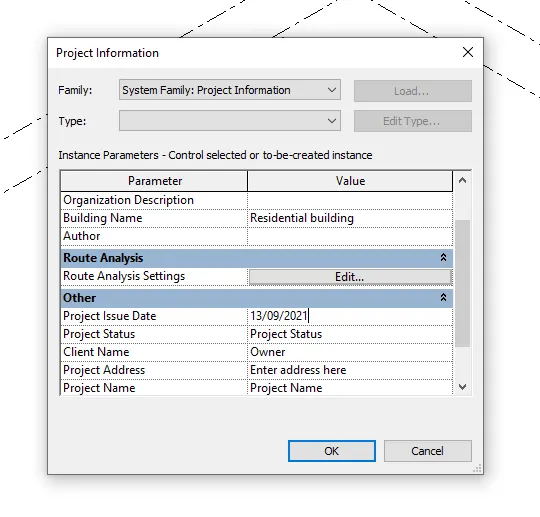
Results:Using the Manage toolbar to enter project settings, project name, and project issue date
Q11: What is the Analyze toolbar used in Revit? How it is beneficial for design and modeling?

Ans:Its helps to analyse the boundary conditions,loads,load combinations,Check pipe systems,Duct systems and circuit systems.
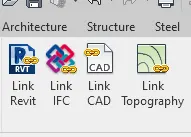
Q12:What are the links that Revit supports to be linked to the model?
Ans: *Link cad
*Link Revit
*Link Topography
*Link IFC
Q13: Why do you need the Collaborate tab in Revit? How it supports modeling and its efficiency?
Ans:Collaboratein revit is a cloud based service which allows any revit users inside or outside the network ton to collaborate on the revit model.Many users can work on the same plan and it reduce the time duration of project.