Introduction to REVIT concepts
1) From the file menu, create a new project (Structural / Architectural / Construction template ) and name the project appropriately
* File-New-Project-will open New Project dialogue box-Click the templete which is require template(Structural/Architecture/Construction)-Click Ok.
* Manage-Project Information- To make the name what is to be.
2) Save the new project file. Close and open using icons from file toolbar
* File-Save As-Destination folder where want to be save.
* File-Close and open.
3) From the architecture/ structure toolbar familiarize with options to draw a wall. Create a rectangular layout of walls of about 40’-0” X 35’-0”
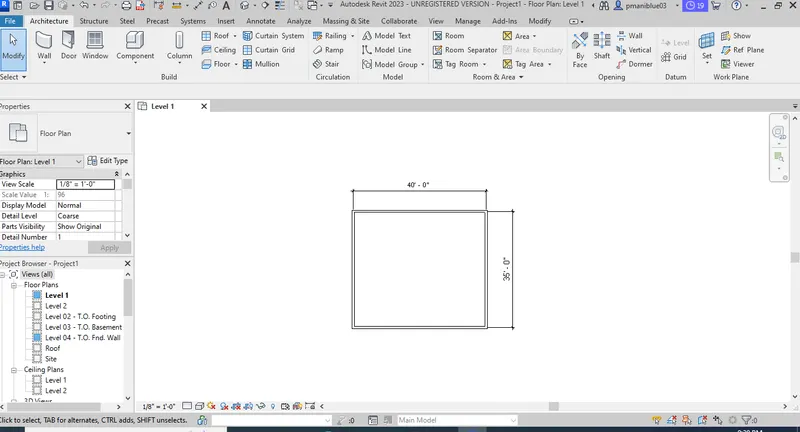
4)From the Annotate toolbar use the aligned option to add dimensions to the layout.
5) Use the properties browser to switch to different wall types
* Right click the mouse-Properties or Type PP for Shortcut.
* There are various options for wall
Properties-drapdown-various options of wall-click any one of that and use it.
6) Create a 3D view from the view toolbar and save the view with the appropriate name
3D View-Right click-Save view with appropriate name.
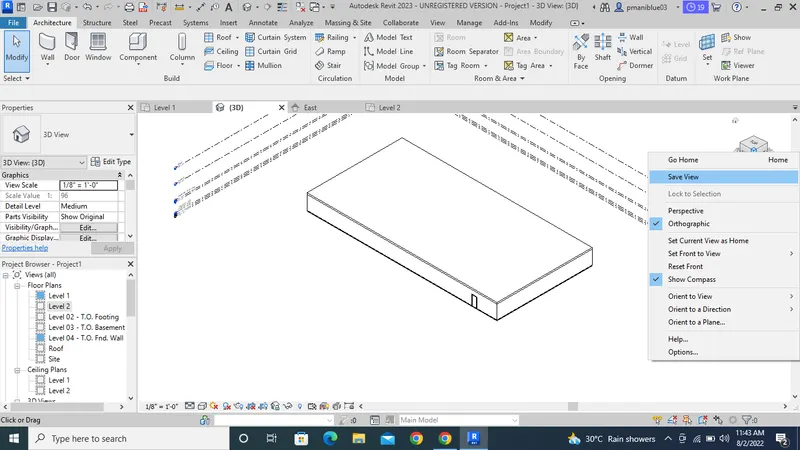
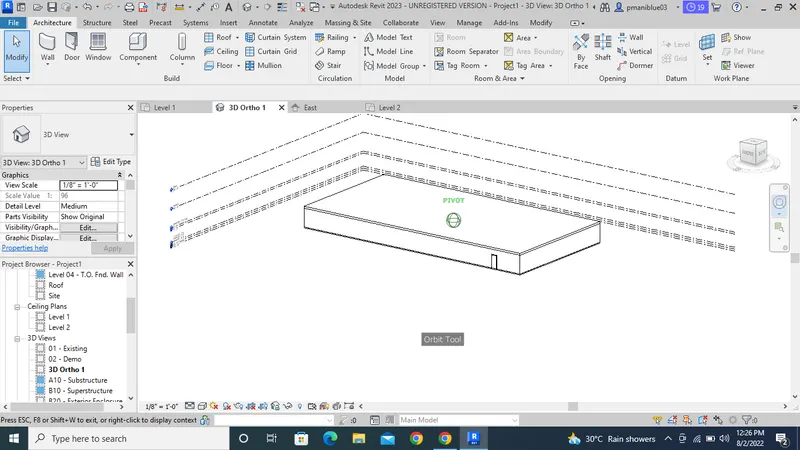
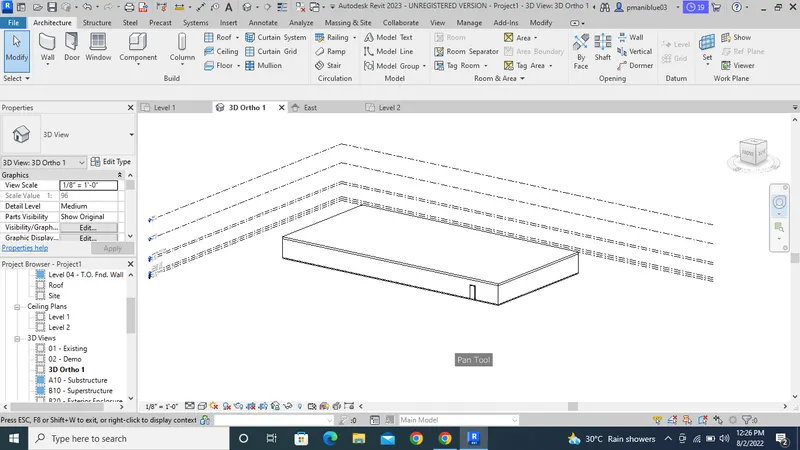
7) Navigate through the 3D model using the view cube. Orbit/pan through the model layout created
* View-User interface-Navigation bar click on it.
^ Orbit tool is for rotate the 3D view in 360 degree.
^ Pan tool is for move layout with convinient.
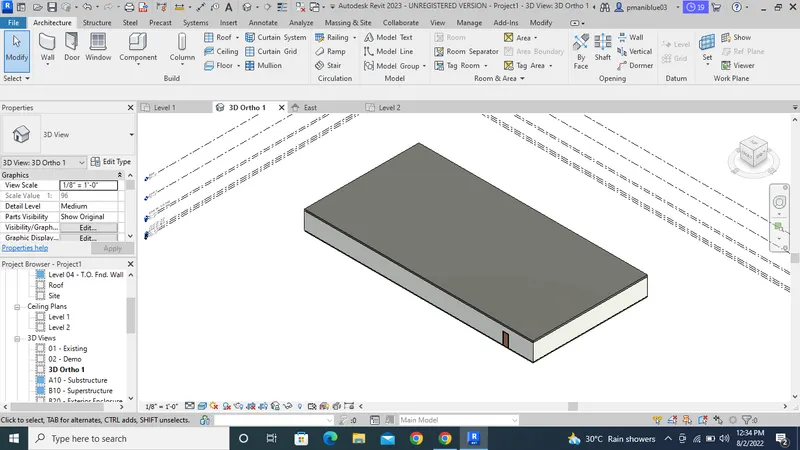
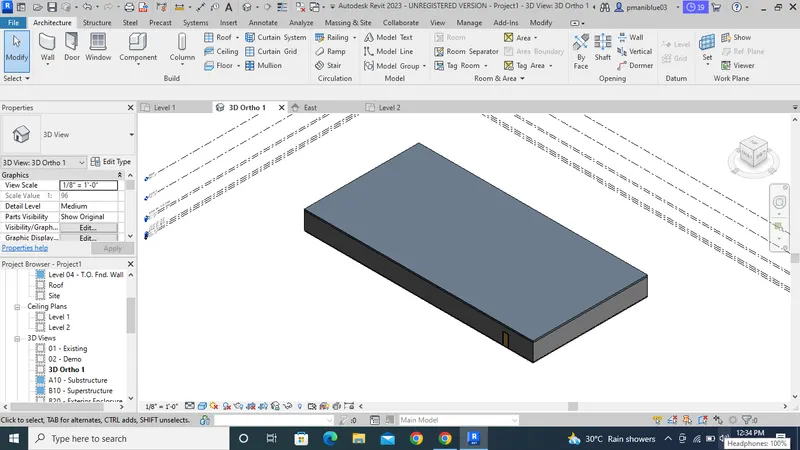
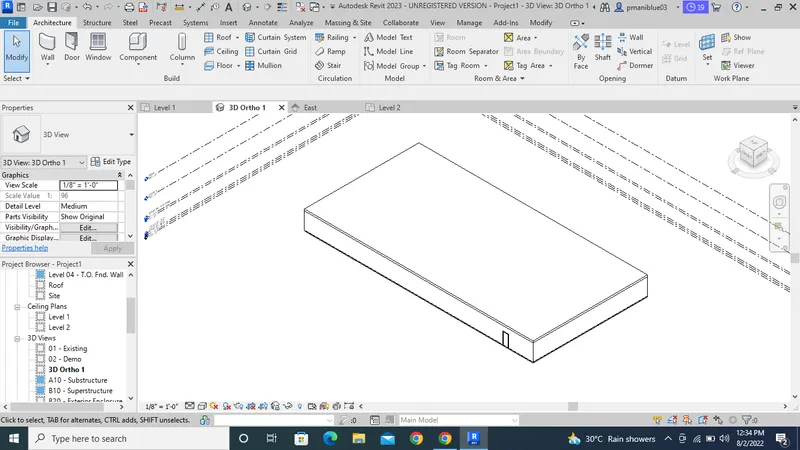
8) Use the visibility settings option below to switch model to shaded, realistic, hidden lines options
Visibility setting define whether elements and categories are visible in the view and their graphical appearance.
Realistic View:
Shaded View:
Hidden line:
9) Turn the sun path on and off to view shadings in the layout created
The daily and seasonal arc-like path that the Sun appears to follow across the sky as the Earth rotates and orbits the Sun.
* In the bottom toolbar dedicated tool for sunpat, in there we can use it.
10) Use the Manage toolbar to enter project settings, project name, and project issue date (choose according to your convenience).
In the ribbon bar-Manage tab-Project information-Edit as per convinient.
11) What is the Analyze toolbar used in Revit? How it is beneficial for design and modeling
Analyse toolbar helps you to perform analysis on our structural building.
12) What are the links that Revit supports to be linked to the model?
* Work togethor
* Cloud sharing
* Work sharing
* Central model
13) Why do you need the Collaborate tab in Revit? How it supports modeling and its efficiency
Collaborate tab in revit is able to work sharing. Through work sharing users on same local area nertwork can work togethor in a same revit model.
* Work togethor-Multible revit modeling can be linked togethor allowing to work in contacts.
* Cloud sharing-People can work at same model via cloud sharing.
* Work sharing-By enabling work sharing invalves creating a master project model know as central model from exisiting model.
* Central model-The central model stores the current ownership information for worksand elements in the project an act the distribution point for all changes made to the project. so, all the users should have the own copy in central model. so, they can edit in the local place then they can synchronics in model to publish the changes in central model.