Introduction to REVIT concepts
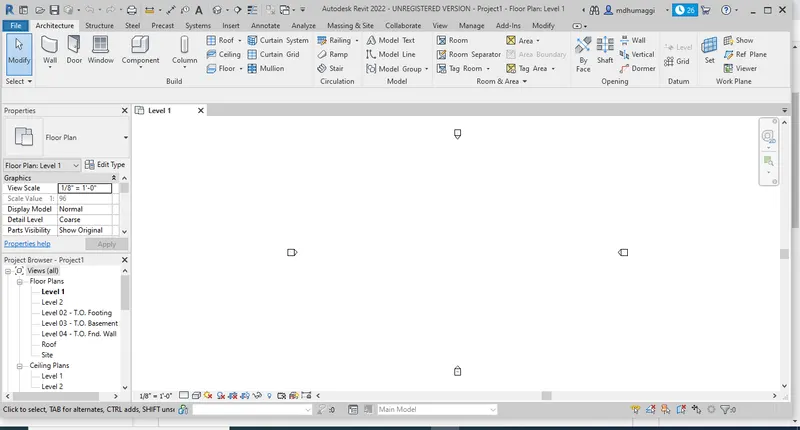
1. Aim: Creating a New project from file menu in Revit.
Step1: Duoble click on the revit folder which is on the desktop.
Step2: Click on the New button which is left side of the screen.
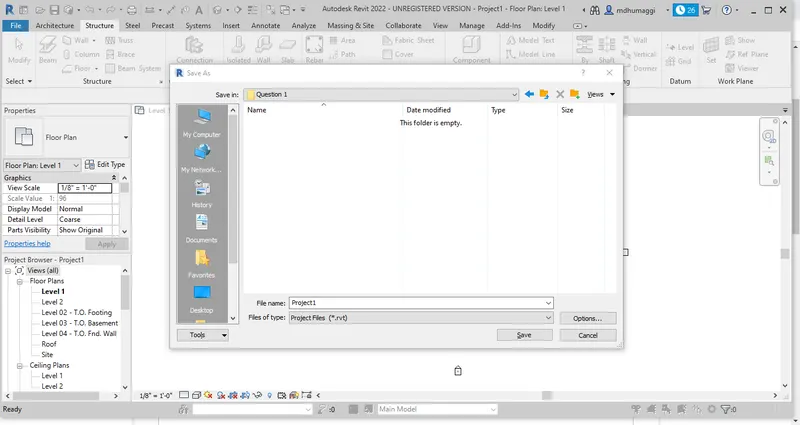
Step3: Click on the file menu and click on the save option then give the name of the project.
2. Question.
Aim:Saving the new project, Close and open using icons from file toolbar
Step1: After opening the window, we have to save with a file name by using save option from file tool bar.
Step 2. If we want to open the project which is already saved can be opened by clicking file menu in that click open option.
3. Question
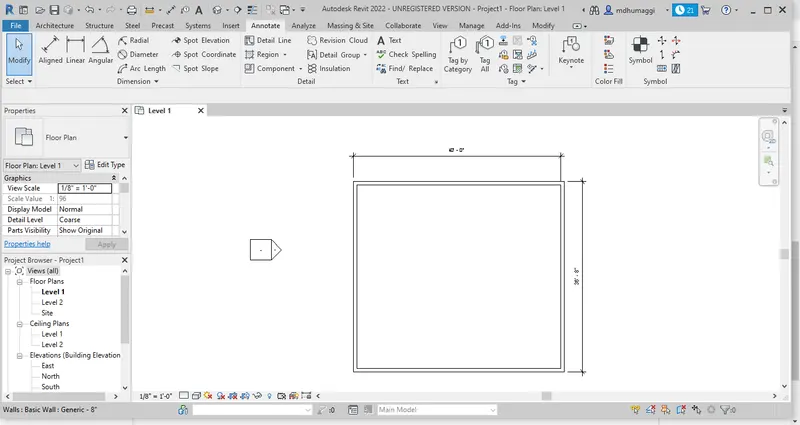
Aim: Drawing a wall by using architecture command.
Step1: After opening the Revit click on architecture and then select the wall option.
Step2 : Click on the screen and draw length 40' and width 35' rectangle.
Question 4:
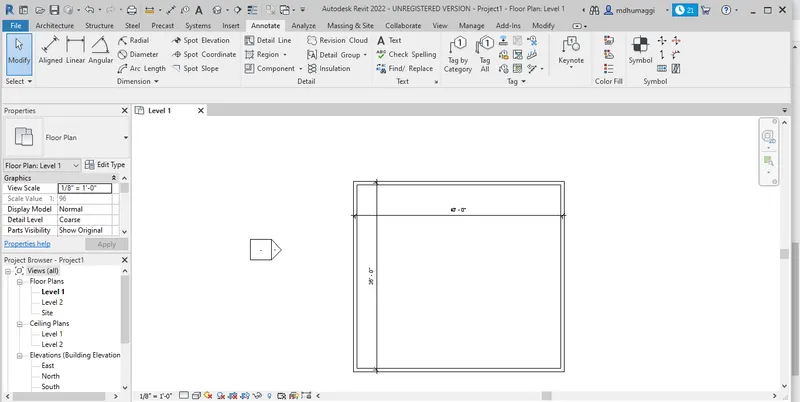
Aim:Showing the diamensions useing annocate tool bar.
Step1: Drawing the walls by using architecture tool bar.
Step2 : Click on the annocate and select aligned option.
Step3: Click at the ends of the wall to get the diamensions.
Questions 5 :
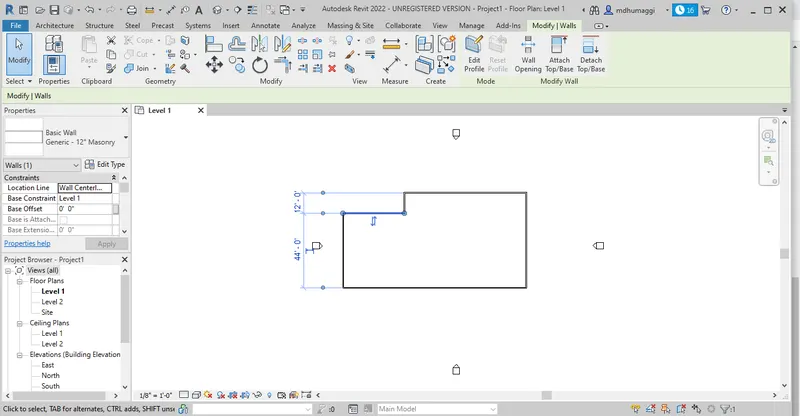
Aim : Use the properties browser to switch to different wall types
Step1: Draw the wall by using architechure wall command.
Step 2: Select a wall and click on properties at the left side.
Step3 : Can change the size of the wall.
6.Question
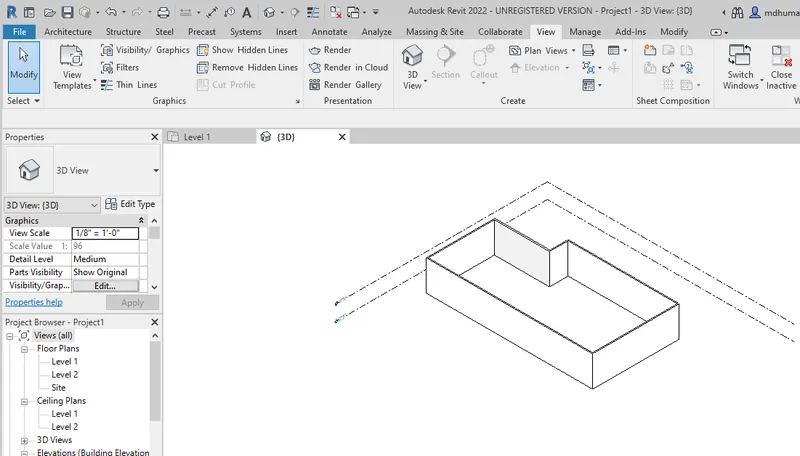
Aim :Creating a 3D view from the view toolbar and save the view with the appropriate name
Step1: After Drawing the wall we can see that in 3D.
Step 2 : Click on View which is on tool bar.
Step 3 : Click on 3D view and see the elevation view.
Step 4: For saving the file Click on file and can save the file.
Question 7
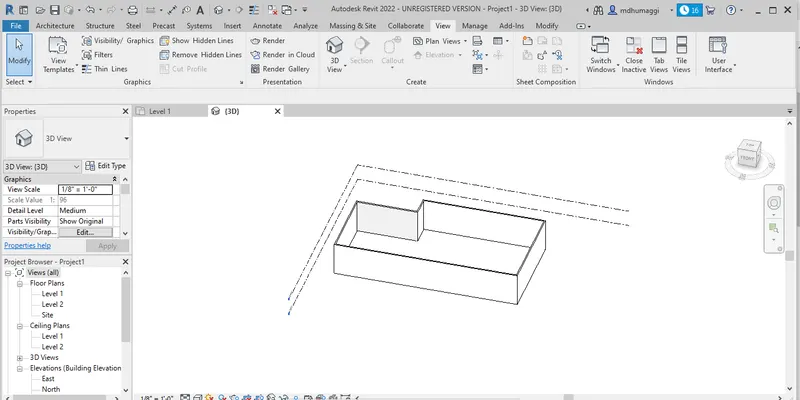
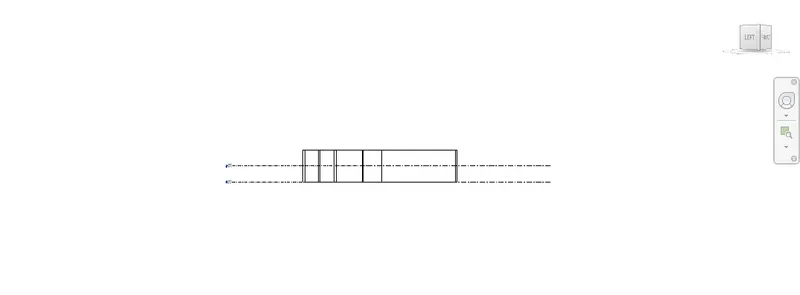
Aim: Navigating through the 3D model using the view cube. Orbit/pan through the model layout.
Step1: After drawing the plan we can see in different views.
Step 2 : Click on view cube and rotate to see different views.
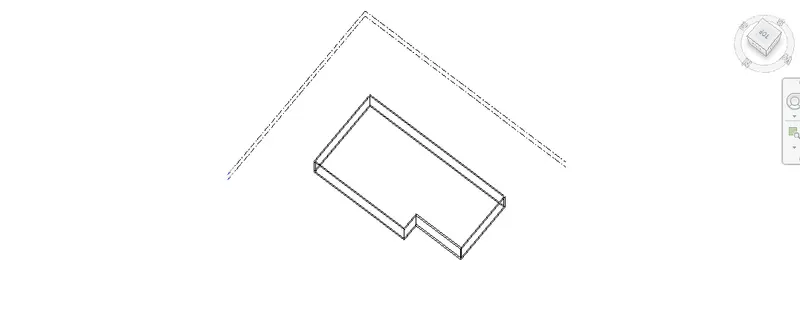
Question 8 To switch model to shaded, realistic, hidden lines options
Step1: Draw the wall and then Click on the vitual style which is below in the screen.
Step 2 : Click on shaded.
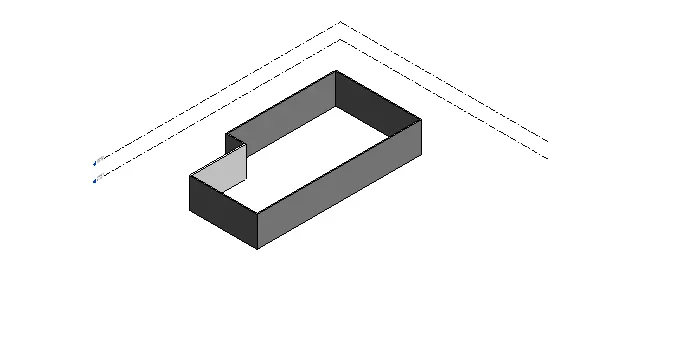
Step3: Click on Hidden line.
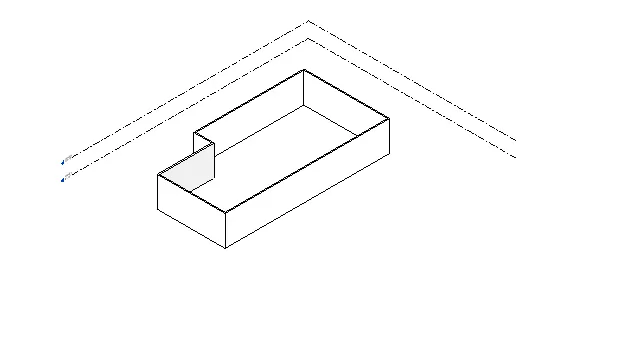
Step: 4 Click on Realistic.
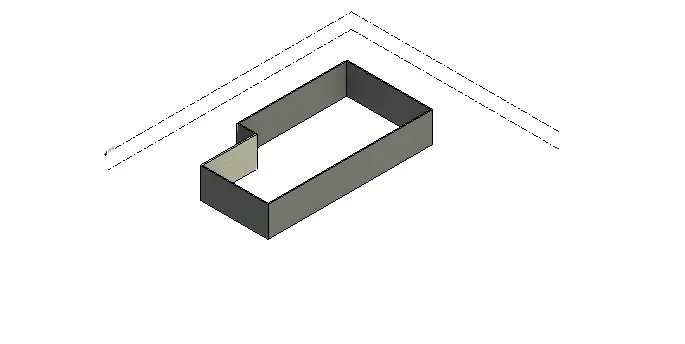
Question 9
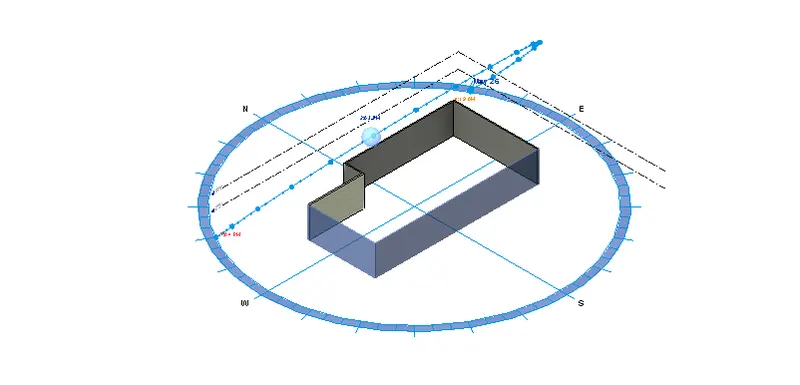
Aim ;To Turn the sun path on and off to view shadings in the layout created
Step1: Click on sun option which is below in the screen.
Step2 : Click on sun off and and sun on.
Question 10.
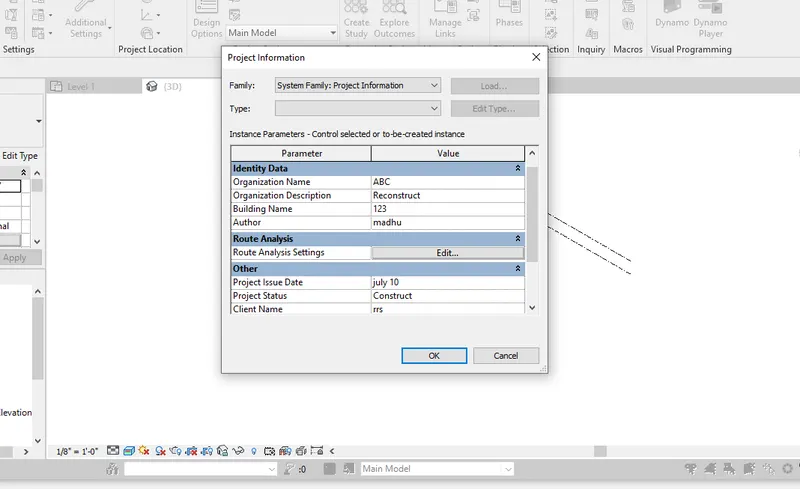
Aim : How to Use the Manage toolbar to Create project settings, project name, and project issue date.
Step1: Click on Manage tool bar
Step: 2 Click on peoect information which is left side of the screen.
Step3: Give all the necessary data which is require such as project name, address, issue date.
11.What is the Analyze toolbar used in Revit? How it is beneficial for design and modeling
Ans : Analyse toolbar will helps us in creating the revit models,, this tool bar consists of different options which helps us in Boundary Conditions, loads and load combination, Load cases, analatical modal tools, space zones, reports and shedules.
It also consists of check systems, Energy optimization, Remote analysis and structural analysis. These tools will help us in the modaling.

12. Question.
What are the links that Revit supports to be linked to the model?
Ans. This the links option present in the insert toolbar. there are different links in revit.
Link Revit: Which links another link model to the current model.
Link IFC: IFC file to the current project to reference its information for additional design work.
Link Cad: Links a Cadfile to the current Revit project.
Link Topography; Links existing topography to the current revit model.
DWF Makeup: Which converts DWF files to Revit project
Manage Links: Which Provides options fo managing links to building models, Cad files, DWF makeup files.
Point Cloud; Which links Point Cloud into a current projject.

Question 13
Why do you need the Collaborate tab in Revit? How it supports modeling and its efficiency
Ans : The Collaborate tab is used to work all the team members on a single project simultaneously. Example Architects, structural, MEP people can work. After completion individual works that can combined by using Collaborate.