Introduction to REVIT concepts
Ans1. Aim- create a new project (Structural / Architectural / Construction template ) and name the project appropriately
1. open the revit and from the welcome screen select the new
then go to template seting and select a temp.... then click ok
then go to top corner and click save and give the name of project
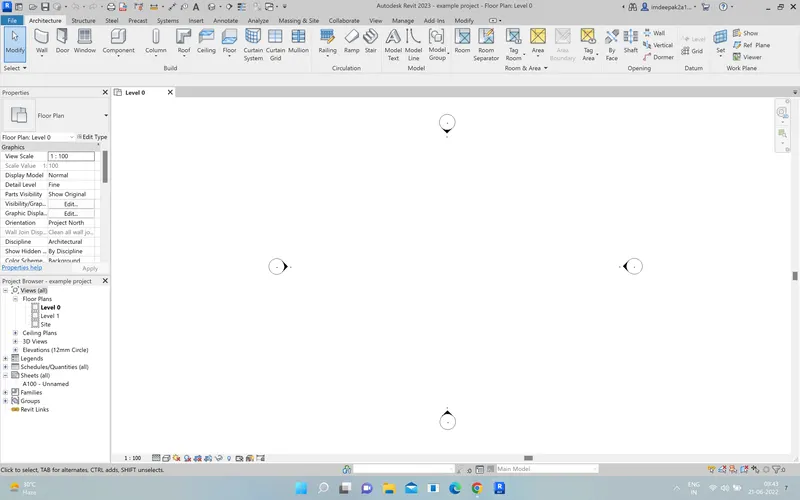
Ans2. Aim-Save the new project file. Close and open using icons from file toolbar
Save the project file on your local computer like desktop
then go to the home screen and open file from the right bar select the project file from desktop and open
Go to left corner and click on file and close project file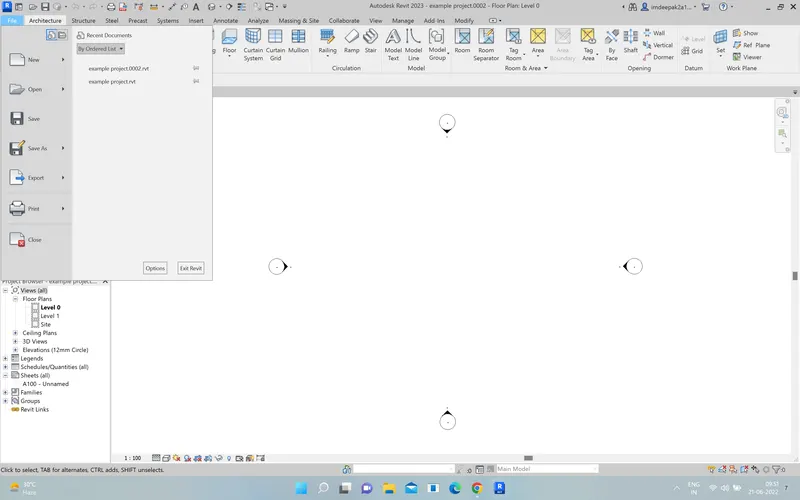
Ans3. Aim- From the architecture/ structure toolbar familiarize with options to draw a wall. Create a rectangular layout of walls of about 40’-0” X 35’-0”
for creat the squar wall select the wall or command WA and creat a 35'and 40' wall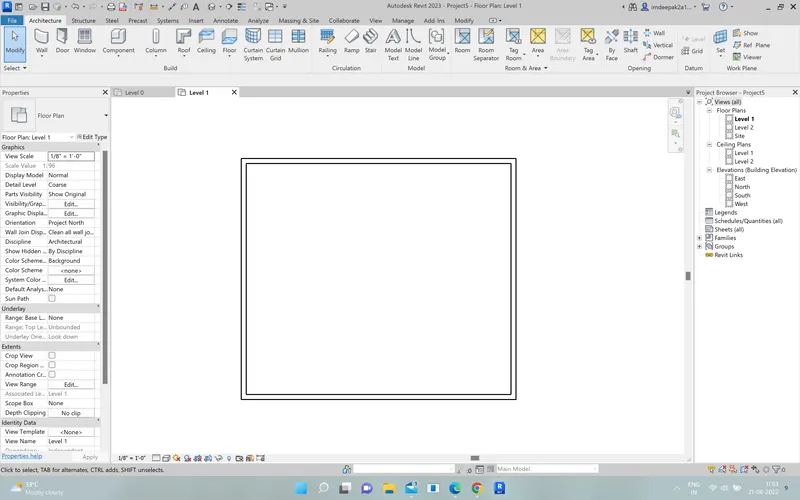
Ans4. Aim-From the Annotate toolbar use the aligned option to add dimensions to the layout
go to anotation bar and select aligned option and mension the all dimension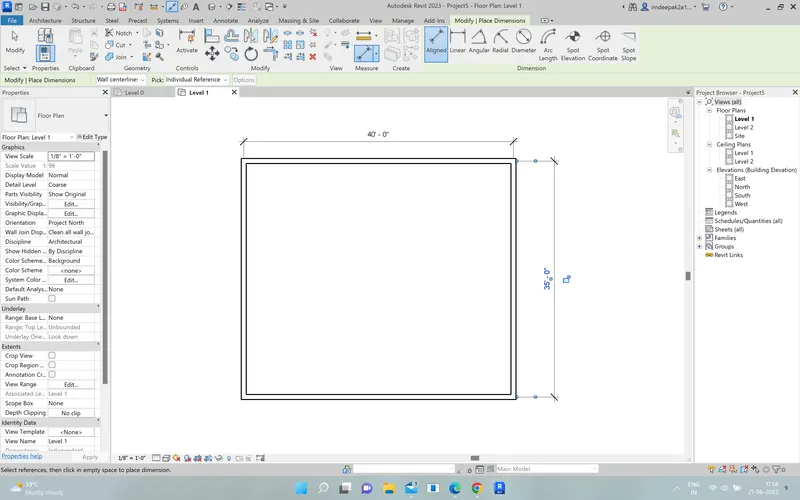
Ans5. Aim- Use the properties browser to switch to different wall types
Go to architecture and select wall and select the wall types from the property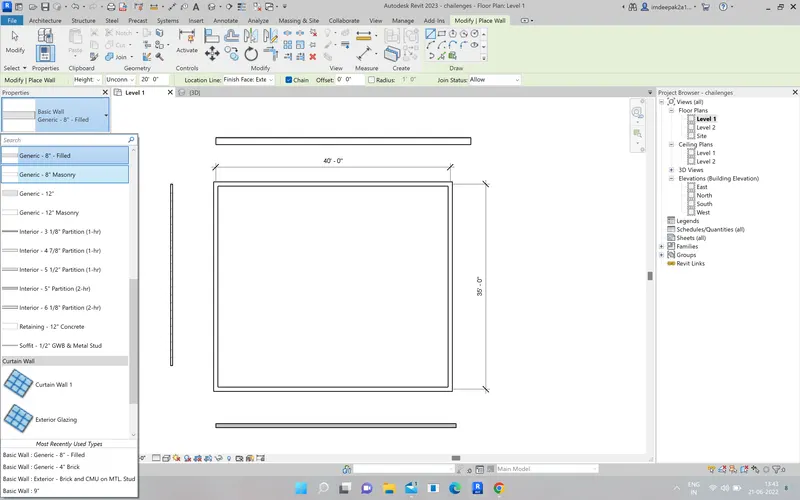
Ans6. Aim-Create a 3D view from the view toolbar and save the view with the appropriate name
Go to view and select the 3D view then spesifiy the name of view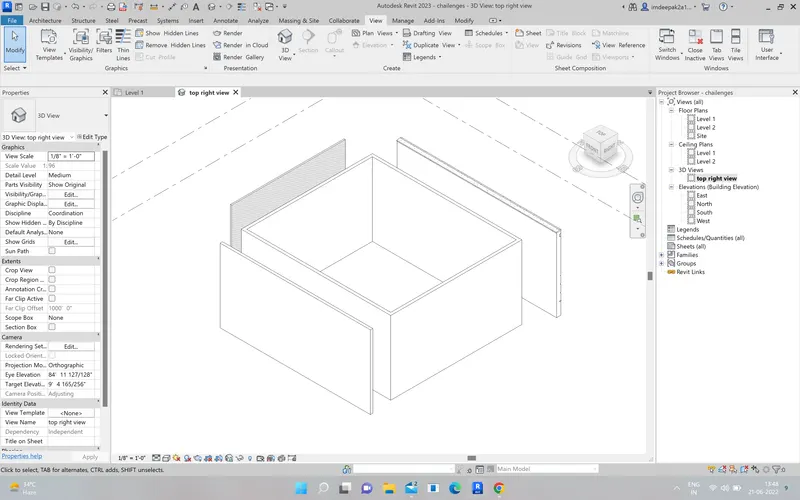
Ans7. Aim-Navigate through the 3D model using the view cube. Orbit/pan through the model layout created
using view cube from right corner or using shift+middle mouse button rotate the orbit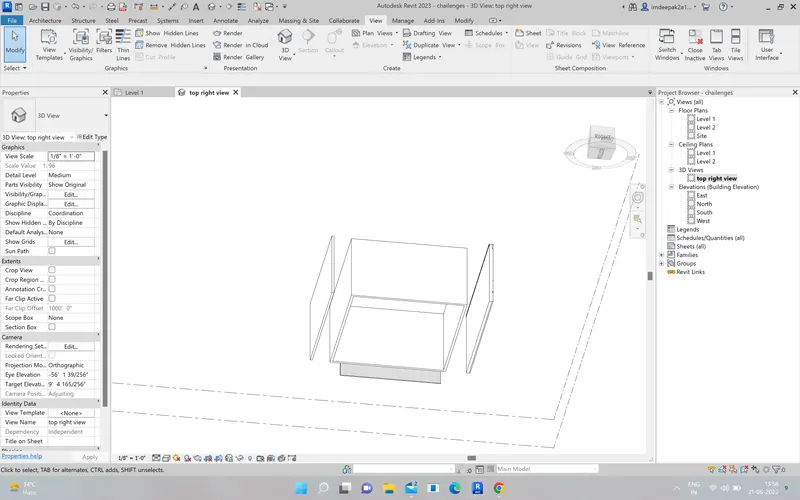
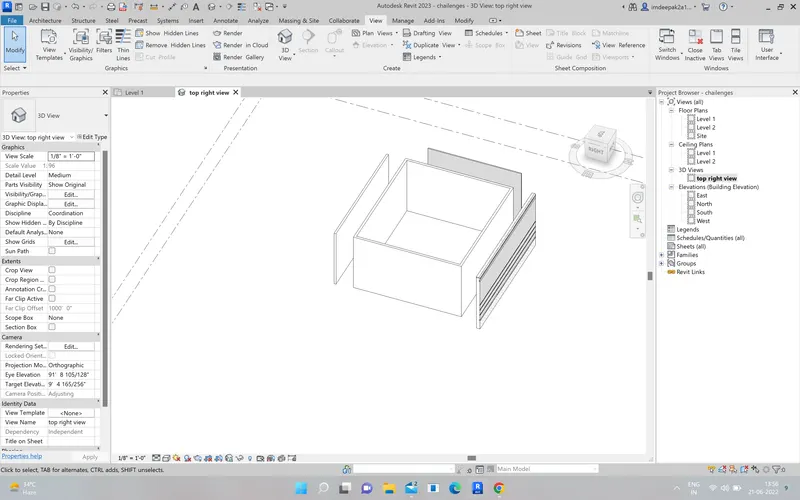
Ans8. Aim-Use the visibility settings option below to switch model to shaded, realistic, hidden lines options
Go to visual style and click on it in the boutom and select the shaded, realistic, hidden lines options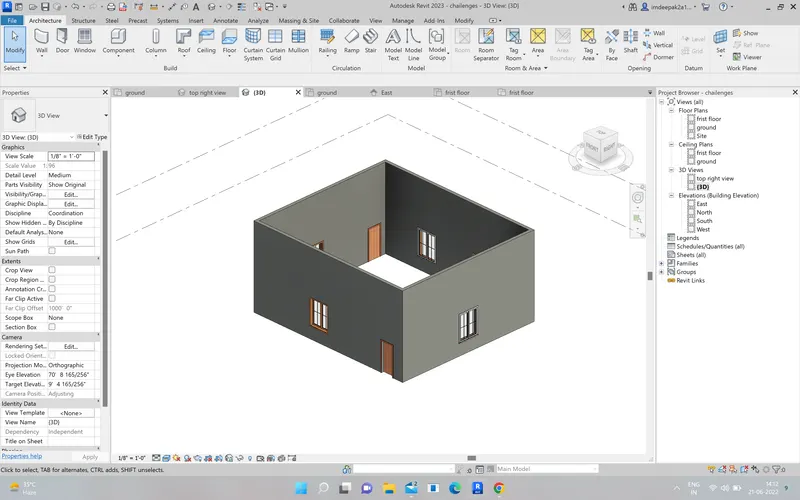
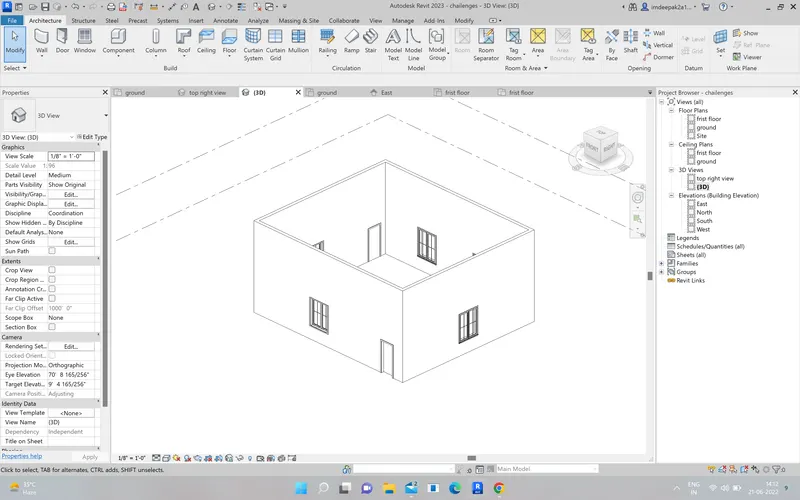
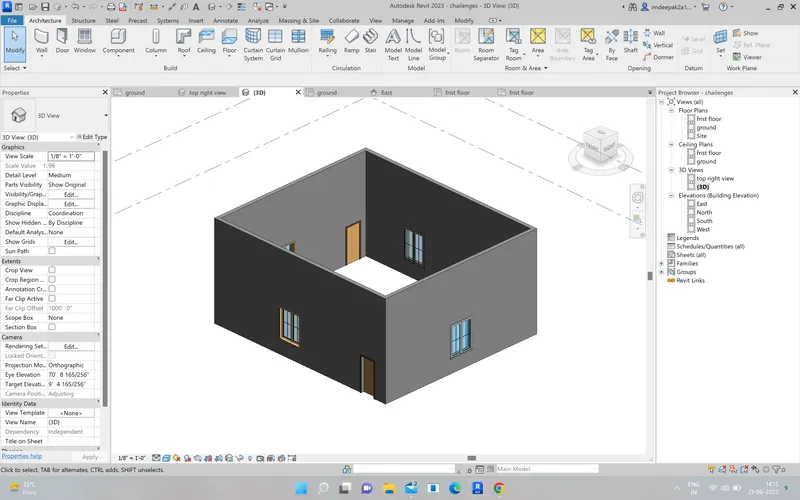
Ans 9. Aim-Turn the sun path on and off to view shadings in the layout created
Go to the bottom ans select the sun path and on and of the sun path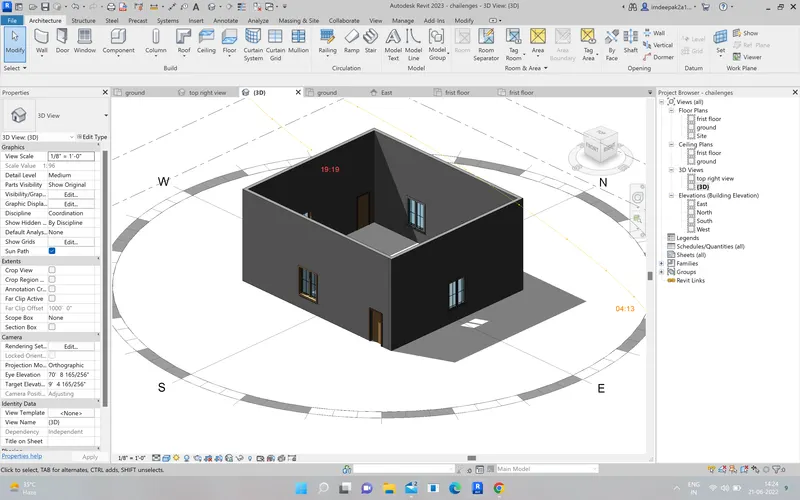
and on the shadows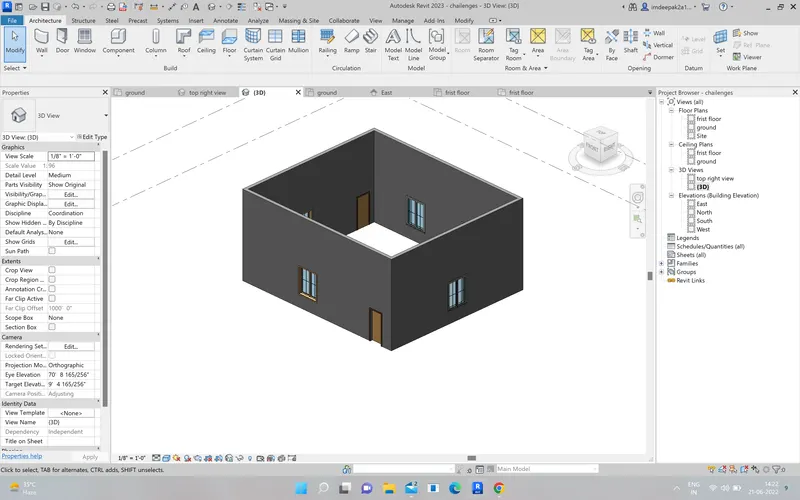
Ans10. Aim-Use the Manage toolbar to enter project settings, project name, and project issue date (choose according to your convenience).
Go to manage tool bar and the select the project information and scroll down and spesifiy the project issue date, project status, client name, project address, project name, and project number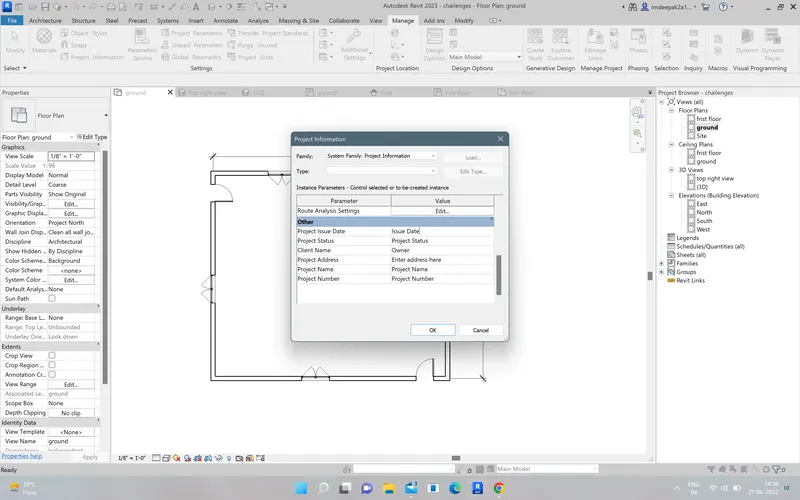
Ans11. Aim-What is the Analyze toolbar used in Revit? How it is beneficial for design and modeling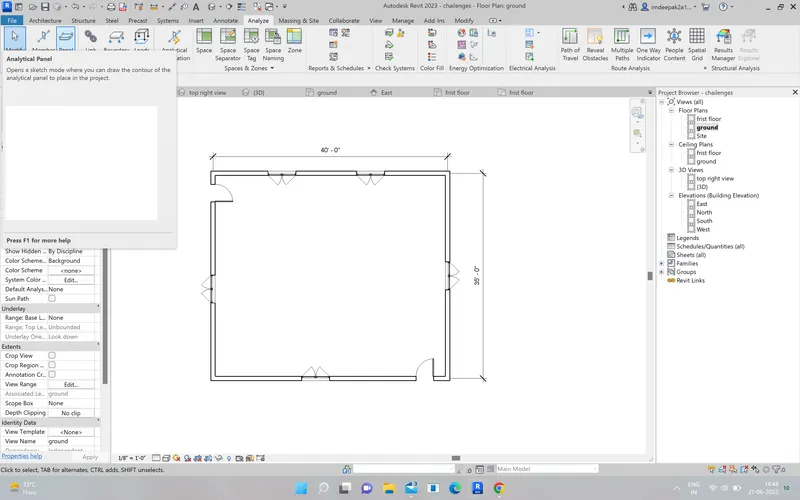
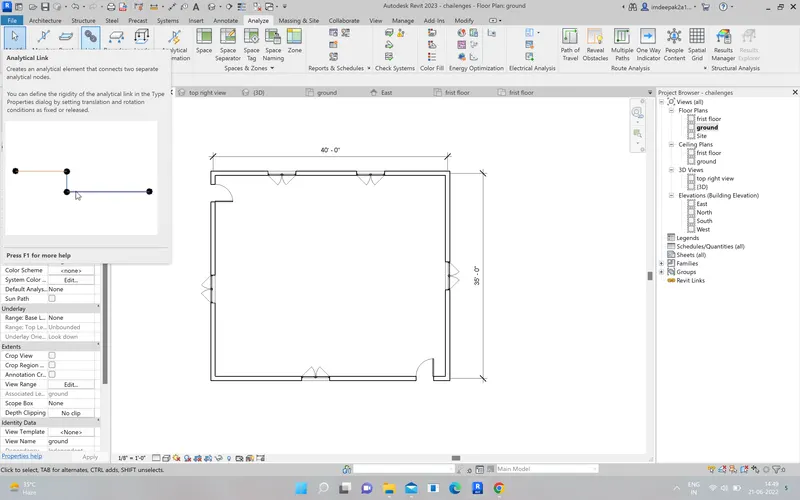
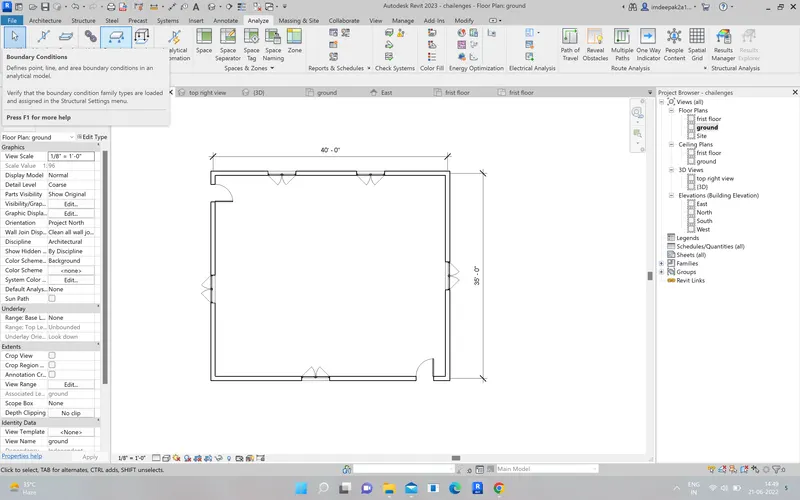
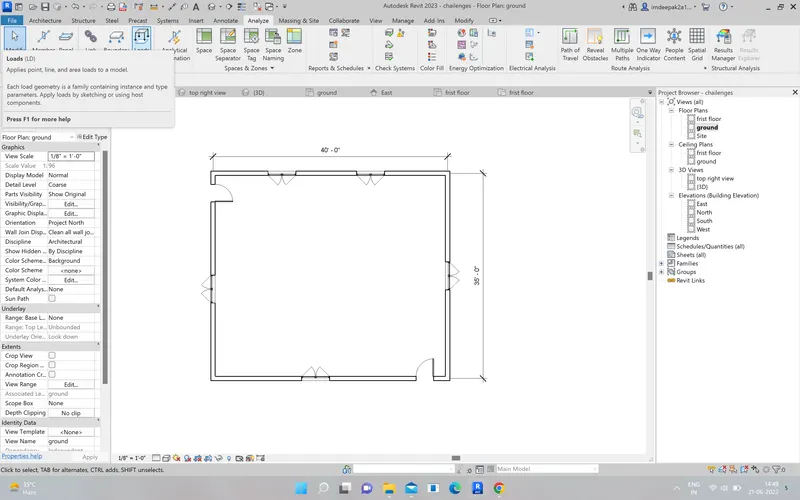
Analytial panel
Opens a sketch mode where you can draw the contour of the analytical panel place in the project.
Analytical link
Creates an analytical element that connects two separate analytical nedes.
you can define the rigidity of the analyiticallink in the type propertes dialog by seting translation and rotation conditiuons as fix or rotate
Boundry condation
Defines points line and area boundary condation in an analyitic model
Load
Applies point line and area load to a model.
etc.
Ans12. Linked models are listed in the revit branch of the project browser . you can convert linked revit models to grups, and you can convert grup to linked revit model . See about converting grup nad linked model. You can also mirrer linked revit
Ans13. It allows users to divide the model into worksets, which can be made editable or not editable by the current user to avoid confusion and lessen computing load.