Hood design-Week 2
Aim:- To Design and assemble the Car Hood/Car Bonnet from a given surface
Here we are going to understand What Is the Hood/Bonnet? What are the Materials Used to Manufacture the Hood? What is the Design consideration?
About Hood/Bonnet
The hood or bonnet is the hinged cover over the engine of motor vehicles that allows access to the engine compartment, or trunk for maintenance and repair.
On front-mounted engine cars, the hood may be hinged at either the front or the rear edge, or in earlier models, it may be split into two sections, one on each side, each hinged along the centreline. A further variant combines the bonnet and wheel arches into one section and allows the entire front bodywork to tilt forwards around a pivot near the front of the vehicle.
Materials Used
Hoods are typically made of the same material as the rest of the bodywork. This may include steel. aluminum fiberglass, or carbon fiber. However, some aftermarket companies produce replacements for steel hoods in fiberglass or carbon fiber to make the vehicle lighter.
Before we dive into the design, let us understand the rules and regulation standards for designing the hood.
- A perfect hood design means it should have a great impact distribution angled outside the car.
- In Japan and Europe, regulations have come into effect that places a limit on the severity of pedestrian head injury when struck by a motor vehicle. This is leading to more advanced hood designs, as evidenced by multicore hood inner panel designs.
- European Enhanced Vehicle-Safety Committee (EEVC), European New Car Assessment Program (euro NCAP)
Design consideration
While designing the hood we should have to focus on Pedestrian safety, Occupant Safety, opening angle, vehicle quality, etc.
Pedestrians safety
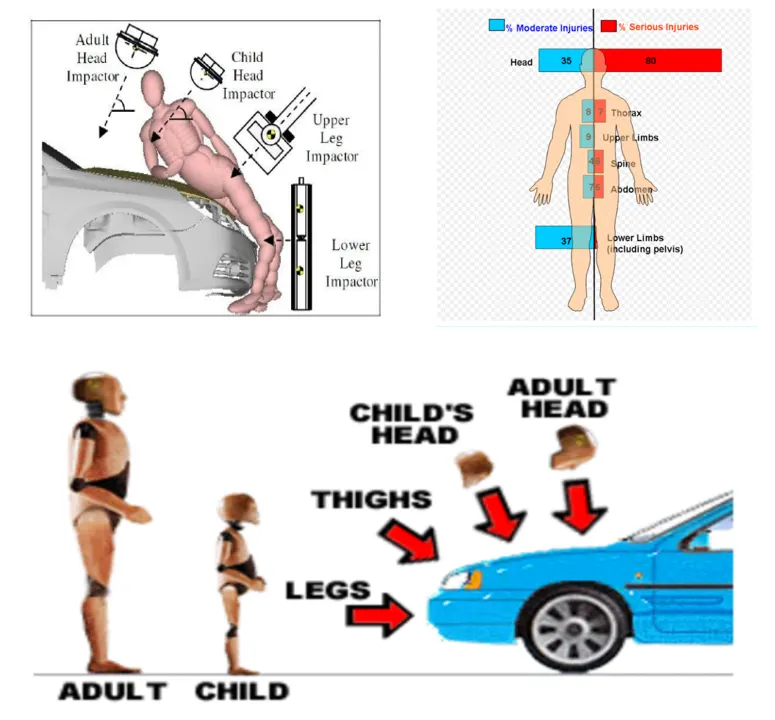
Pedestrian safety is one of the important criteria which must be taken into consideration during designing a hood. Based on the wrap-around distance and pedestrian head impact zone, the hood is designed so that during a collision impact on the person must be reduced. Around the impact zone, the hood is made softer by removing material. There are two main zones in the hood that are considered while designing it. The Child head impact zone (1000mm to 1500mm) and the Adult head impact zone (1500mm to 2100mm) as shown above. The wrap-around distance is the distance from the ground level to the end of the hood. The side reference line and the wrap-around distance are related to each other. If the side reference line is on the fender, the wrap-around distance will be more and the impact zone will be less and vice versa. Pedestrian safety is to avoid severe injuries to the head, the high impact area for adults and children is subjected to less thickness. In addition, no reinforcement should be provided in that area as, during the head collision, the hood will absorb the head impact energy leading to collapse of the hood and thus protecting the severe head injury. To protect the occupants inside the car during the front collision, the design of the hood should be in such a way that the force should travel in the upward direction through the embosses and directed towards the body of the car during the collision. Thus, protecting the occupants inside the car. Mastic sealants and embosses help to meet pedestrian safety standards. The adult and child impact zone is taken into consideration, and the deformation zone considered with respect to the engine compartment and outer panel thereby determining the interference. This generated deformation is considered critical and needs to be relocated or tuned to fill. Relocating or tuning leads to reduce the force exerted on pedestrians especially in heat during collision Generally, inner and outer panels are made of 0.65 to 0.75 mm thick, and reinforcements are made of 1.5mm thick. Adding more reinforcement improves the strength but also increases the cost and weight of the car.
Opening angle
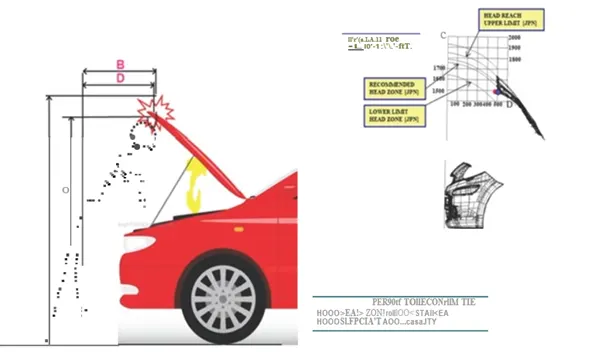
The head clearance zone is the clearance such that when the hood is in fully open condition it does not hurt the head of the person that is standing next to the hood. this is controlled by the opening angle of the hood. the opening angle of the hood is decided for the region the car is manufactured. some regions may have people with an average height of 5.5 ft and another region may have people with an average height of 6 ft. so deciding the right opening angle for the hood is an important criterion.
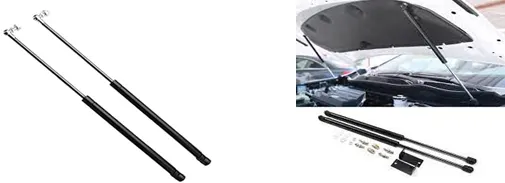
A hood stay is a device that is used to keep the hood in an open position. there are two types of hood stays 1) Support Rod 2) Gas Stay
- Support Rod
The support rod is usually inside the engine compartment, when we open the hood and keep it in open condition, one end of the support rod attaches to the hood and supports it. this support rod has to be fixed manually onto the hood. The design of the support rod is not linear but it should have some bends to increase the rigidity and strength of the rod. the support rod should be mounted such that it does not collide with other parts, also the support rod should be mounted on the opposite side of the battery to avoid interference with each other.
- Gas Stay
A gas stay is used to open the hood, keep it in an open state, and then closing the hood. this is an automatic process, that is the gas stay uses an actuator to open and close the hood. one side of the gas stay is mounted on the body side and another side is mounted on the hood. gas stay for the front hood is mainly used in high-end performance cars.
Components of the Hood/Bonnet
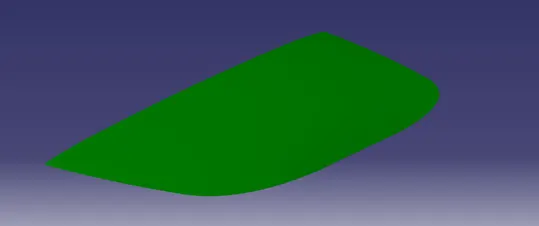
Outer panel:
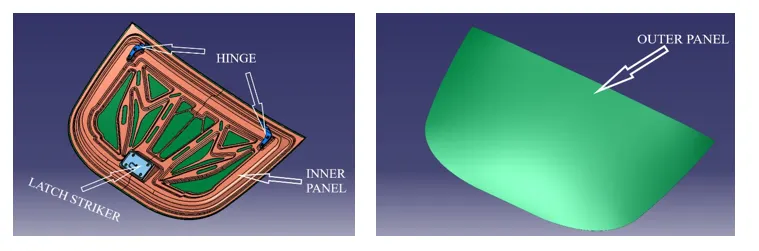
The outer panel is actually called the skin of the vehicle which is designed by the styling team to get a good look for a vehicle by covering the inner panel and engine parts of the car. This part is should not be welded to the inner panel but using the sealant and mastic points makes contact between the inner and outer panel which acts as a bond between both and makes the hood stiff.
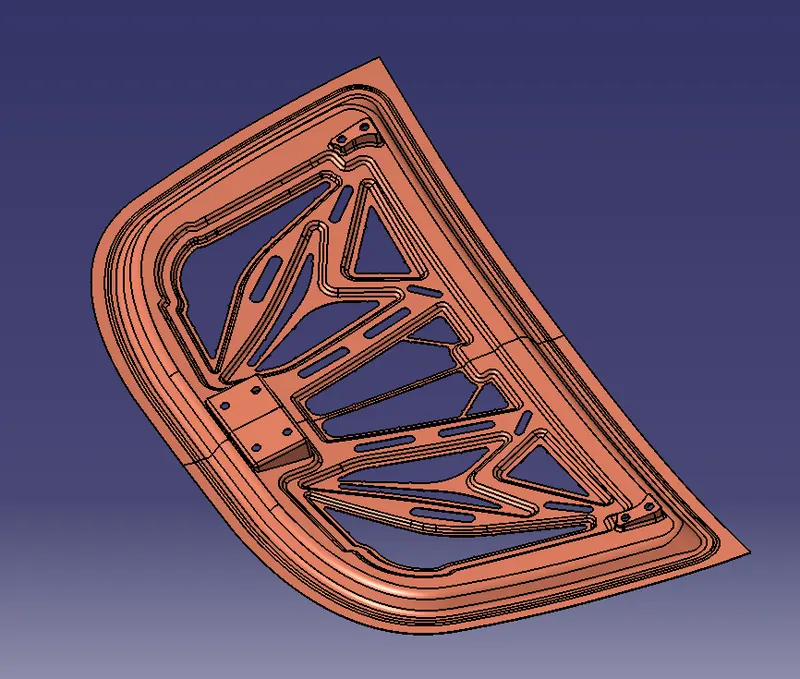
Inner panel:
It the main part of the hood which gives support to the outer panel of the car and with its embossing shapes dissipates the force in different directions when the vehicle takes crashes to not to injure the men in the car.
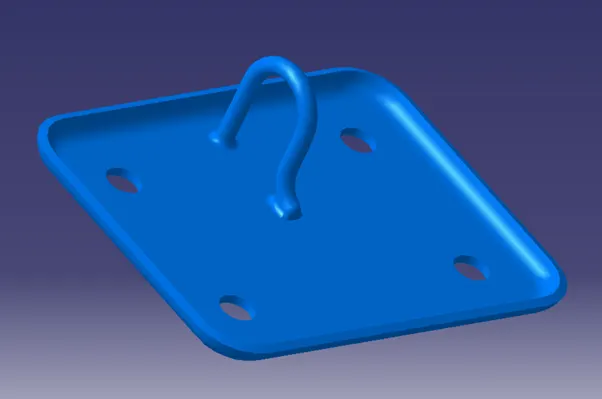
Latch:
It is a part that helps in locking the hood with the striker which is mounted on the engine block when it is not in use. It plays a major role in opening and closing hood for maintenance of car engine and gives a tight locking position not to create undisturbed noises when the vehicle is running.
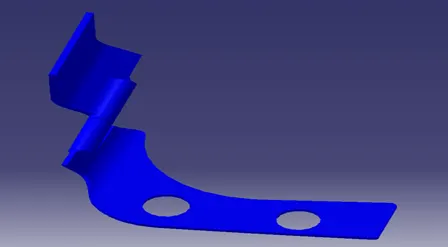
Hinges:
The hinge consists of two parts- hinge at the inner panel and hinge at the engine compartment. This coupling allows the hood to open and close, as well as makes contact between the engine block to the hood. It also controls the lifting of the bonnet mitigates the consequences of a collision between a pedestrian and a vehicle.
Given Inputs
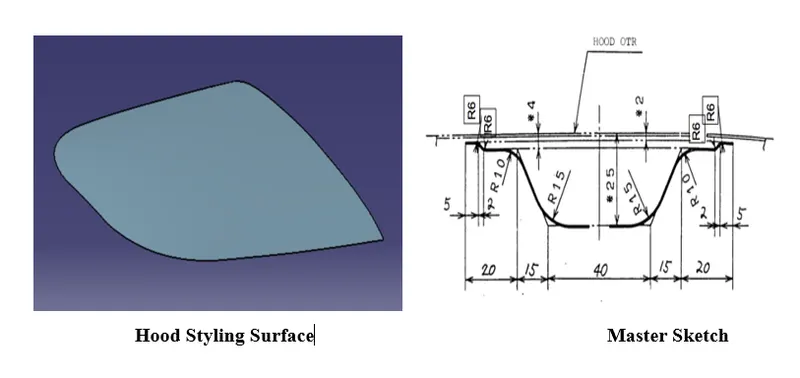
- Hood Styling Surface
- Hood Thickness Information
- Master sketch
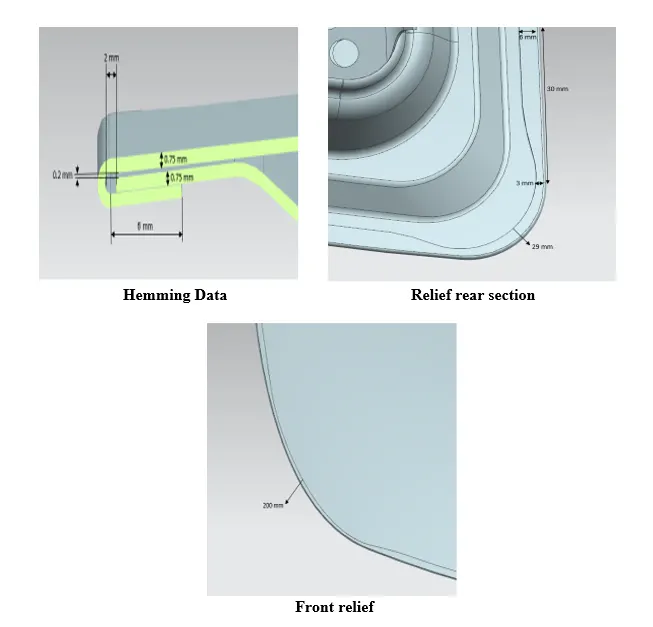
- Hemming Data
- Relief rear section
- Front relief
Hood Thickness Information
- Outer Panel Thickness = 0.75mm
- Inner Panel Thickness = 0.75mm
- Reinforcement Thickness = 1.5mm
Tools Required
1 Surface Workbench Tools

2 part Workbench Tools

Sequence of operation
- Creating Inner Panel
- Creating Embossing and mastic for the Inner panel
- Creating Reinforcements for the Inner Panel
- Developing Hemming for Outer Panel
- Checking the position of the Latch Striker with reference to the Hinge Axis in Assemble
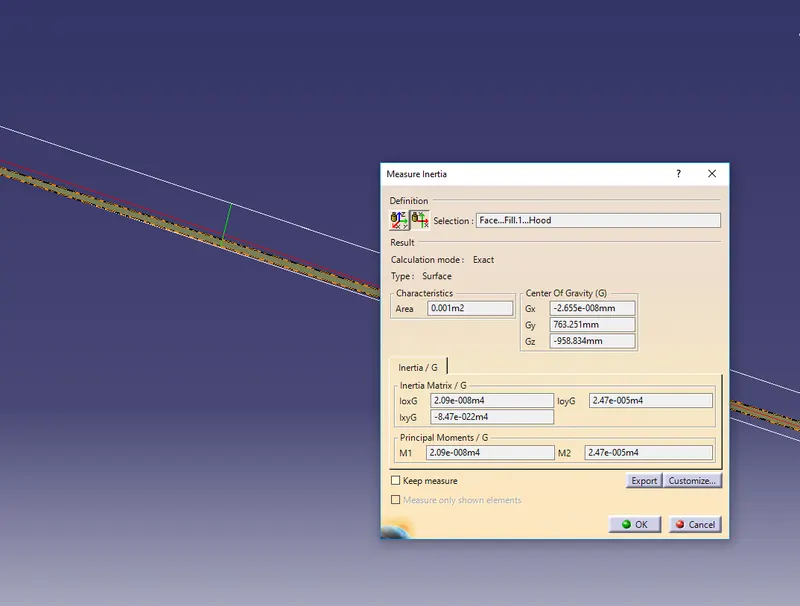
- Checking Moment of Inertia
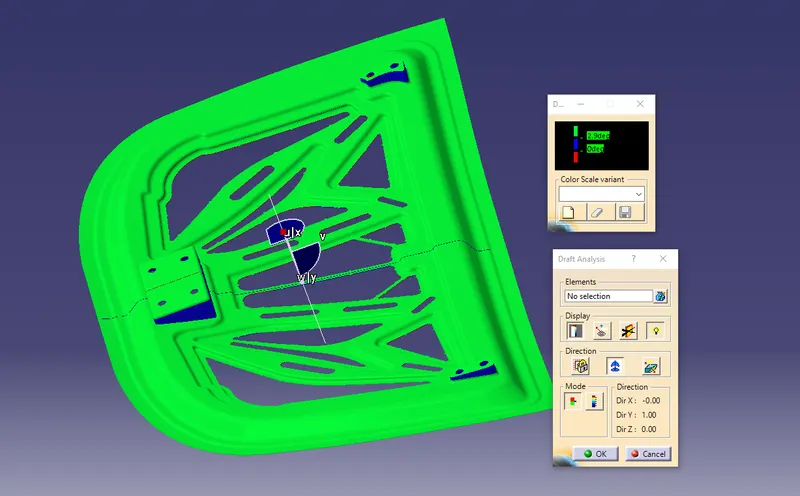
- Checking Manufacturing feasibility of the Inner panel by Draft Analysis
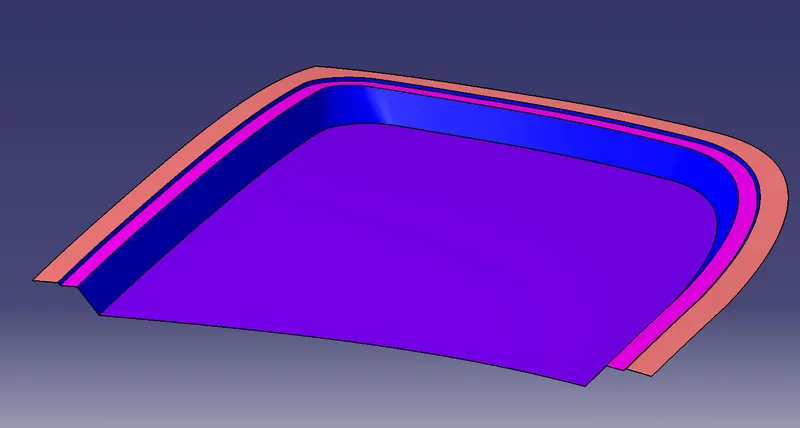
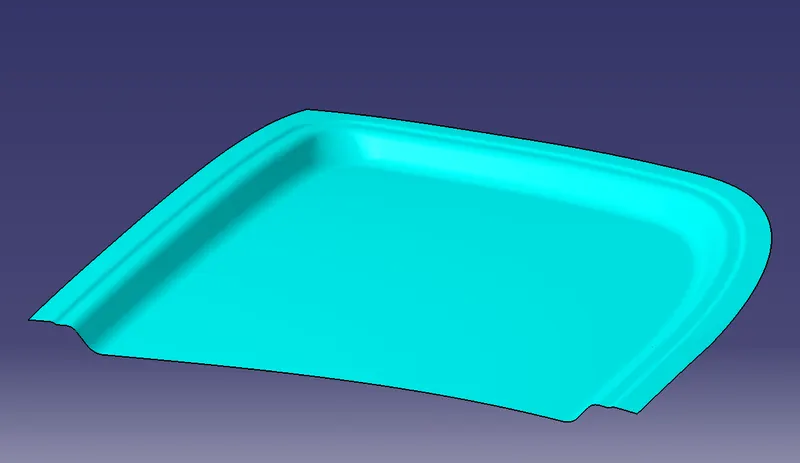
1.Creating Inner Panel
By following the master section, I created the Inner Panel by using surface workbench tools like off-set, projection, boundary, split, etc., commends.
2.Creating Embossing and Mastic for the inner panel
To Create embossing we have to consider two parameters
a) Safety of the pedestrian
Whenever a car hits Pedestrians it should cause minimum damage to the Pedestrians. For this, we have to remove some material from the Inner Panel.
b)Force distribution while the time of Accident
While the time of Accident the force has to decry before it reaches the Passenger inside the car and minimizes the damaging.
By Considering these two parameters I have created the Embossing and Mastic sketch and projected it on the Inner panel.
I have taken a sketch and projected it on the inner panel and m split it and by using the sweep command and off-set of the Styling surface to the creation of the Embossment.
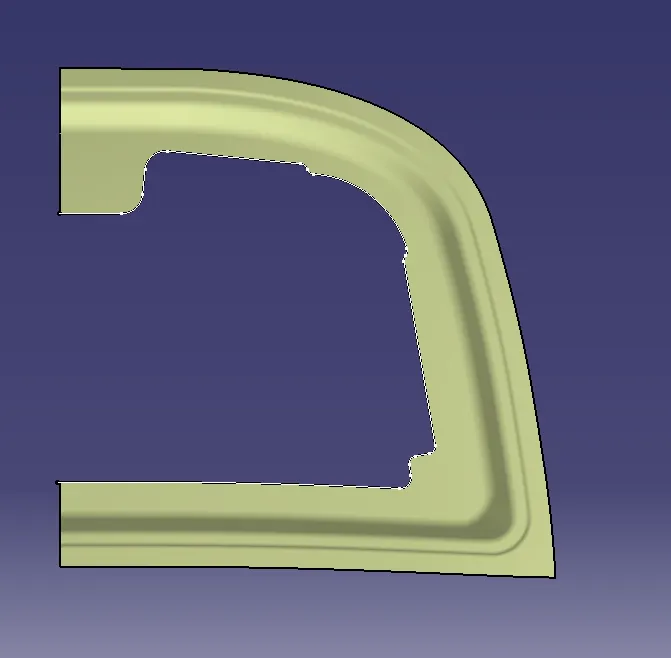
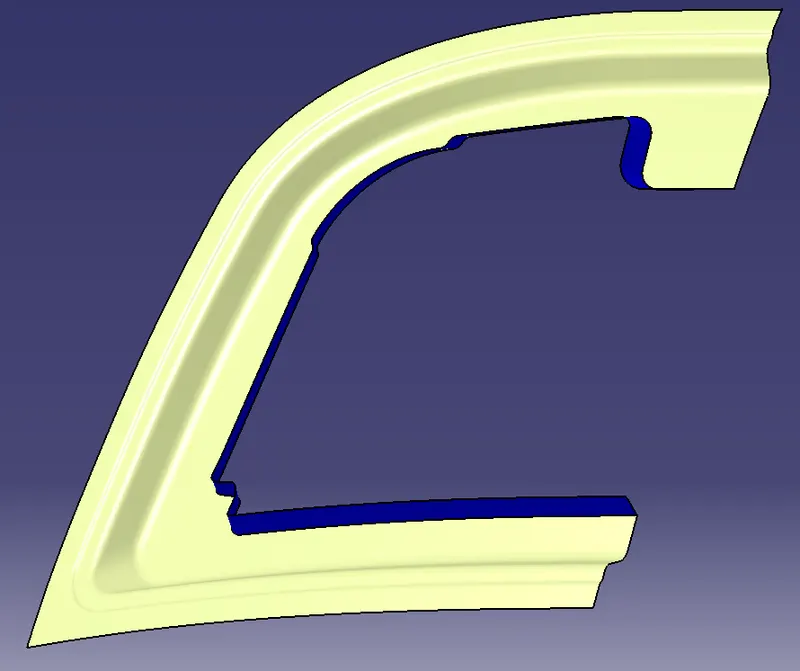
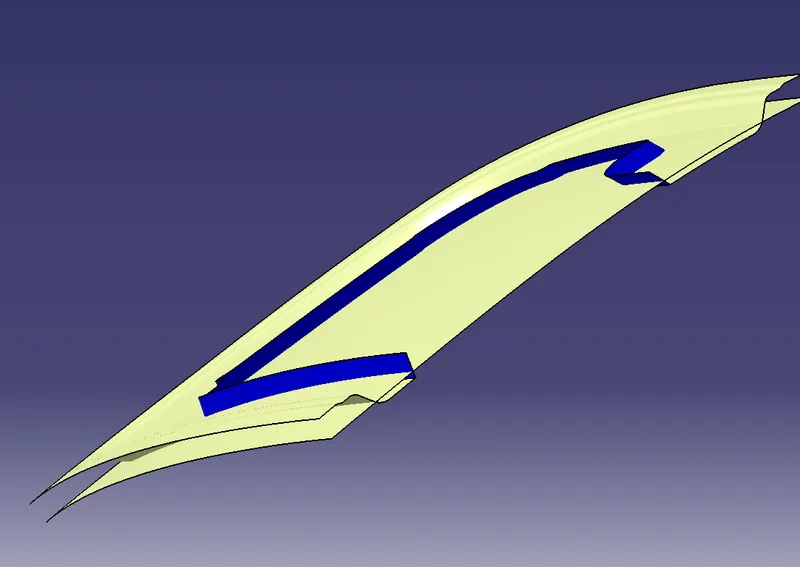
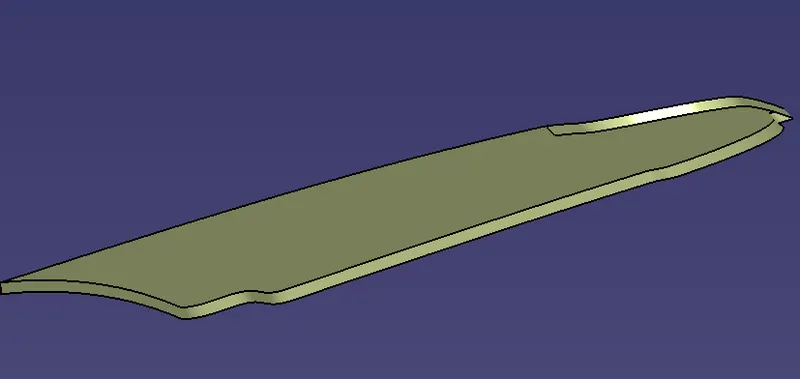
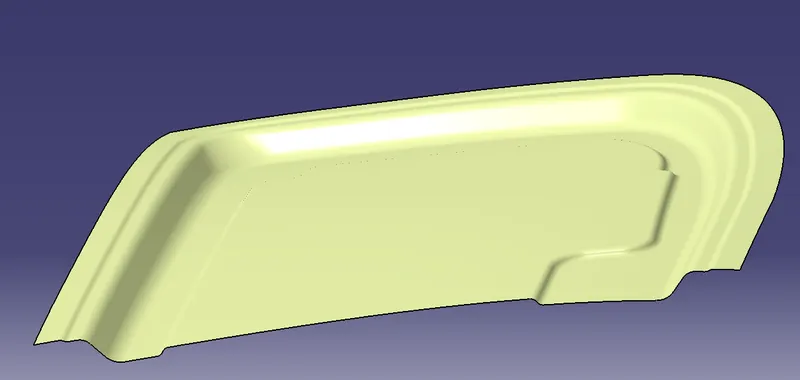
in this same manner, I have created multiple embossments
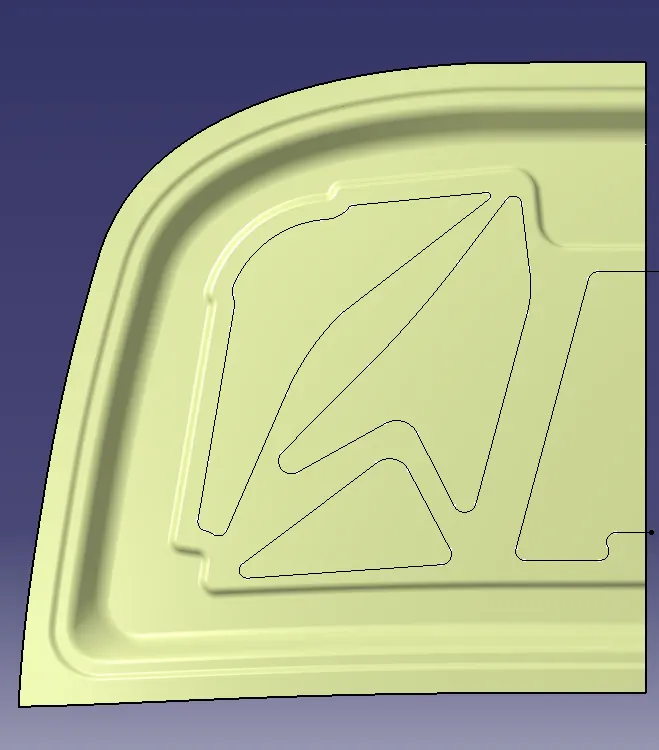
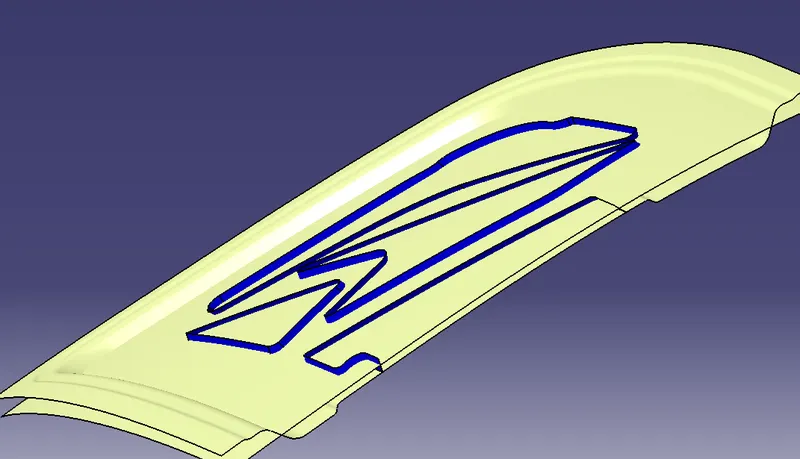
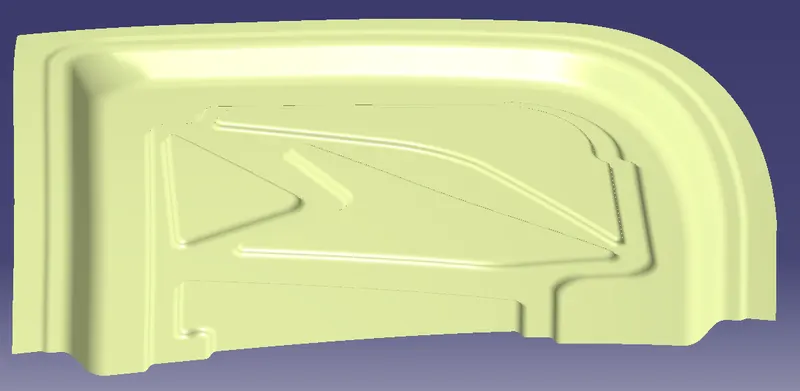
After making Embossement I create sketches for the mastics and trim with the surface.
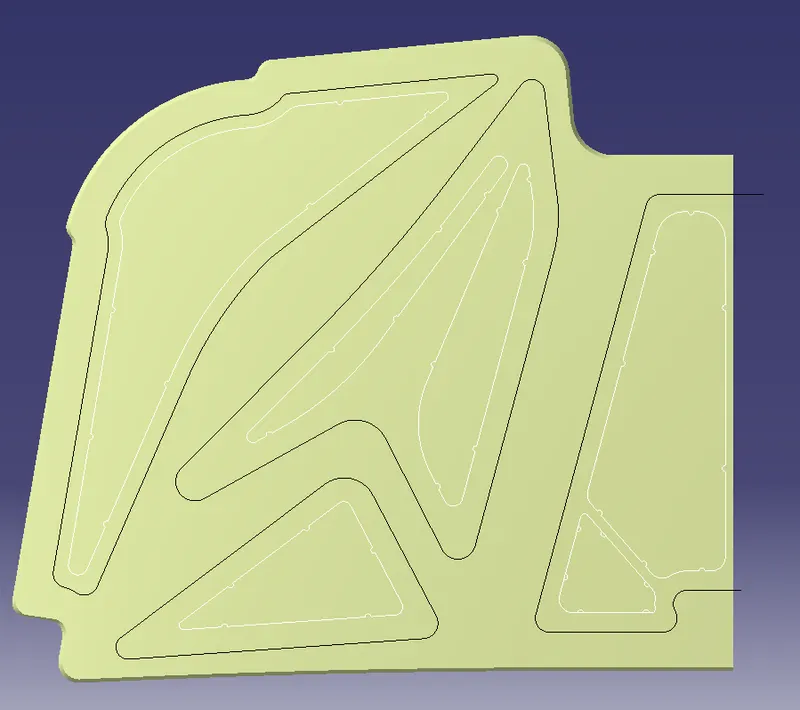
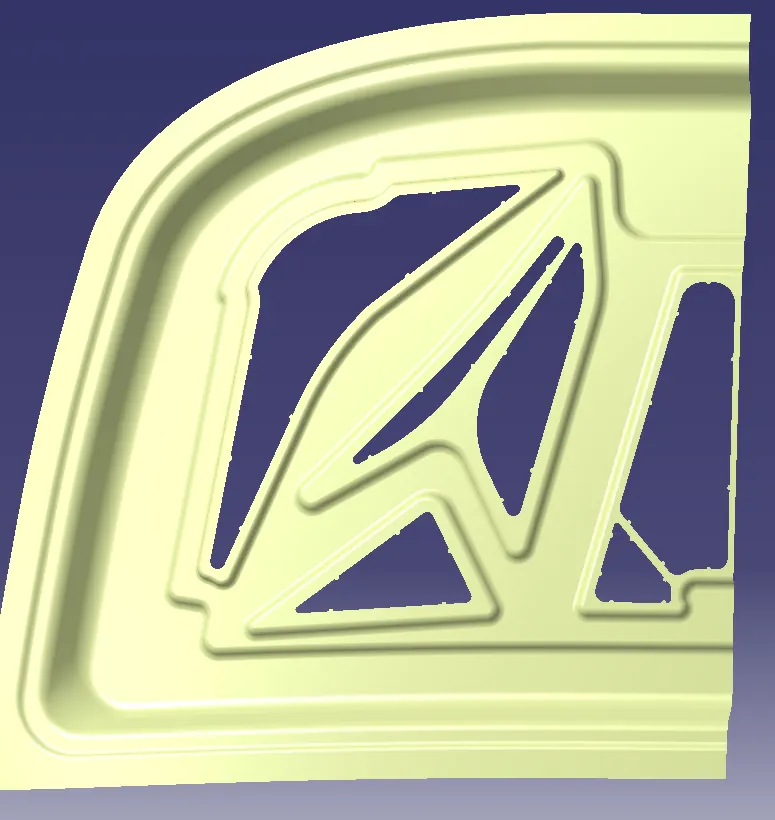 3.Creating Reinforcements for the Inner Panel
At certain positions in the hood panel, we need to provide more strength to the inner panela’s these areas are prone to loading and unloading. The two main positions which tend to be under stress a lot are
- The latch and striker joining area
- The hinge joining area
The latch is attached to the inner panel and this adds more weight to the inner panel at one particular point. This region is under stress whenever we close the hood with force to lock the latch into the striker. We need to provide reinforcement in this region to handle all the loading cases.
The hinge joining area is again a functional area of the hood panel. This means that we need to provide reinforcements there in order to strengthen the component and make the functioning smooth.
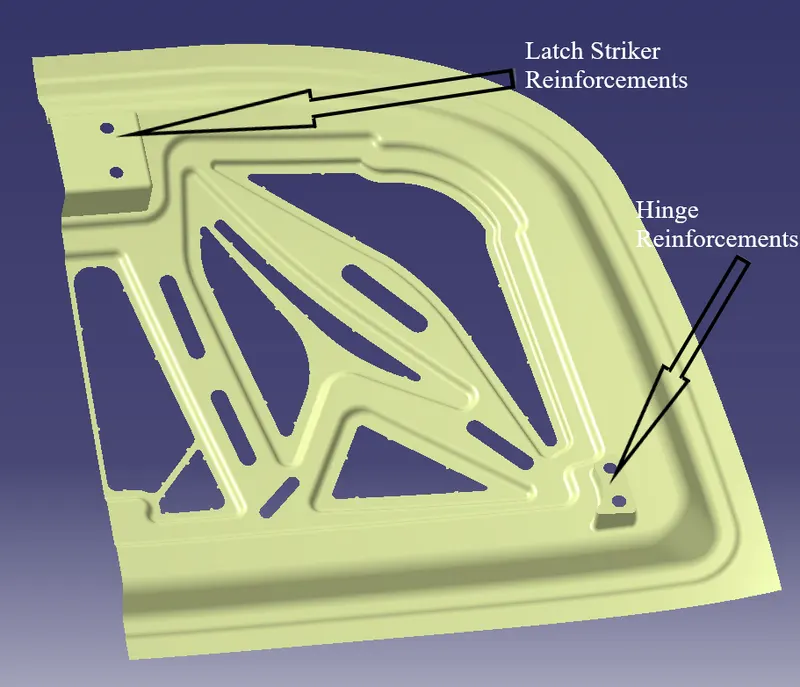
after making all requirements I just symmetric.
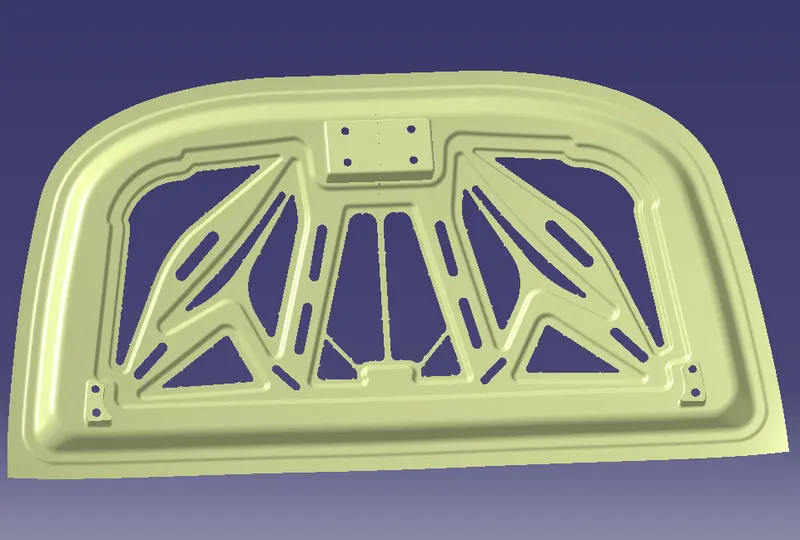
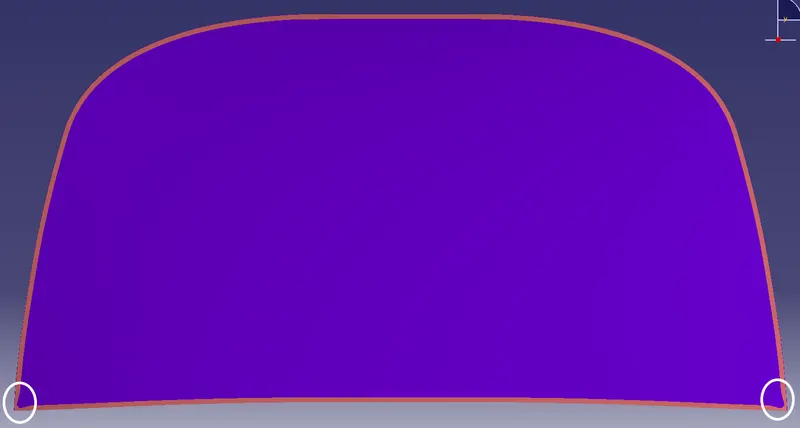
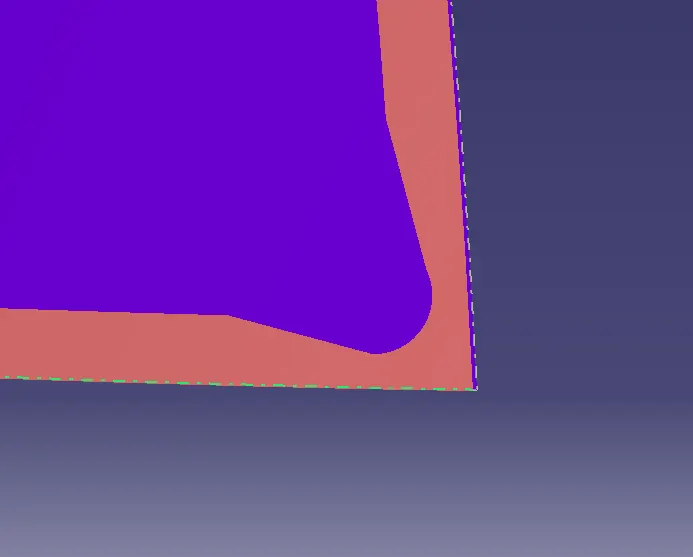
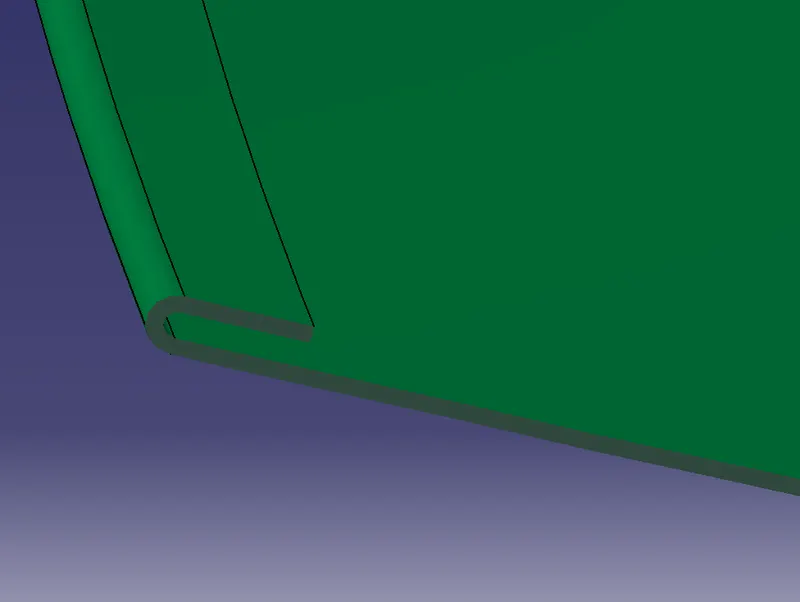
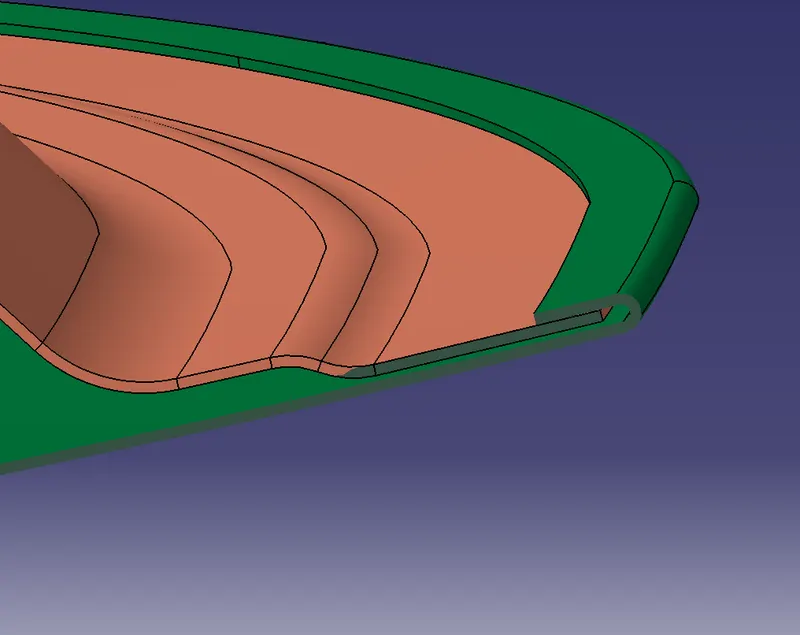
4.Developing Hemming for the Outer Panel
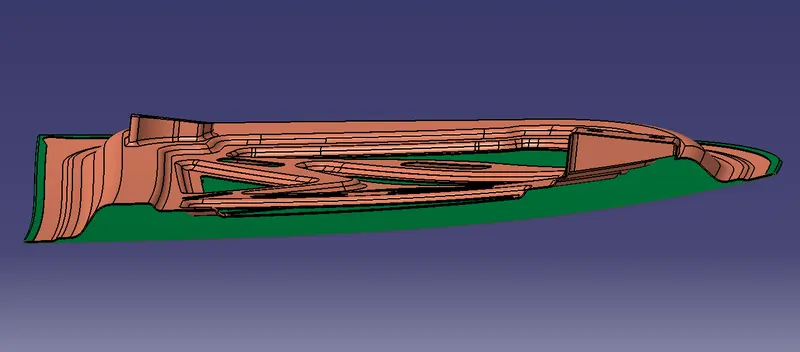
By blending the outer panel in such a way that it should cover the inner panel and join together Hemming is used. By off-setting, the outer panel and making a blend among the two surfaces hem is created.
5.Checking the position of the Latch Striker with reference to the Hinge Axis in Assemble
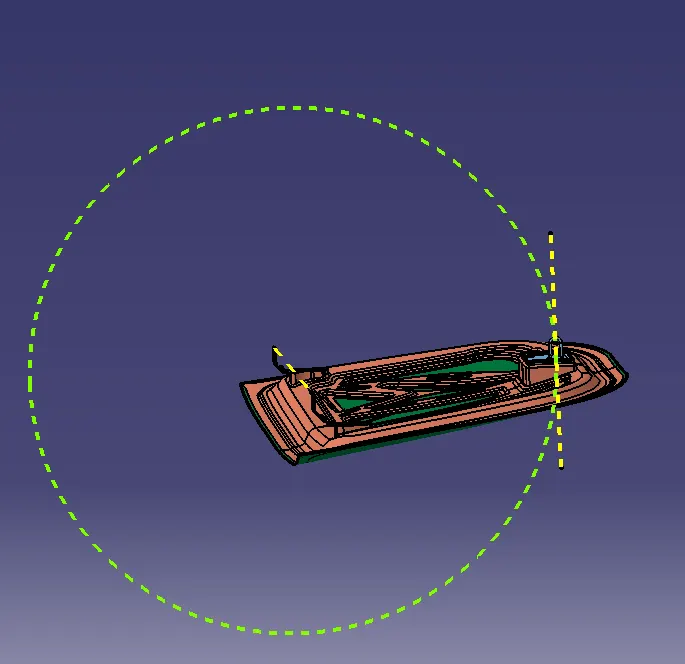
To check we need to create an axis from the hinge assembly. Tentatively we have to position the hinges and extract the axis. On the axis, a point is placed at the center of the axis and a circle is drawn taking the point as the center. To check for the correct position of the hinge it has to be tangent to the circle. This study is conducted to check the location for the latch and striker mechanism to make the hood manufacturable.
6.Checking Moment of Inertia
7.Checking Manufacturing feasibility of the Inner panel by Draft Analysis
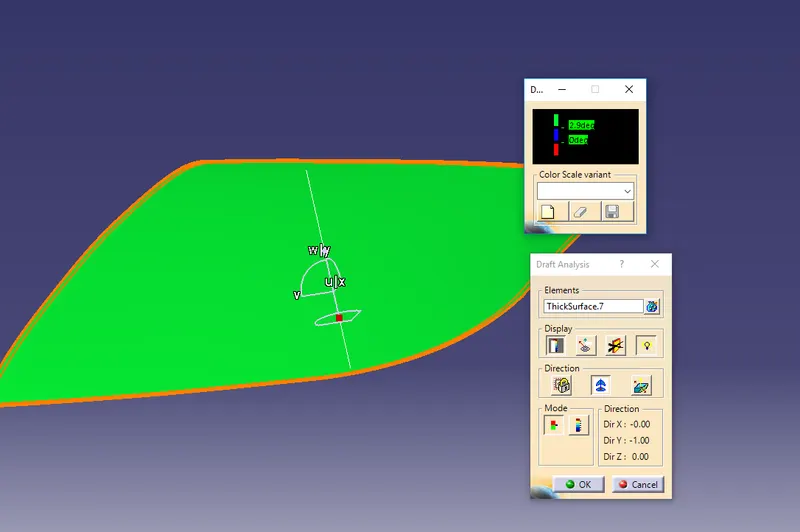
Inner Panel Outer Panel
Conclusion:
The design of Car Hood is down by Following all the inputs and principles of Hood Design.