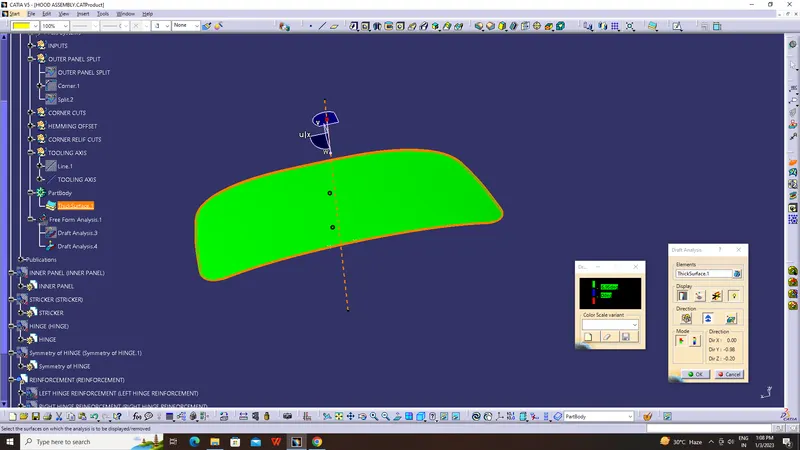
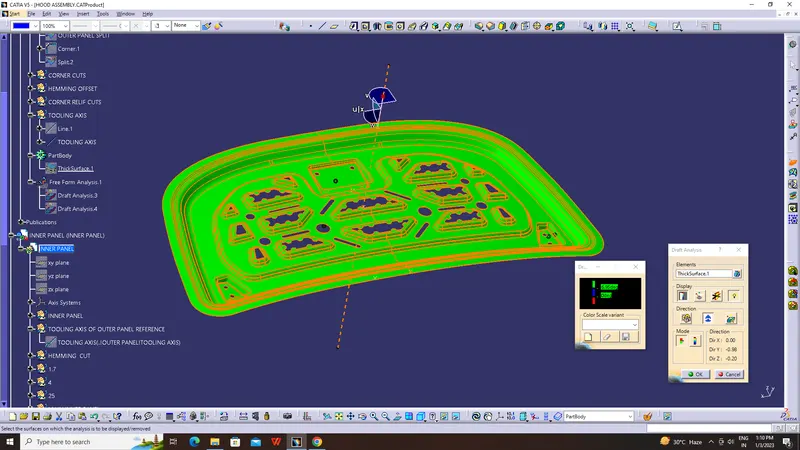
Hood design-Week 2
HOOD DESIGN
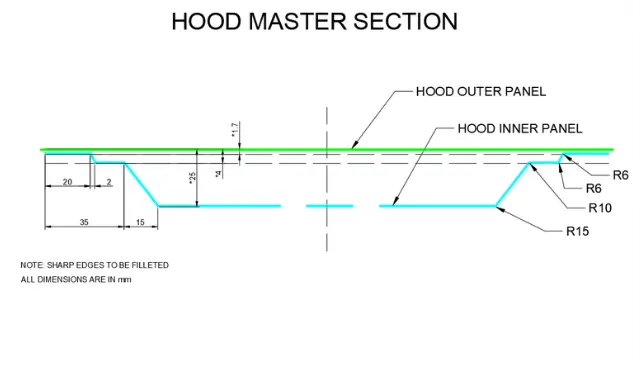
Aim : Design Hood Outer Panel, Inner Panel and the necessary reinforcements by following the Master Section mentioned with the Design parameters
Data to be used:
Hood Thickness Information
- Outer Panel Thickness = 0.75mm
- Inner Panel Thickness = 0.75mm
- Reinforcement Thickness = 1.5mm
Procedure:
- Open all the (.igs) & (.stp) file and save it as cat prt file.
- Create an Assembly part file.
- Open all the cat part file, Create tooling axis and copy the Outter pannel and paste special as link as inner pannel.
- According to the given master section, start creating the Hood inner pannel.
- Create Primary emboss, secondary embose and Mastic.
- Create Deboss for Hinge.
- Convert the Hinge part from Surface to solid.
- Using the Trajectory method Align the striker according to the primary emboss and secondary emboss.
- Create the deboss for striker.
- Create reinforcement for hinge and striker.
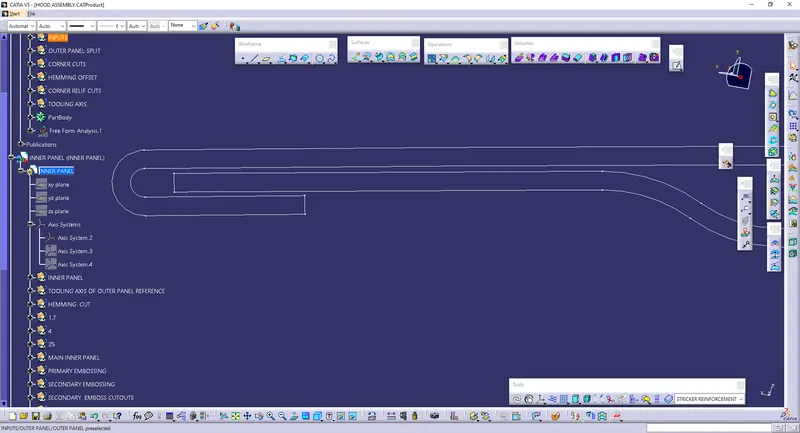
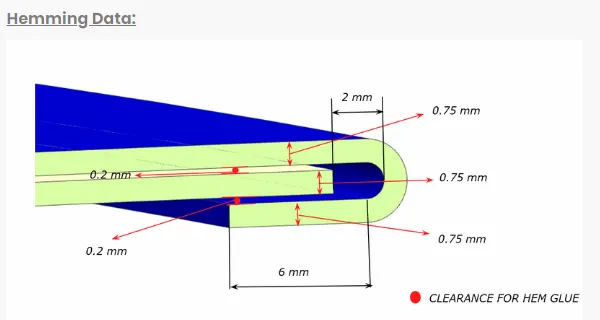
- Create Hemming operation for outter pannel.
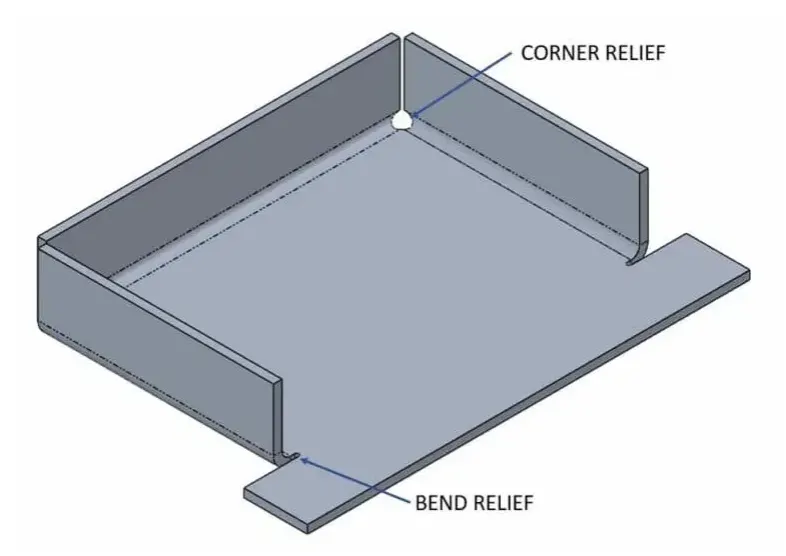
- Create corner relief at the bend.
- Finally make it as solid using thicken method.
- And create intersection for both inner pannel and outter pannel. verify using the intersection.
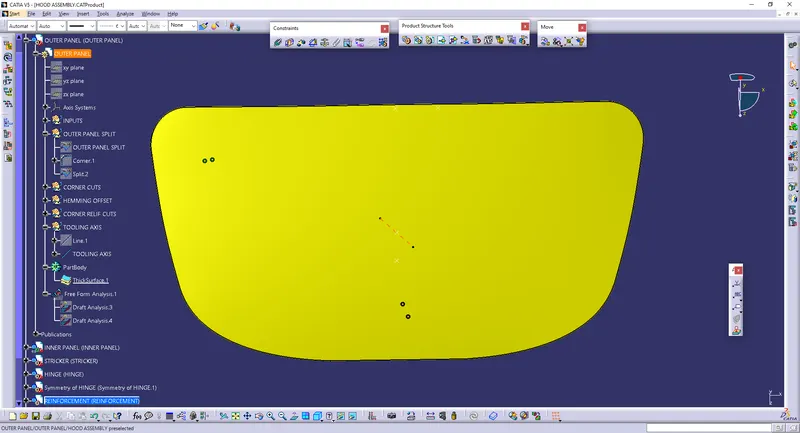
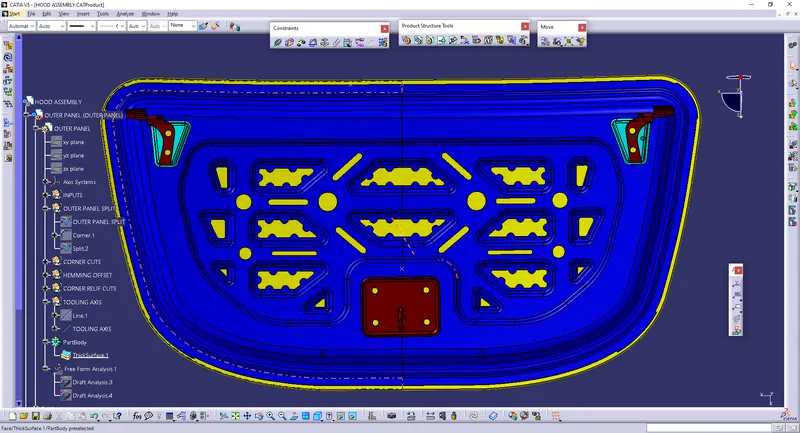
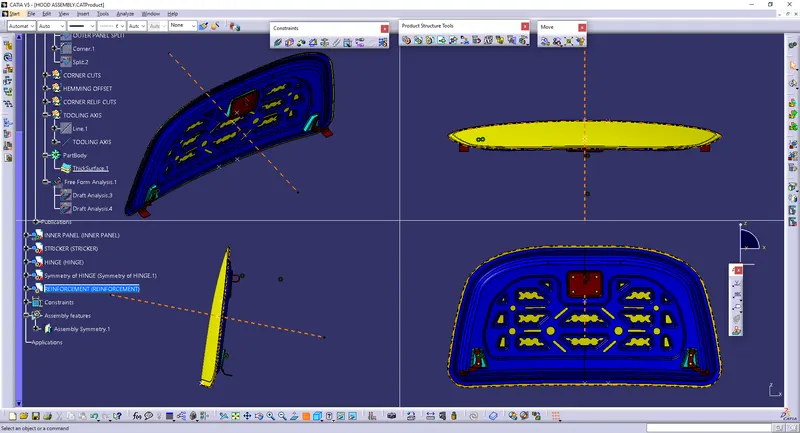
Hood:
Car front bonnet is otherwise called as Hood. It is hinged cover over the engine of the motor vehicle. It consist of Hinge and striker.
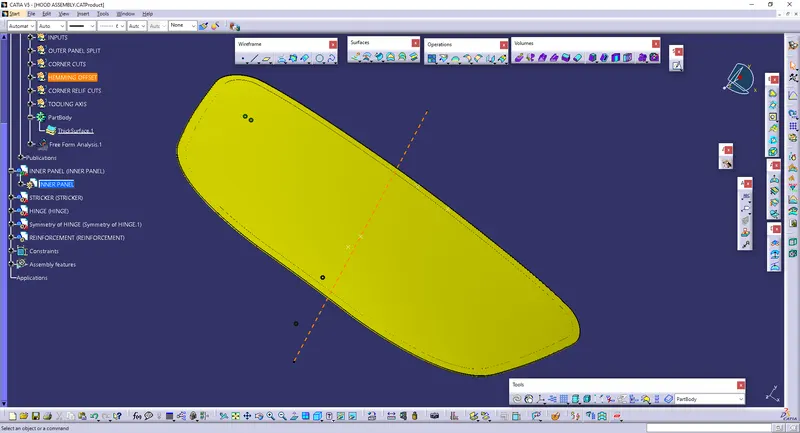
Parts under the hood:
- Engine.
- Alternator.
- Battery.
- Belts.
- Cylinders and Spark Plug Wires.
- Piston and Crankshaft.
- Oil Fill Cap and Dipstick.
- Radiator.
This hood comes under the BIW Closure category.
What are BIW Closure?
An excellent body in white (BIW) should be structurally stiff, overall light weight and manufacturing wise cheaper to produce. And these are the factors which our engineers always trying to balance while designing each sub-system or each individual component.
Catogery under the BIW Closure.
- HOOD.
- Tail Gate.
- Roof.
- Side Doors.
- Fender.
Tooling Axis:
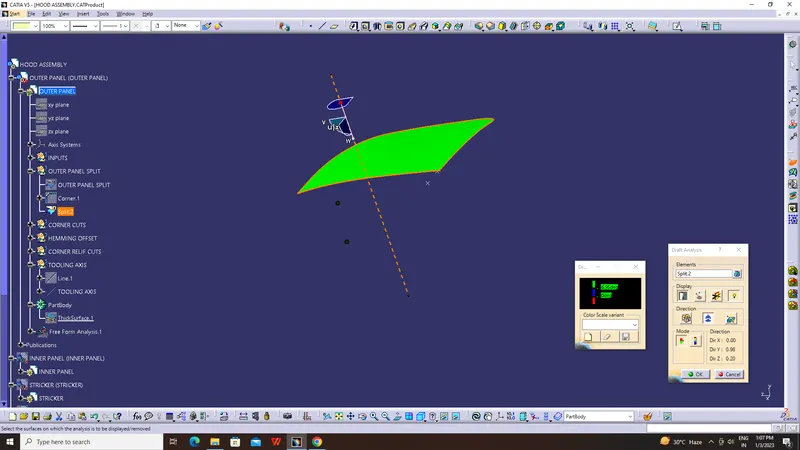
Tooling axis is created along Angle/normal to curve, This tool is created along in line created between two points ploted at the outter pannel of the given class A surface hood. (note; The angle given is 90 deg).
Inner Pannel:
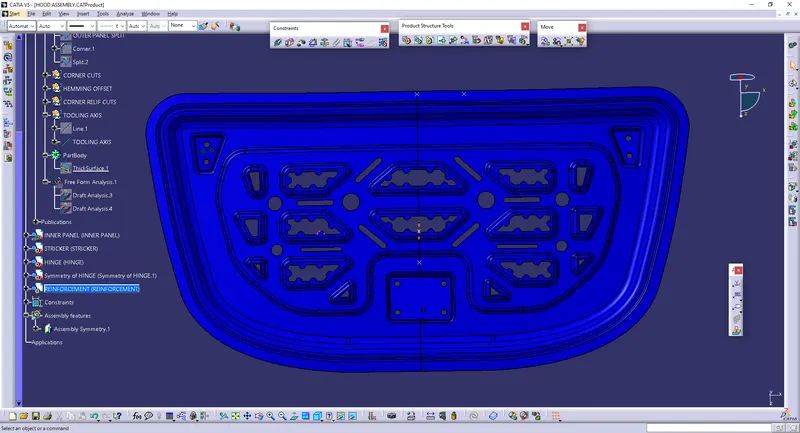
Inner pannel is created using the given master section. i.e, We have to take 1.7 mm, 4 mm and 25 mm offset. After we have to connect using the multisection surface option.
Emboos:
Embossing is a metal stamping process for producing raised or sunken designs or reliefs by passing metal sheet or strip between rolls of the desired pattern. The process enables repeated production without variation and does not change the metal's wall thicknesses.
Where it is used?
The gaps given in the hood are to control the Collision when ever an accident occurs unfortunately.
Emboss Operation:
- Primary emboss - Primary Emboss is created by offseting the outter pannel to 15.75 mm. The sketch should satisfies the 6-8 mm gap between the fillets and followed to this we have to also consider the space allotment for striker and hinge.
- Secondary emboss - Secondary emboss is created by offseting the outter pannel to 6.5 mm. It can be made using different Shapes such as, Parallelogrom, rombhus, etc... It should also maintain the 6-8 mm gap between fillets.
Mastic:
The sealant is applied around and inside the doors, hood, trunk, and front dash, and onto the exterior and interior of metal joints and outer area of the back wheel well; application of the sealant is accomplished either manually or with robots and prevents air and water ingress and inhibits rust formation. It is used (NVH) Noise Vibration Harness.
Deboss:
Debossing is when an image (logo, text, etc.) is imprinted into your print piece, creating a depressed effect. Just like embossing, you can choose to leave the debossed area untouched or fill it in with ink or foil stamping.
Deboos Operation:
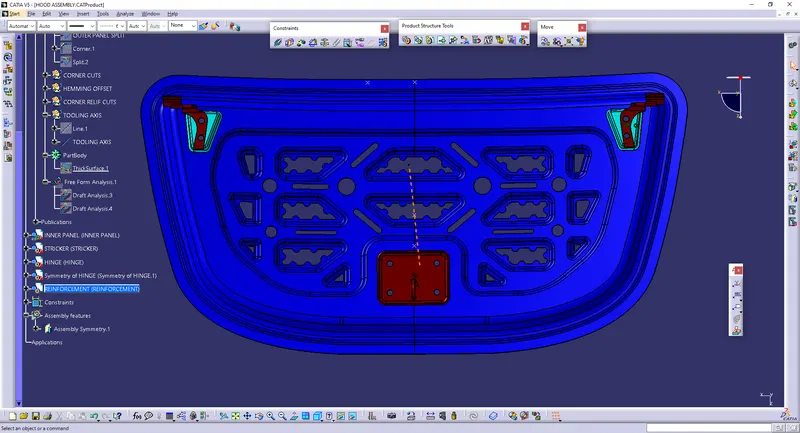
Deboss in Hinge - Just like creating a sketch without distrubing primary emboss. The sketch should maintain the enough space to place the hinge on it. It mandatory to maintain 6-8 mm gap between fillets. And then we sweep and trim along with the offseted surface.
Deboss in striker - First we have to align the striker with the help of trajectory method. And then we have to take extract of the striker bottom surface. Followed to the striker we have to take sweep with the edge of the extracted surface and then we have to trim with the inner pannel.
Trajectory method:
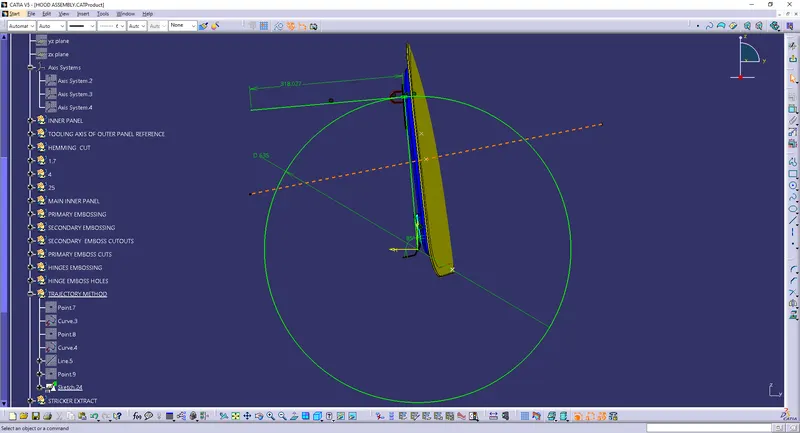
Striker trajectory is given by the circle drawn from the hinge axis point. Hinge axis point is the centre point of the hinge axis. First, we can fix either the striker or the hinge. If we have fixed the hinge position then we should plot the Trajectory circle for the striker. For proper mating condition the striker axis through the tip of the striker should be tangential to the striker trajectory.
Reinforcement:
Reinforcement is used to add strength to the striker and hinge part in the hood. Since the hood thickness is less and those part sholud face lots of collision while clossing the hood. So to add the strength we have to give 1.5 mm thickness.
Hemming:
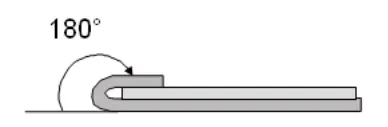
Hemming is a technology used by the automotive industry to join inner and outer closure panels together (hoods, doors, tailgates, etc.). It is the process of bending/folding the flange of the outer panel over the inner one.