Fender Design Challenge
FENDER DESING CHALLENGE
Aim:
The main is to desing the fender model with the necessary mounts desing the that frames a wheel well fender underside.
Ojective:
These project is to desing fender and the main desing requirements for Drip, Bumper, A pillar and Sill mounting area. fender is a front outer side member of a car wheel side. fender purpose is to prevent sand, mud,rocks,liquid and other particles. now, join the split surface excluding the top surface.
Mounts:
% Bumper
% A-pilar
% Sill
% Cowl
% Drip
Introduction:
Fender:
A fernder is a part of an automobile that frames a wheel well fender underside. its primary purpose is to spray from being thrown into the air by the rotating tire. The fender's openings for the wheel well tend to be much larger than the diameter of the tire because they do not move with the tire suspension and consequently must be large enough to allow the full range of tire motion on the suspension without touching the interior of the wheel well. Fender is a front outer side memeber of a car which covers the wheel side fender purpose is to prevent to partcles. Fender is a closure component, closing the engine compartment and other compartments, The major role of the fender is avoid the chipping inside the engine component. During the motion the wheel picks a sand mud and small stone particles and throws it inside the car and these by hitting inside the engine compartment and car body. these fender will be a plastic part which lies on wheel arch area. The fender plays a major role to avoid problems for pedestrain also. fender are typically rigid and can be damaged by contact with the road surface. it is often also called as mudguard the interior of the whell well.
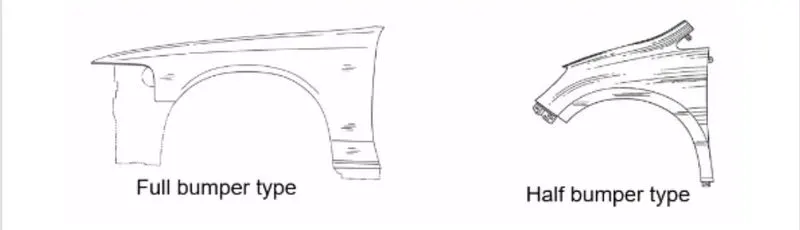
Types Of Fender:
Full Front Fender
Half Front Fender
Full Front Fender:
If the fender cover the tire, the wheel well surrounding the tire, and it is not directly visible from above the car boby. it increase the weight and scrap of the component full front fender.
Half Front Fender:
It reduces the weight and scrap. it creates only half of what the full fender does and the other part is created with the Bumper part half front fender.
Procedure:
1. Creating the section:
* After Opening the file, Check the model and create the mount area layouts. use parallel curve option to offset the line to 5mm and split option to create a space for the mountings. now, join the split surface excluding the top surface to fender.
2. Creating the mount part:
* To create the mount regions, use the sweep option near the space created for the mountings.
3. Creating the embosses and relief.
* To create embosses, create a sketch with the required shape. project the sketch onto the mounting area but before that extract the surface. for the Drip mount part, follow the details given and desing the product. To create beaks, create the surface in a way that is angular and then trim the surfaces together holes are to be given.
4. Giving the fillets:
* Once the surface is trimmed give the fillets near embosses and beads.
5. Creating the solid:
* After the surface is created go to the part workbench and define the part body.
* use the thick surface option to create the solid with a thickness of 1mm.
Final Model:
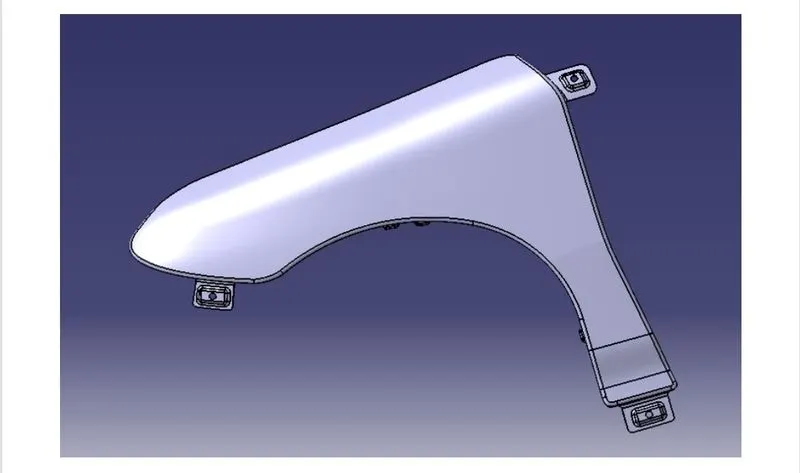
Drip Mount:
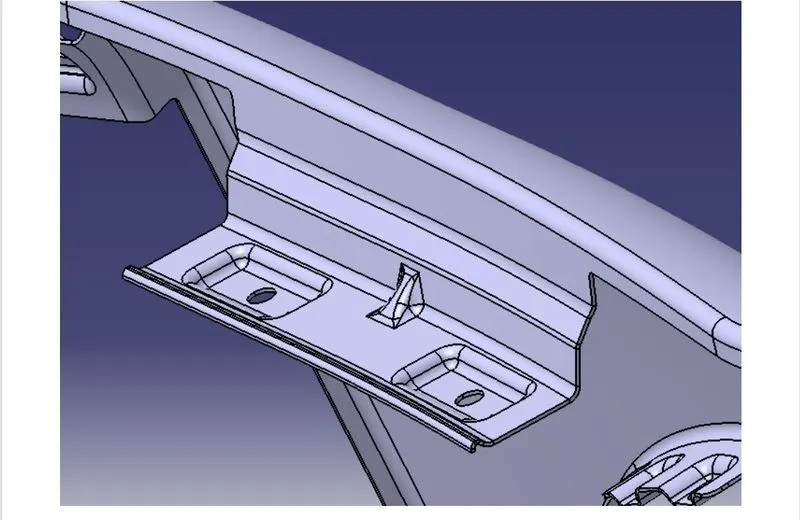
Sill Mount:
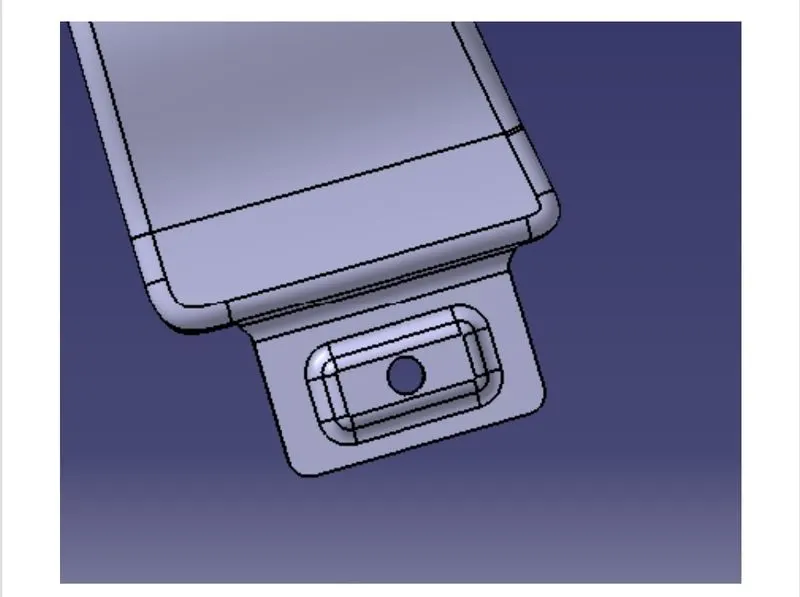
Bumper Mount:
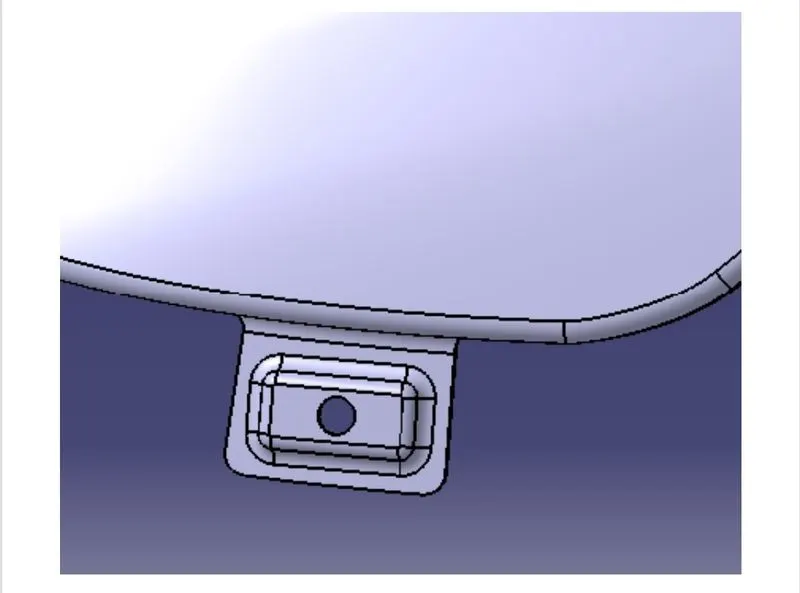
Cowl Mount:
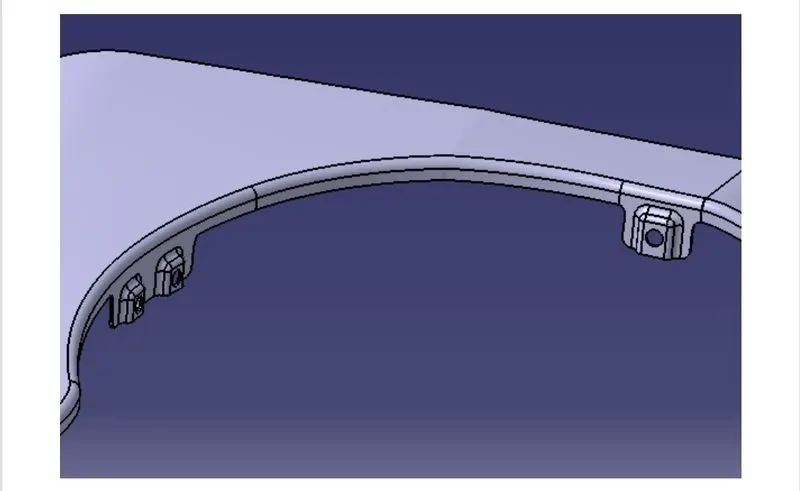
A-Pillar Mount:
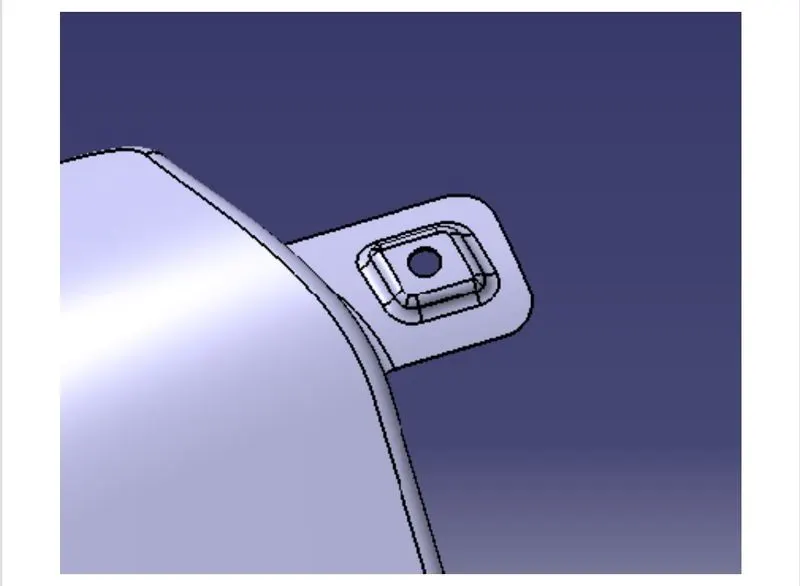
Terms Used:
Embosses:
Sheet metal embossing is a stamping process for producing raised or sunken desings or relief in sheet metal. This process can be made by means of matched male and female roller dies, or by passing a sheet or a strip of metal between rolls of the desired pattern. it is often combined with foil stamping to create a shiny, 3D effect.
In most of the pressure embossing operation, machines, the upper roll blocks are stationary, while the bottom roll movable. The pressure with bottom roll is raised is reffered to the tonnage capacity.
Areas to be considered while designing a fender:
* Drip area
* Bumper mounting area
* Sill mounting area
* Body mounting area
Drip AREA:
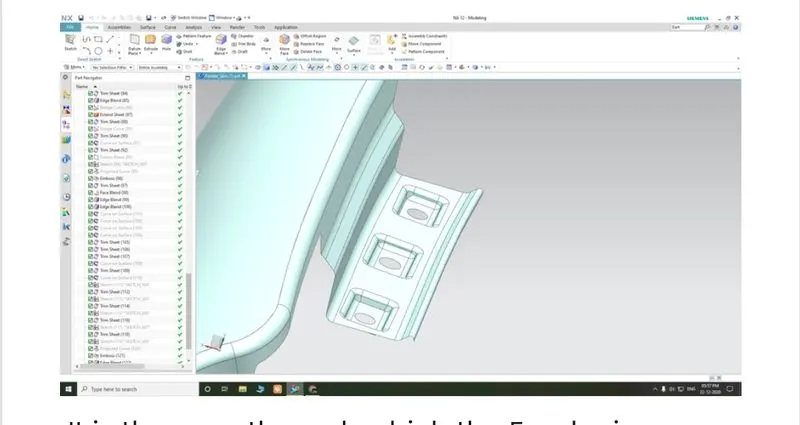
Considering the above desing constrains we have to desing the drip area. embosses are provided to increase strength, corners of the flanges are smoothen to ease of the production. Unifrom wall thikness of 0.75mm.
Bumper Mounting Area:
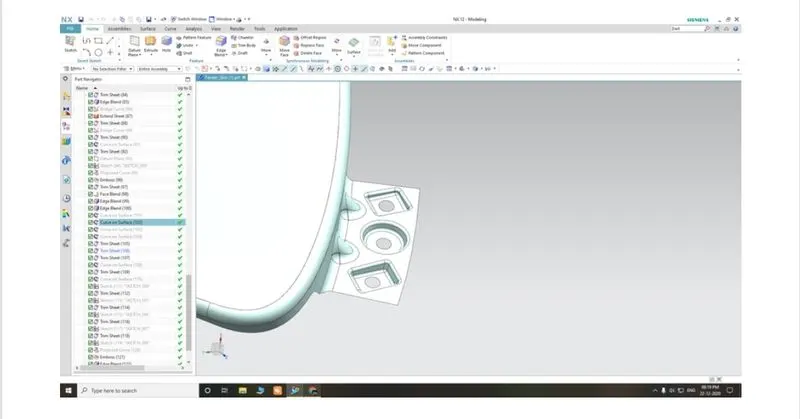
The Bumper Mounting region must be rigid in order to withstand the froce acting upon it during collision. So, the mounting space can the larger. In this mounting the fender connects with the bumper. 20mm and 75 degree of angle skew to jion angles 45 degrees, depth 4mm and radius 7 trim sheet is use 3.75mm create use 3mm edge blend 2mm edge blend.
Sill Mount Area:
The sill mounting area is in the bottom of the fender.
It is mostely gets connected with the door region of the car. Here proper embossing and holes for the fastners are provided. the ribs are provided to improve the strength.
Body Mounting Area:
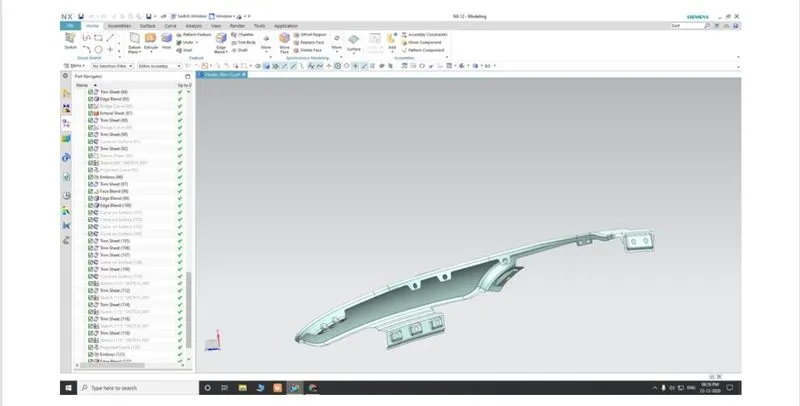
Some views:
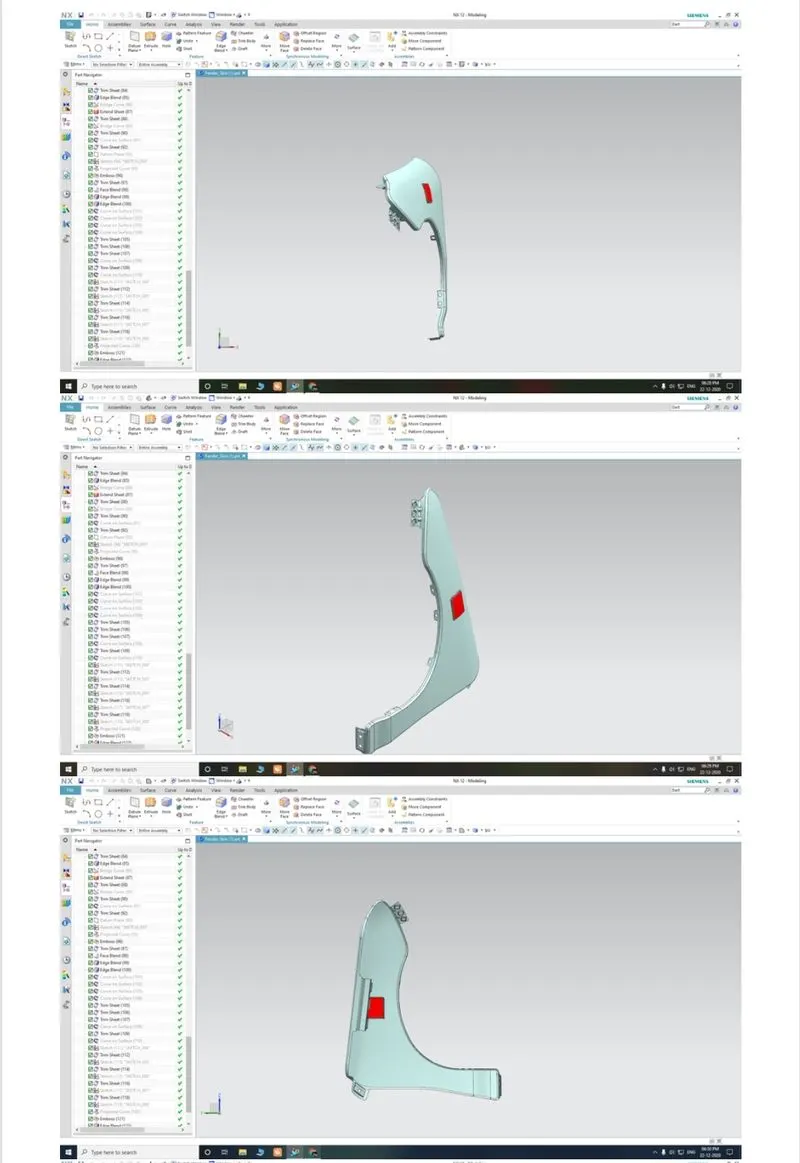
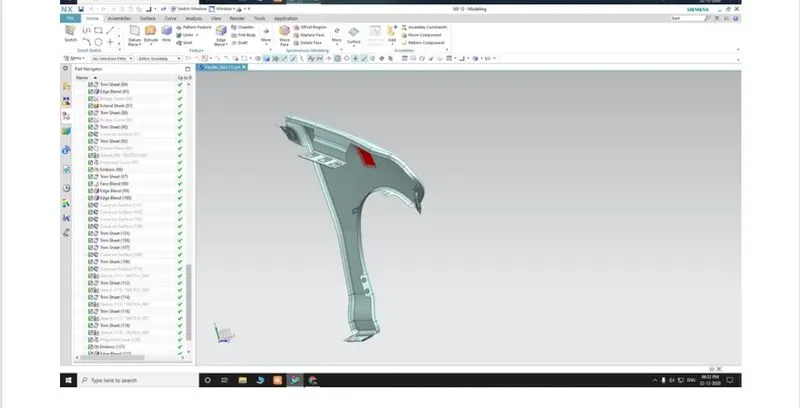
conclusion:
The indicator area which is red in colour which you can find in the screen shot. to develop the Drip, Bumper, sill, A pillar and baffle mounting areas by desing requirements of the fender desing to the fender desing.