Fender Design
Aim:
The main aim is to design the fender model with the necessary mounts using given fender outer skin.
Fender:
A fender is a part of an automobile that frames a wheel well. A metal or plastic enclosure over the wheels of an automobile or other vehicle to protect against splashing mud, etc.
Purpose of Fender
- Its primary purpose is to prevent sand, mud, rocks, liquids, and other road sprays from being thrown into the air by the rotating tire.
- The fender's openings for the wheel wells tend to be much larger than the diameter of the tire because they do not move with the tire suspension and consequently must be large enough to allow the full range of tire motion on the suspension without touching the interior of the wheel well.
Types of fender.
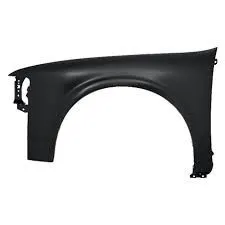
- Full front fender:
If the fender covers the tire, the wheel well surrounding the tire, and it is not directly visible from above the car body. It increases the weight and scrap of the component.
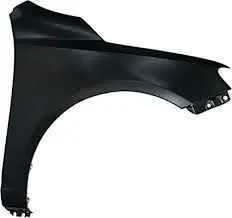
- Half front fender:
It reduces the weight and scrap. It creates only half of what the full front fender does and the other part is created with the bumper part.
Fender Mountings are:
- Bumper
- A-Pillar
- Sill
- Baffle
- Drip Area
Procedure:
- After Opening the File, Check the model and create the mount area layouts.
- Use offset in curve option to offset the line to 5mm and create a space for the mountings.
Creating the Mount part:
- To create the mount regions, use the curve in surface along 5mm offset in to get the enough area to mounting
- Then trim the excess surface using trim sheet command.
Creating the embosses:
- After the mounting surface created, we need to create embosses and holes are to be given.
- To create emboss, create a sketch with the required shape. Project the sketch onto the mounting area.
- Then create the emboss using emboss command.
- Trim the surfaces for the mounting hole.
- For the drip area mounting extra support need to give to avoid the spring back effect like ribs for the perpendicular surface.
- For the remaining mount follow the above procedure
Giving the Fillets:
- Using face and edge blend to avoid the sharp edges near the mountings.
Creating the Solid:
- After the fender mountings surface is created, thickness need to be added using thicken command for 0.75mm thickness.
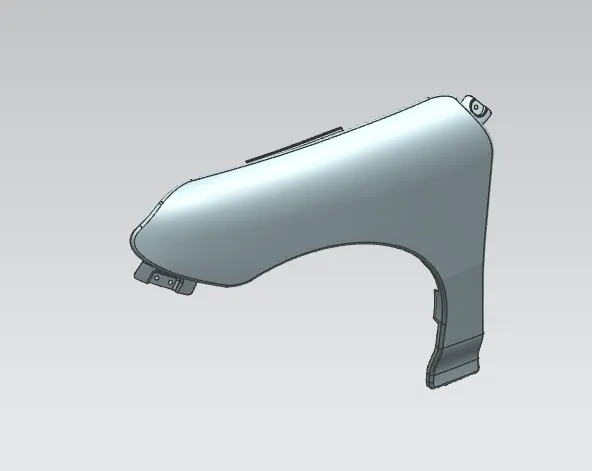
Final Model:
Drip Mount:
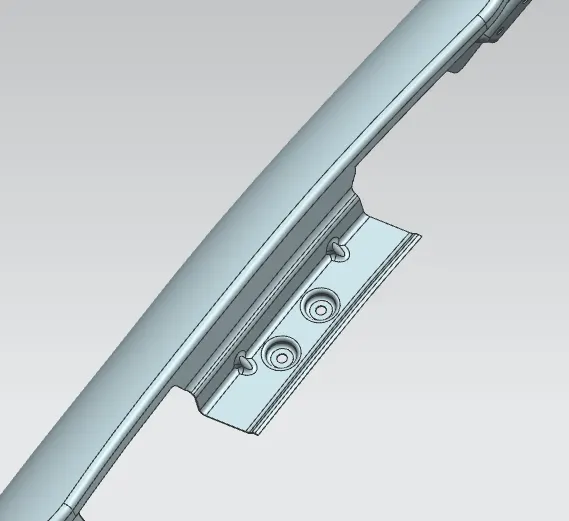
Sill Mount:
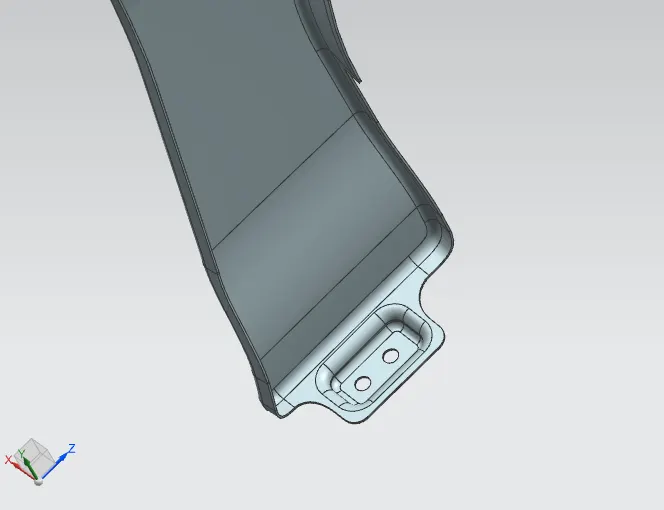
Bumper Mount:
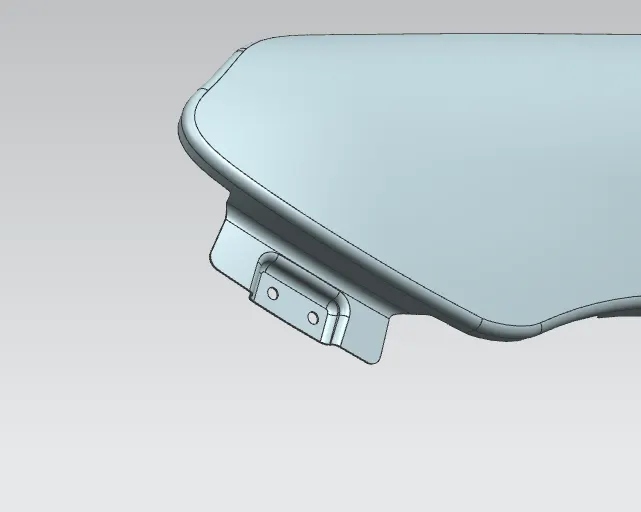
Baffle Mount:
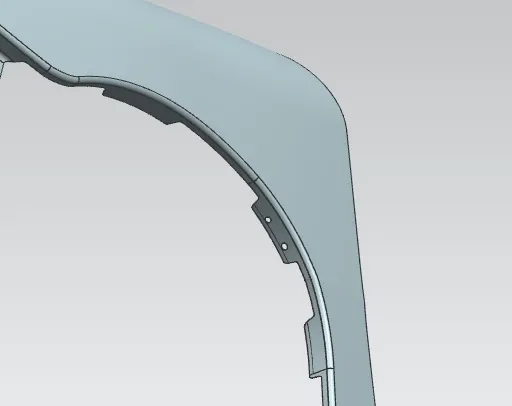
A-Pillar Mount:
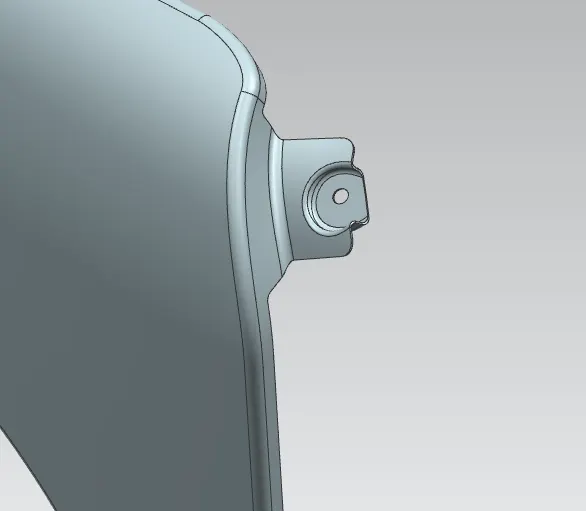
Result:
The fender model is created with a thickness of 0.7mm with the given mounts and embosses.