Fender Design
REPORT - FENDER DESIGN
AIM:
To design a front fender of a car by following the given master section as per the design considerations of OEM.
OBJECTIVE :
Design a Fender Model with the necessary mounting with a given class A surafce.
MOUNTS :
1. A-Pillar
2. Bumper
3. Sill
4. Cowl
5. Drip
FENDER :
Fender is the American English term for the part of an automobile, motorcycle or other vehicle body that frames a wheel well. Its primary purpose is to prevent sand, mud, rocks, liquids, and other road spray from being thrown into the air by the rotating tire. Fenders are typically rigid and can be
damaged by contact with the road surface. A fender is the part of a car that protects and frames its wheels and keeps mud from splashing it.
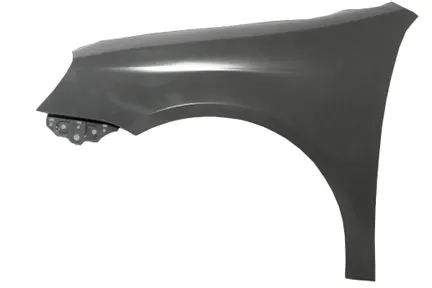
TYPES OF FENDER :
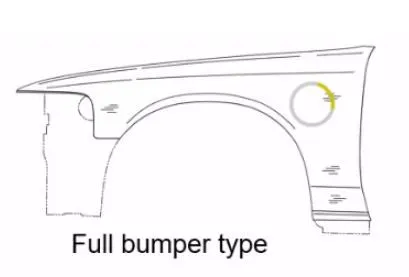
1. Full Bumper type - In thsi type of Fender, the Fender covers the full bumper.
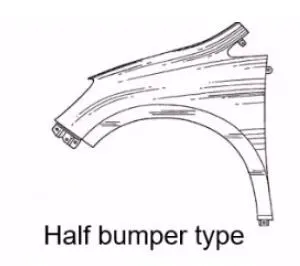
2. Half Bumper type - In this type the Fender covers half the bumper.
PROCEDURE :
1. As input we received class A surafce, we checked the surfaces and proceeded.
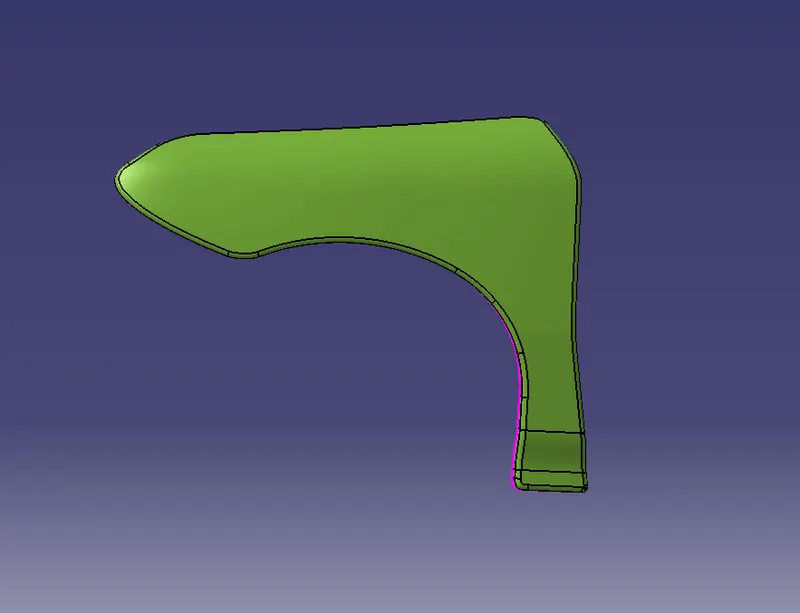
2. We removed the extra flanges and make some posiible cut outs using curve on surface commands.
3. Now we start making mountings sections. The first mounting we created is Drip area Mounting. we extended the surafce using Law extension then created emboss on it. We also created Drip area with the help of drawing.
4. After creating the Drip mounting, we created Sill mounting. In this we extended the surafce using law extension then draw sketch and emboss it. In this ,ounting we also created stress releif area here so that the stress wont accumluated at certain points.
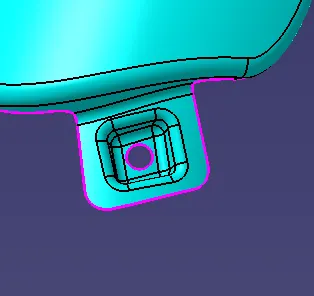
5. Now we created the Bumper Mounting by extending the suraface and making emboss on it. we also smoothen the edges of mounting using Bridge curve.
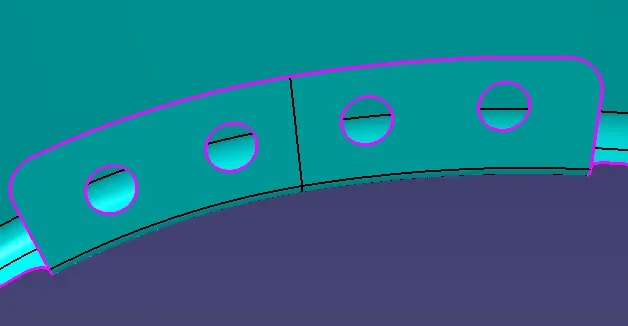
6. We created the Baffle mounting. In Baffle mounting we simply extended the surafce made the sketch and then trim the sheet. here we nor added the emboss.
7. Lastly we created the A-Pillar mounting. In this we extended the surafce created the sketch and made the emboss and then done the trim sheet for hole.
CONCLUSIONS :
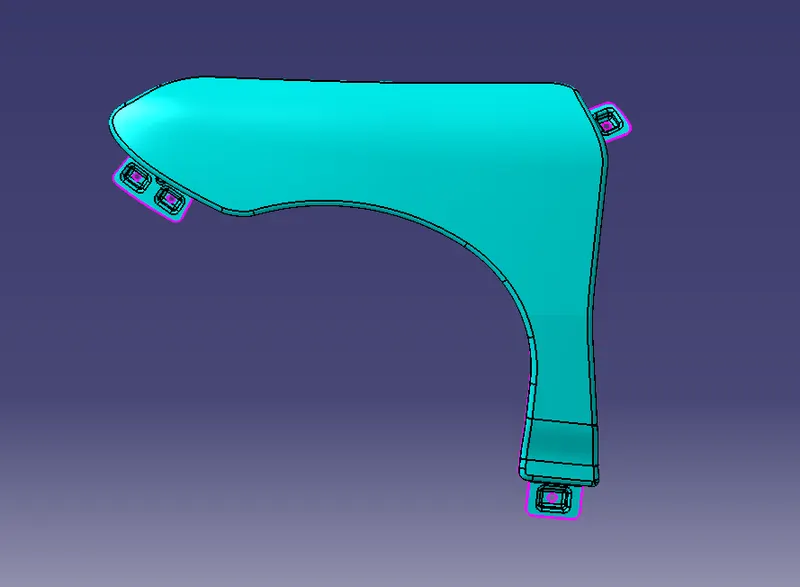
The Fender is created with a thickness of 0.75 mm with the given mounts and embosses.
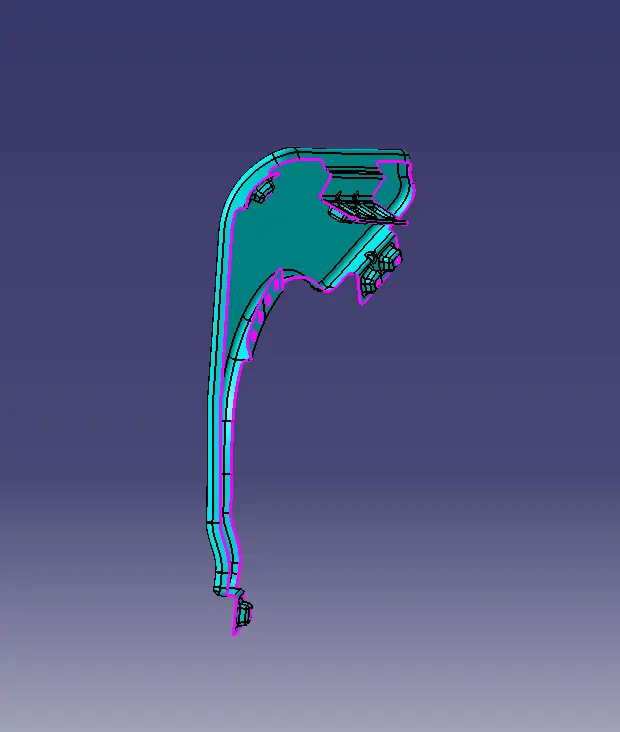
FINAL MODEL -
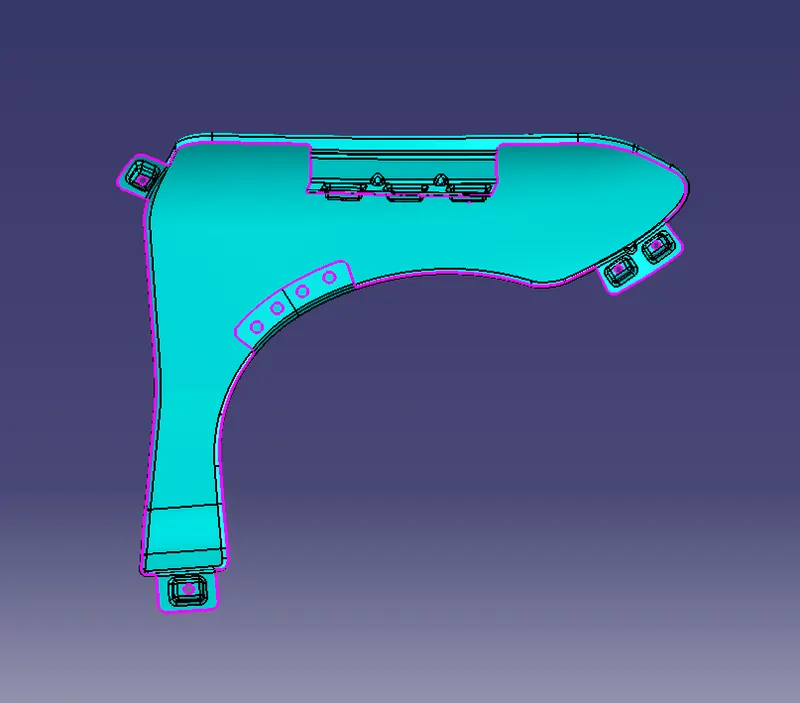
DRIP MOUNT :
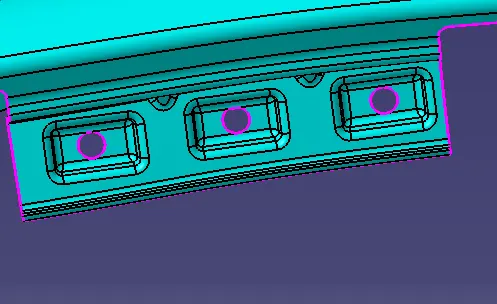
SILL MOUNT :

BUMPER MOUNT :
BAFFLE MOUNT ;
DESIGN CONSIDERATIONS :
The front fender has basically five mounting positions with respect to the other components. The mounting positions are as follows:
- Drip Area Mounting.
- A-Pillar Mounting.
- Sill Mounting.
- Bumper Mounting.
- Baffle Mounting.
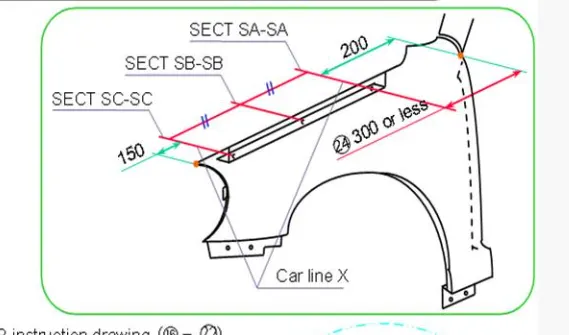
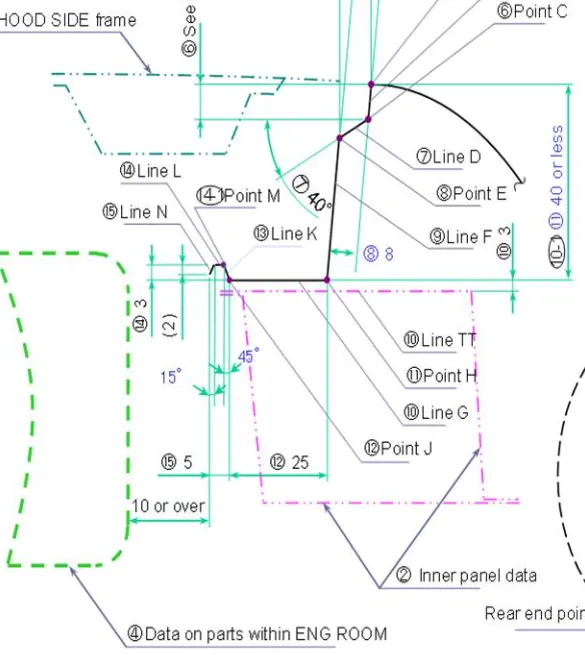
For the creation of the Drip Area Mounting, the given Master Section is followed, and the other mounting points are created by assuming appropriate positions with the respected components.
1. Drip Area Mounting:
- The drip area is the most important mounting in a fender, it is the point where the fender has to be attached to the engine compartment.
- The drip area should be designed in such a way that it should be at least 150mm away from the front end of the fender to have sufficient space for mounting headlamps housing.
- Mostly the drip area starts from 200mm away from the rear end of the fender, to have sufficient space for the cowl which carries the wiper equipment.
- The length of the drip area depends on the length of the fender.
2. A-Pillar Mounting:
- This mounting position is created for attaching the fender to A Pillar of the vehicle.
- The mounting has to be created by taking the reference from the A-pillar of the vehicle.
- Enough clearance should be given for the easy mounting of the wiper equipment.
3. Sill Mounting: Sill mounting is created on the bottom portion of the fender for attaching to the sill.
4. Bumper Mounting: This mounting point is created for attaching the bumper to the fender. It should have enough strength to hold the bumper steadily.
5. Baffle Mounting: These mounting points are created for attaching plastic components i.e baffle which prevents chipping inside the engine compartment.
CONCLUSION
The front fender is designed according to the given master section and CLASS A Surface as per the OEM Standards.