Creating Walls, Partition walls and Floors for a residential layout using REVIT
ANS-1)
AIM:- To create a floor plan and need to apply the materials and thickness using the property browser. To align the floor plan with grids created from week 2.
INTRODUCTION:
- Building material is material used for construction. Many naturally occurring substances, such as clay, rocks, sand, and wood, even twigs and leaves, have been used to construct buildings.
- Apart from naturally occurring materials, many man-made products are in use, some more and some less synthetic. Floor plans are the most critical element of your house plans.Drawn to scale and shown from above, floor plans illustrate how rooms, spaces, and physical features work in relation to each other within the home.
- They're the key documents that show how people will move through the space and interact with their home.
- Floor plans show the extent to which a space will work for its intended purpose.
PROCEDURE:
Step:-1
- First we select the floor as shown below.
- After selecting the floor, click the edit type from the properties browser, as shown below.
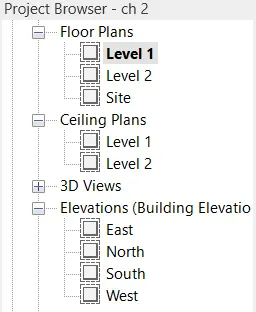
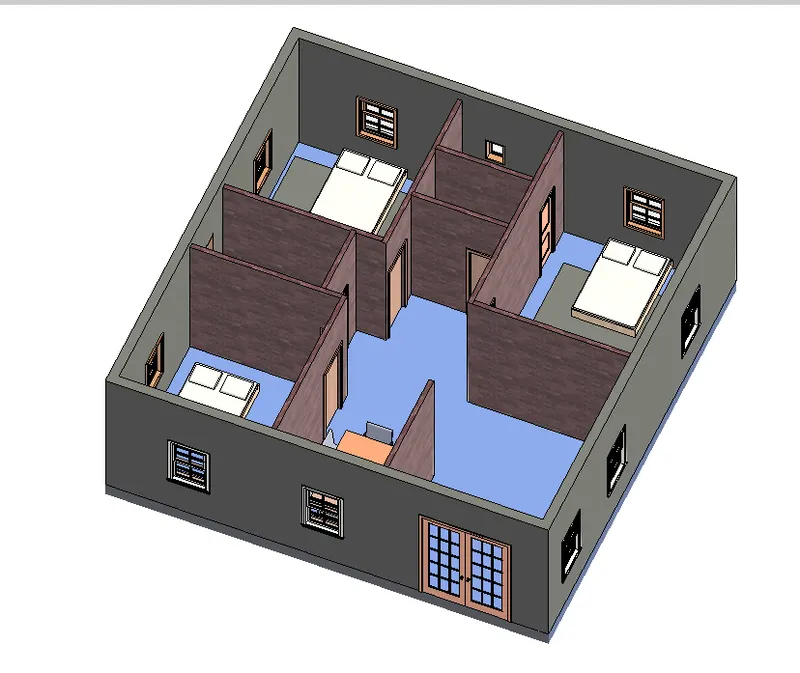
Step:-2
- After clicking the edit type, the type properties tab will be visible on the screen, shown below.
- Next we change the material type by clicking the edit option as shown below
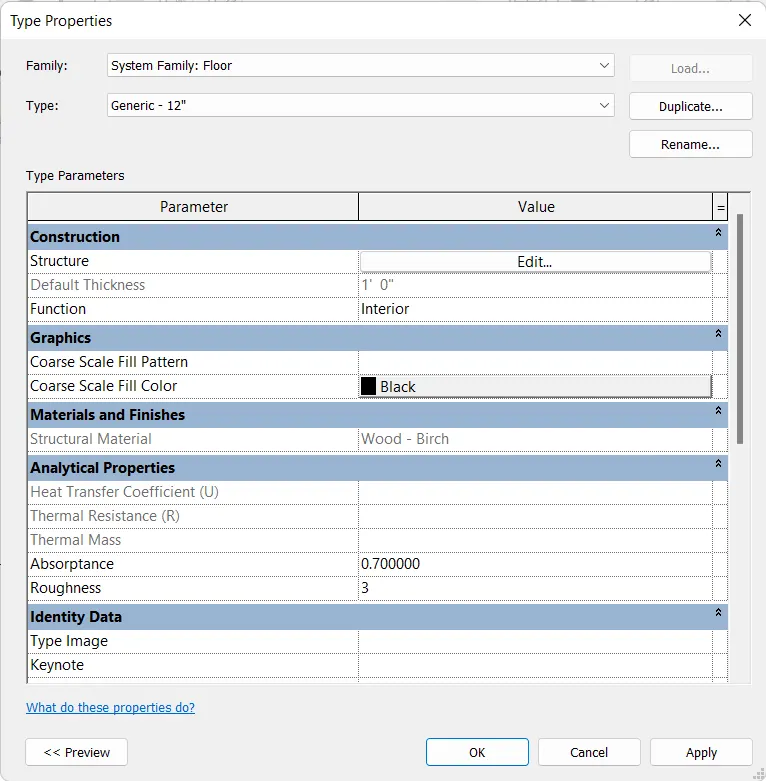
Step:-3
- After clicking the edit option, the edit assembly tab appears.
- We select the material type in 2nd roow as shown below.
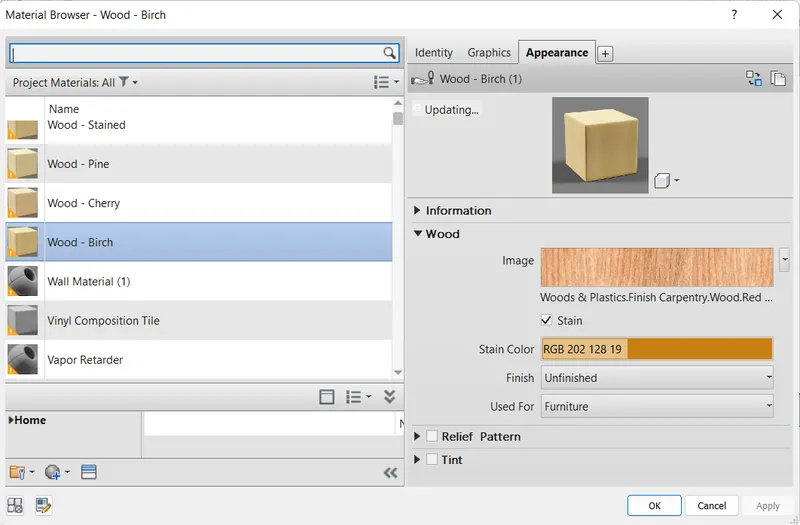
- After clicking that, the material browser appears, then select the material type as Concrete, cast-in-place gray
as shown below.
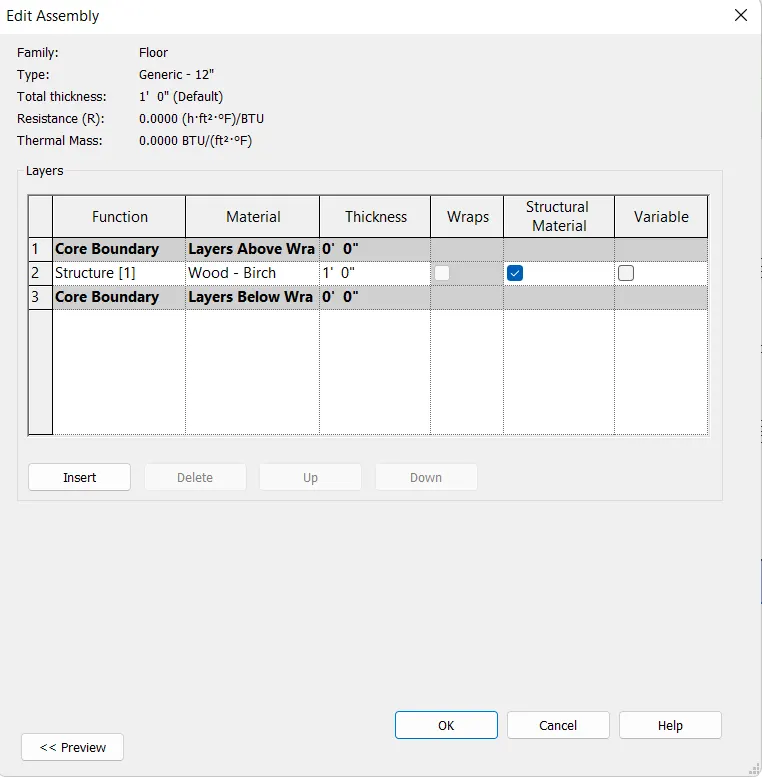
Step:-4
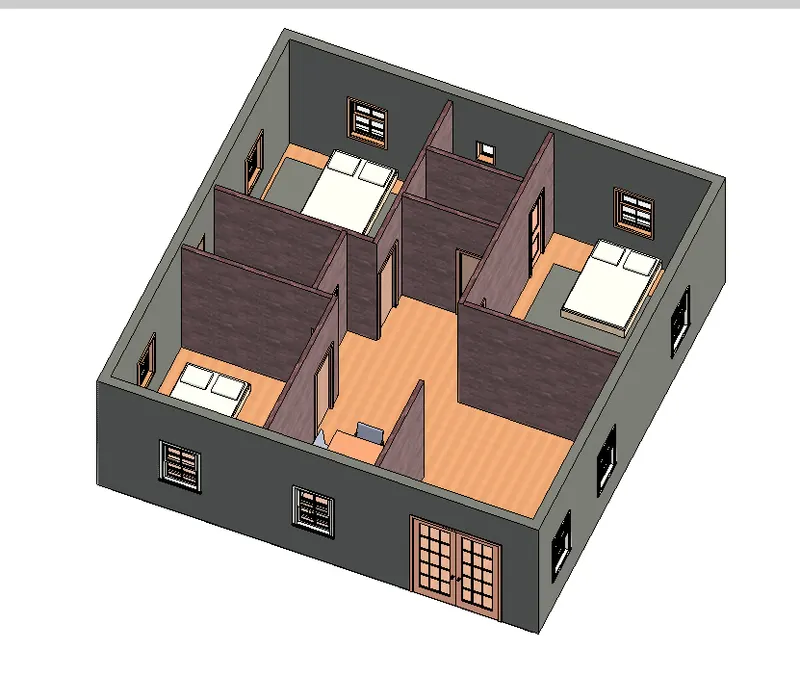
- Finally the material is applyed to the floor, as shown below.
Step:-5
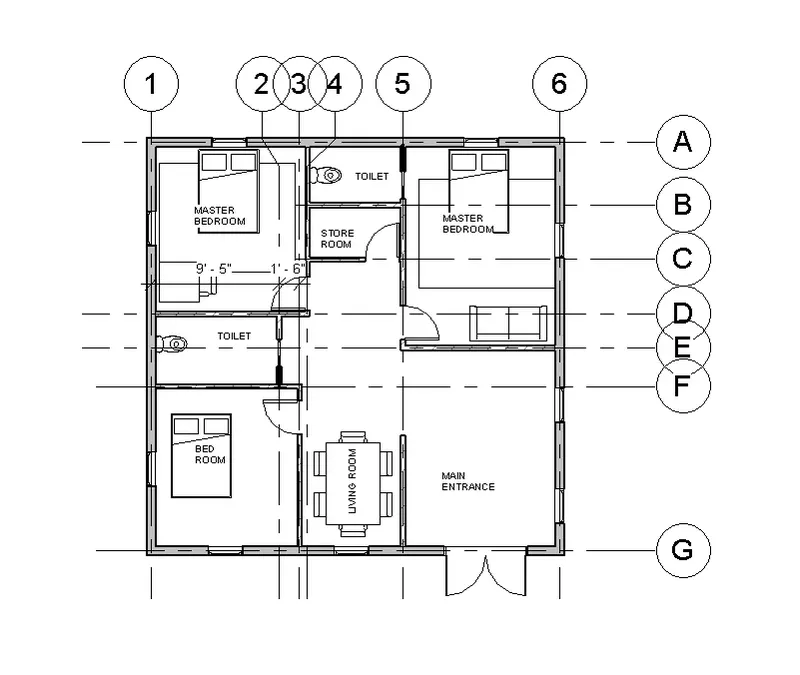
- Next floor plan ios alinged to the grid, as shown in the given figure.
RESULT:-
The materials is applied to the floor and the floor plan is successfully alinged with the grid.
ANS-2)
AIM:- To create a floor plan and need to apply the materials and thickness using the property browser for walls.Verify using the property browser to see if the top and bottom of the walls are constrained. Need to undersatand the benefits of connecting walls with associated levels rather than being Unconnected Need to know which option is convenient for modeling walls, By Height or By Depth.
INTRODUCTION:
- Walls are arguably one of the most important elements of any building.
- As such, the Wall Tool is a prominent function of Autodesk Revit Architecture.
- Building material is material used for construction. Many naturally occurring substances, such as clay, rocks, sand, and wood, even twigs and leaves, have been used to construct buildings.
- Apart from naturally occurring materials, many man-made products are in use, some more and some less synthetic.
PROCEDURE:
Step:-1
- First we select the wall as shown below.
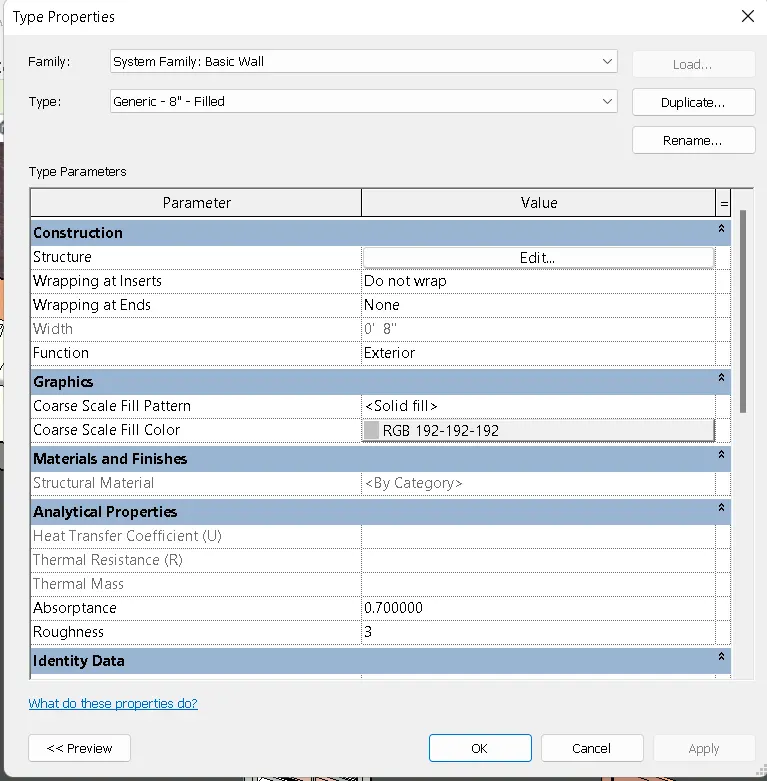
- After selecting the wall, click the edit type from the properties browser, as shown below
Step:-2
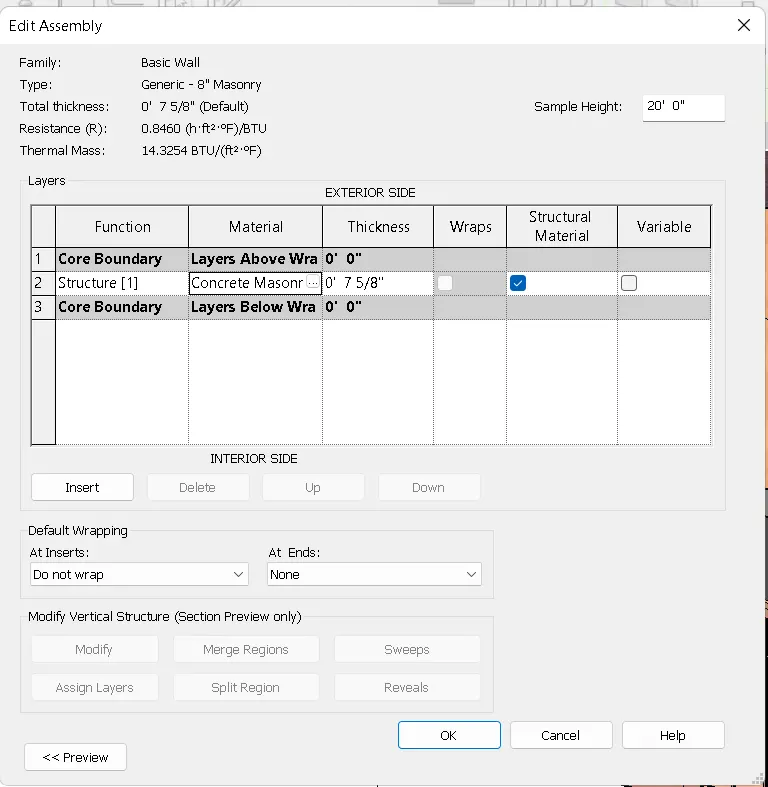
- After clicking the edit option, the edit assembly tab appears.
- We select the material type in 2nd roow as shown below.
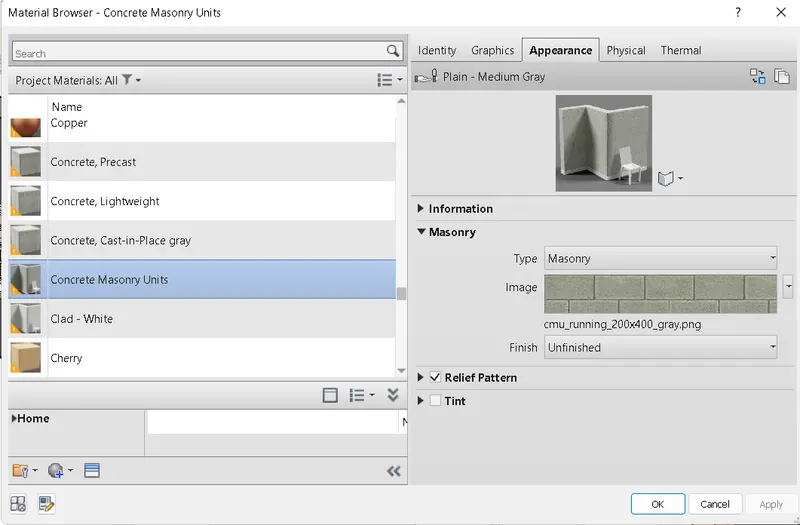
- After clicking that, the material browser appears, then select the material type as Brick, Soldier Course as shown below.
Step:-3
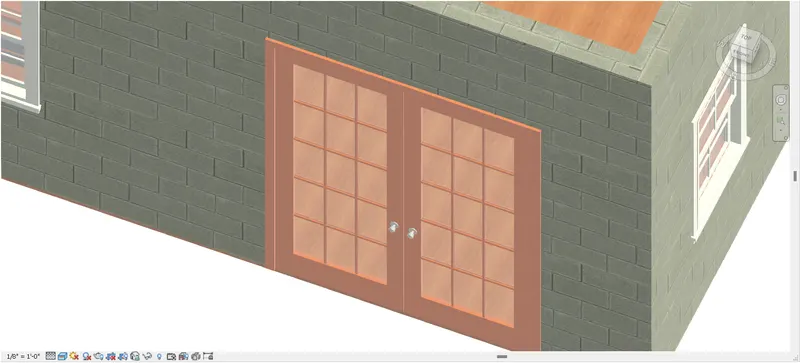
- After applying the material to the walls, we need to zoom the wall to see the material type very closely, as shown below.
Step:-4
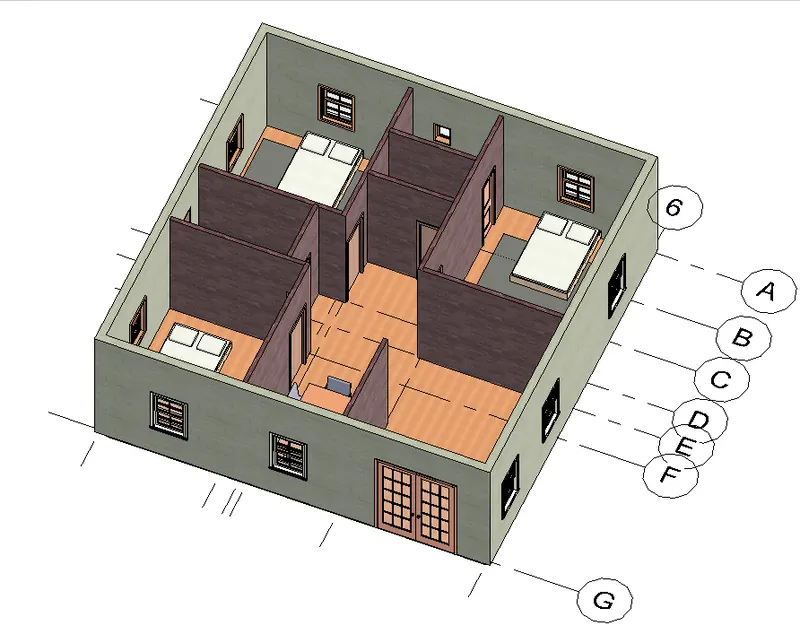
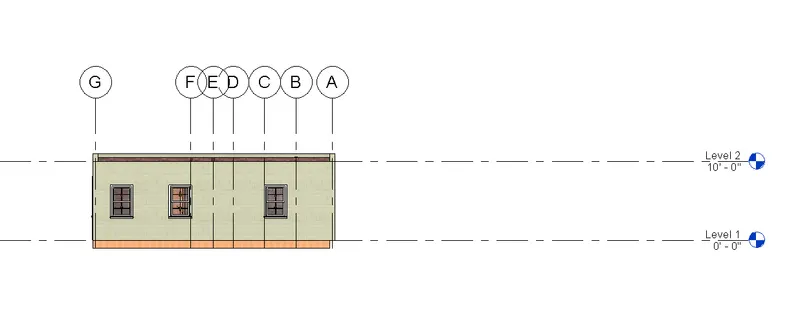
- Finally the material has been applied to the walls as shown below.
Step:-5
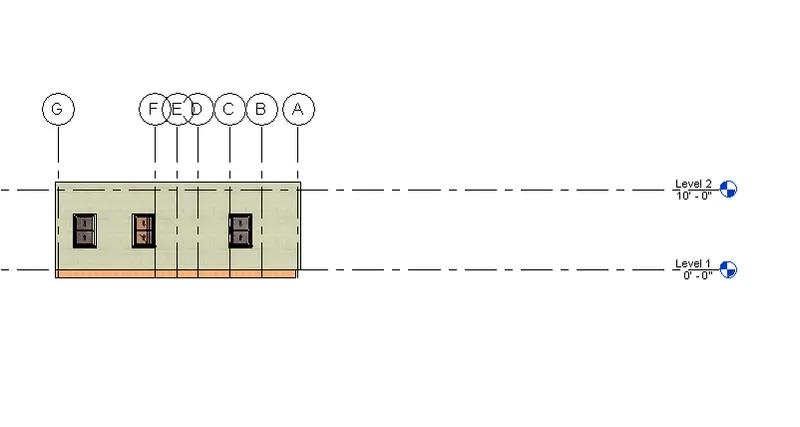
a. Based on your observation, what is beneficial for connecting walls with associated levels rather than being Unconnected.
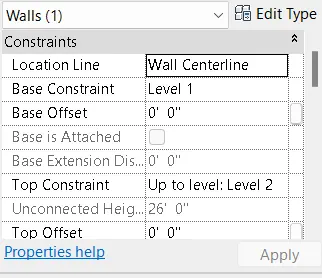
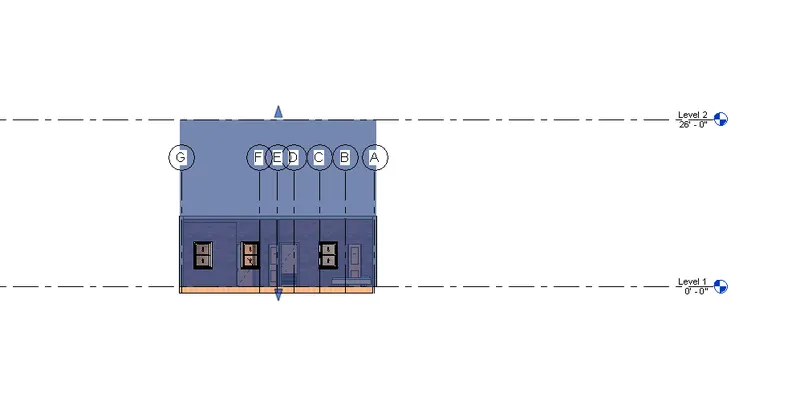
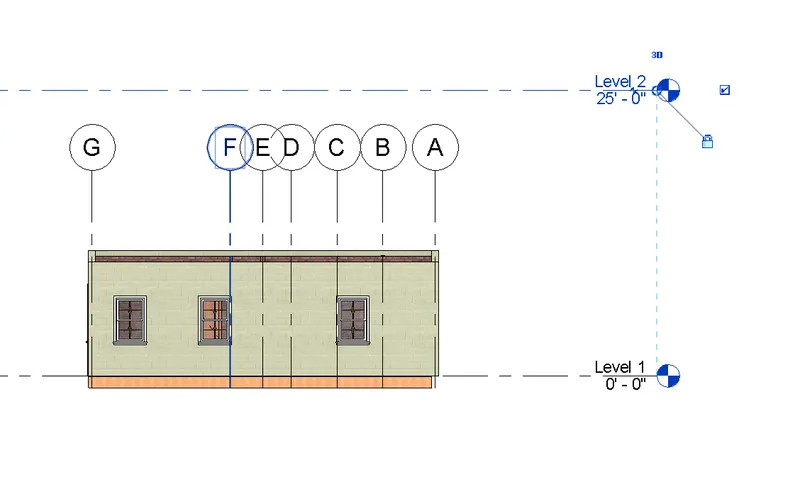
- If we select the top constraint as Up to level: Level-2, The height of the wall changes with the levels.
- When we put the level height to the 20', then height of the wall is also changes to the 20', as hown below.
- The height of level is changed and the height of the wall is also changes, as shown on the below figure.
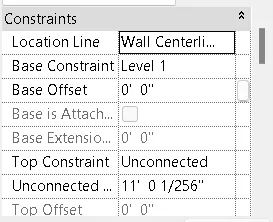
- If we select the top constraint as Unconnected, The height of the wall doesn't changes with the levels.
- When we put the level height to the 20', The only level height is changes, the wall height will not be changed.
- the height of the level is changed and the wall of the level is also changed.
Step: -6
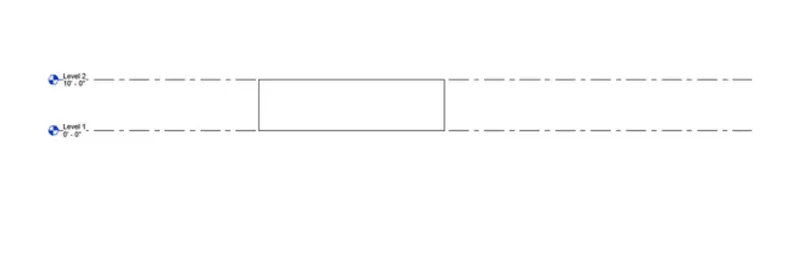
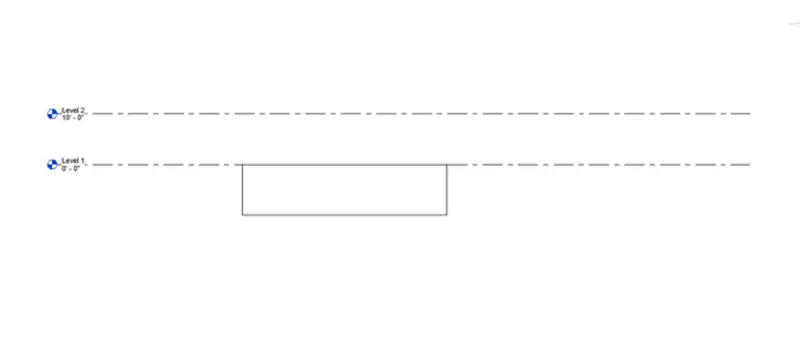
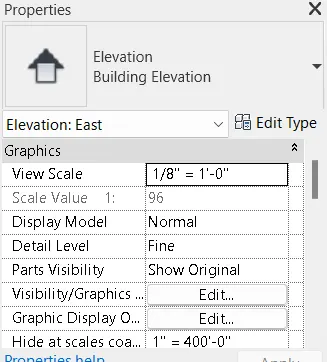
- Which option is convenient for modeling walls, By Height or By Depth?
- When we select the height option for the wall, The wall will be created above the level, as shown below.
- When we select the height option for the wall, The wall will be created below the level, as shown below.
RESULT:
- Successfully applied materials to the walls.
- The top and bottom of the walls are constrained.
- Beneficial for connecting walls with associated levels is when level height changes, the wall height is also changes.
- Height option is convenient for modeling walls.
 .
.
ANS-3)
AIM:- Use modify tab to utilize copy and paste options to align elements to a different level.
INTRODUCTION:
- Floor plans are the most critical element of your house plans.Drawn to scale and shown from above, floor plans illustrate how rooms, spaces, and physical features work in relation to each other within the home.
- They're the key documents that show how people will move through the space and interact with their home.
- Floor plans show the extent to which a space will work for its intended purpose.
PROCEDURE:
Step:-1
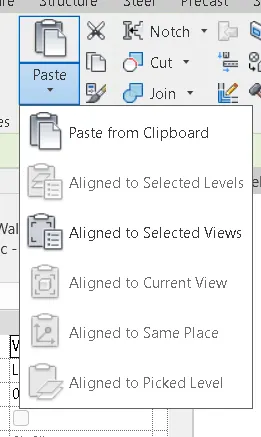
• First we select the total groundfloor, then we groundfloor is copied to clipboard. • Then use paste option to align elements to a different level, as shown below.
Step:-2
• Next use paste option to align elements to a different level, as shown below.
Step:-3
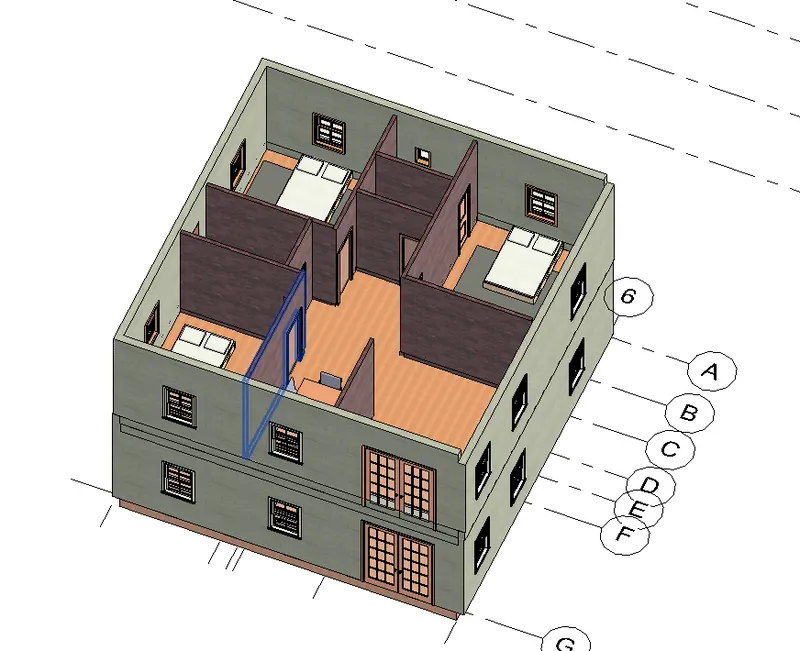
• Finally the elements are aligned to the different level, as shown in the below figure.
RESULT:
• The elements are successfully aligned to the different level using the copy and paste options.
ANS-4)
AIM:- To create separate rooms within your residential unit using the interior partition walls.
INTRODUCTION:
- The walls that make for division or privacy in the interior portion of a building and not Carried the ceiling load And floor load and that would make With bricks, glass, or other more materials is called partition walls.
- It has many types like folding, collapsible and fixed types.
- If they carried a load of the walls and ceilings, then it's called an interior walls.
- The partition wall is the none load-bearing wall; it doesn't support the floor or ceiling, used only for design purpose and partition purpose.
- Partition wall connects the floor and ceiling.\
PROCEDURE:
Step:-1
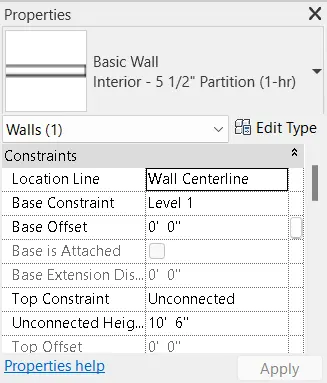
- First select the interior wall, and change the wall type as partition wall, as shown below.
Step:-2
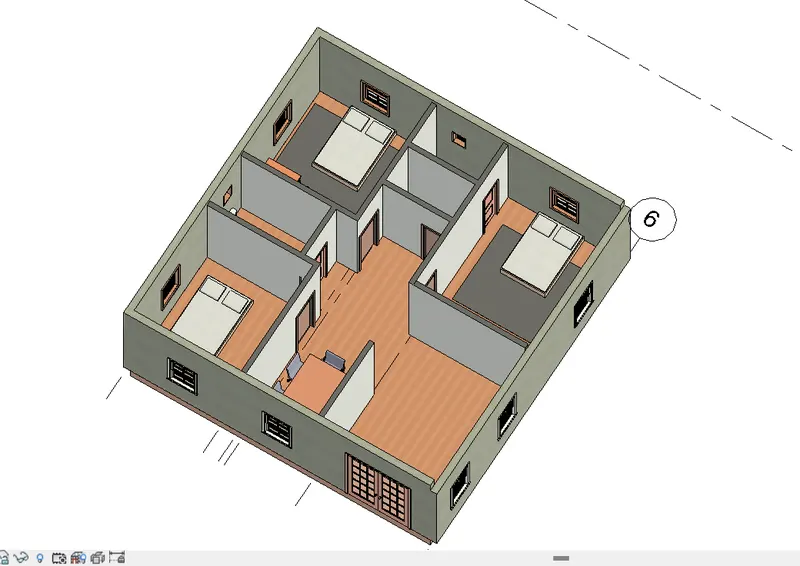
• The interior partition walls are created, as shown in the below fiqures.
RESULT:
• The interior partition walls are successfully created.
ANS-5)
AIM:- To insert the components in appropriate locations to add details to the residential model, based on the week 2 assignment
INTRODUCTION:
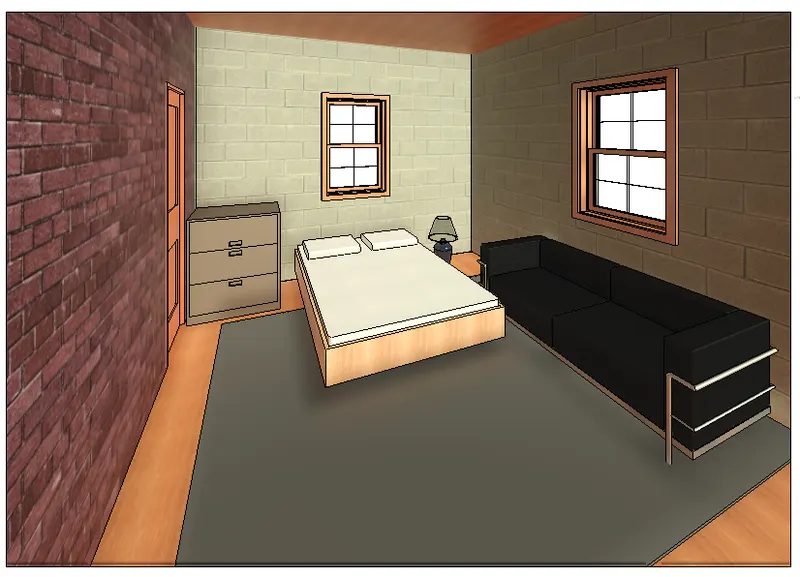
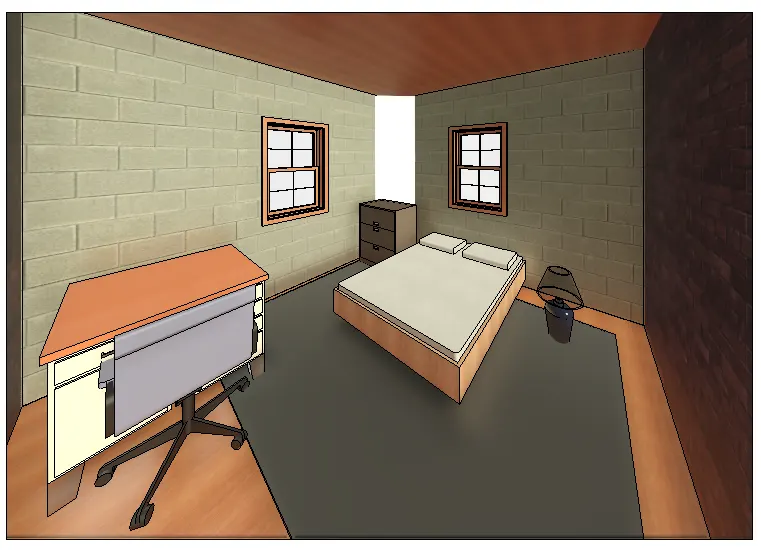
- The residential model components are furniture set, couch table, TV desk, shelf cabinets, bed set, shelf, lighting, individual study desk, chair, bath tub and plumbing fixtures discussed in class.
- These components are very important in the building model for construction.
- Comming to the 3d modeling in the revit, these components are present in the library and we need to insert them into the model.
PROCEDURE:
Step:-1
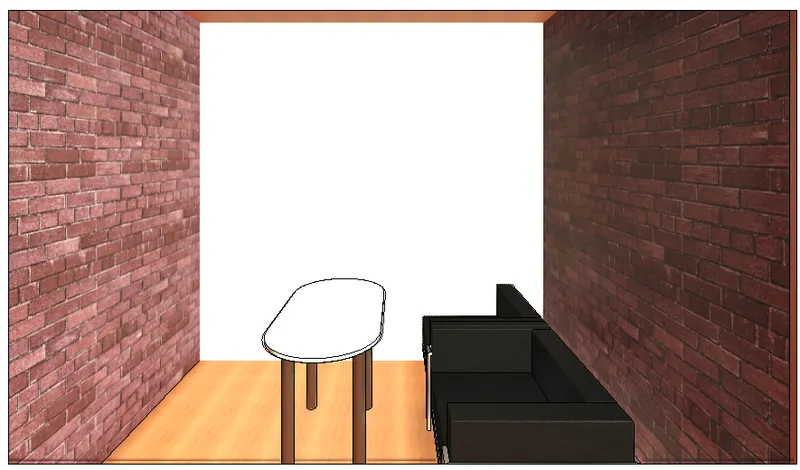
• First we insert the furniture components in the hall as shown below.
Step:-2
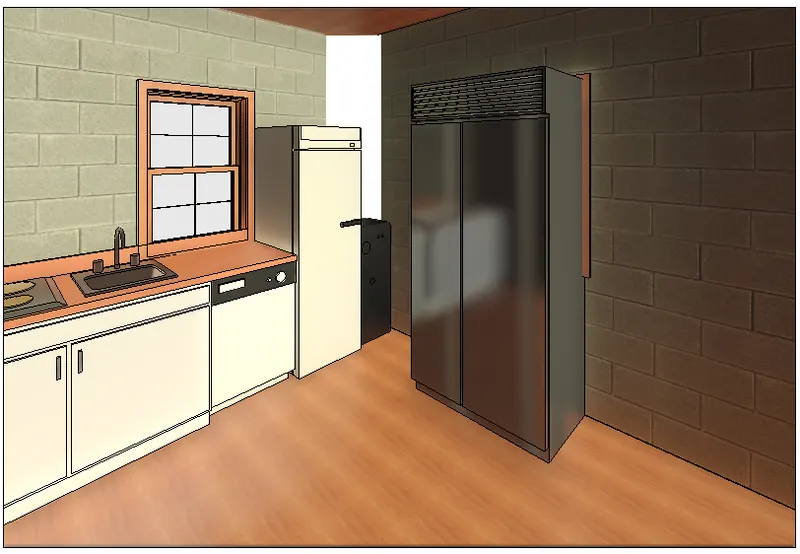
• Next we insert the kitchen components from the library as shown in the below figure.
Step:-3
• Next we insert the bed room components from the library, as shown in the below figure.
Step:-4
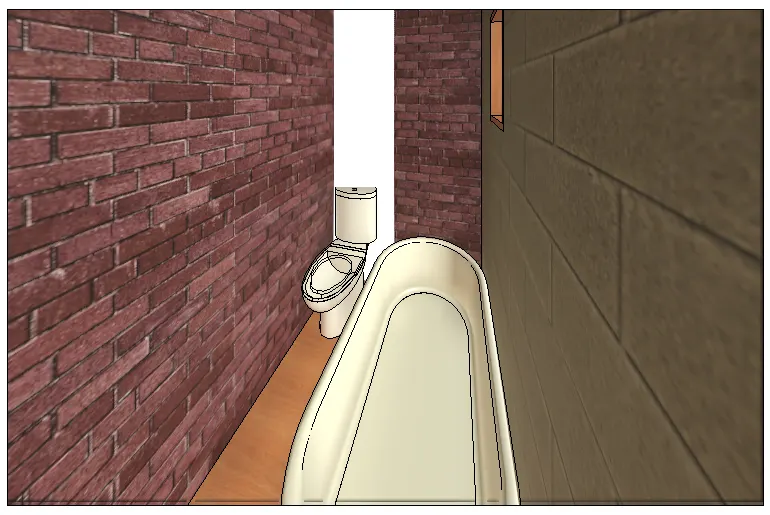
• Here is the way to bedroom, toilet and kitchen room; as shown in the below figure.
Step:-5 • The all components are inserted from the library, as shown in the below figure.
Step:-6
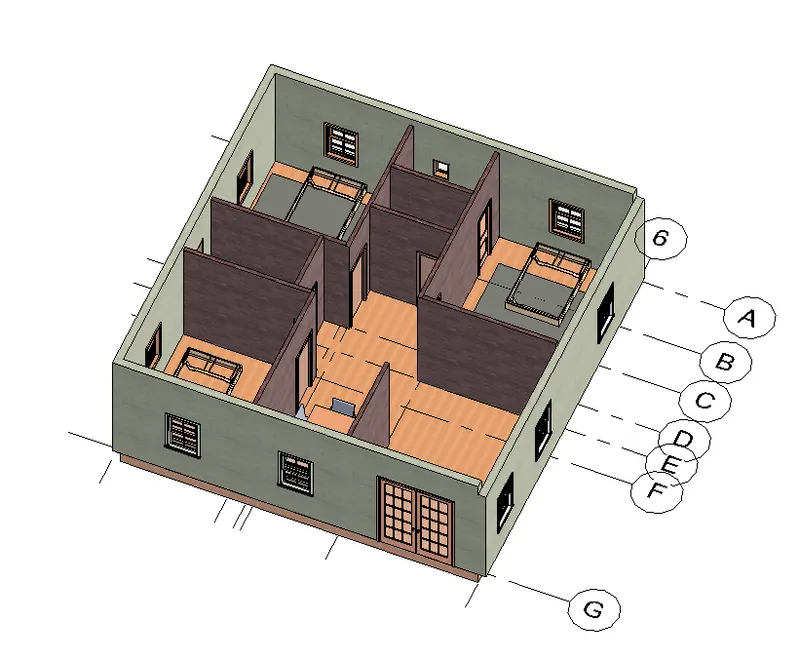
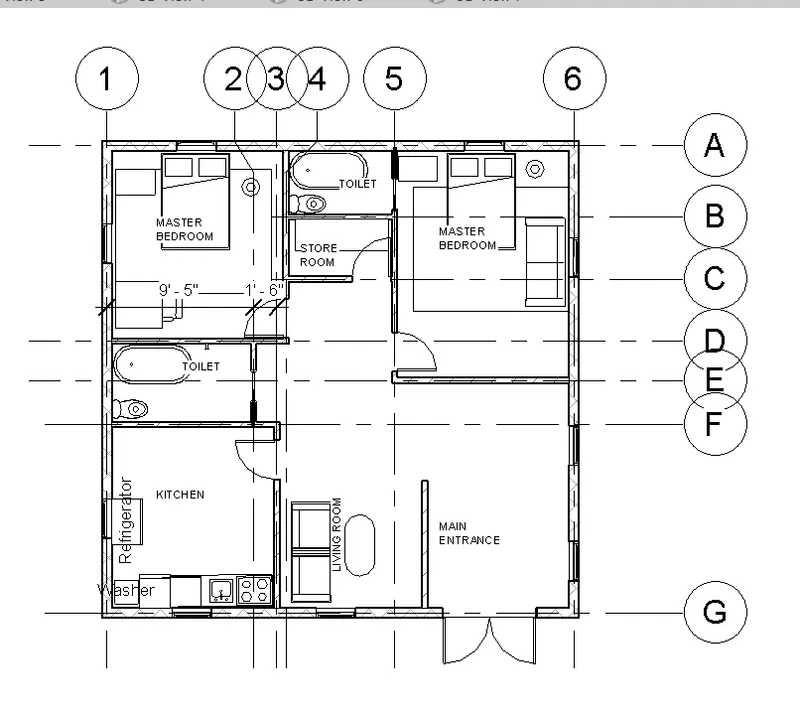
• Next the layout plan is turned to the three dimensional view, and the all components will be visible in this view.
RESULT:
• The all components are inserted successfully from the library in the systematic manner.