Creating Conceptual mass in REVIT and Creation of Sinusoidal curve and a Parametric stadium using Dynamo
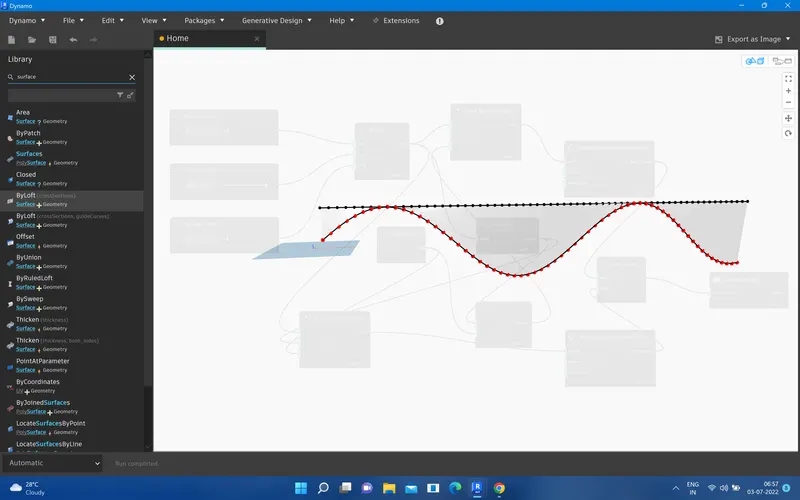
Ans1. Aim-Using Dynamo create a set of sinusoidal points and create a curve and create a surface out of the curve.
1.just open your revit software and go to manage and open dynamo
2. In order to creat to sinusoidal points
3. frist we need to insert the integer slider in to the dynamo
For that
just go to search bar and type integer slider for three time start end and step consisider.
provid the points 12,650,10
4. the add the range
for that
just go to type range then you will get the range
5. then connect the integer slider to start, end and step.
6. Now , you need to creat point option
for that
just type point.bycoordinate for two timeand we need to code block then we need math sine from the search bar
7. Now we just connect the range to x then provied the code block
so, connect to rane to angle
8. we need to connect to range to another x axis
9. then we need make the product
just go to search bar and type product and select *math
10. then just connect the code block to the 2 point math.sine connect to product x point
11. then code block to math.sine y point
12. then connect product varient to point another z point connect
so we will get the curv
13. we need to input the nurbsbycontrolpoint (point,degree,close curv)
and add list just type list you will get lise creat.
and copy the nurbs point again
14. then connect the point to point
then creat the two list item (0,1)
just connect the nurbs curve to item0 and second one is item 1
now we need to make the surface just type surface byloft (cross section)
just click this
and connect the list to cross section
so you will get the surface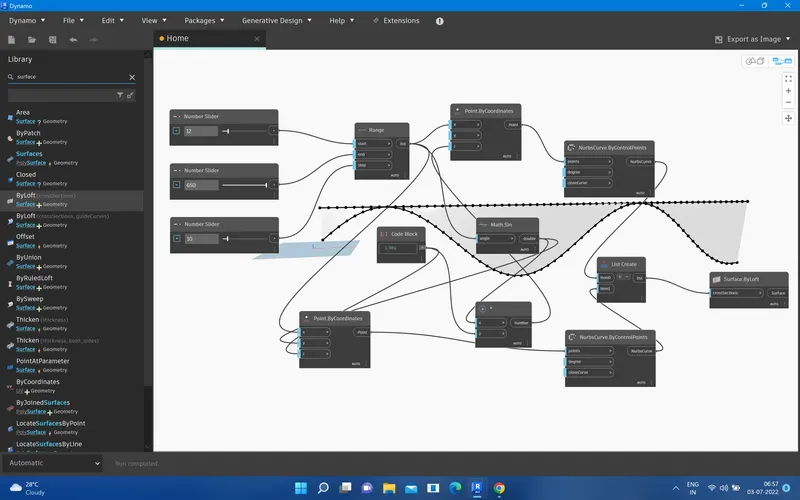
Ans2. Aim-Create a conceptual layout of floor plan in dynamo . Using the tools available in dynamo link the lines to appropriate model elements in Revit by choosing the wall types and wall parameters. Make use of the sliders to slide through the height of the wall and length of the wall.
1. just open your revit software and go to manage and open dynamo
For creatin the wall
2. add two integer slider and give max number 100
3. then add 4 point.bycoordinates because we have to creat 4 walls
4. then connect the integer frist x and second y
and second integer connect with second x and third y
5. Then add 4 Line.byStartPointEndPoint because i have 4 wall
Then connect the all points
6. frist point connect with_
frist start point and last end point
7.second point connect with_
frist end point and second end point
8.third point connect with_
second end point and third start point
9.fourth point connect with_
third end point and fourth start point
10. Then add the list creat from the search bar list
then add the four item in list (0,1,2,3)
11. Now just connect the frist line with the item 0 and second line with item 1 and third line with item 2 and fourth line with item 3
12. then add the levels, wall,and one integer slider
and select the level 1 and wall type Generic 12" and integer 10 and add the wall.BycurvAndHeight
13.then connection
list to curv
level to level
wall type to wall type
integer to height
for cross check this go to your revit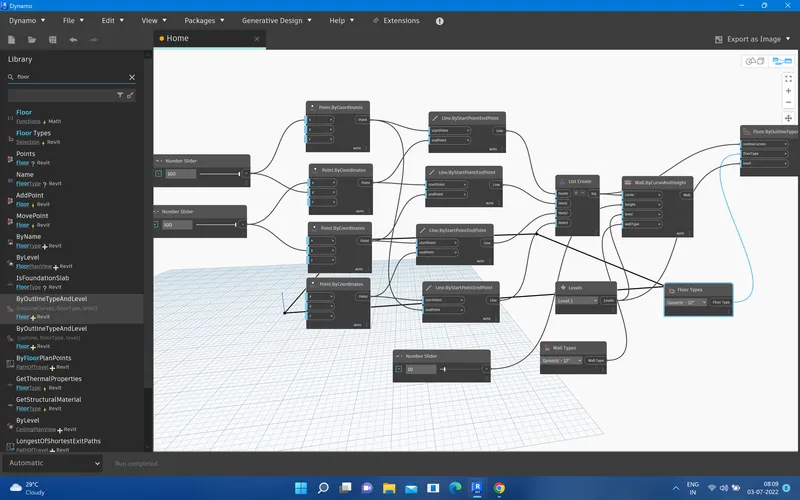
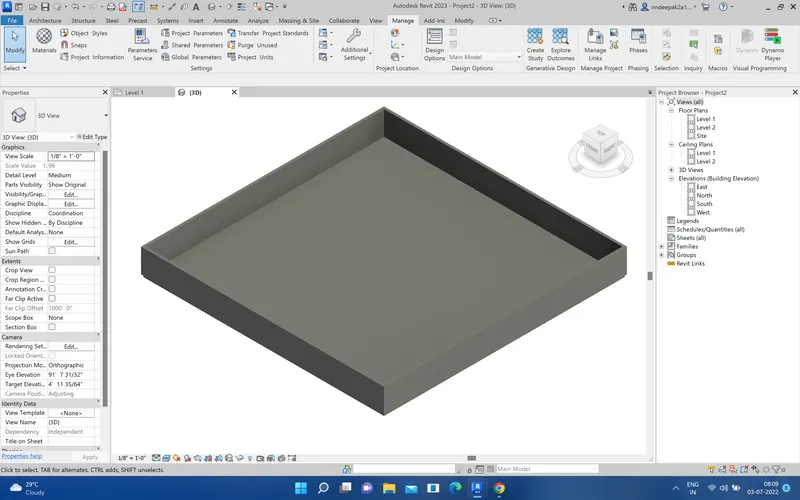
Ans3. Aim-Create an array of model elements in Revit. Use dynamo to vary the properties of model elements by using the slider or code block
just go to your revit software and go tomanage tab and open dynamo
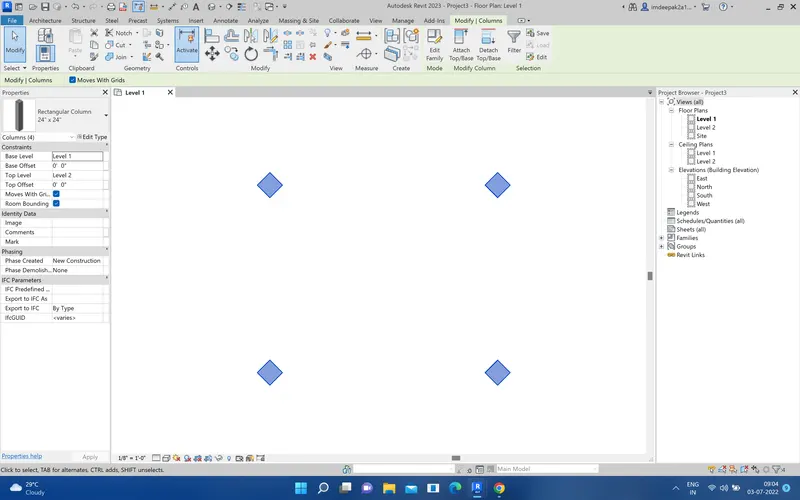
1. creat 4 column in your revit then go to your dynamo
2. then add the three element integer slider, SelectModelelement and FamilyInstance.SetRotation
then set the integer at 45 degree
3.then go to select model element and click on select then go to your revit and select all element
4. then the connect element to familyinstance and integer slider to degree_
5. then go to your revit software your column rotate at 45 degree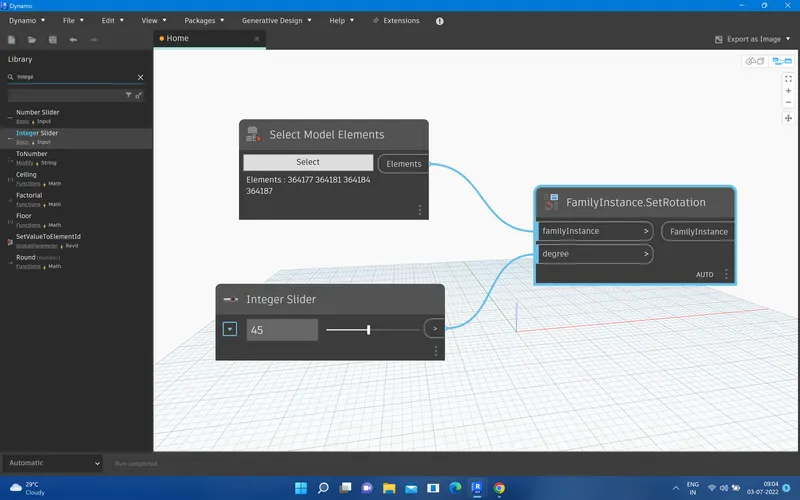
Ans4. Aim-Create a conceptual mass in Revit and develop a parametric column by dividing the surfaces and apply the concepts similar to used in parametric walkway modelling. Use triangular bent or square shaped panels to add finish to the parametric column
1. just open your revit software and set the template.
2. then go to the file option
then go new and click on the conceptual mass then click it
select conceptual mass file 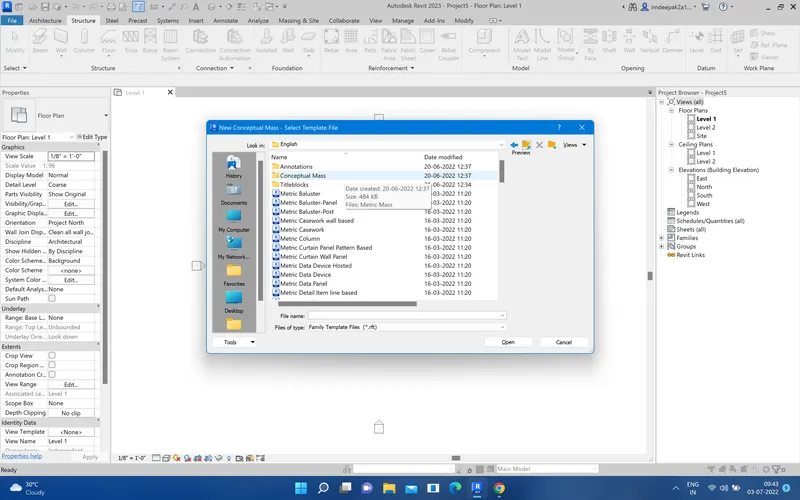
then open material mass file 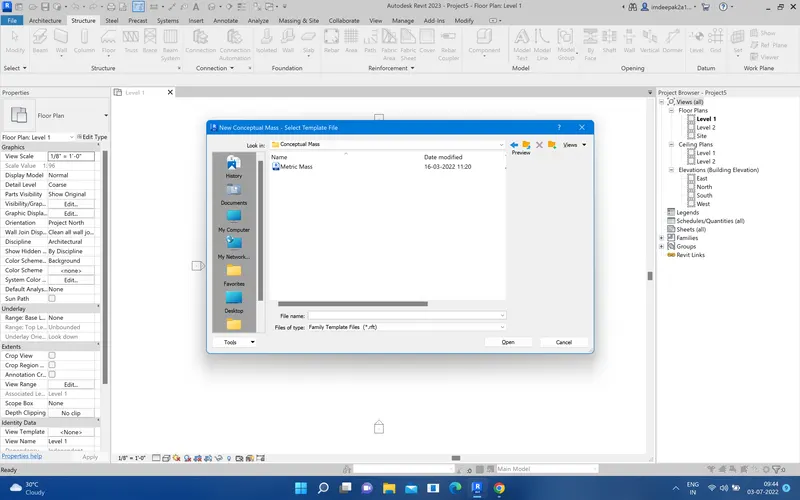
then click on open 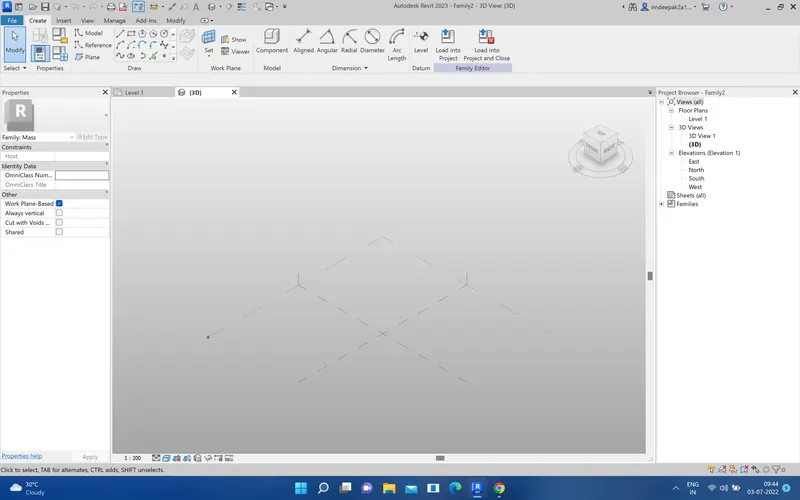
3. then go to elevation and set the level go to pick line and offset 12'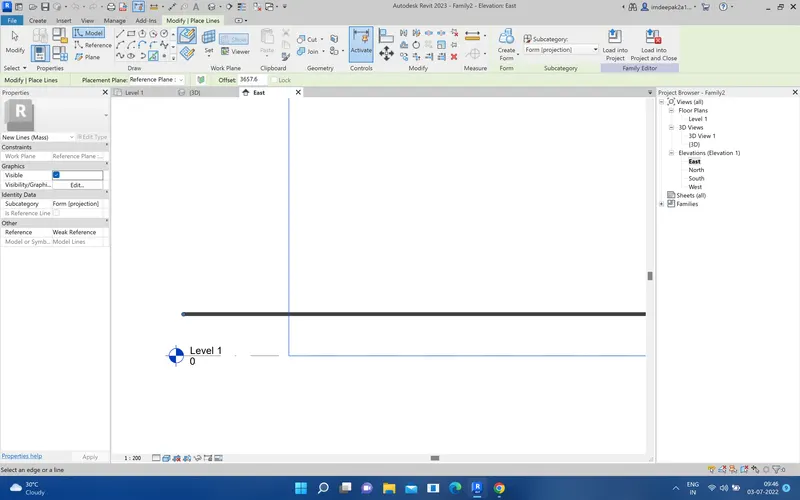
4. then go to level one and click on the model and select simple through point and crest a curv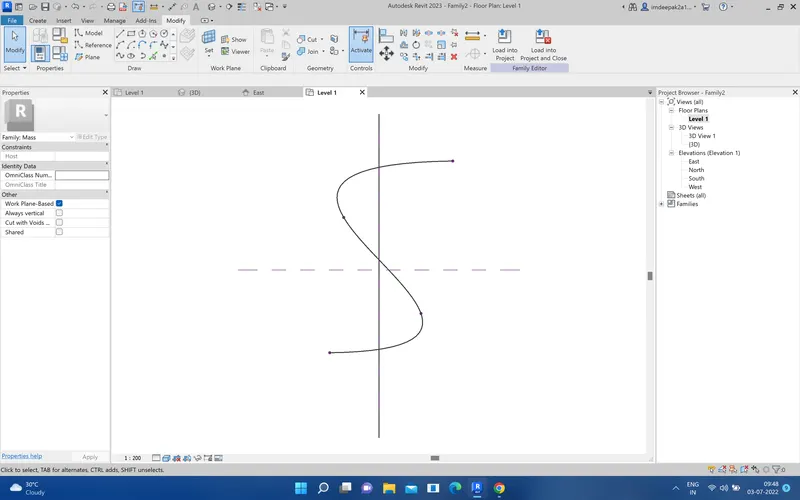
5. then go to 3D model and click on set go to line curv point and click on it and click show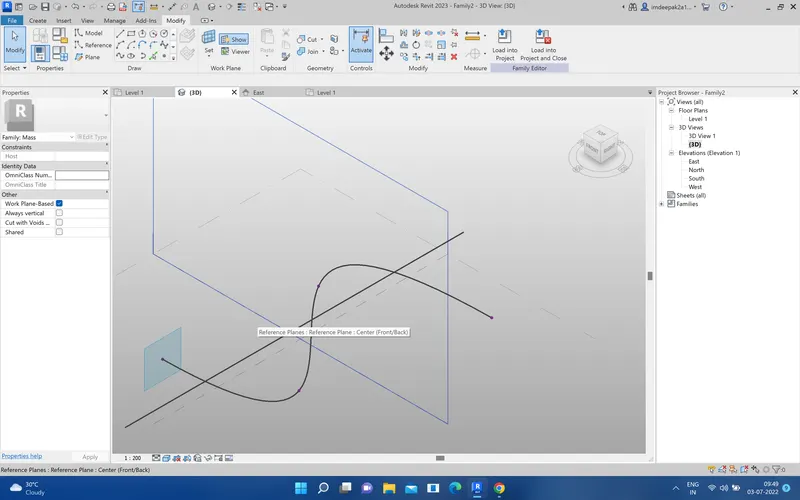
6. then select the circcumscribed polygon and set the polygon on the point of 12'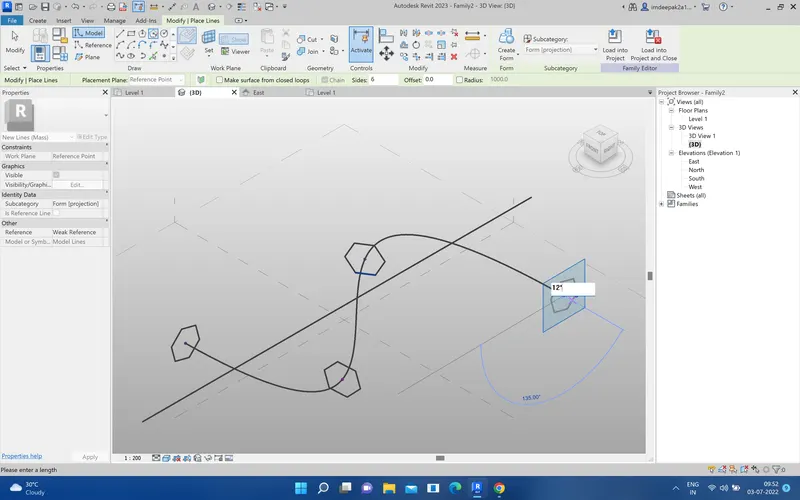
7. now go to creat option and select line and polygon and go to creat form and select solid form 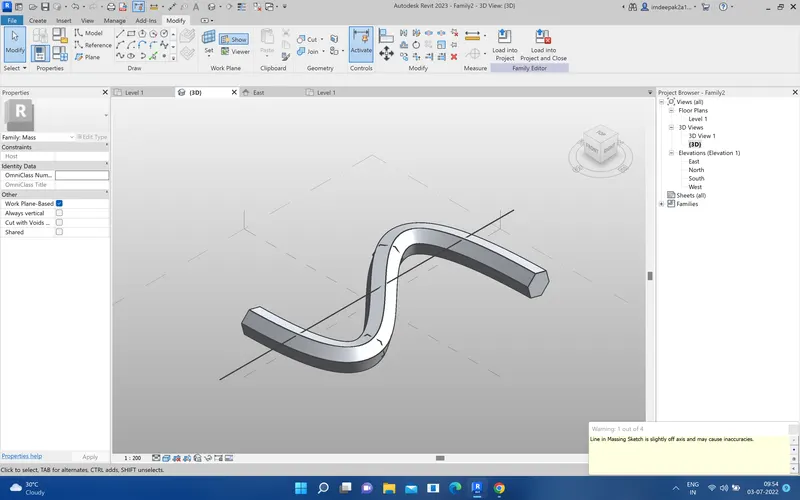
8. now select the curv and click on the devide surface.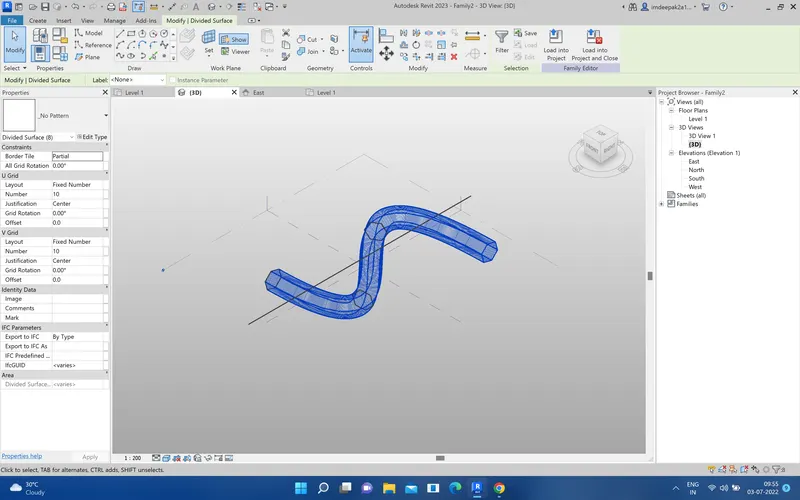
9. again select the curv and go to filter and only click on the form and click ok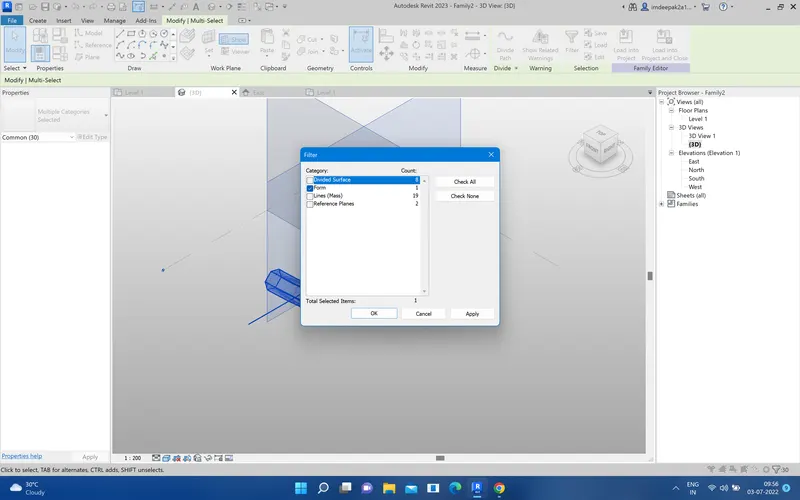
10. For applying trangle bent
select the solid surface and go to devide surface then go to pattern and select triangle bent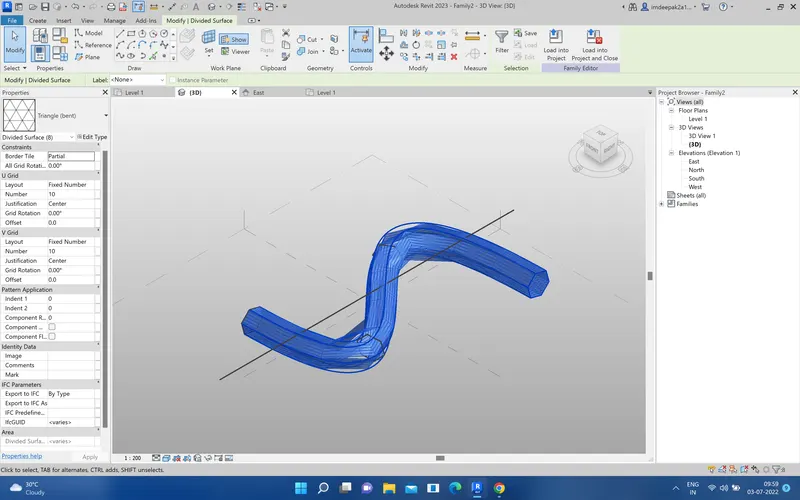
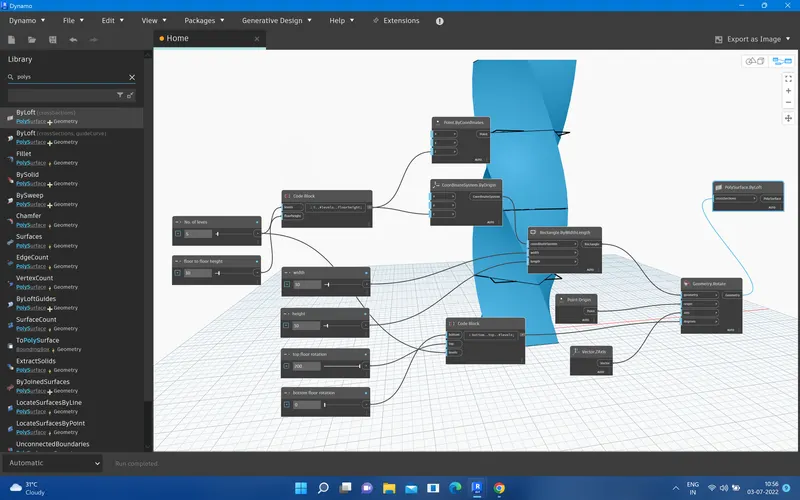
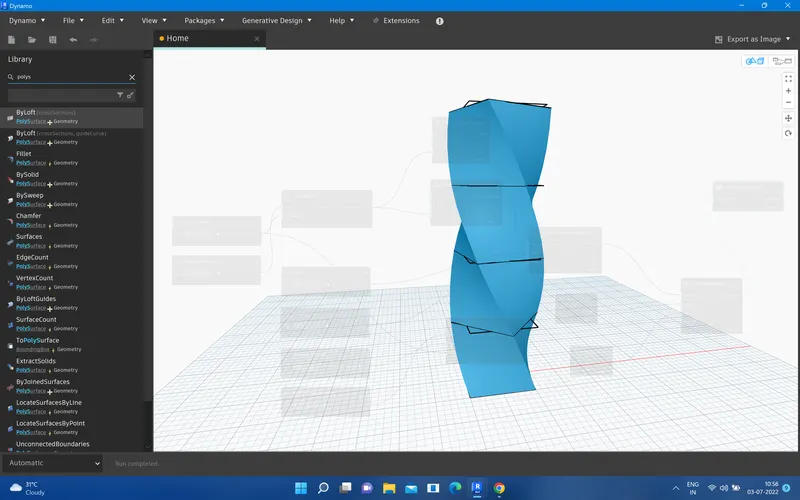
Ans5. Aim- Use Dynamo to work on developing a Parametric Stadium. List your parameters and use the visual programming approach to complete the modelling, You can use the concepts discussed in parametric high rise tower in class for reference.
1. for that just open your revit software and go to manage tab and open dynamo
2. add the two integer slider for the no. of level and floor to floor height.
3. add the code block and edit the code block like 0..#levels..floorheight
4.then add the four integer slidersand point.bycoordinates , coordinatesystem.Byorigin and code block and rectangle.bywidthlength and connect the width to width height to heightand code block to z point and coordinate z point
5. now edit the code block
like bottom..top..#levels
and connect to level to level and top to top bottom to bottom then add point.origin, vectorzaxis and geometry.rotate, polysurface.byloft and connect to
rectangle to geometry
point to origin and vector z axis to axis and code block to degree and final geometry to crossSection.