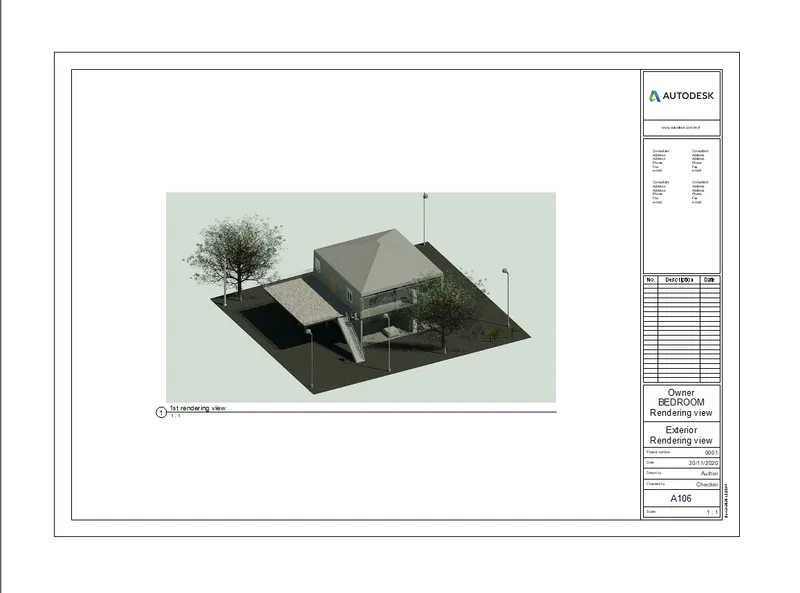
Creating Architectural and Structural model with 3D rendering using REVIT
1A) ANSWER:
My model represents a Multi Unit Residential Apartment .
2A)
- My assumed location details are T-nagar , chennai -600017
- my modeling gives the model requirements from NBC
3A)
AIM:
To create foundation , columns , beams connected to columns , roof framing , floor , floor openings for elevators and stairs .
PRCOCEDURE :
- Open the structural model which we created in week 6 "structural project 1"
step 1 :(foundation )
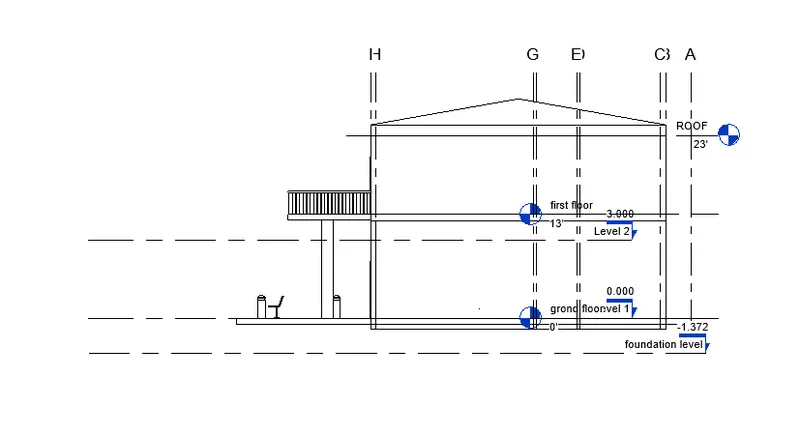
- to create a foundation level
- click on levels in datum tab > create levels in elevation view
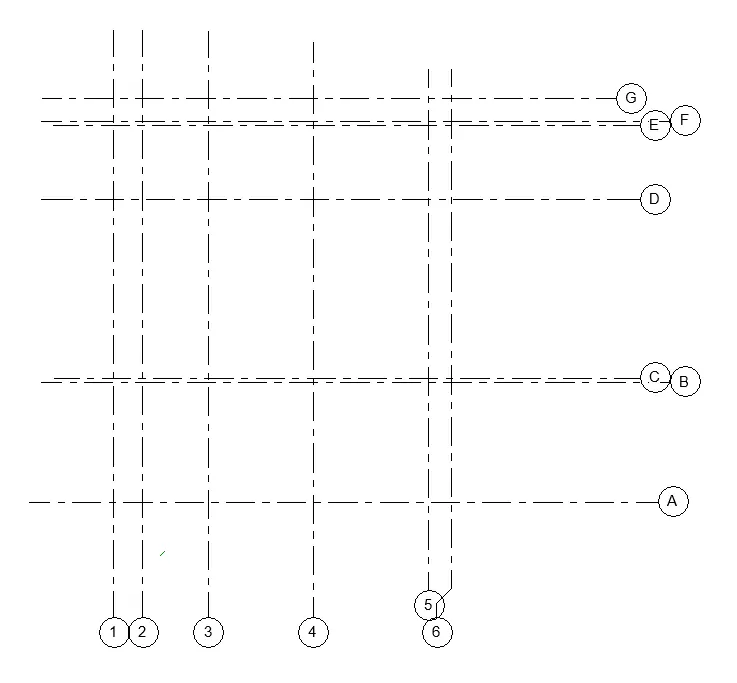
- now go to foundation level and create grids accordingly .
- go to load families
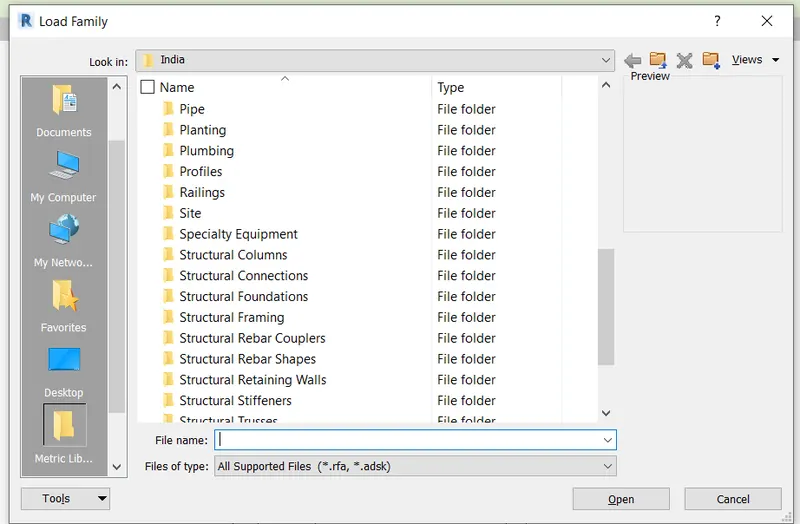
- select structural foundations and insert it in the desired locations .
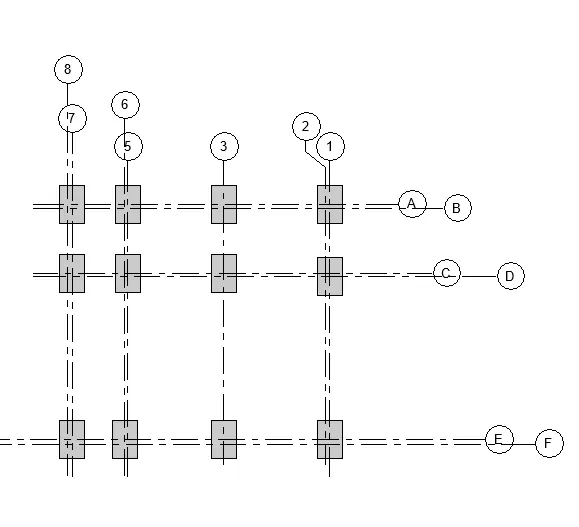
- After this the same procedure follows for columns
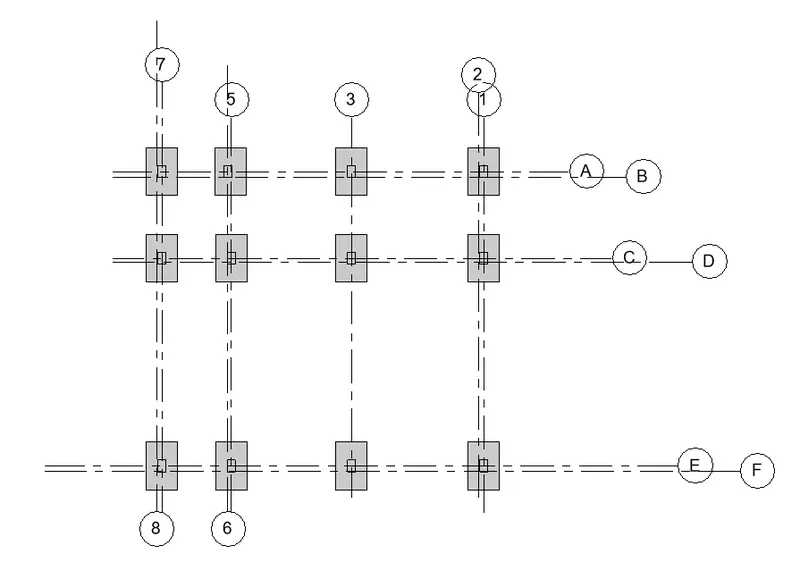
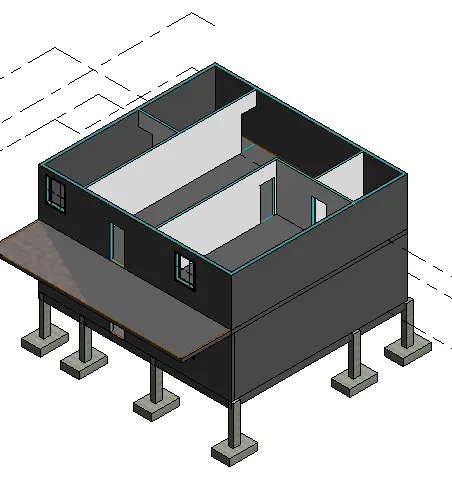
- Beams are connected same as columns
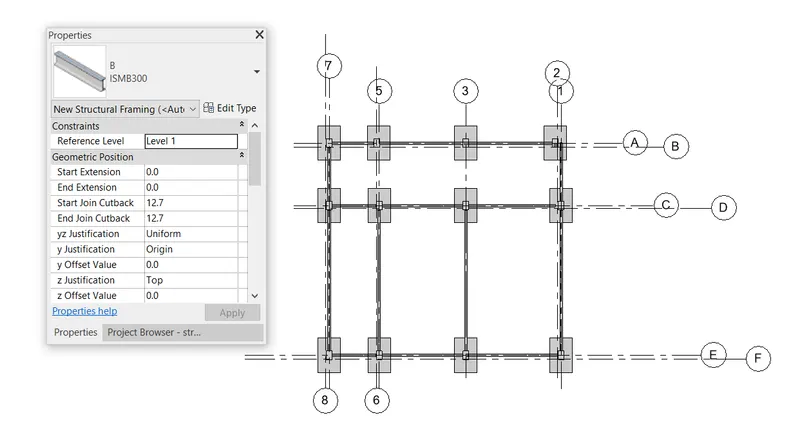
FINAL RESULTS WHEN BEAMS , COLUMNS , FOOTING ARE CREATED.
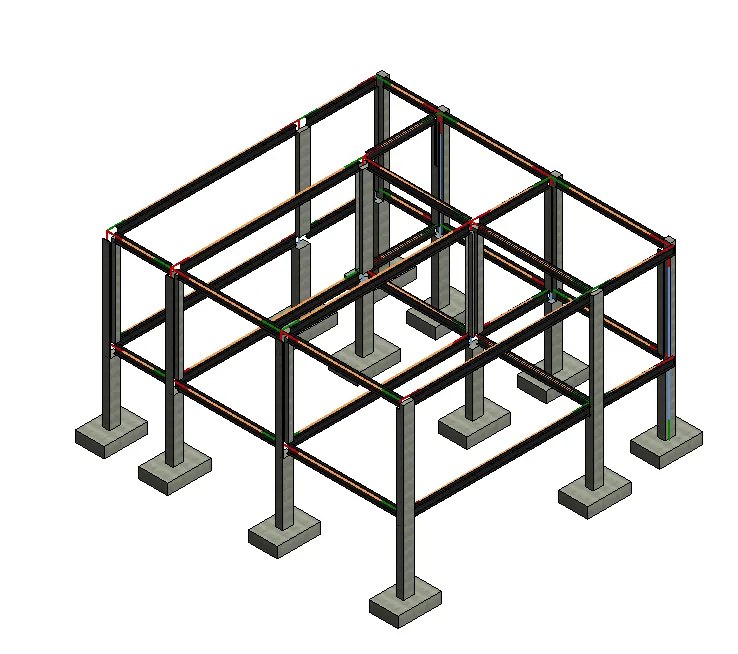
Go to structural tab > click on truss > place it on the desired location
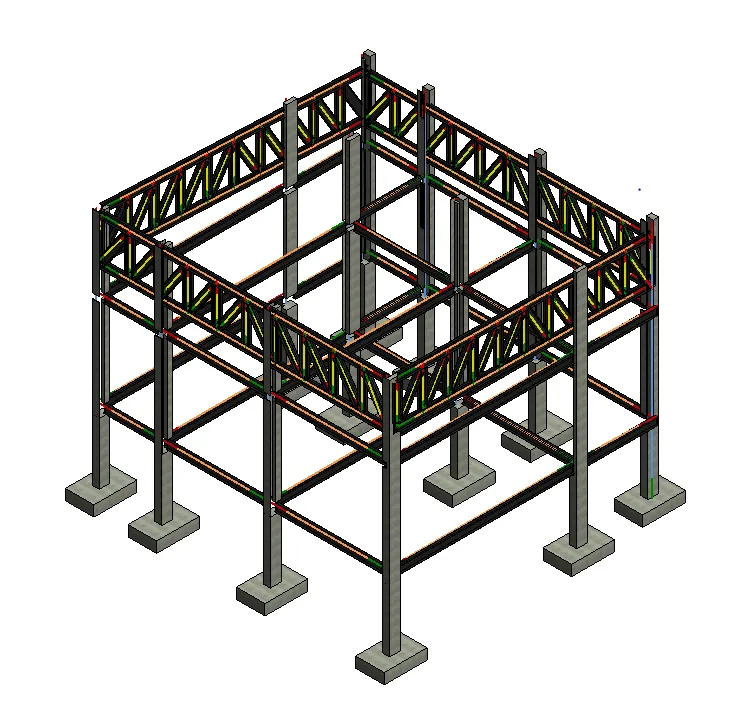
go to structural tab > click on floors >aling the floor to the required levels
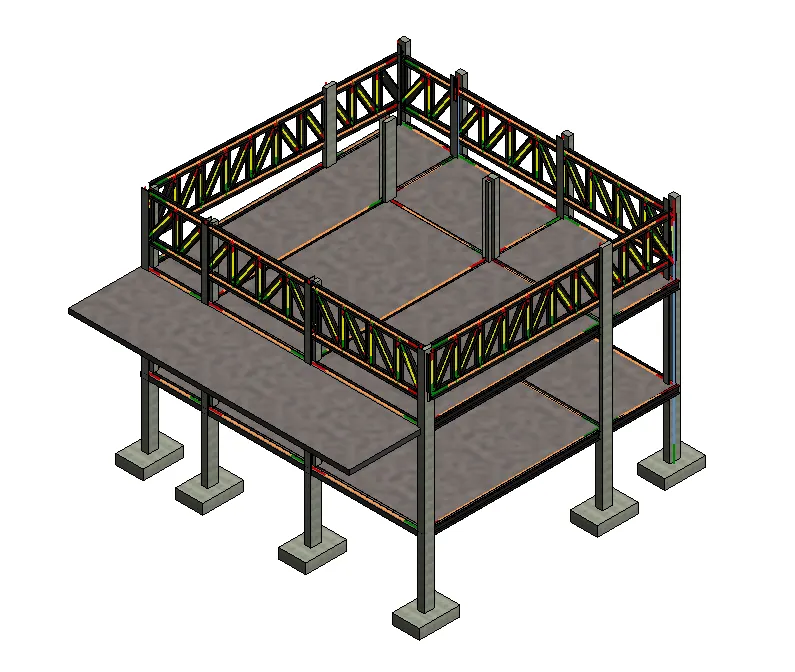
go to structural model > click on floor >edit the boundary.
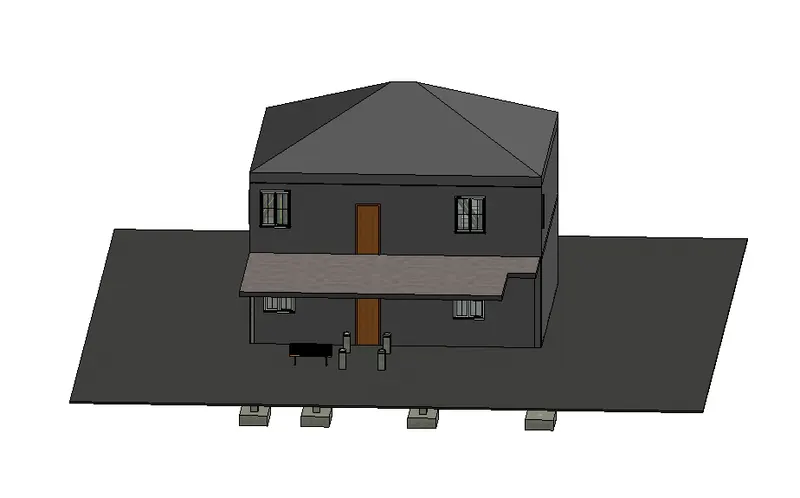
4A)
AIM:
To the architectural model , include the components based on the type of structure selected .
PROCEDURE :
- Open architectural model which we created in week 6 challenge .
- go to architectural tab > click on place components > load families .
- load the reaquired familes and wall and floor designs
RESULTS :
- In this picture plants , exterior lights , staircase , railings , flag pole are added .
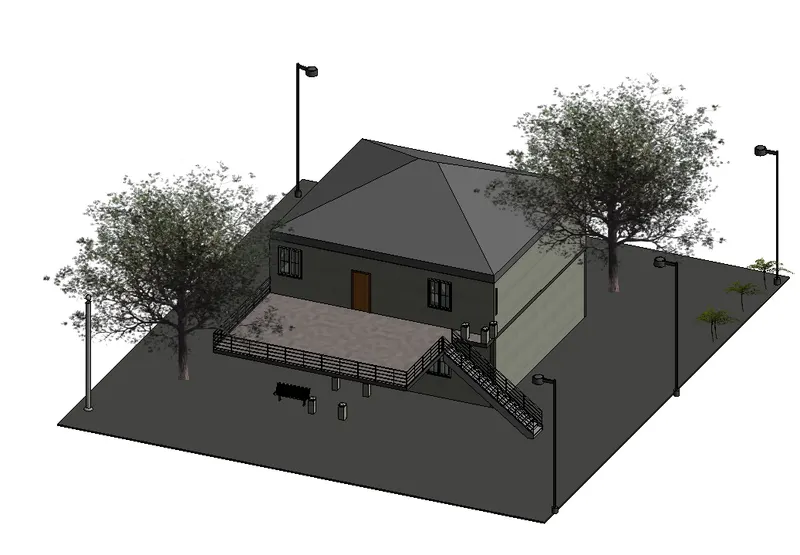
- click on the wall > properties > curtain wals
RESULT :
CURTAIN WALLS ARE ADDED
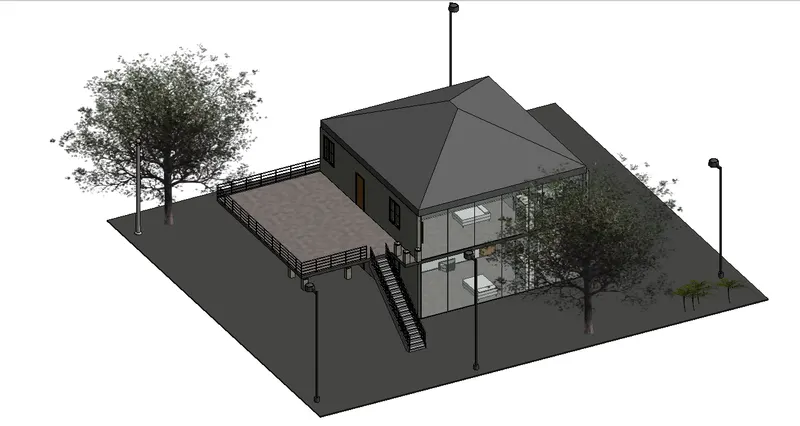
- To create or to add components to the room Like (desk , chair , lighting , plumbing fixtures .
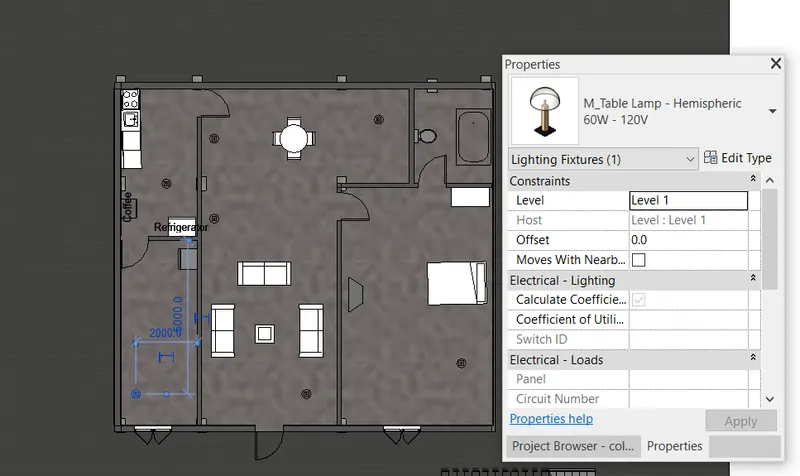
5A)
AIM:
To provide set of drawings in architectural and structural model to list the following details with categories and appropriate sheet templates included .
procedure :
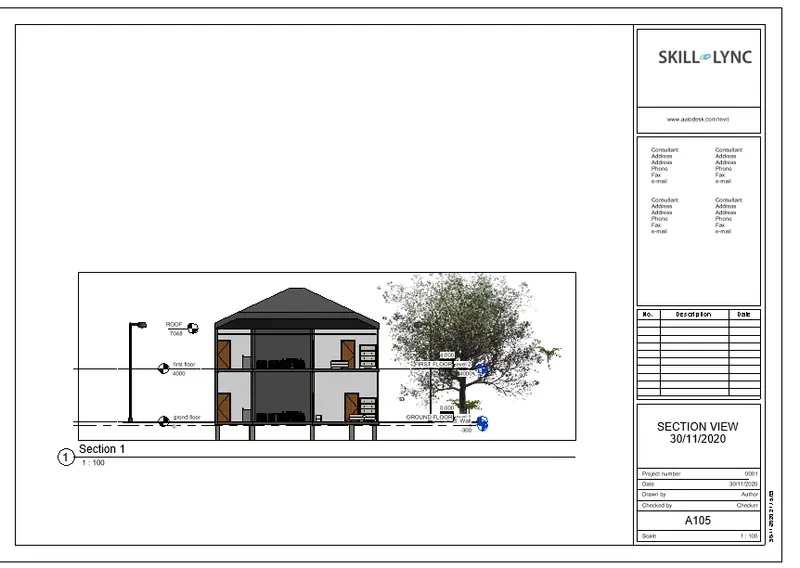
go to view tab > sheets > click on the appropiate sheets > add the views
RESULTS :
LEVEL 1 FLOOR PLAN
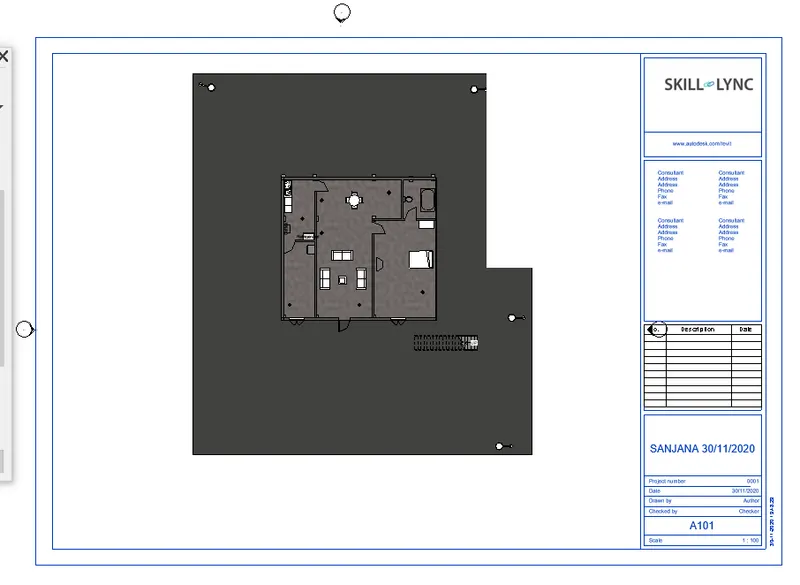
LEVEL 2 FLOOR PLAN :
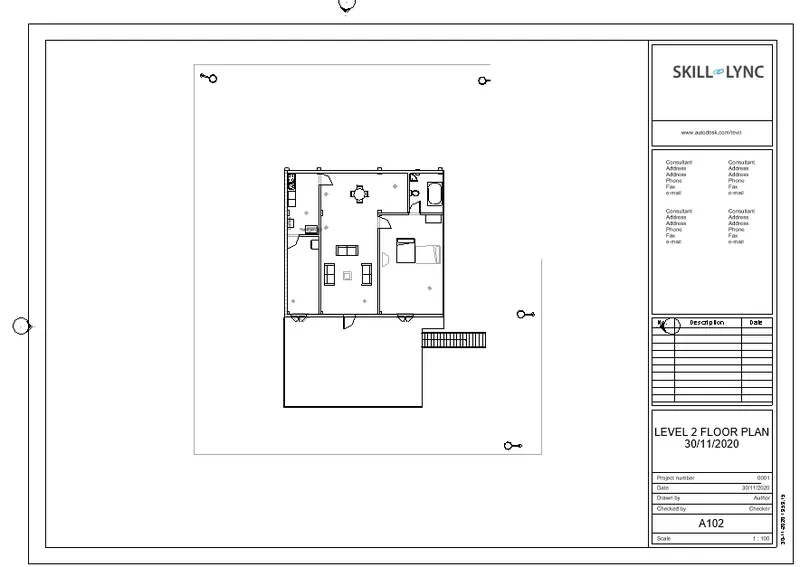
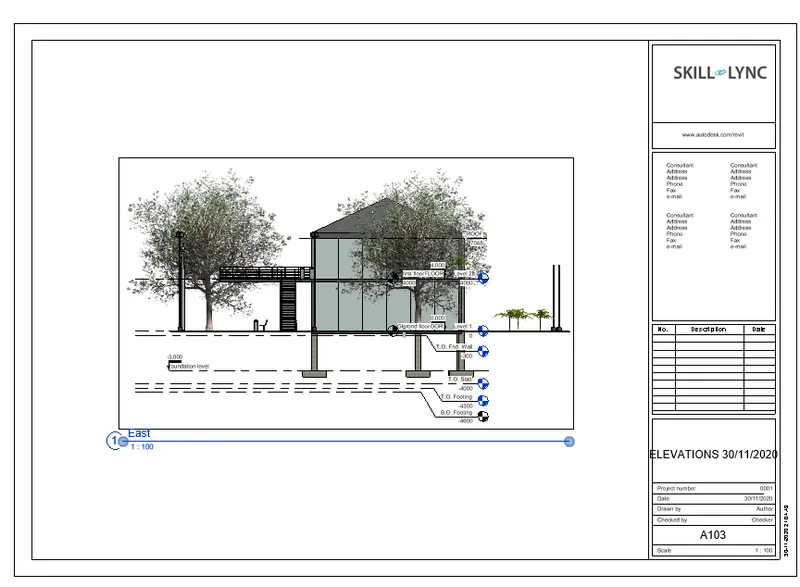
ELEVATIONS
EAST:
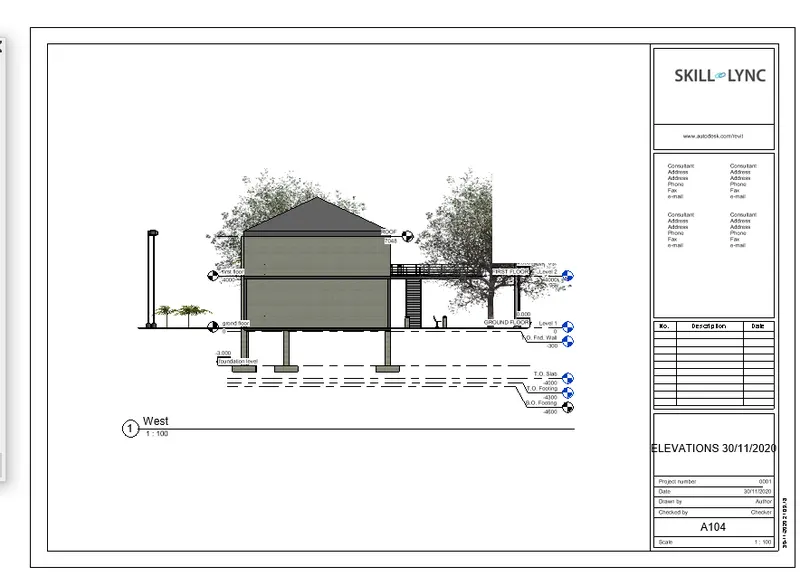
SECTION VIEW:
6A)
AIM:
To Use the Rendering settings and transfer it to the drawing sheets
PROCEDURE:
Go to view tab > click on rendiering view .
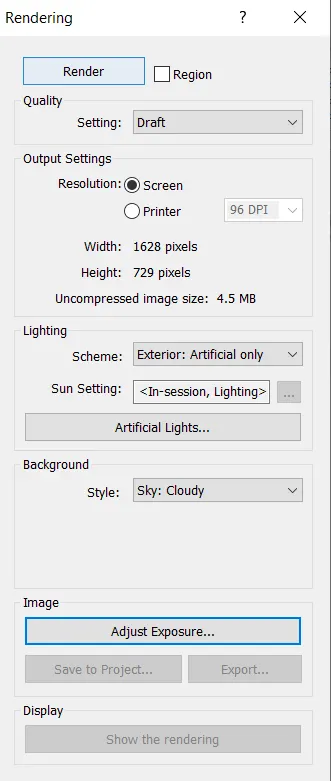
after adjusting thr required settings click on render .
RESULT :
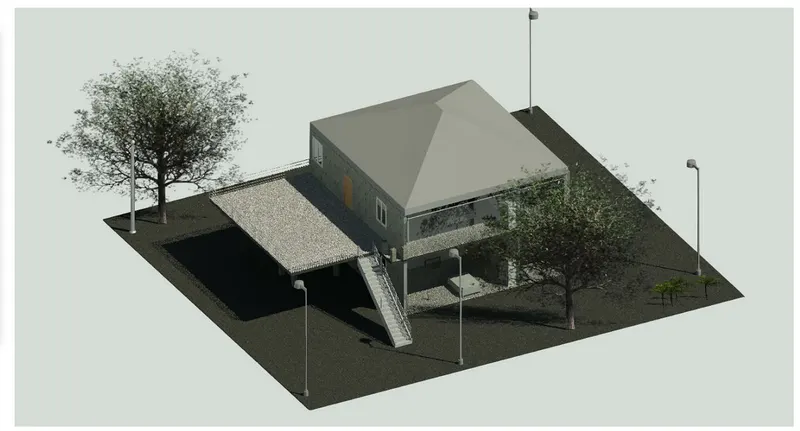
EXTERIOR RENDERING :
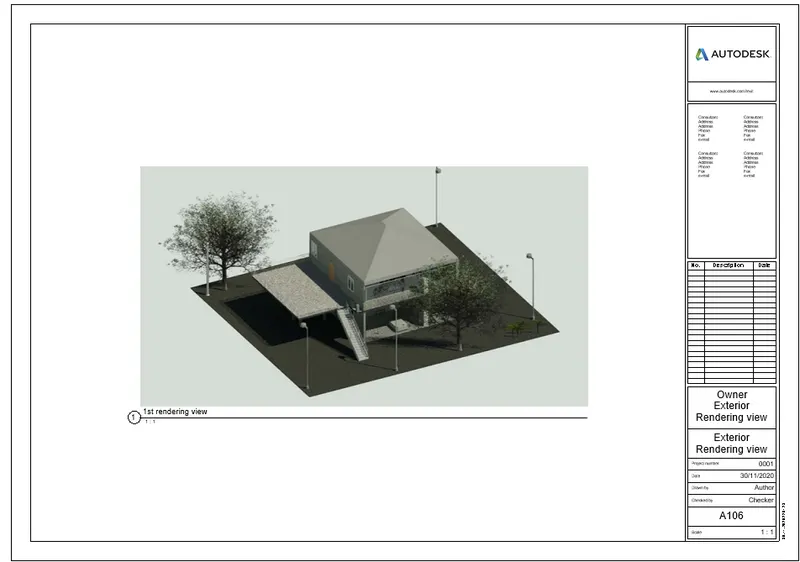
Rendering in the inside rooms
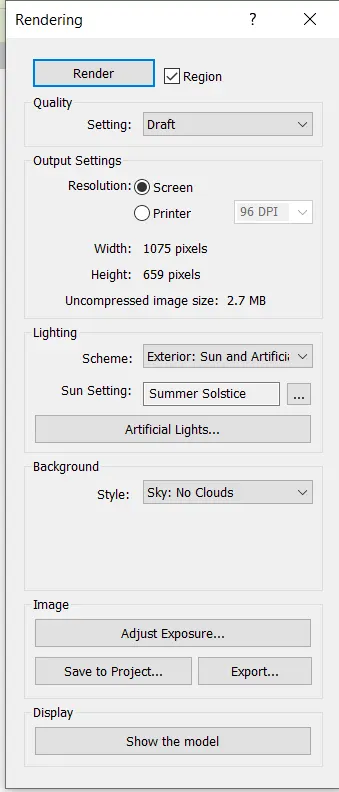
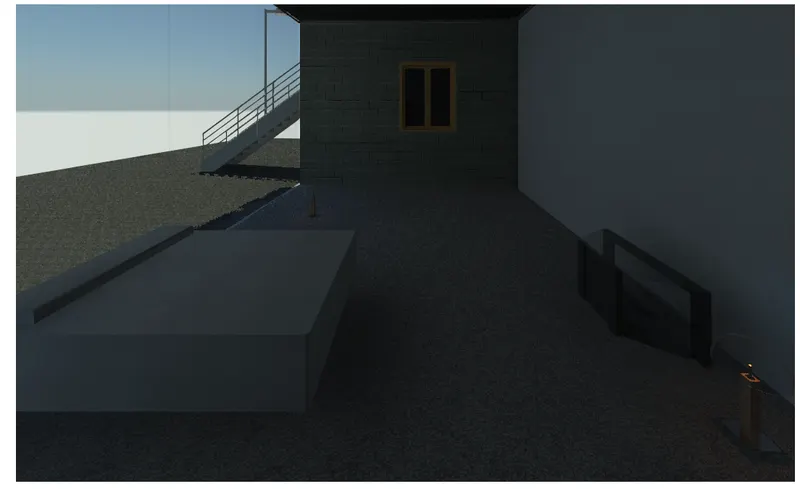
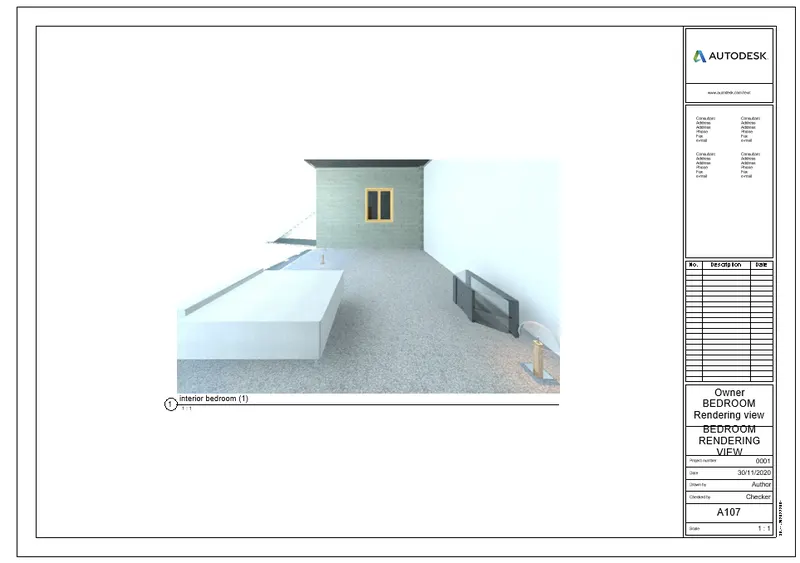
(KEEPING SCHEME "INTERIOR :SUN AND ARTIFICIAL ")
7A)
AIM:
To print the set of drawing sheets created .
PROCEDURE :
Go to file tab > print .
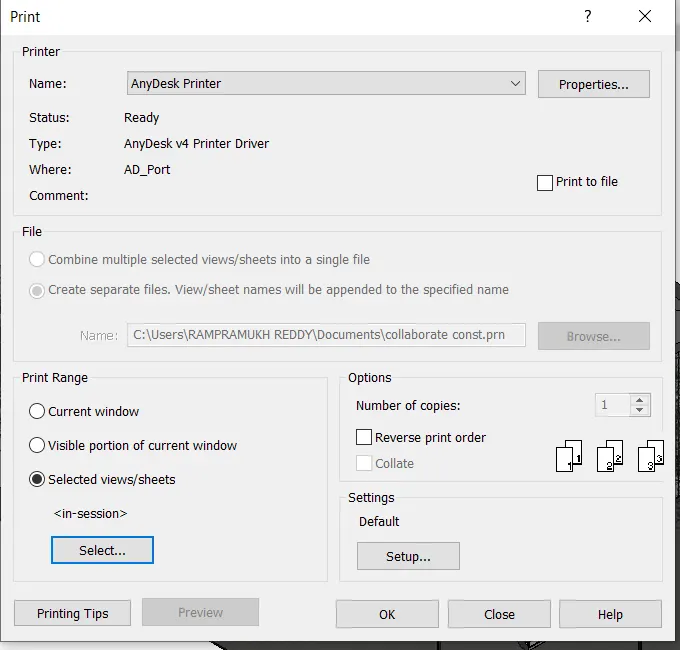
click on selected views/sheets > rendering view i have selected .
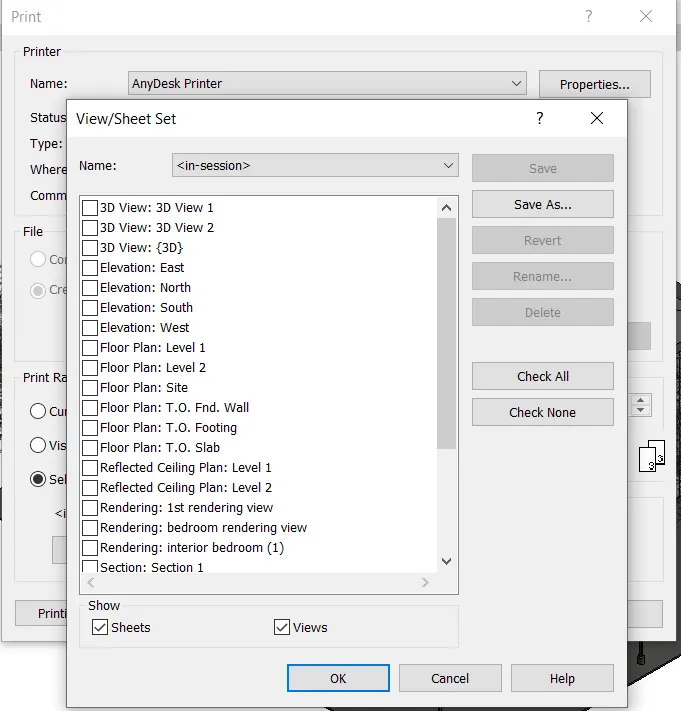
after this click okay and your sheets shall get printed .
RESULT :