Creating a Wardrobe detailed drawing, Floor Plan, Kitchen Layout and Column Detail using AutoCad
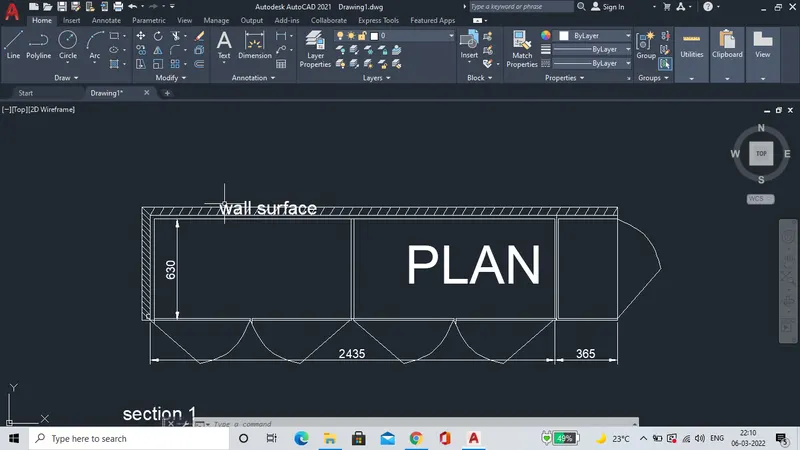
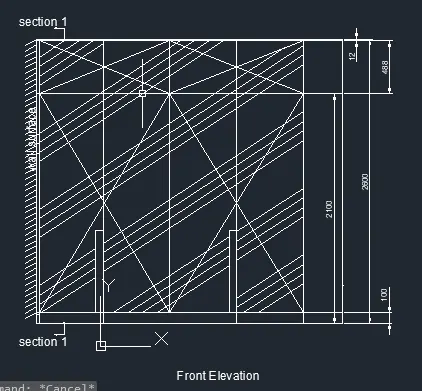
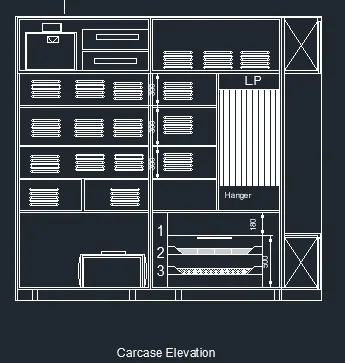
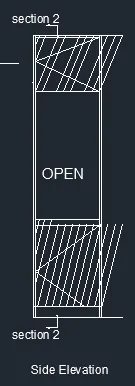
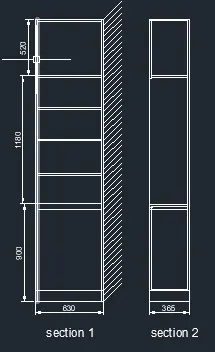
AIM: To draw the elevation and the details of a wardrobe as given in the figure.
INTRODUCTION:
The drawing is done in auto cad software. Various comands are used to draw this elevation.
Now we will see them detail.
PROCEDURE:
- In order to draw the elevation first we will draw the plan of the wardrobe.
- Command REC to draw rectangle to create the external body.
- Command O for offset and give distance for the offset and create offset for the rectangle.
- now use commmand L for line and create partions as shown in fig.
- Use FILLET(F) command at the corners of the partions.
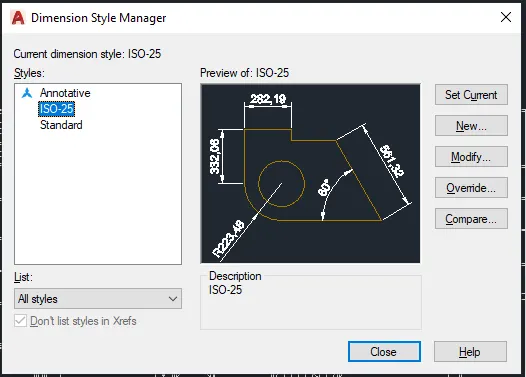
- After creating the drawing now we need to display dimensions. Use command DLI TO display the dimensions.
- select the proper style.
- After drawing the plan now we need to draw the elevation. Use XL (vertical) command and draw the lines.
- Use TR to cut the extra portions.
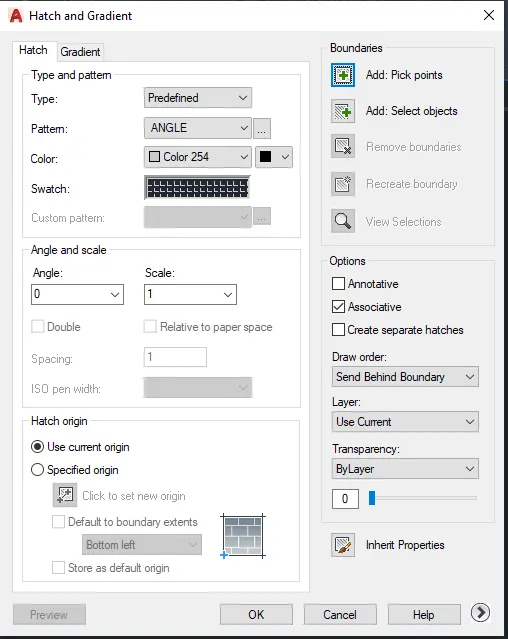
- Use H for hatching and dli for dimensions.
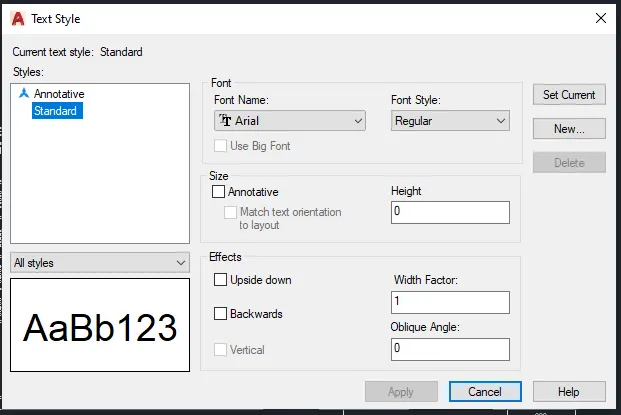
- For text use DT command, select proper style, text height, rotation.
-
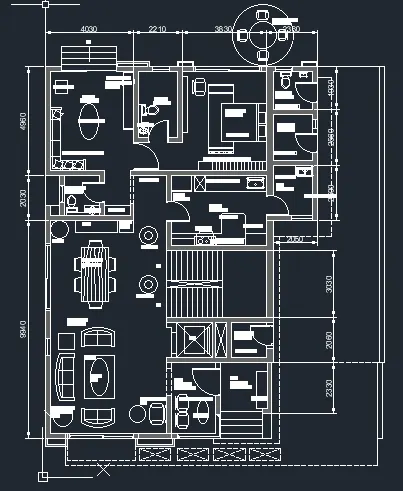
2) AIM: TO draw the floor plan as shown in the figure by using proper commands in auto cad software.
INTRODUCTION: An individual house floor plan of 2bhk is drawn by using all necessary comands which is explained in the below procedure.
PROCEDURE:
- Use XL (vertical, horizontal) command to draw the basic lines.
- Use O command for offset distance.
- Draw the remaining partions lines by using offset command and by using given room dimensions.
- Use TR command to remove extra lines.
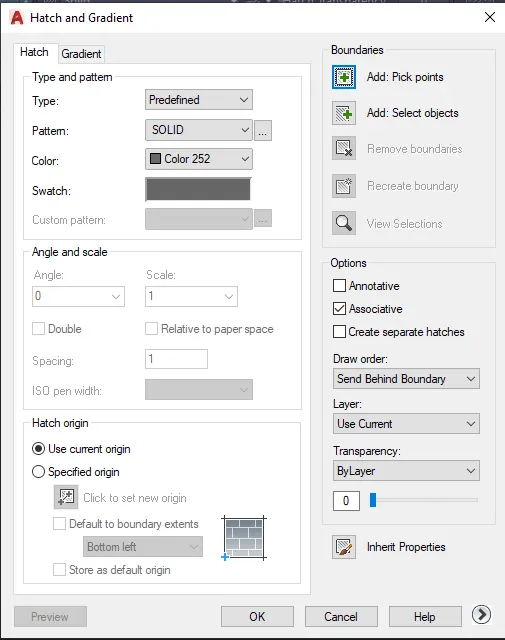
- Use H command for hatching. Solid ash colour is used in this plan to show the wall.
- Use DLI commad for dimensions and DCO to to continue the dimensions.
- Use DT command for text.
- By assuming dimensions and using REC, C commands draw the doors and windows.
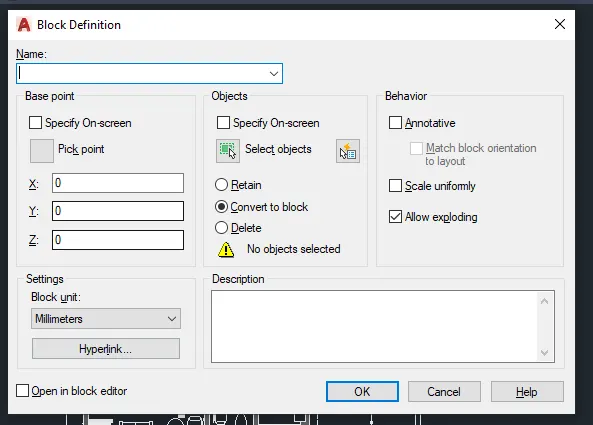
- Use B command to block the doors and windows.
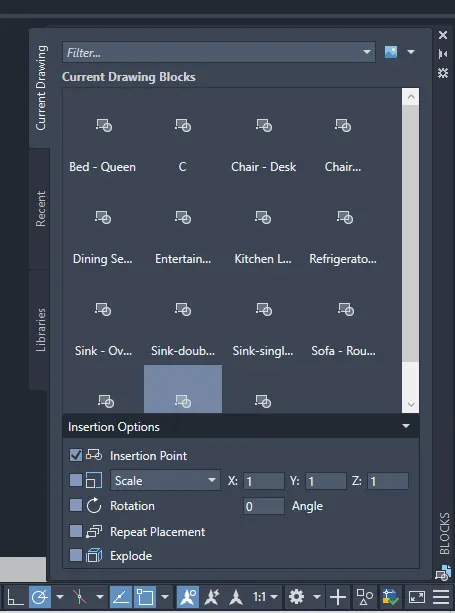
- Use I command to insert them where ever they are required.
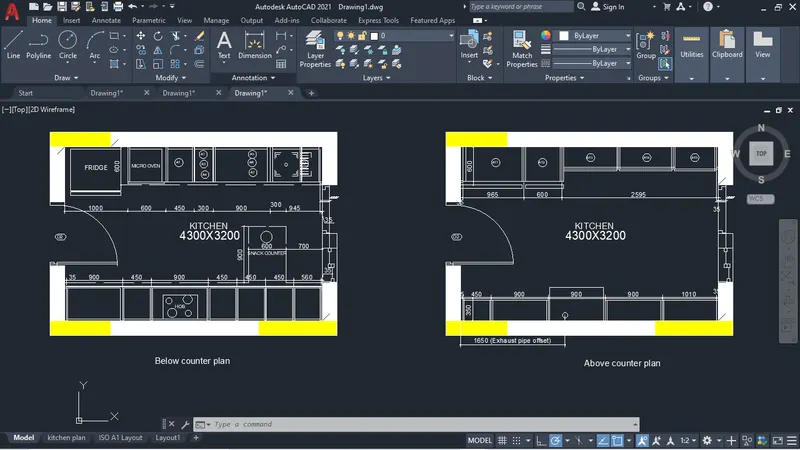
3) AIM: To create the kitchen plan by using autocad software.
INTRODUCTION: A kitchen layout as per given figure is drawn by using proper commands. A detailed explanation of sketch is given below.
PROCEDURE:
- Command REC for rectangle to create outer wall of the plan.
- Use O commmand for offset to create inner walls.
- Use L command or REC commmand to draw the plat form and different accesories inthe kitchen or use ADC command to insert them by using predifined block objects.
- Use TR command to remove the exxta portions.
- H command for hatching.
- DLI,DCO commands for dimensions.
- DT commaand for text.
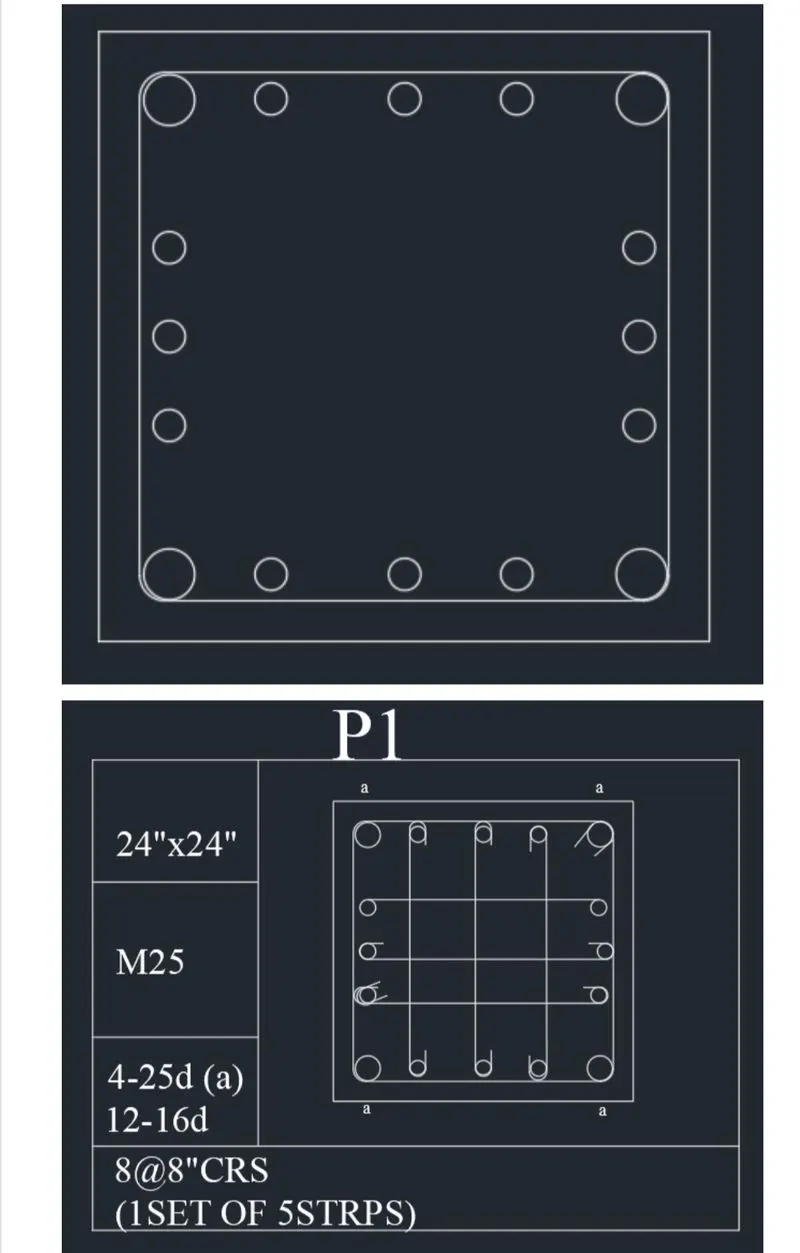
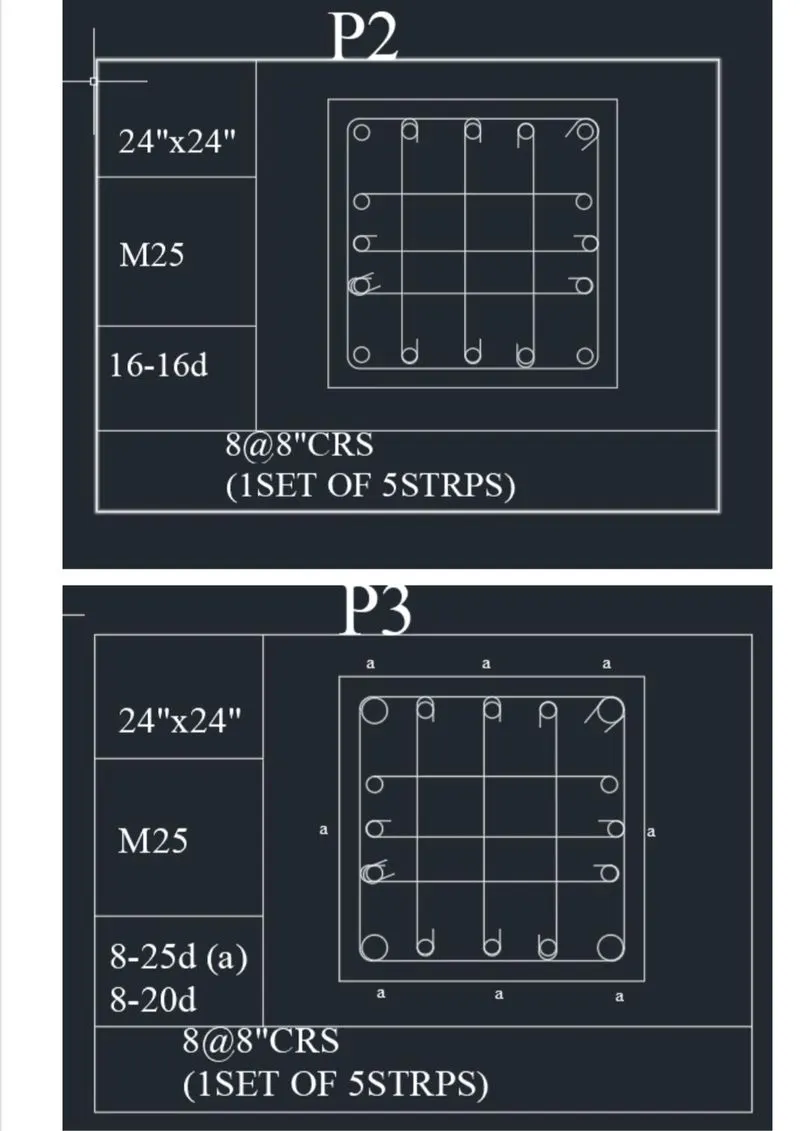
4) AIM: To create a column schedule as given.
Introduction: An column schedule is drawn by creating proper text styles by using proper commands.
PROCEDURE:
- First create a column by REC command for outer . Use O commmand to create offset command for inner take 40mm as offset distance.
- Using C command draw reinforcing steel. use proper dia for circle.
- Command CO is use to copy the reinforcing steel.
- DT command is used to insert text.
- ED command is used in order to edit the text.
- Now create a box by using REC command and place the column and text in the box as shown in fig by using M command.
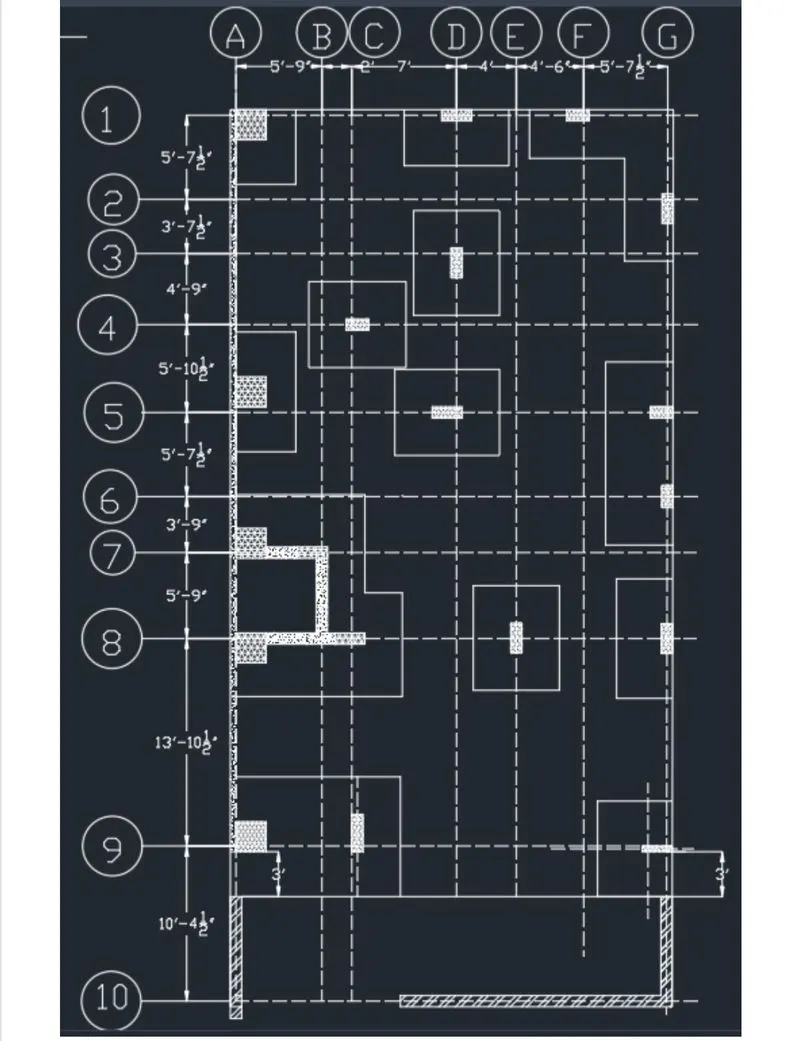
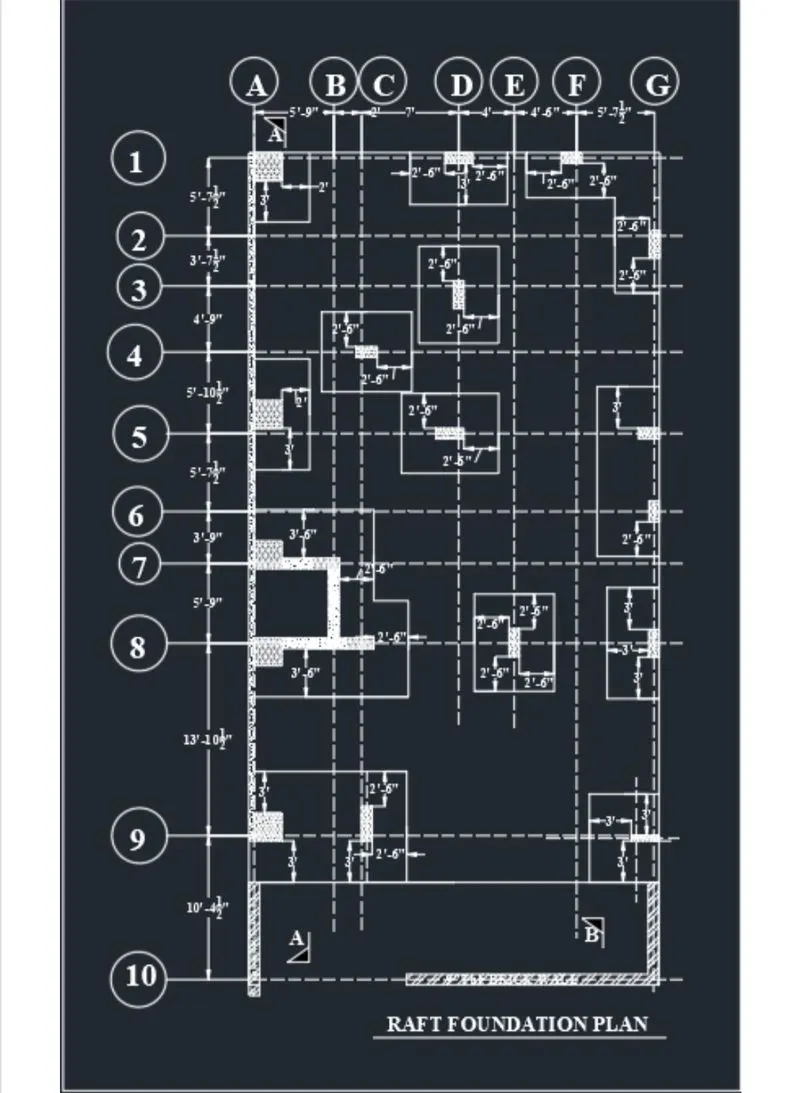
5) AIM: To create the raft footing as sown in fig.
INTRODUCTION: A drawing of raft footing is drawn with the help of auto cad software and a detail procedure is explained below.
PROCEDURE:
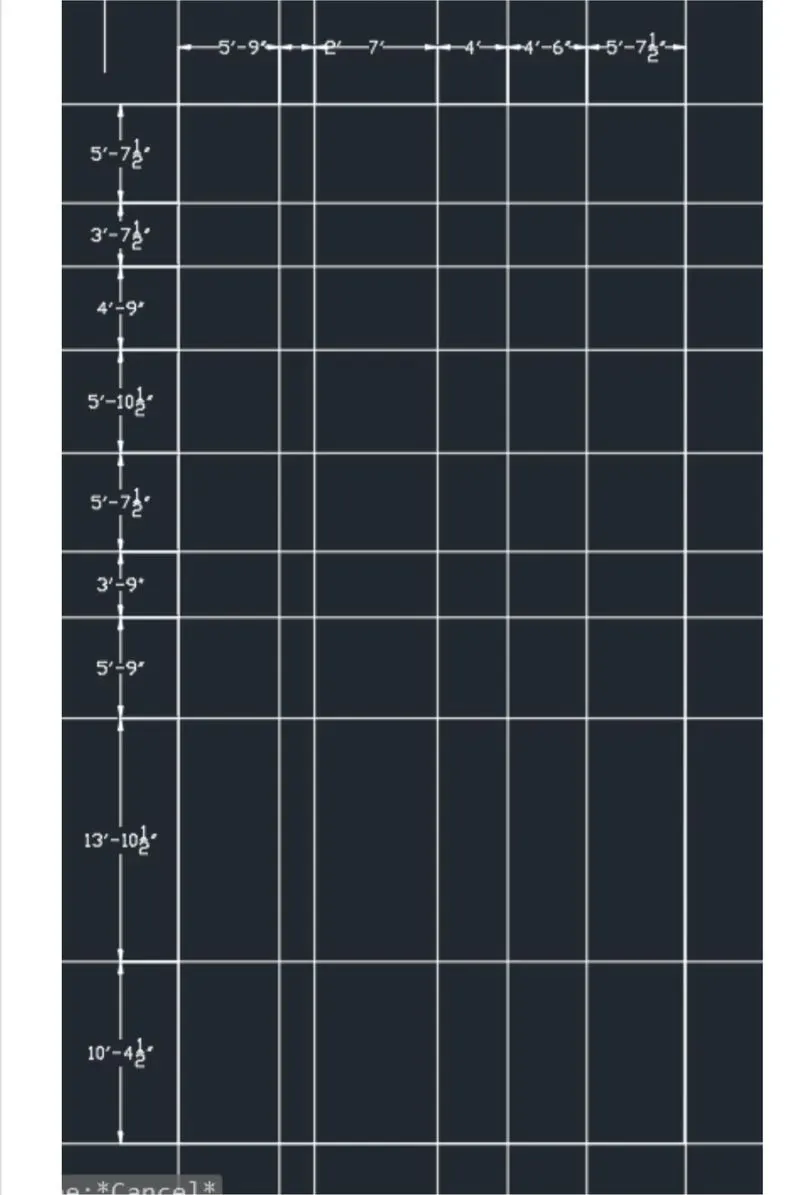
- Create a grid as per drawing by using line command.
- Use XL for vertical and horizontal lines.
- Use TR to trimm extra lines.
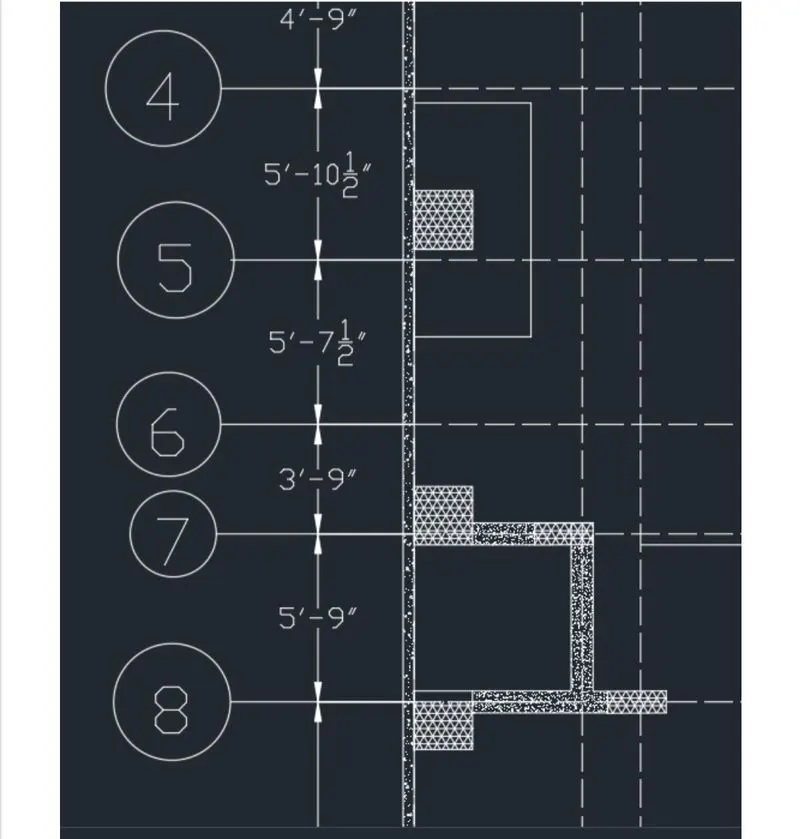
- Now to create a column use REC commmand. use dimensions as given.
- To hatch the columnn use H commmand. use hatch style.
- To get that line type go to properties of than line change the line type value.
- Use DT for text.
- DLI for dimensions.
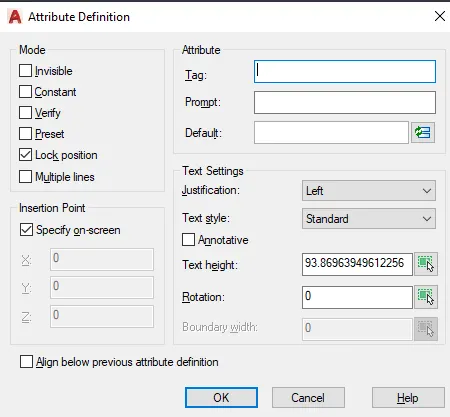
- Create a circle by using C, insert attribute 1 by ATT command then block it by B command.
- Copy paste that circle or insert it where ever there are required.
- Now double click a particular circle to edit the text or use AATED command.