Creating 3D Isometric view of various structural elements in AutoCAD
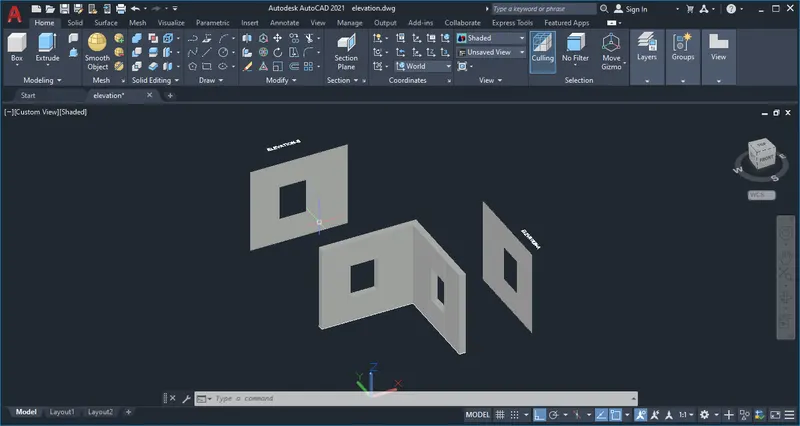
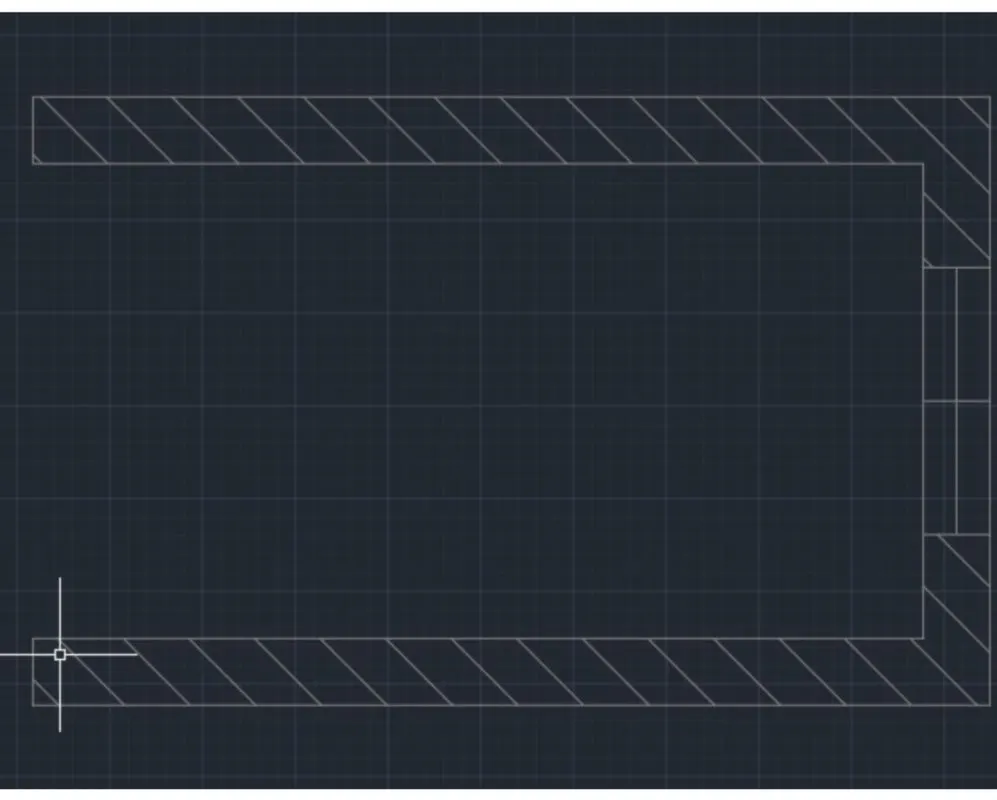
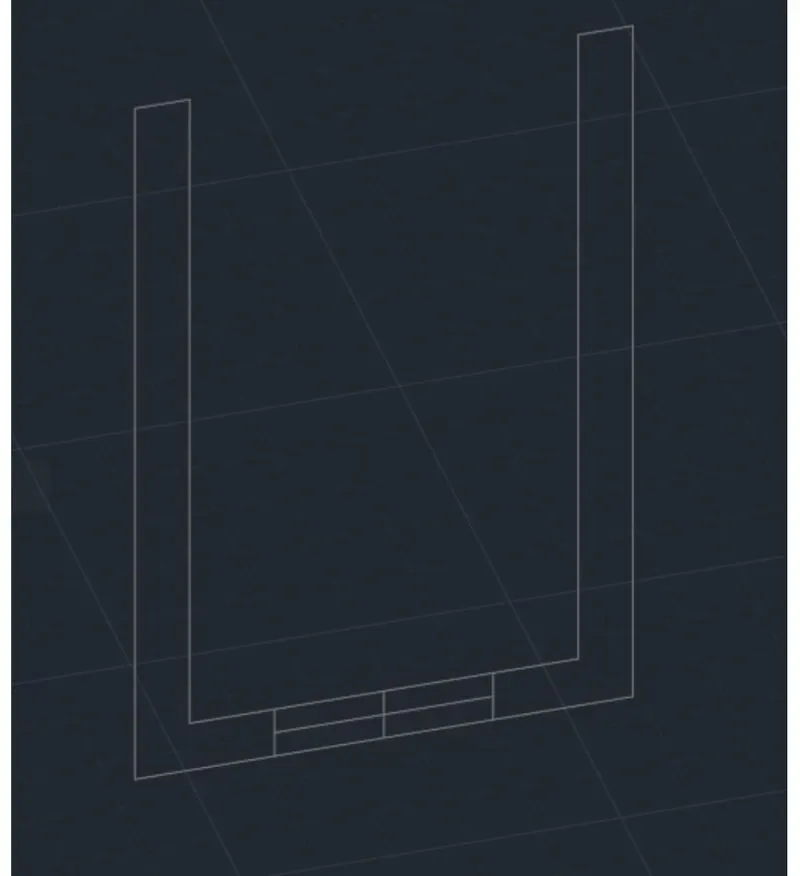
AIM:To Create a 3D Isometric View of the building with plan and elevation given
PROCEDURE:
- Go to PLAN command and draw the plan as per dimensions given usunng REC command or LINE command.
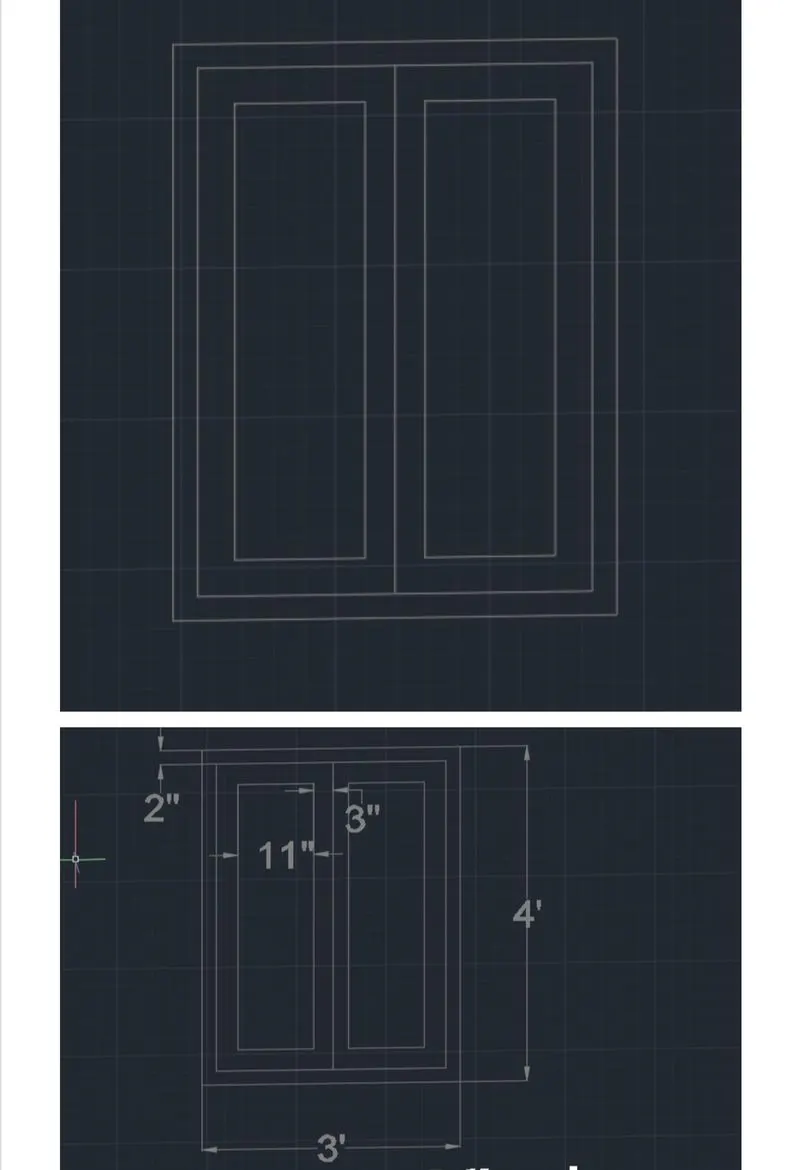
- Draw windows by LINE command.
- Go to 3D view by VIEW CUBE.
- Use boundary(BO) option or region(REG) to make object surface and extrude(EXT) only walls in Z-axis.
- Now select the window and offset to required dimensions and extrude it.
- Use SECTION plane to get ELEVATION.
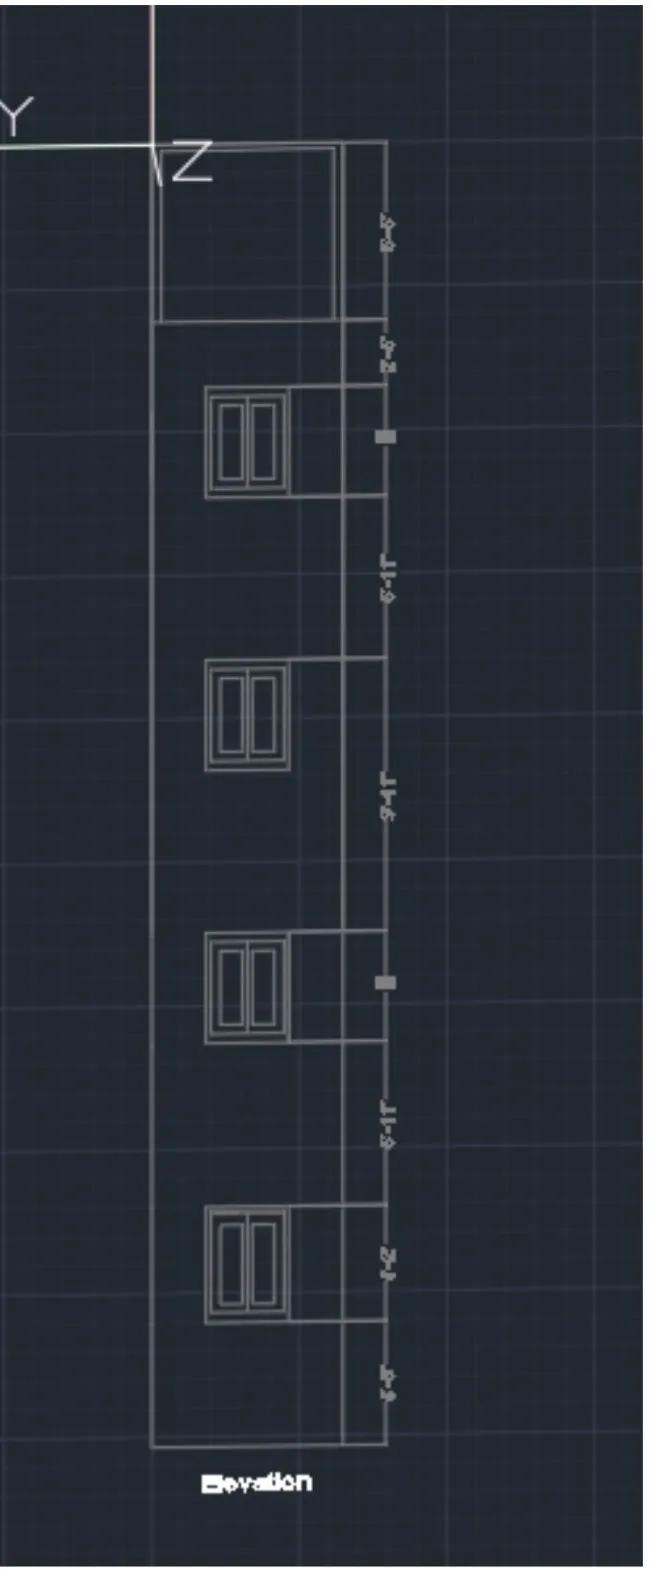
AIM: To Create the 3D View of the Building Façade as given in the plan and elevation.
PROCEDURE:
- Click L line to draw the wall.
- Then rotate along Z-axis.
- Draw elevation of the wall as per dimensions mentioned in the drawing.
- Use line command to draw the elevtion.
- Use copy(CO) when ever it required.
- Use UCS to draw the dimensions in the correct axis.
- click DLI to create the dimensions of the elevation.
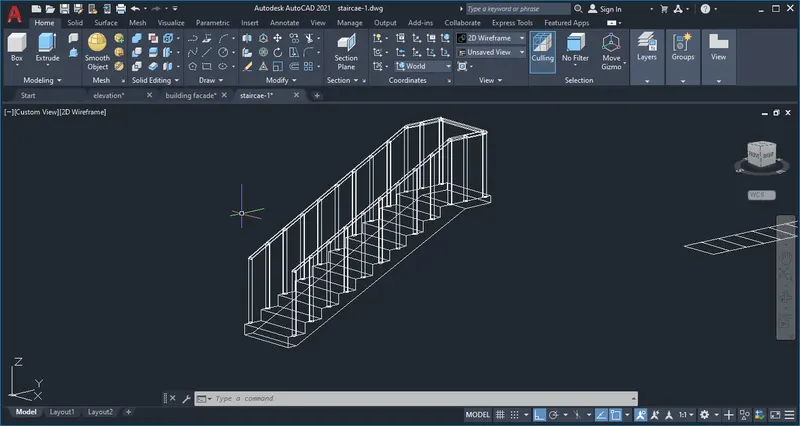
AIM:To Create the ismoteric 3d view of a stair with railing as shown in the plan and elevation. Assuming the size of the balustrades and the hand rails.
PROCEDURE:
- Click REC to create outer of the plan.
- Then ARRAY the line to create the steps.
- Click DLI to create dimmensions of the drawing.
- Go to 3D view.
- Now create the side elevation of the staircase.
- Click line command to create the elevation drawing.
- Draw the steps in Y and Z axis.
- Create handrail with steps. Use sweep option.
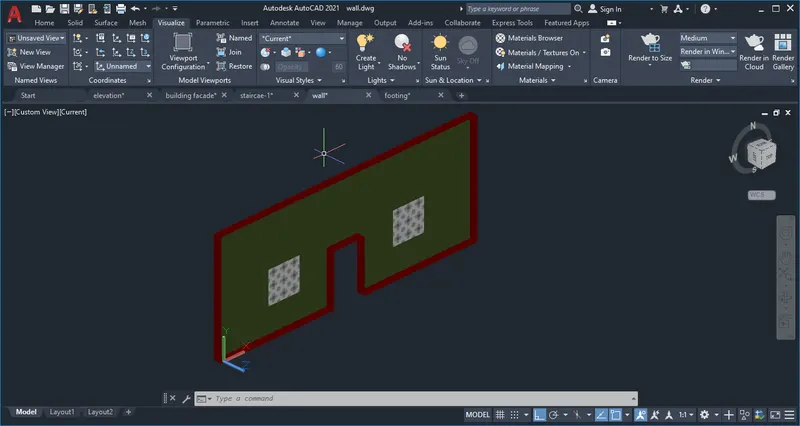
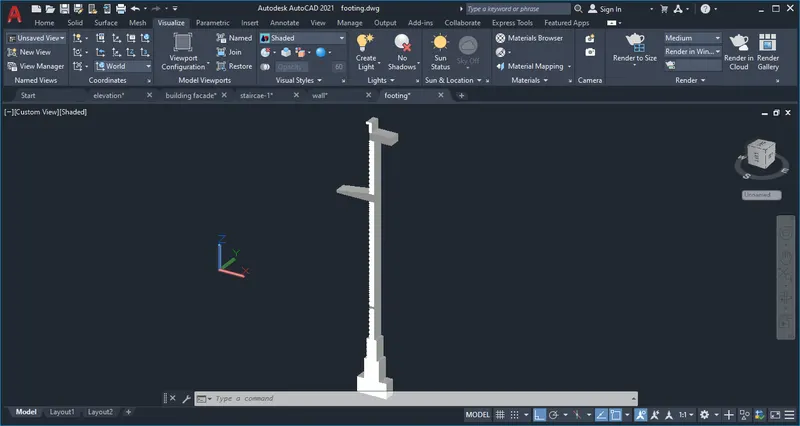
AIM:To Create the 3D view of a Wall with spread footing and Create the Door opening only. Assuming the size of the parpaet and the coping. Also, create a rendered view of the model with materials as of my choice.
PROCEDURE:
- Use plan command to go to plan view .
- Draw te plan as shown in fig either by line commmand or by rectangle(REC) command.
- Now go to 3D view by VIEW CUBE.
- Then make wall surface by region(REG) or (BO) boundary command.
- Extrude(EXT) it in Z-axis.
- Go to materials coption in the Visualize tab.
- Browse the material and applly it to the wall.
- Go to render view click render window.