Assignment 3-Base simulation of improved shell element.
AIM:
To compare the results with base simulation and improved shell element properties by using the following conditions:
1)Use the crash beam file from the previous assignment,change the run time to 55ms.
-Solution:
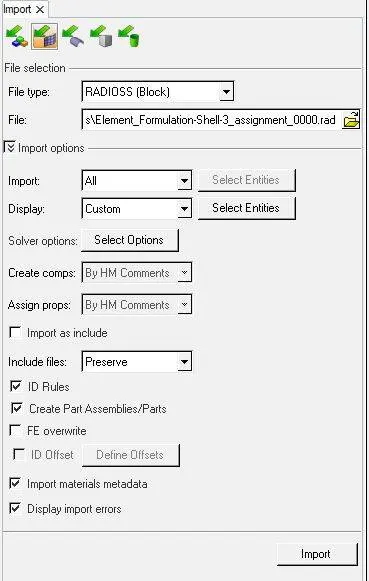
-Initially we have to import the stater model to hyperworks which is done by using the option File>import >solver desk>In file type select radioss format >click import.
-Here we will initialy get a wire frame skin model which may be converted to shaded elements and mesh line
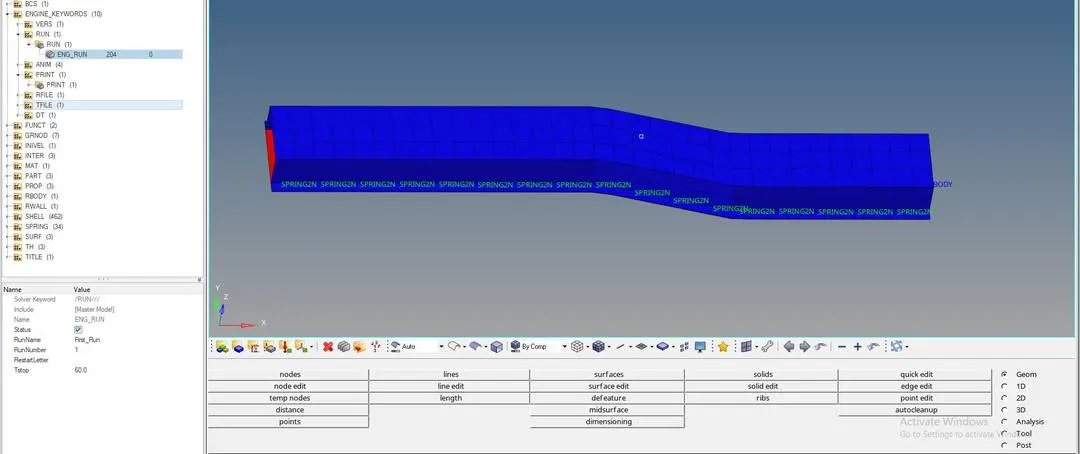
Default shaded element and mesh line veiw of the imported model
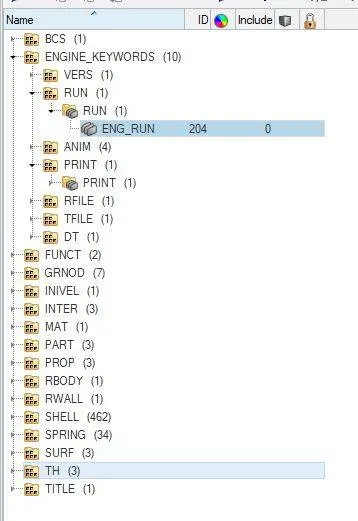
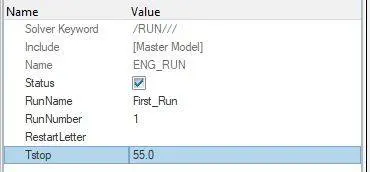
-Now we have to change the simulation stop time of the imported model by using the option Tab bar>double click on cards>Eng_run>Tstop.
-Here we have to change the Tstop value from 60ms to 55ms which in return will change the timestep value.
2)Now to change the number of annimation step during simulation to a minimum of 25 and maximum of 60.
-Now to change the simulation start time to 25ms we need to choose ENG_ANIM_DT and change the Tstart value as 25ms and frequency as 1 respectively.
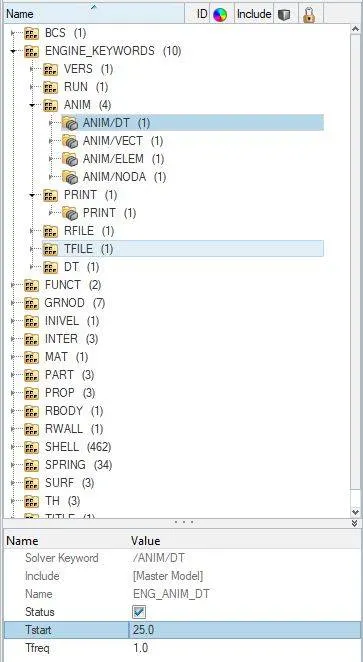
3)To run the base simulation without any modification to element properties.
-To run the base simulation we can achieve it by performing the following operation main menu page>Analysis>Radioss.
step1:

step 2: we have to input the file and save it to the path also give (Tick mark) in connector tab and in option type -nt 4 and click on radioss.

step 3: Output result will be dispalyed after running the Radioss solver
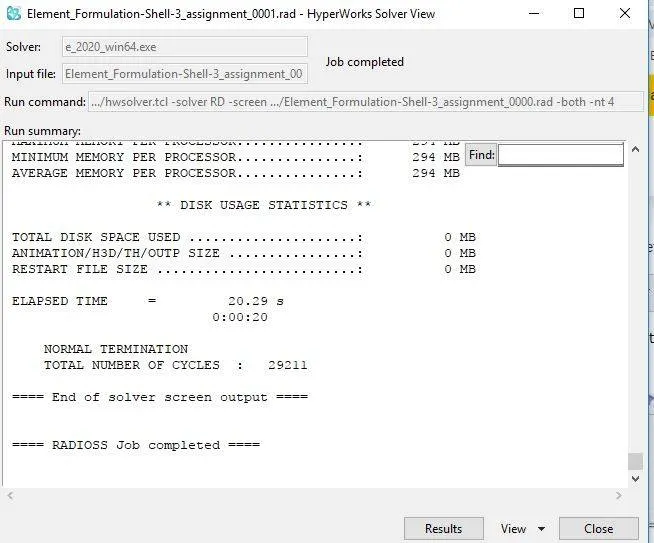
-Now inorder to check the annimation we can run it by using hyper veiw option and file can be selected from the directory folder.
-Now we have to .h3d file and click on apply.

-The output will be as below:
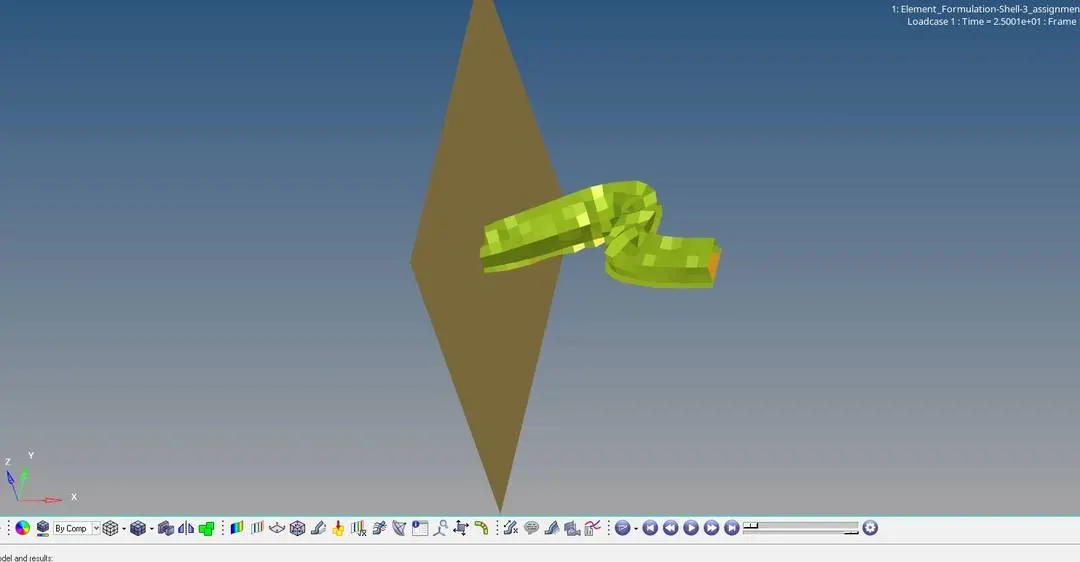
Now when we click on the play button we can see the crash animation of the model.
-To get rigid wall forces,internal energy,hourglass energy and contact energy we can make use of option namely Hypergraph 2D.
-Now we need to update T01 file in hypergraph 2D.
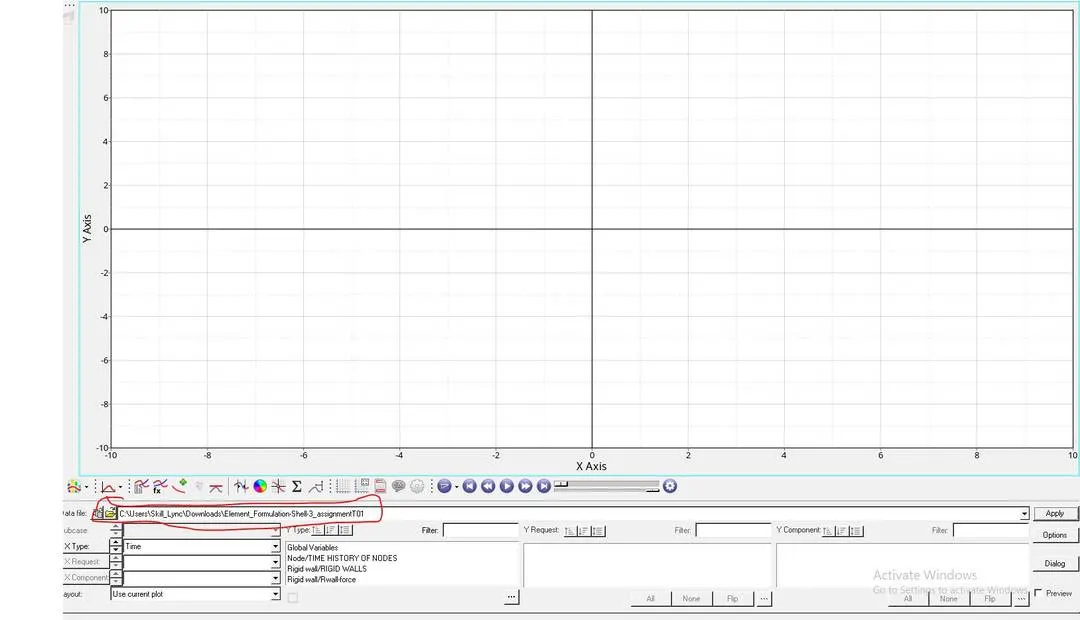
-Now to apply for rigid force and various other energies we can use the following steps:
- we need to select global variables>internal energy>MAG>apply

-similarly for rigid wall>4 rigid wll>total resulatant force>apply.

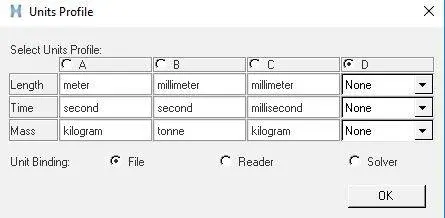
-we need to also select the units while plotting the graph from the given beloe window which pops up after selecting apply button.
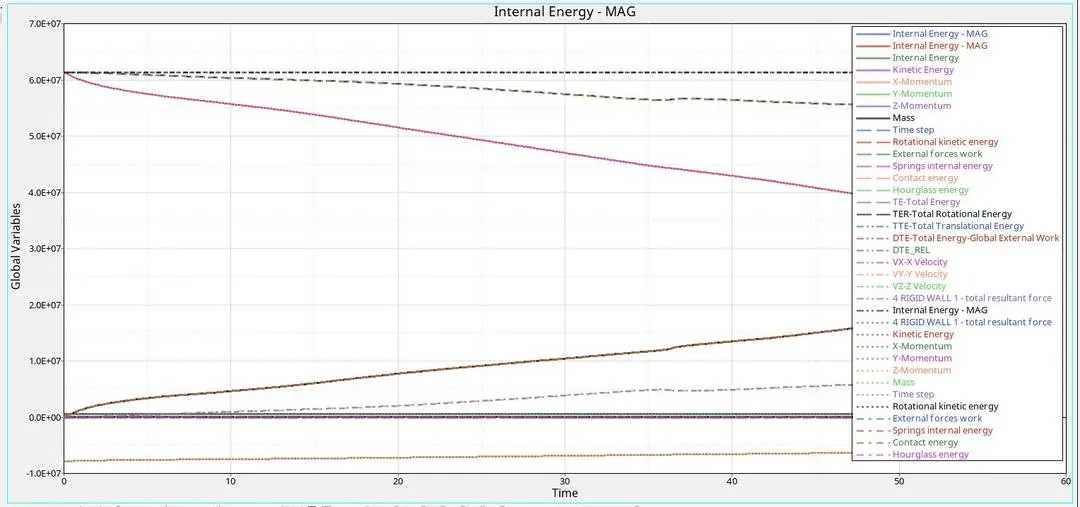
-The output of rigid body and other energies vs time is displayed as below:
CASE 2:
-Similar to our previos case here we have to import the model file to the hyperworks format (file>import>solver desk)
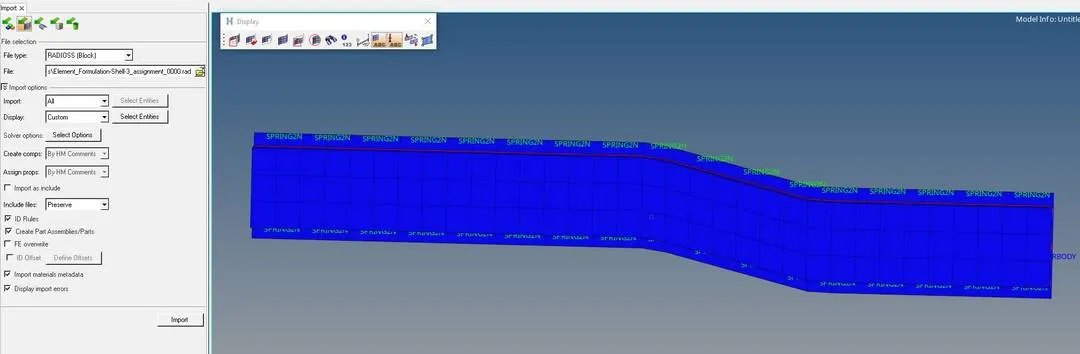
-Now we have to change the simulation stop time(tab>cards>eng_run>Tstop and give the Tstop value as 55ms and this will change the run time.
-Similarly the same changes have to be made for Tstart value (tab>cards>eng_anim_DT>Tstart) here we have to change Tstart value to 25ms.
-The above in time step value will allow to change the number of annimation steps between min.range of 25ms to maximum range of 60ms.
-Now in this case we have to change all shell element property to the given recomended properties before running the simulation.
-Recomended properties is as below:
Recommended properties:
Recommended properties:
| Parameters | Comment | |
|
Ishell =24 |
QEPH 4 nodes shells are best combination of cost and accuracy. | |
|
Ismstr=2 |
Full geometric nonlinearities (default)with possible small strain formulation activation in RADIOSS Engine. | |
|
Ish3n=2 |
Standard 3 noded shell (C0)with modification for large rotation(default) |
|
| N=5 | Number of integration points set to 5 for accuracy bending. | |
|
Ithick=1 |
Thickness change is taken into account for accuracy. |
|
|
Iplas=1 |
Iterative plasticity for good accuracy. |
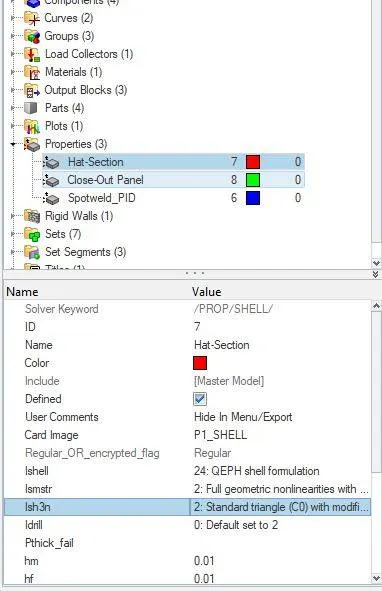
-Steps to make changes in the given properties is as below:
-Go to:
1)properties>hat-section>Ishell>24:QEPH shell formulation.
2)properties>hat-section>Ismstr>2:full geometric nonlinearities with possible small strain RADIOSS.
3)properties>Hat-section>Ishn>2:standard trainagle (CO) with modification for large rotation.
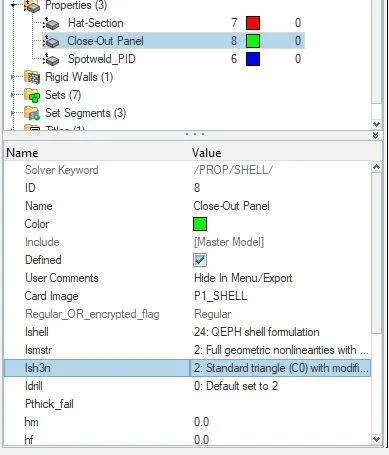
-Simialarly for close-out panel also we have to change the properties as we did for hat-section.
-Now after updating the properties we now need to save and run the file by using main menu>analysis>radioss option.
-Here we need to give Tick mark at include connector icon and in the place of option we need to enter a value of -nt 4 and click on Radioss.
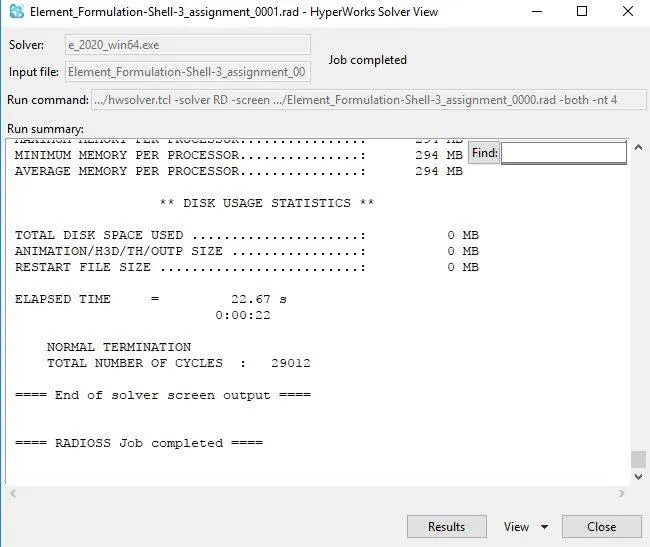
-Now after the model gets analyzed we will get an output as below:
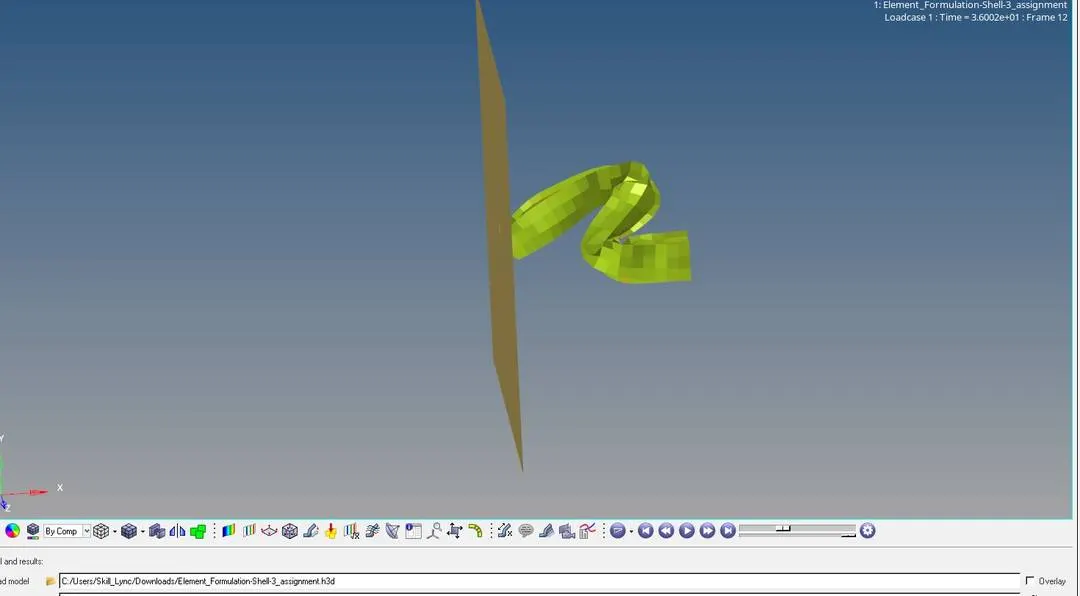
-Now for checking the animation we have to run it in hyperveiw(.h3d)format.Click on hyperveiw>and select apply>we will get an animation which show the crash test of a component and can be played by clicking on Play button
-To plot rigid wall force,internal glass energy,hourglass energy,total energy and contact energy of simulation vs time take graph we can select on hypergraph 2D option.
-Now we can update the t01 file in Hypergraph 2D and to apply the rigid force we can select the following option for gettiing the graph:

-After selecting apply>we will get a table displaying >we need to click on yes as we need not change the units.
-The output graph for rigid wall vs time taken is as below: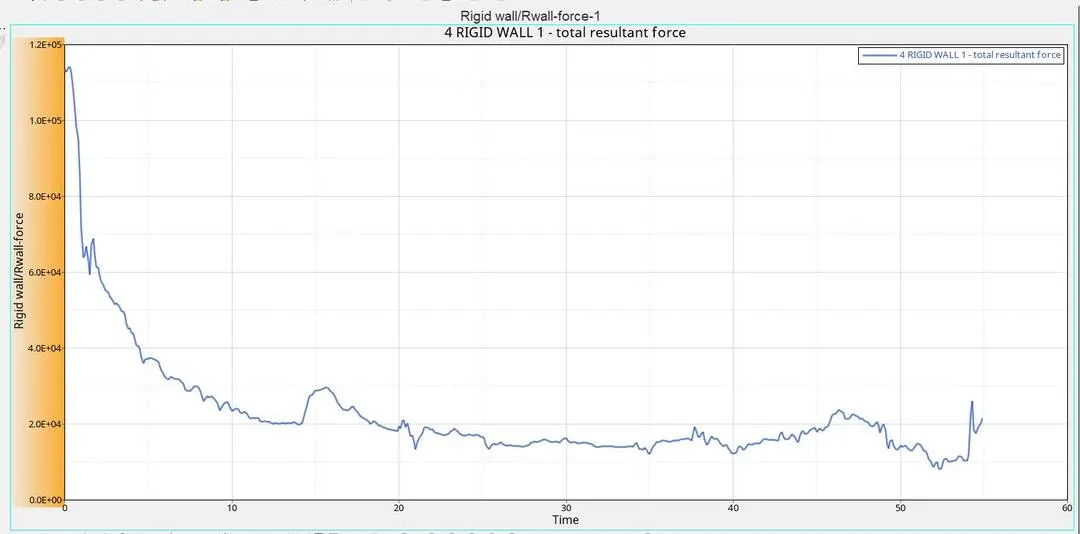
-Total energy final graph is as below:case 2
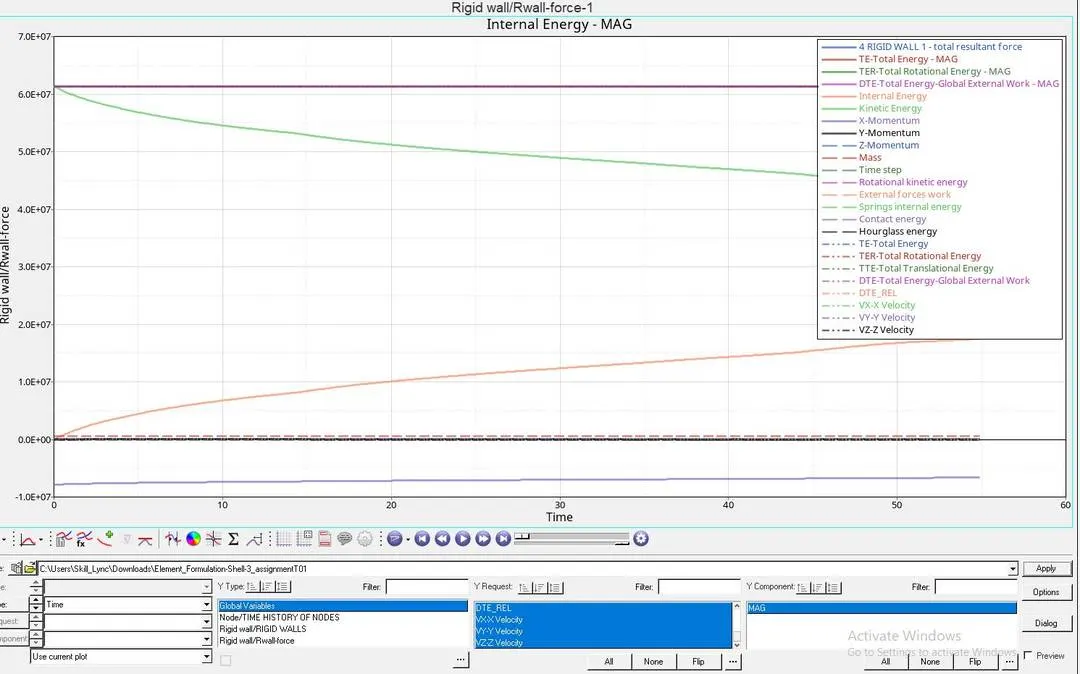
Comparisson of case 1 and case2:
-On comparing the the above 2 cases we can find out that QEPH gave more accurate results compared to case 1 condition during loading and unloading process even if there is hour glass deformation mode.
-Due to change in element property such as ishell and ismstr value we can find out the that there is a good stabilization in hour glass mode in case 2 while comparing to case 1.
Result :
-The comparison between two cases are done and the graph was plotted.