Assignment 1-2D Meshing Challenge
Geometry Cleanup Exercise:
Carry out the geometry cleanup operation on the given 3 files.
- Practice
- Clip Repair
- Mounting Bracket
There should not be any free edges, convert all of them into refine geometry.
- Clean the geometry.
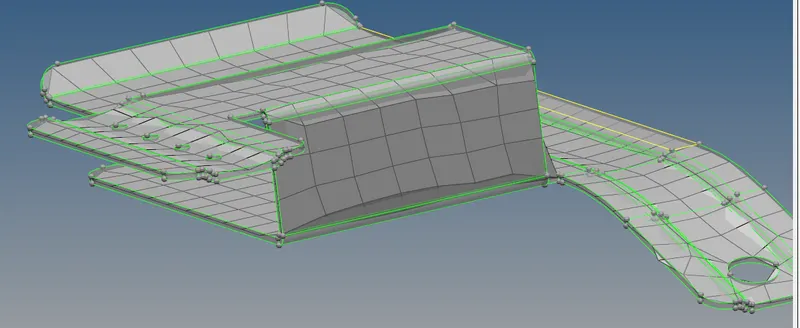
- Extract midsurface.
- Clean midsurface geometry.
- Ignore holes less than dia 5mm.
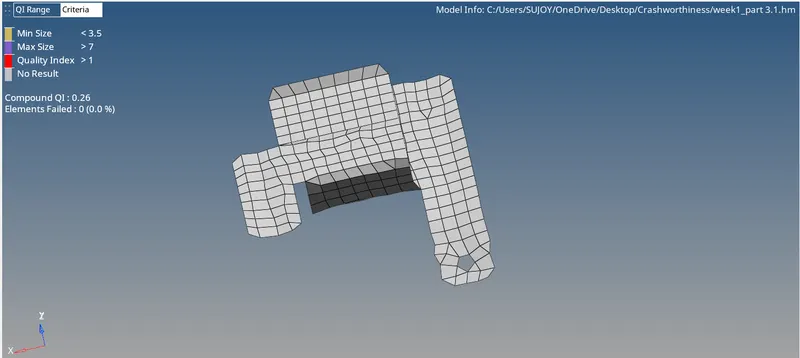
- Create 2D mesh with target length 5mm, min 3.5mm max 7mm.
- And assign proper thickness, by creating a generic property.
Step 1
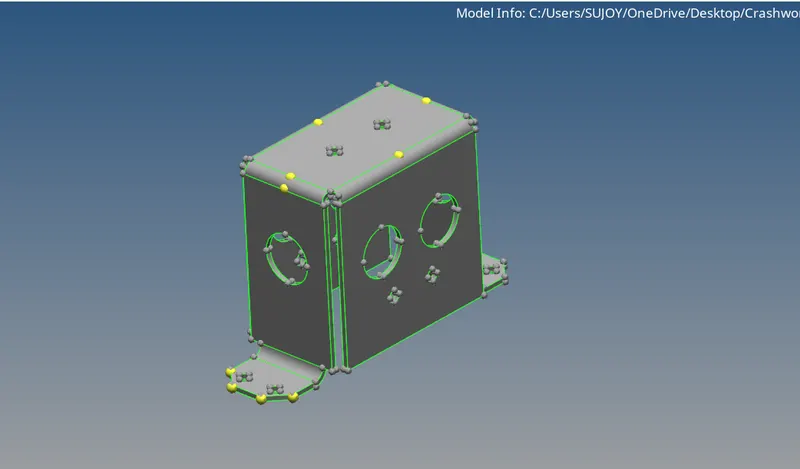
Geometry import and cleanup by using toggle edges, clear temp nodes, and deleting unwanted surfaces.
Step 2
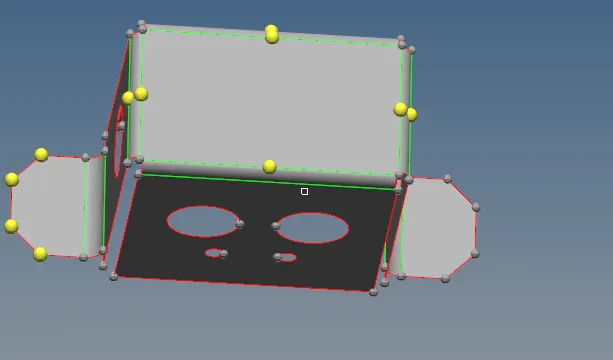
Extracting mid surface by clearing all plates from the geometry.
Step 3
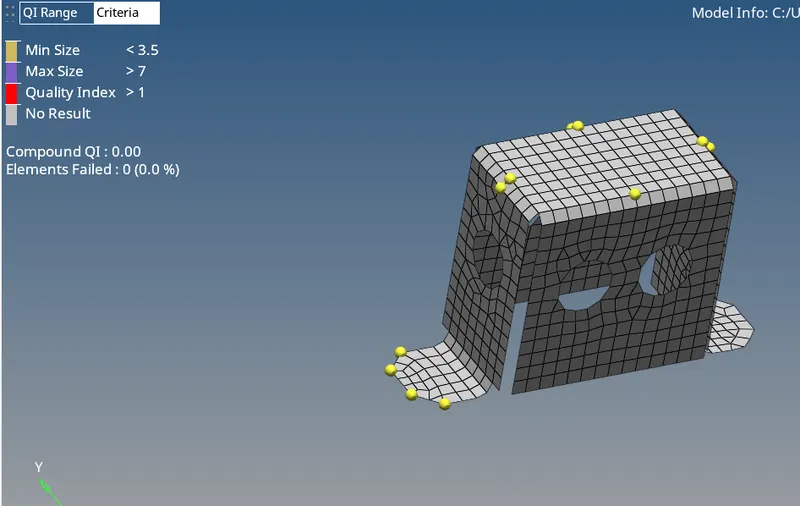
Start auto-meshing from the top face of the geometry. Use a Washer surface for better capturing of the curvature of the hole. Use mesh style to map elements as rectangles and maintain mesh flow. keep in mind to have equal elements on opposite edges for reflecting elements.
Mesh the fillet edges, keep in mind to have at least 2 elements on the fillet surface to better capture the curvature.
Step 4
Use auto mesh to create mesh on one of the shorter surfaces, for the base use ruled mesh command with ignoring the holes as the dia. is smaller than 5 mm.
Step 5
Check elements for confirming if elements are fulfilling the given passing criteria.
Step 8
Use organize command to move elements to the original geometry and give material property to the geometry with 5 mm thickness.
Part 2
Step 1
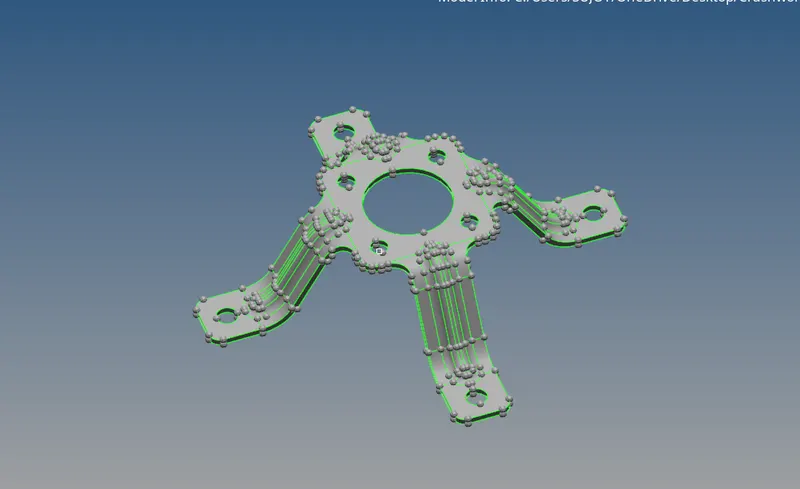
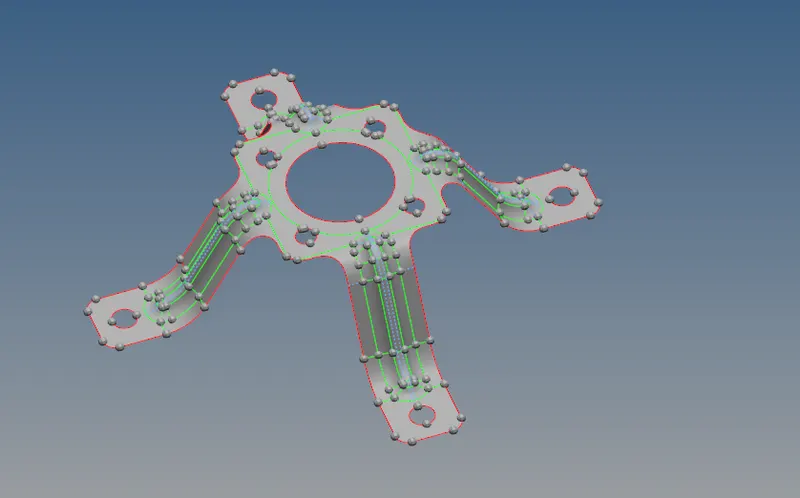
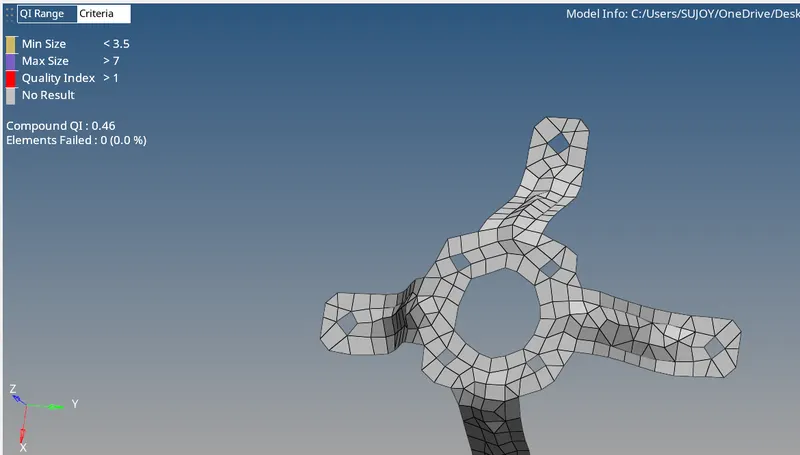
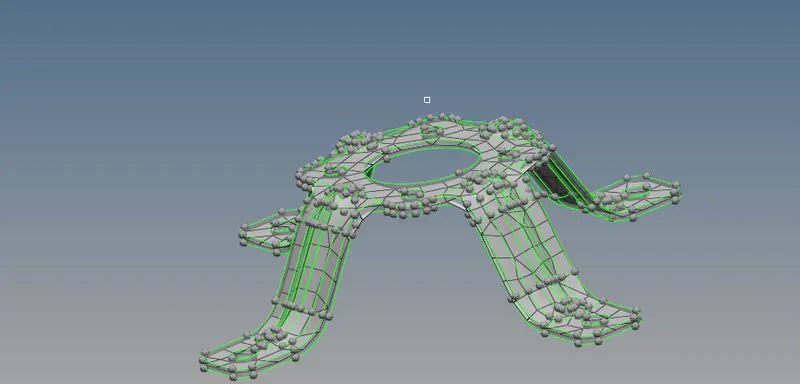
Geometry cleanup and Extraction of mid-surface.
Step 2
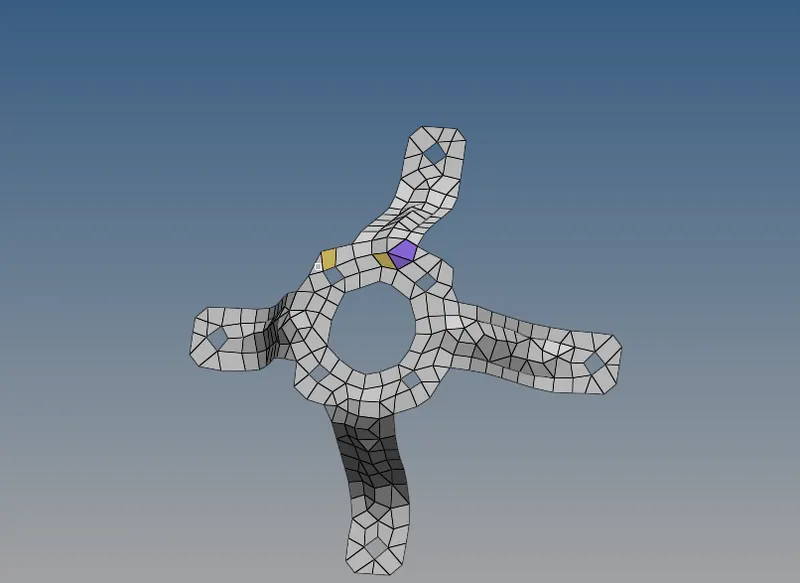
Start auto mesh on the middle part after making the washer surface around the hole as it is larger than 6 mm in diameter.
Step 3
Check for qualityindex. Make correction using element optimize option, remeshing, and scaling elements.
Move the elements to the original component
Give material property and thickness.
Part 3
Step 1
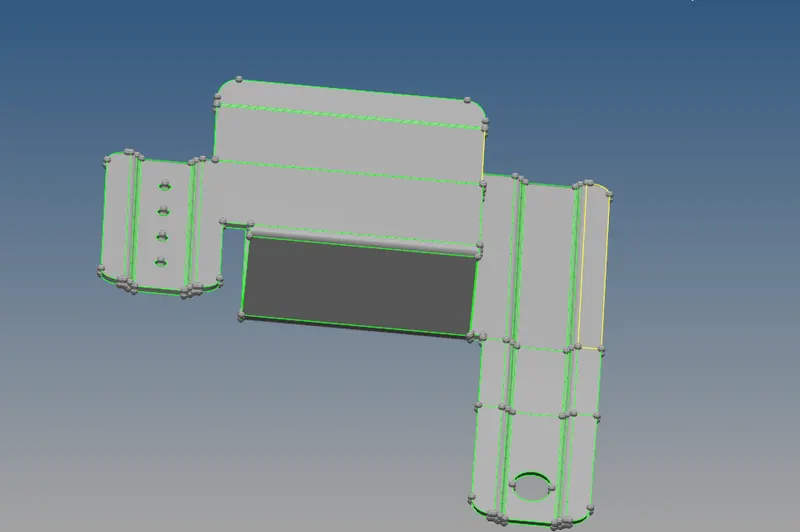
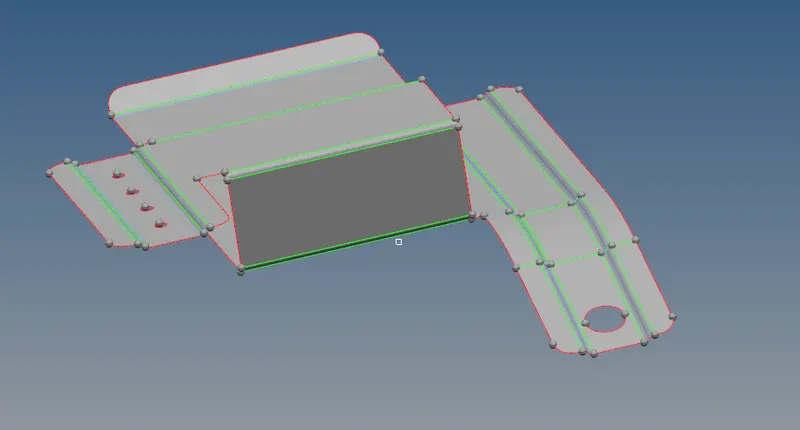
Geometry cleanup by toggle lines/surface command and use filler surface wherever needed.
Use trim command to delete surfaces which are not stiching up properly.
Step 2
Use Automesh command to create mesh on larger faces first.
Use mesh style to map as rectangle and maintaining mesh flow.
Create washer surface around the hole to better capture the hole geometry.
Create 1 additional point on the curved corners of the geometry to better capture the curvature
Step 3
For surface with holes use ruled mesh command and ignore/delete the holes as all 4 holes are smaller than 5 mm in diameter.
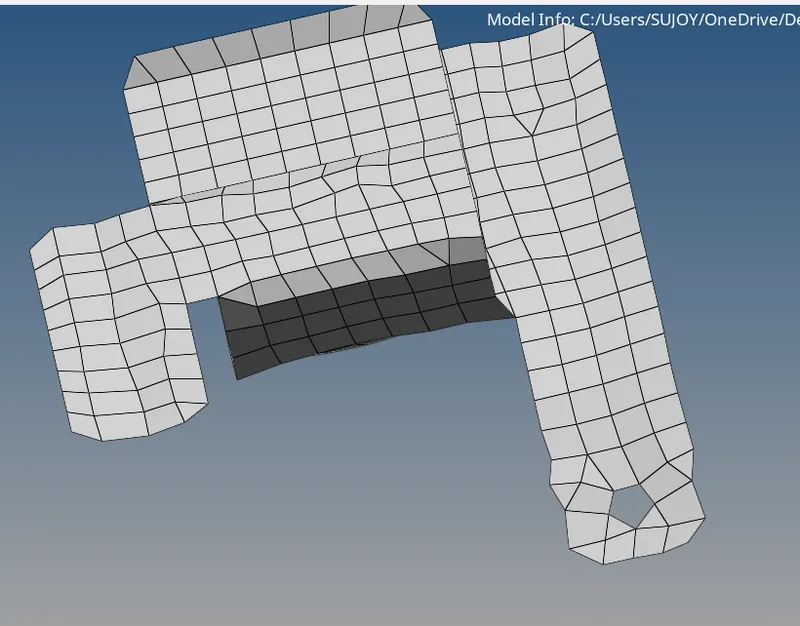
Use remesh, scale elements and element optimize commands to pass the criteria and improve the mesh quality.
Step 5
Give material property to the generate mesh and give thickness of 5 mm.
Use organise command to move the elemts to orignal geometry.