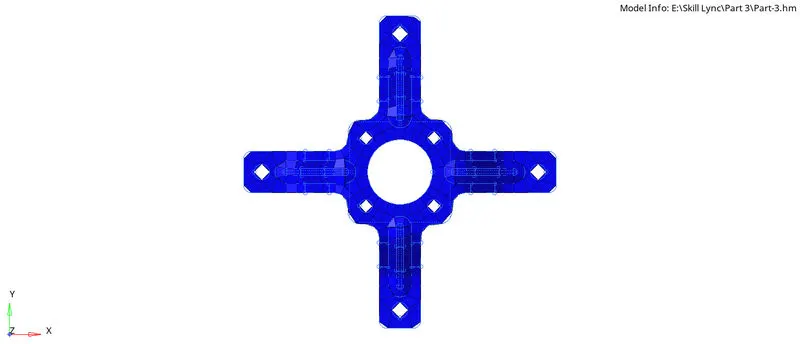
Assignment 1-2D Meshing Challenge
PART 1
Geometry Cleanup
- Trim unused surface. To fix this problem, using trim with surface (geom -> surface edit -> trim with surface/plane). Select horizontal surface for the first surface and vertical surface for the second surface.
Before
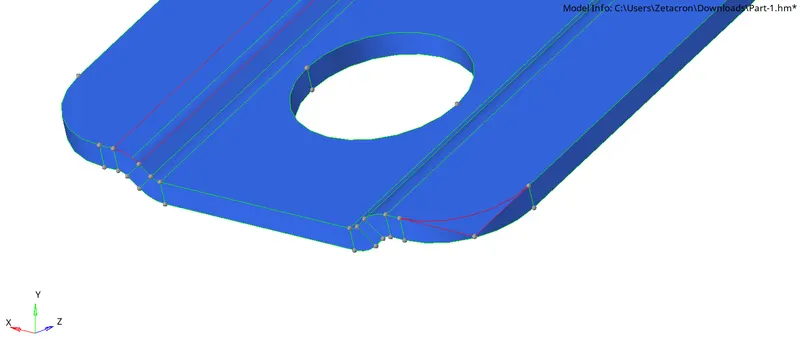
After
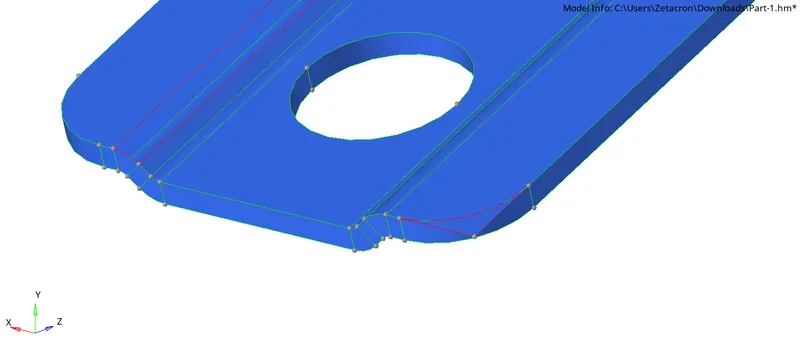
- Delete unused surface using (delete -> surface -> select unused surface).
Before
After
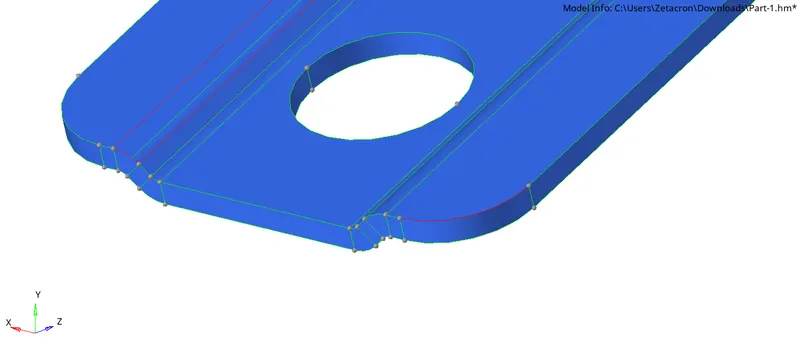
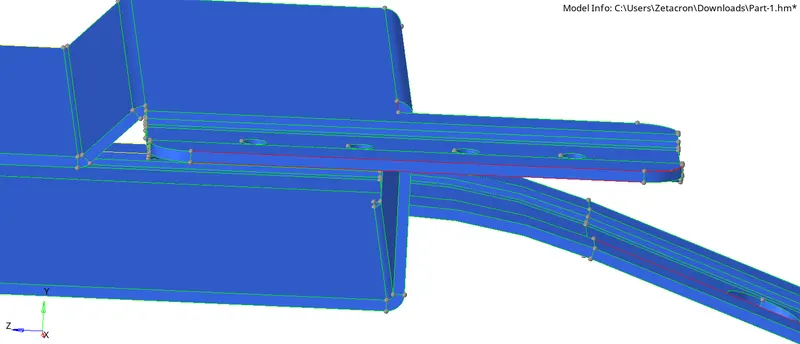
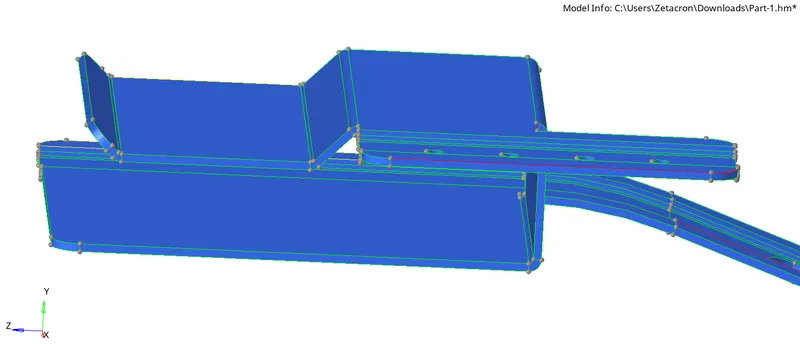
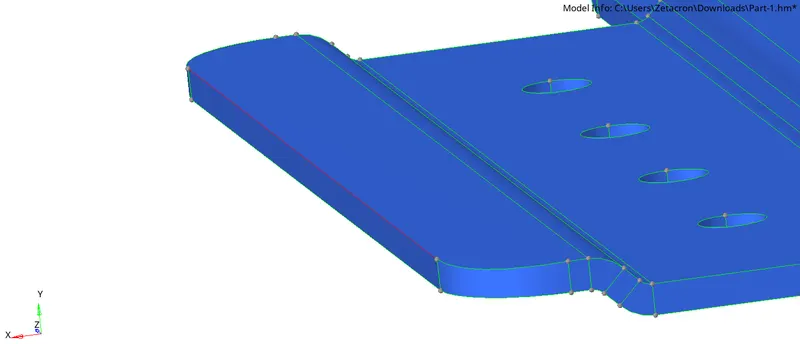
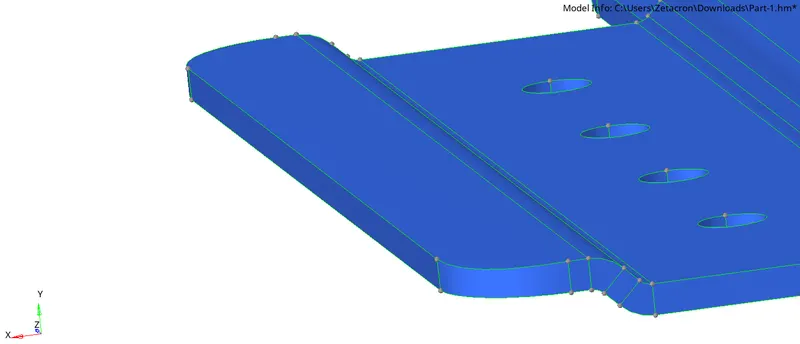
- For free edge (red line), to fix this problem use toggle edge (geom -> quick edit -> toggle edge -> select edge). After this tool is used the free edge will equivalence to another edge.
Before
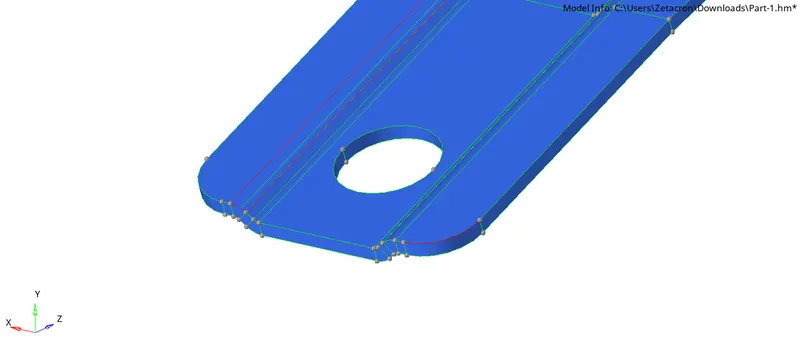
After
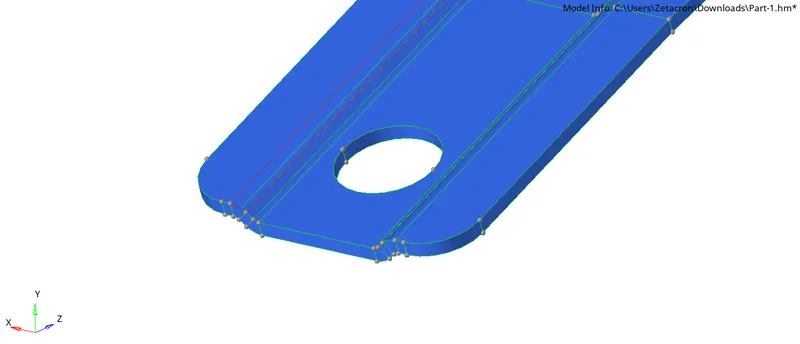
Before
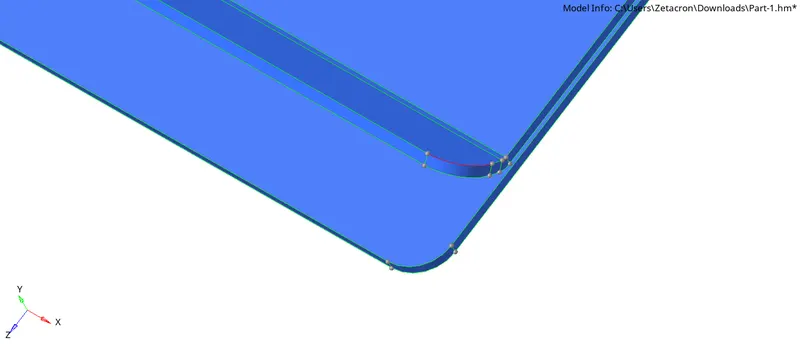
After
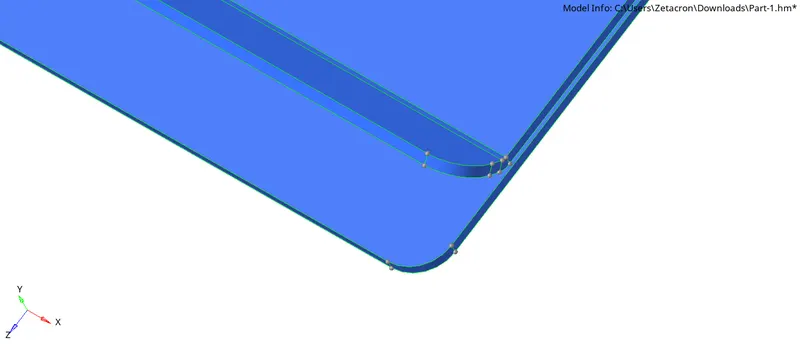
Before
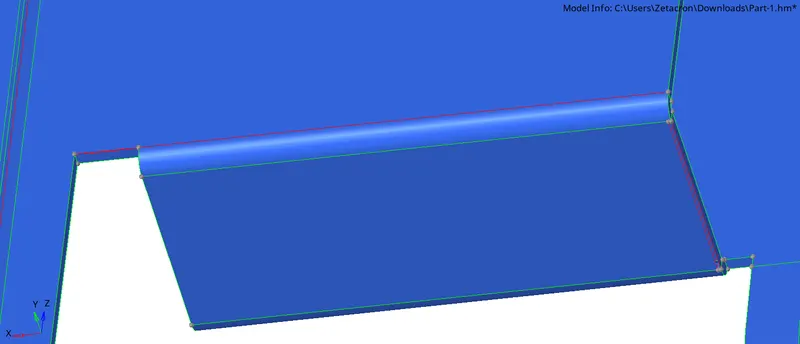
After
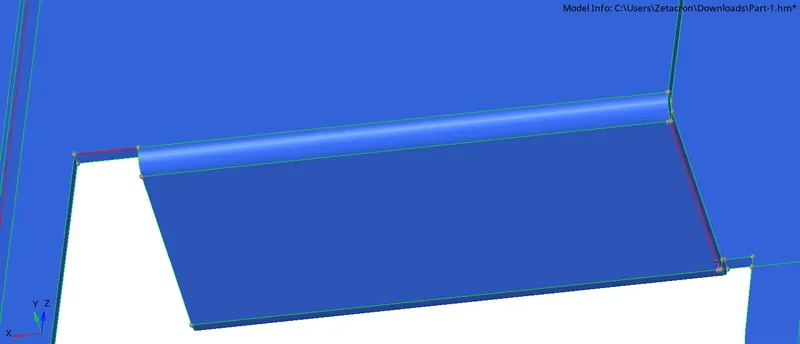
Before
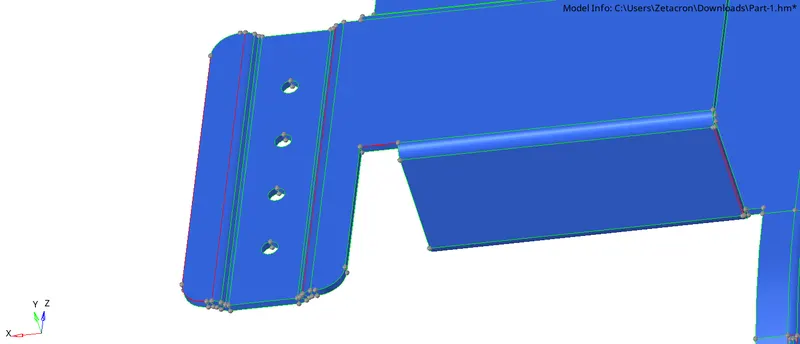
After
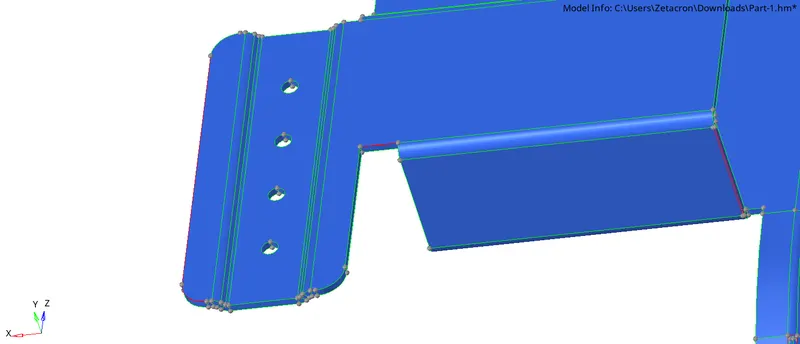
Before
After
Before
After
- Yellow line means that the line associate with 3 or more surfaces. For fixing this problem, delete surface that is inside the yellow line (delete -> surface -> select the surface).
Before
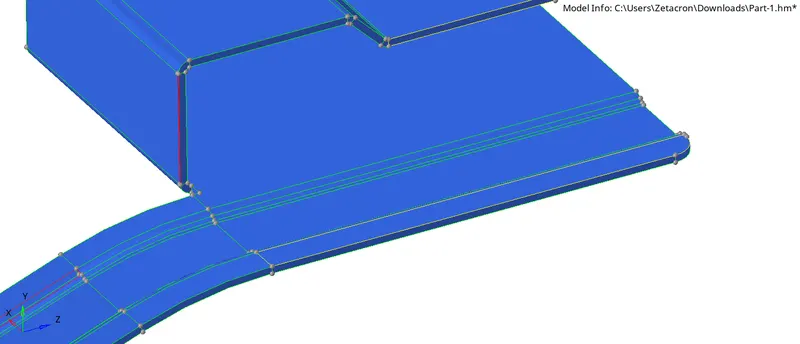
After
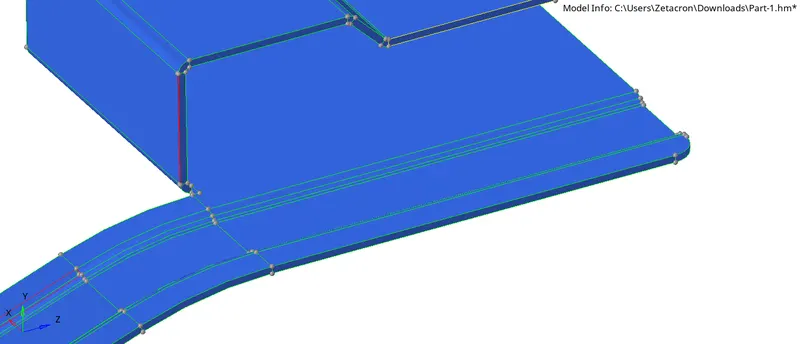
Before
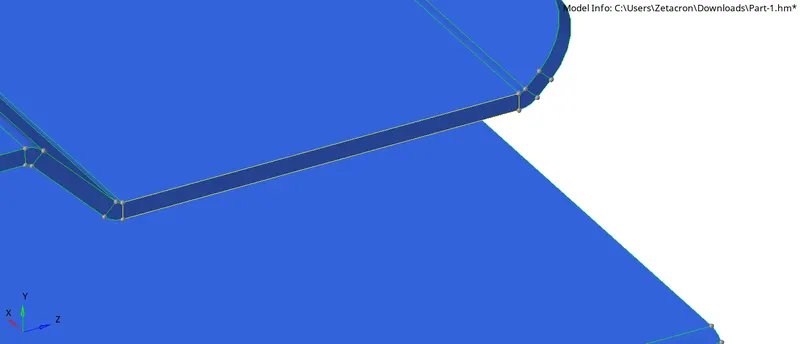
After
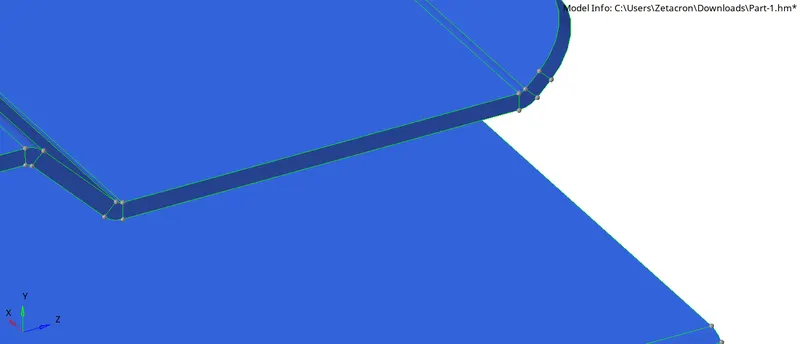
- Missing surface can be repaired by using filler surface (geom -> quick edit -> filler surface).
Before
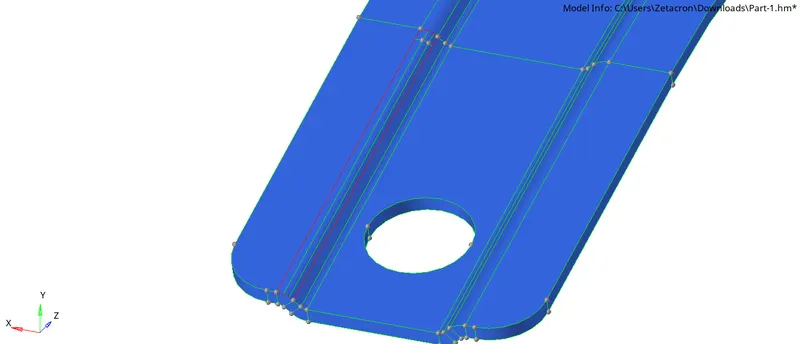
After
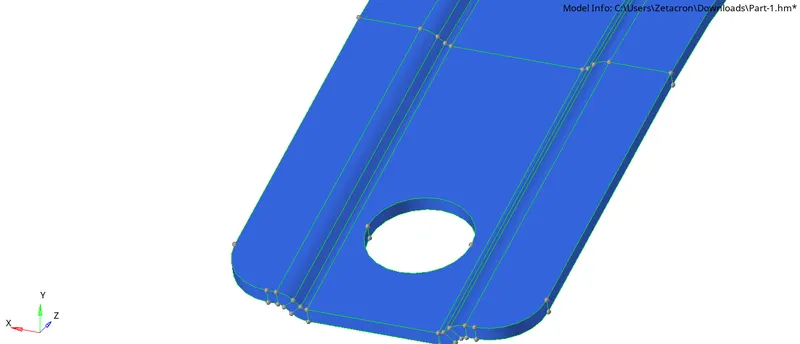
Before
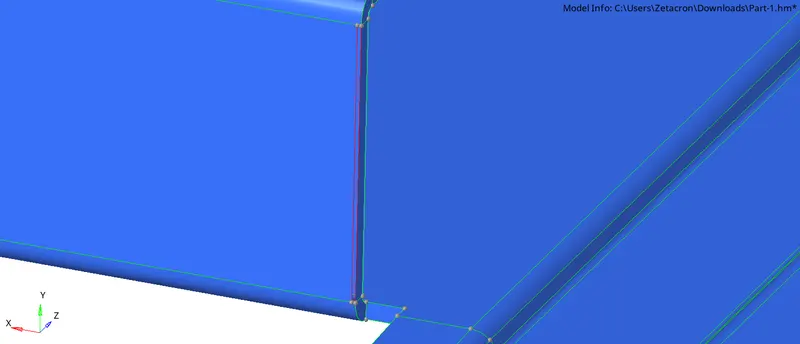
After
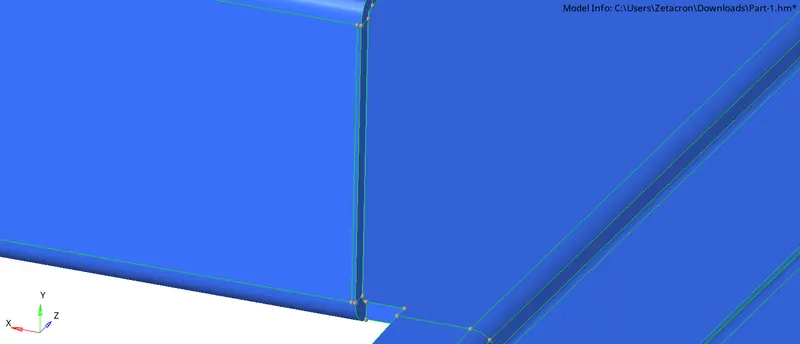
- Double free line can be fixing used replace (geom -> edge edit -> replace).
Before
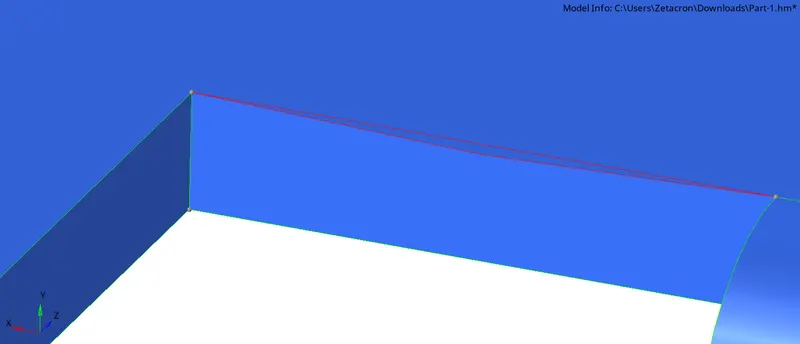
After
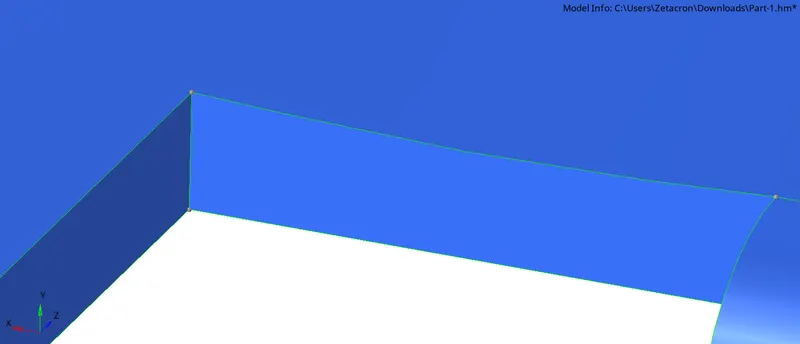
Before
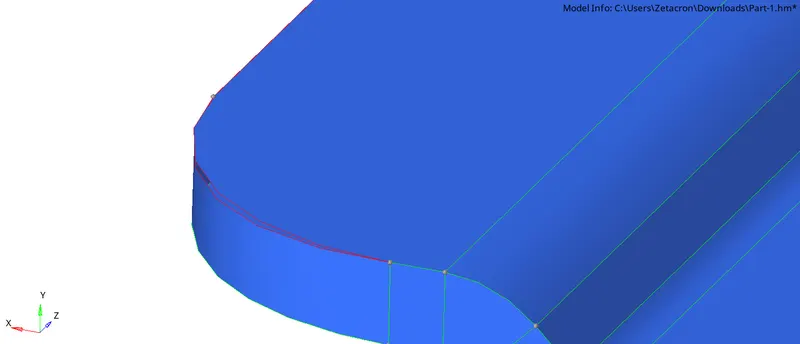
After
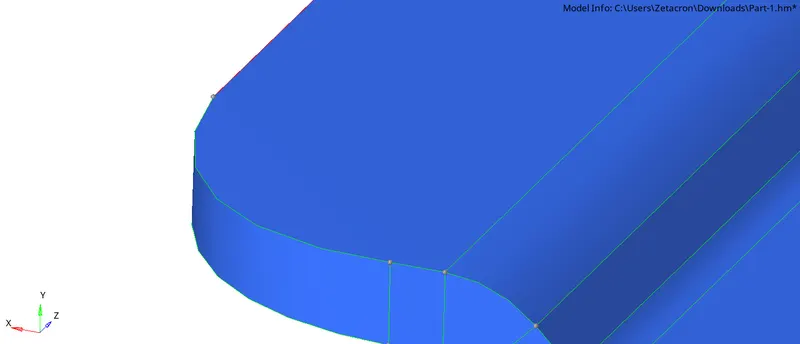
Extract Midsurface
To extract midsurface used midsurface tool (geom -> midsurface -> auto midsurface -> select surface).
Before
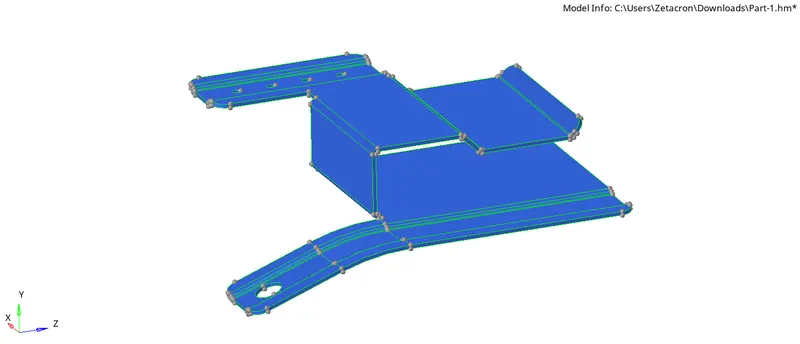
After
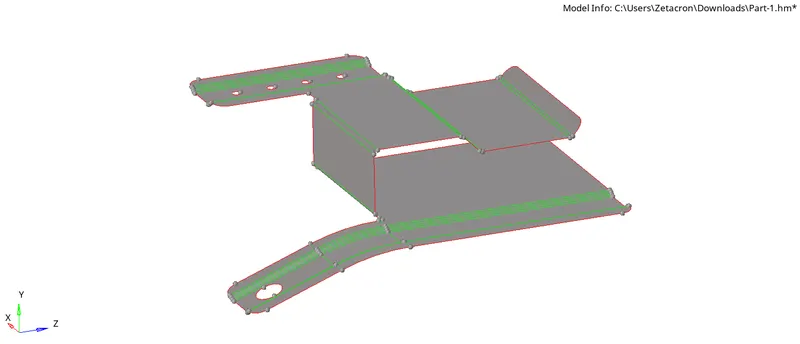
Ignore hole less than 5 mm in diameter
To remove holes with a diameter of less than 5 mm, a defeature tool is used (geom ->defeature -> pinholes).
Before
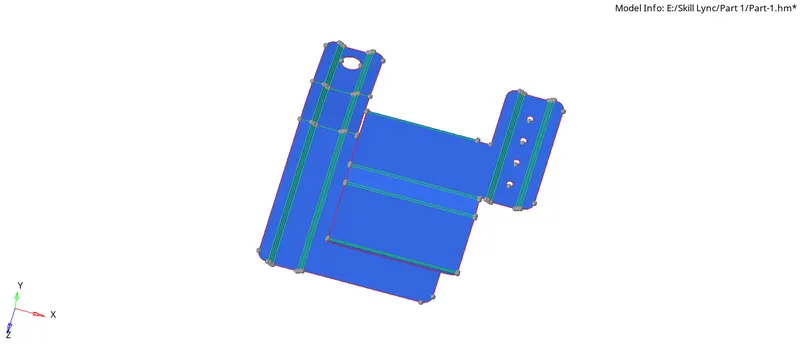
After
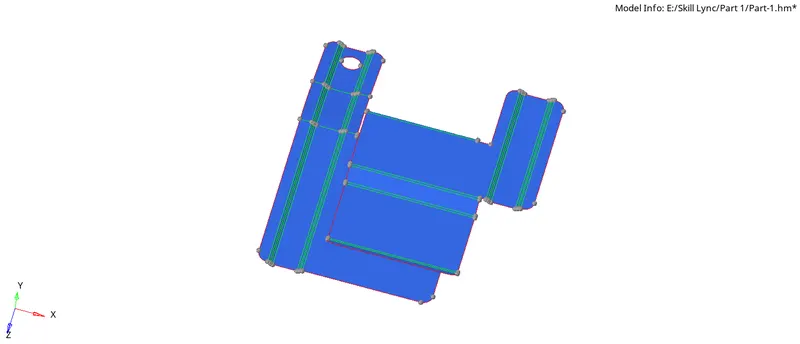
Mesh
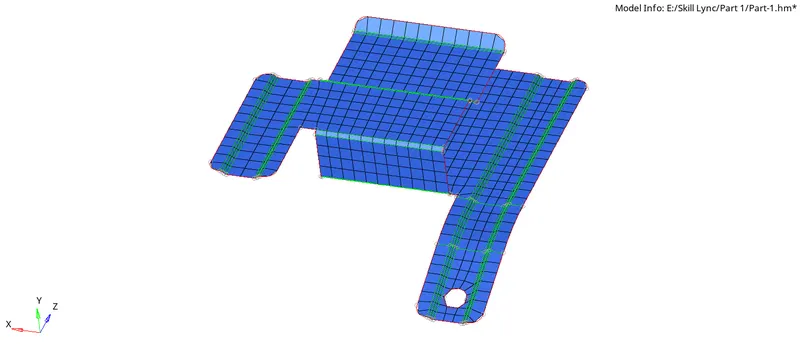
Making the mesh using automesh with a density of 3.5 mm. This density value gives a better mesh result than the density with a larger value. To get good mesh results, quality indexes such as smooth and drag tria element are used
Before
After
PART 2
Geometry Cleanup
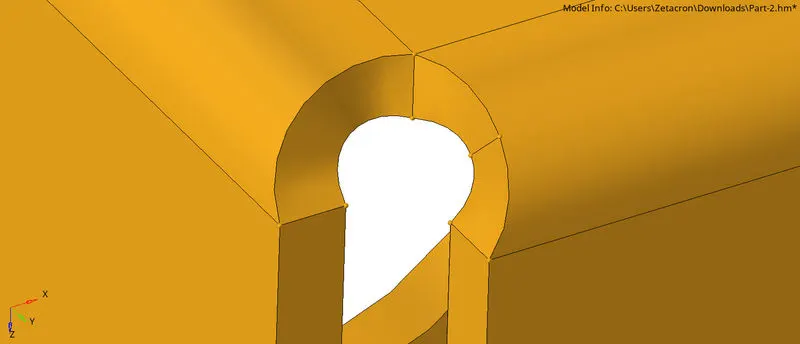
Some lines can be distrubting during midsurfacing process. To fix this problem, the point position should be moved to other point. 1 point should maintain the position and another point should be moving. This tool is located in geom -> quick edit -> replace point -> select points
Before
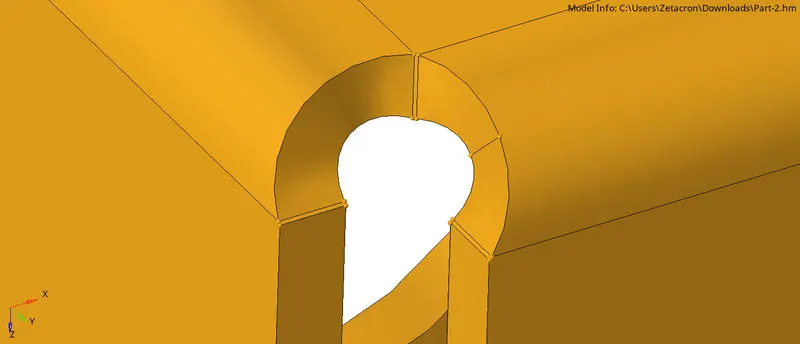
After
Extract Midsurface
To extract midsurface used midsurface tool (geom -> midsurface -> auto midsurface -> select surface).
Before
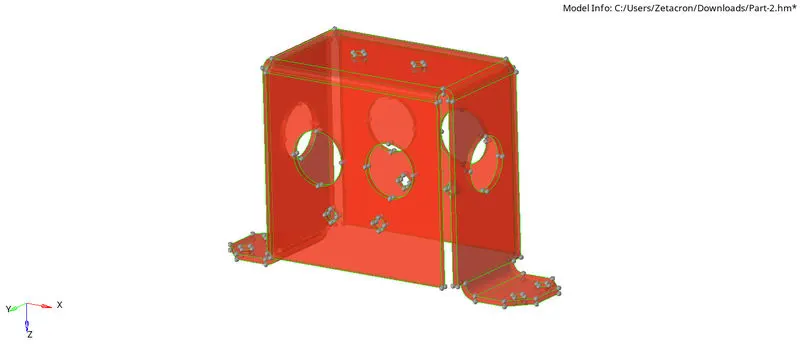
After
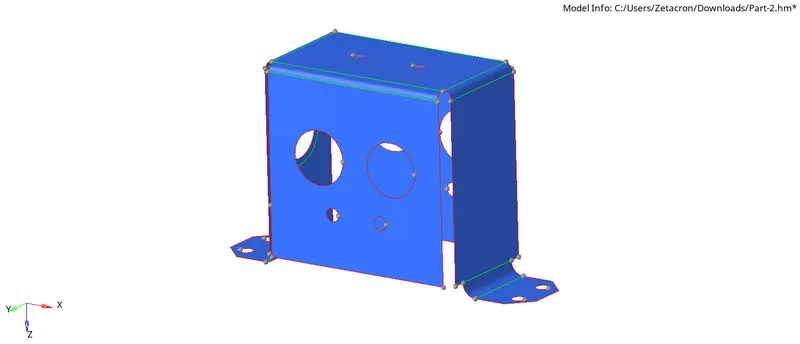
Geometry Editing
This feature is used to make the component easy to mesh. There are many lines and points that can be hidden from geometry. Unused line can be hidden using toogle edge (geom -> quick edit -> select line) and for unused point can be hidden using remove point (geom -> quick edit -> select point).
Before
After
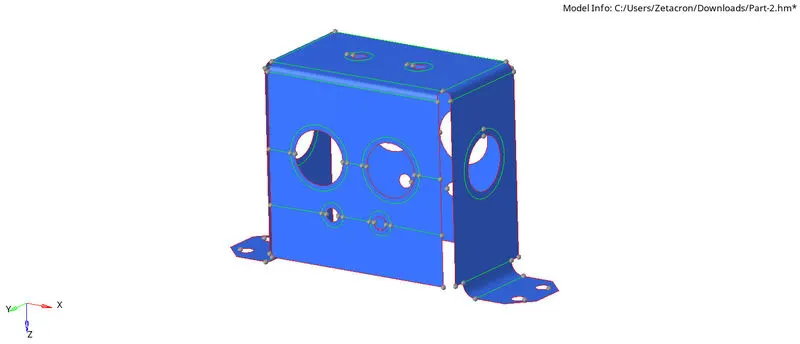
Mesh
Automatic mesh is used to mesh the goemetry, density for mesh is 5 mm. to get a good mesh quality use tool in quality index (ex. Smooth, place node, element optimize, drag tria element, etc).
Before
After
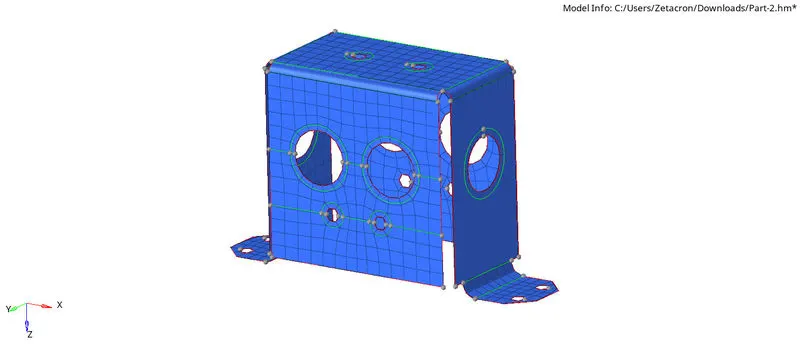
PART 3
Extract Midsurface
To extract midsurface used midsurface tool (geom -> midsurface -> auto midsurface -> select surface).
Before
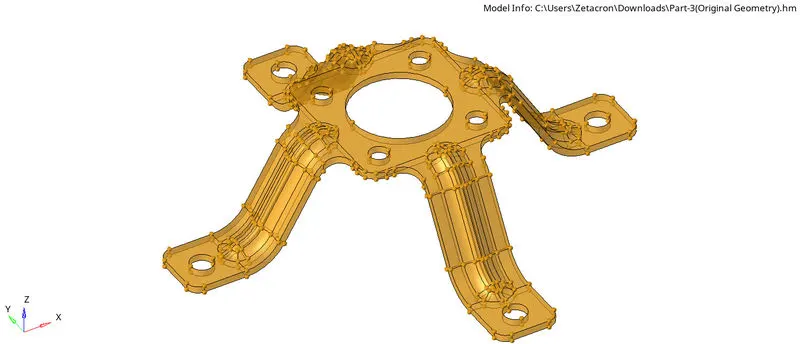
After
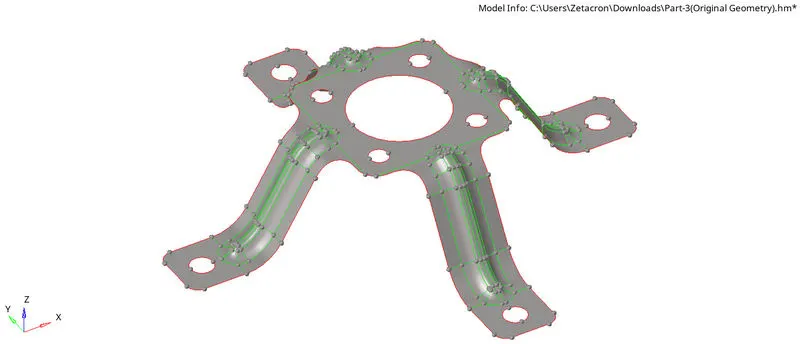
Geometry Editing
This feature is used to make the component ease to mesh. There are many lines and point that can be hidden from geometry. Unused line can be hidden using toggle edge (Geom -> quick edit -> select line) and for unused point can be hidden using remove point (Geom -> quick edit -> select point).
Before
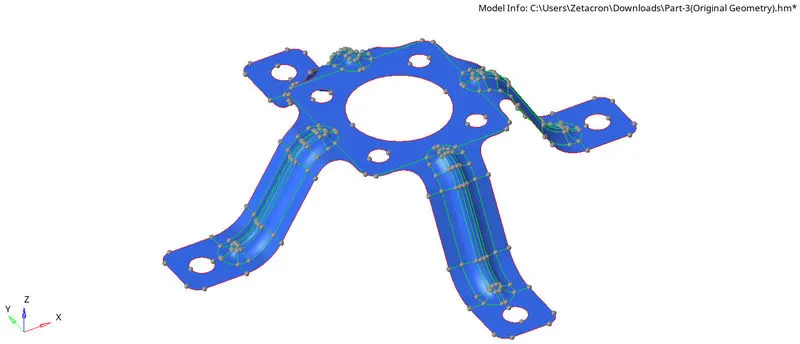
After
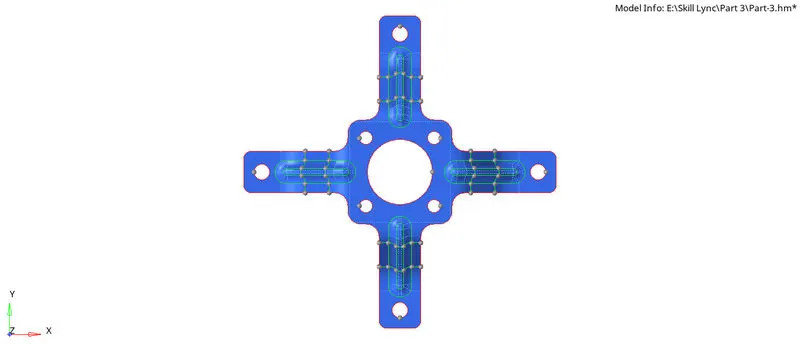
Mesh
Automatic mesh is used to mesh the geometry, density for mesh is 5 mm. to get a good mesh quality use tool in the quality index (ex. Smooth, place node, element optimize, drag tria element, etc).
Before
After