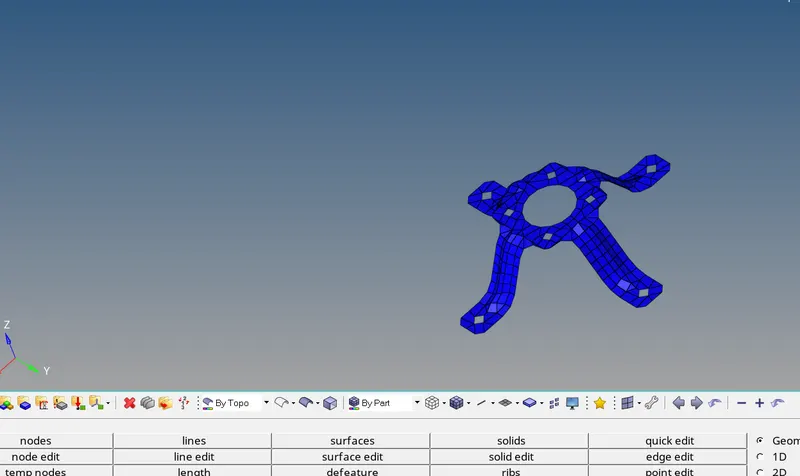
Assignment 1-2D Meshing Challenge
AIM:--
To carry out 2D meshing for
. Practice
Clip Repair
. Mounting Bracket
OBJECTIVE:--
. Import the CAD
Cleanup the geometry
• Extract the mid-surface for the geometry
• Meshing the Model as per quality
• Improve the mesh quality
• Assign thickness to the mid surface
PROCEDURE:--
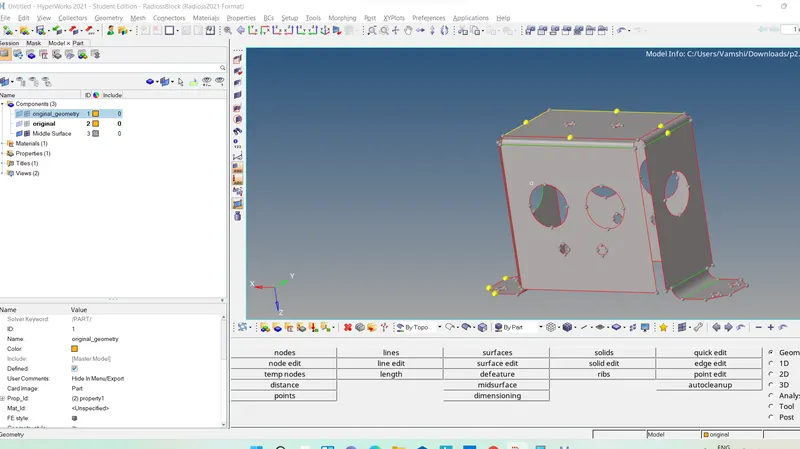
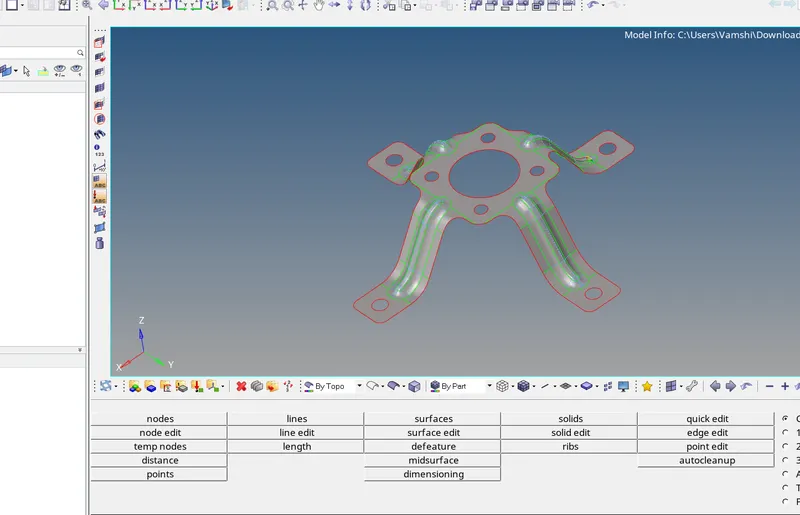
Import the model first
• Visualize the model thoroughly so that you can get idea how to approach the model.
Switch to TOPPO for better view.
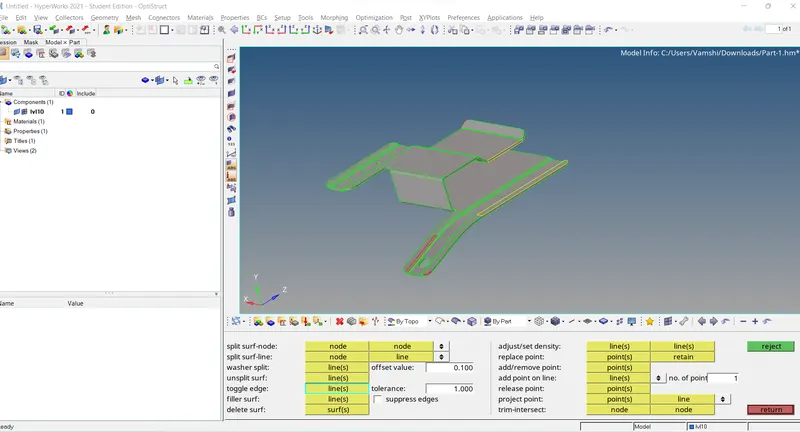
PART 2
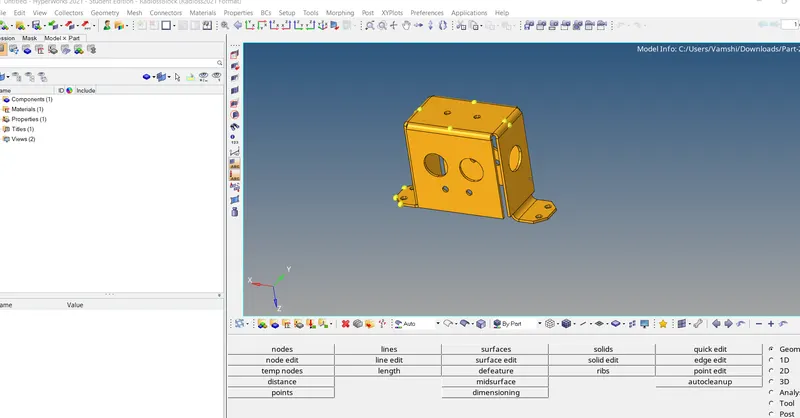
PART 3
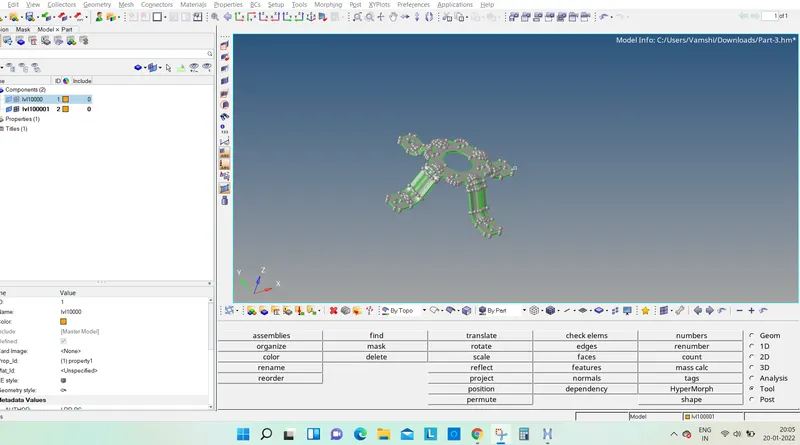
Defeature:
i. Surfaces that fail for the minimum element size can be defeatured.
ii. Here the surface fillets fail for the minimum length
iii. Enter the minimum and maximum radius and select defeature.
iv. Now the surfaces will be defeatured you can see the status and change in surfaces in graphical area.
There should not be any free edge otherwise it will not be closed and then you will not be able to use AUTO MID • Remove all the red line by using TOGGLE EDGE option (F11) or you can use the FILLER SURF (F11).
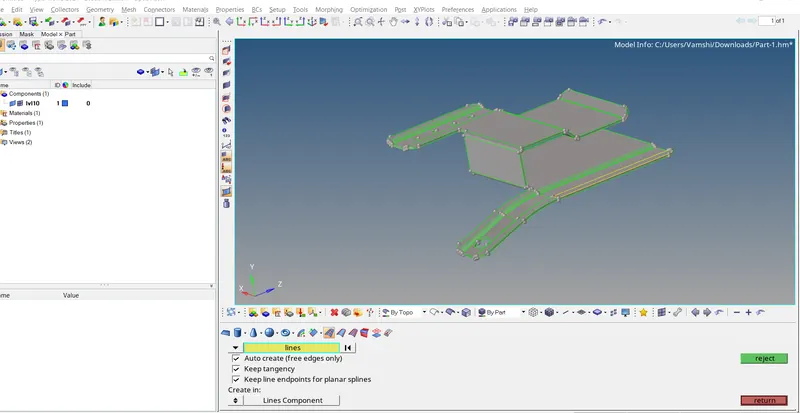
PART 2
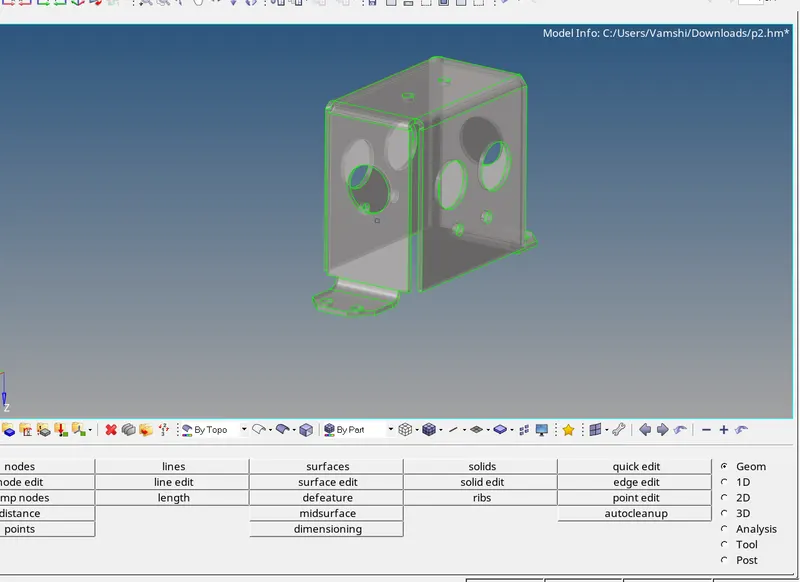
PART 3
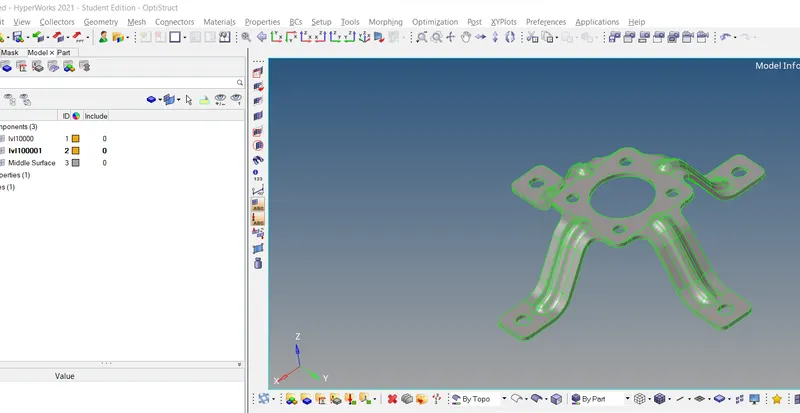
Extract the Mid-Surface:
Click on the mid-surface from the geometry menu bar.
ii. Select the surfaces and click on extract.
lis. The mid-surface of the component will be extracted.
v. Thus, the mid-surface can be extracted and seen on the graphical interface.
iv. Hide the original component and rename the middle surface that is extracted.
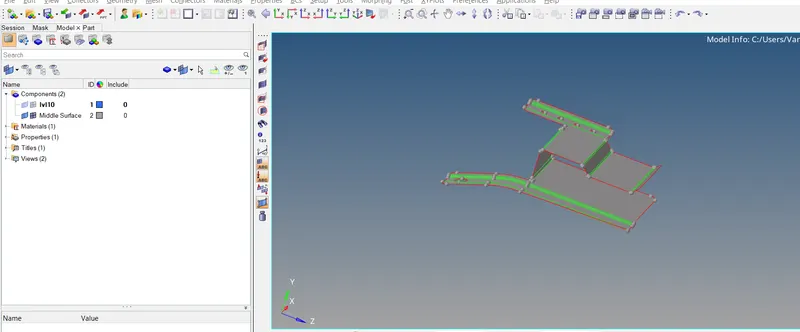
PART 2
PART 3
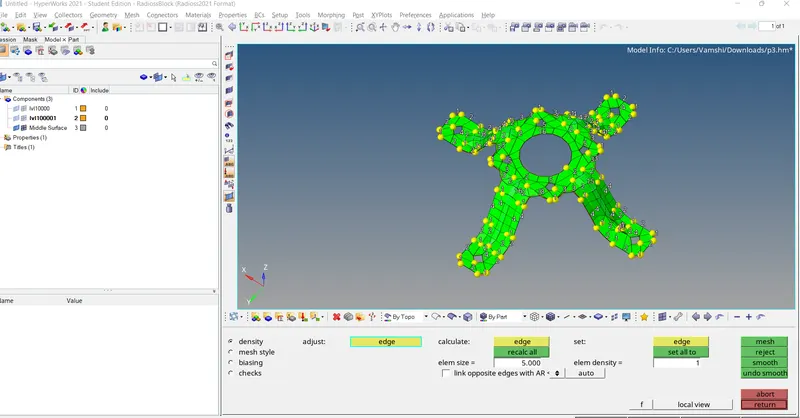
Meshing:
i. Ensure the criteria file is applied and the values are properly applied.
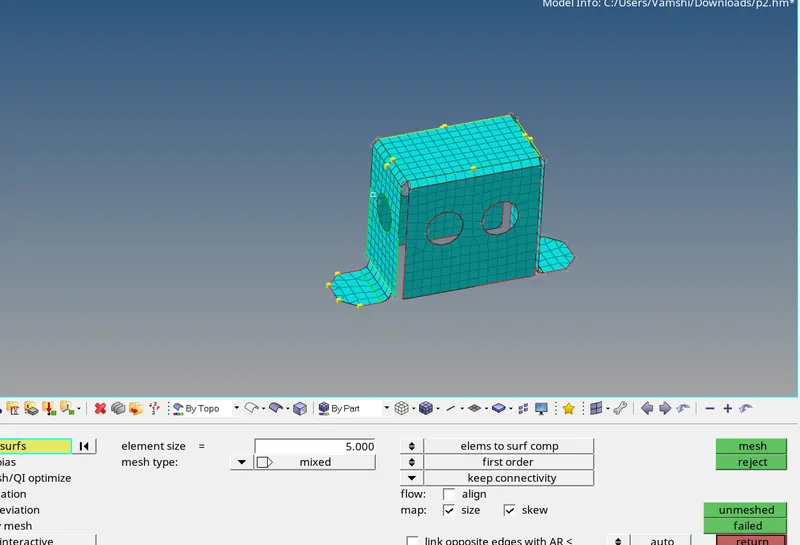
ii. Click on Auto-mesh from the 2D menu in the menu bar.
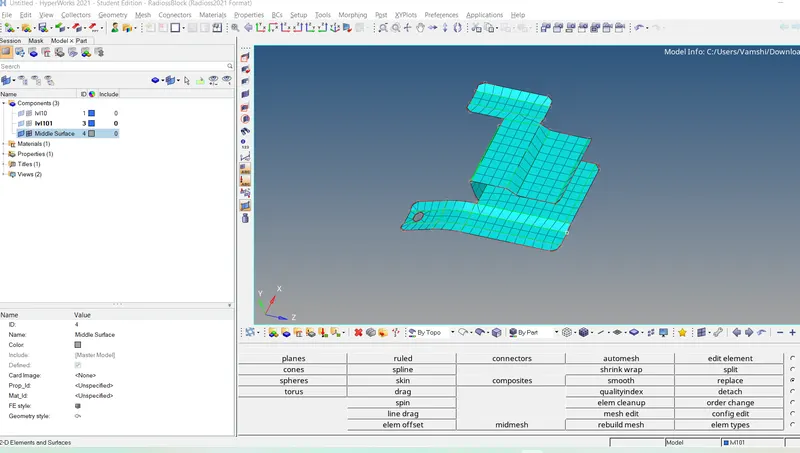
iii. Set the element size to 5, select the element type as mixed (quads & tria's) and select the surface to be meshed and click on mesh.
iv. Mesh will be created on target surface.
v. Adjust the number of nodes on the either of sides, so that make sure rotational quads are not formed on the surface.
PART 2
PART 3
Element Quality:
i. Check the element quality for failures.
ii. Perform the element optimization from the quality index.
iii. Re-mesh group of elements if necessary.
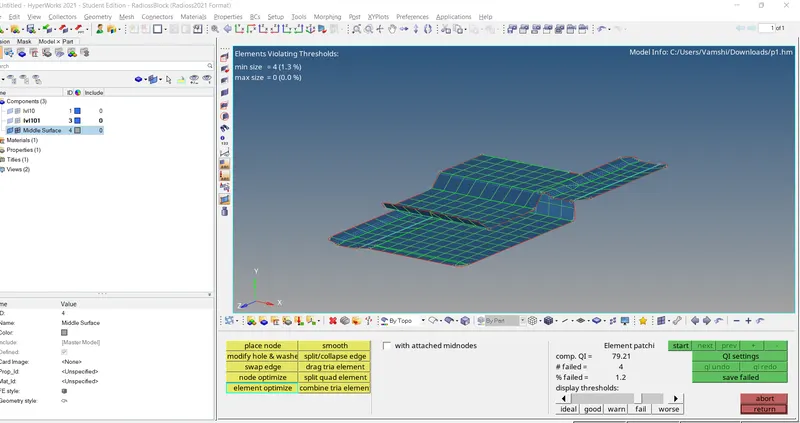
PART 2
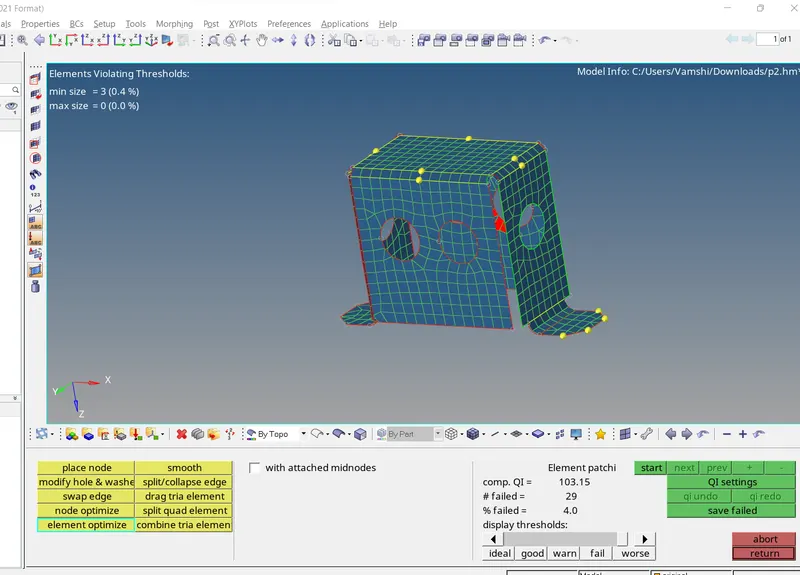
PART 3
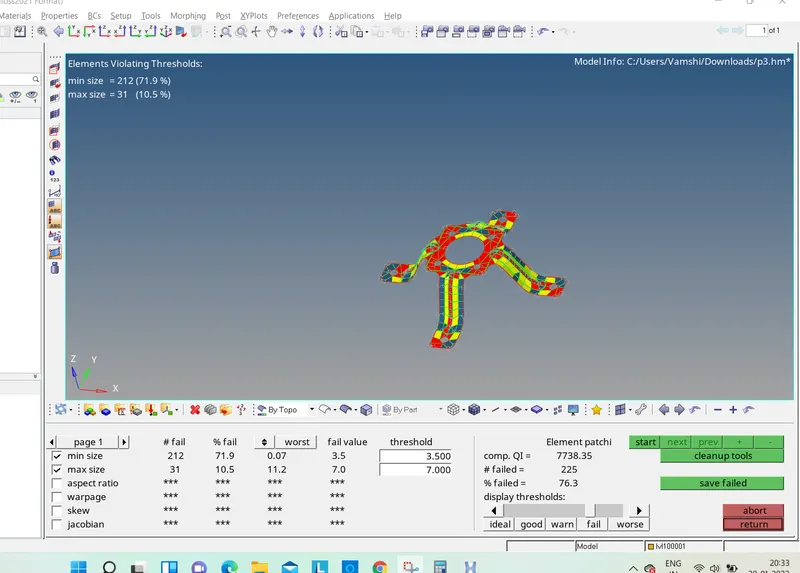
Assigning the Thickness:
i. Check the thickness of the parent geometry.
ii. Create property and assign the thickness to the property.
iii. If the thickness is varying separate them to different collectors and create multiple properties. iv. Assign the properties as per the thickness.
v. To check the thickness switch to 2D Traditional Element Representation.
RESULTS:
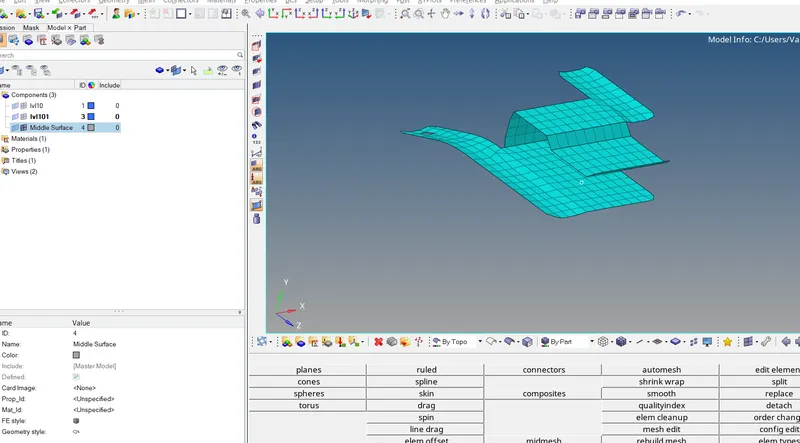
PART 2
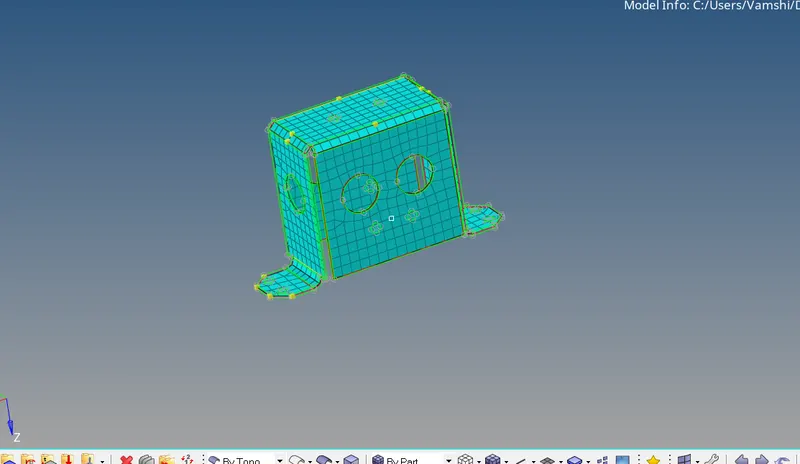
PART 3