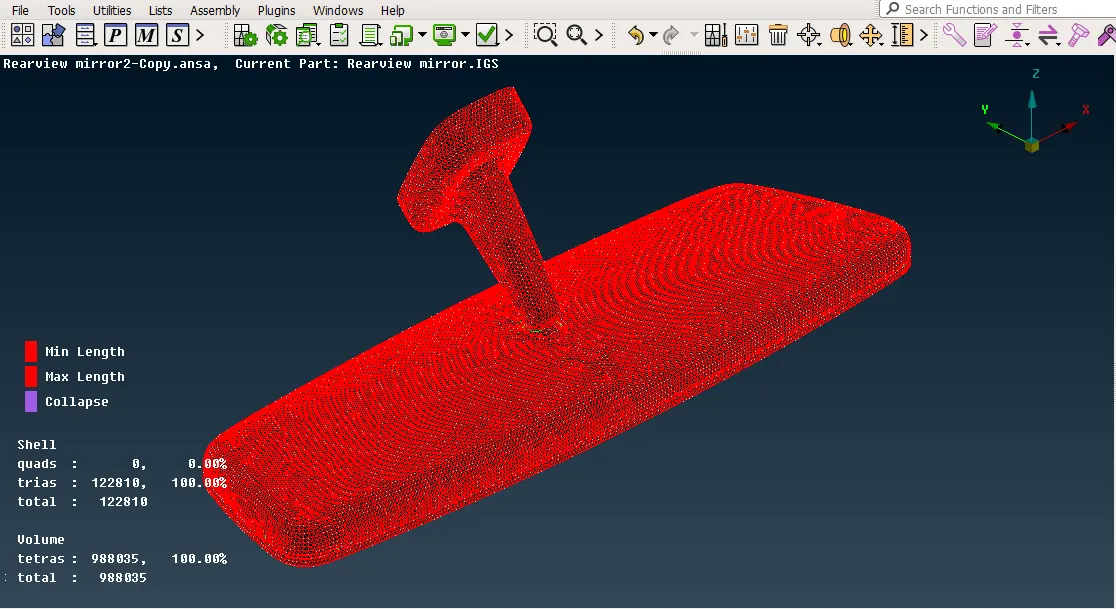
3D Meshing (Volume Mesh) with tetra elements of a Rearview Mirror using ANSA
Aim:- To check for the geometrical errors and mesh the component using tetra elements under volume mesh followed by the given element Quality criteria.
Basic Steps
1) Import component and Go for Length option from the mesh module to find out the actual geometry of a model
2)Perform topo on it, as the model is too distorted after importing from different software.
3) After understanding the geometry, and its properties go for meshing.
4) Assign Quality criteria before beginning with meshing.
5) De featuring is done where elements could fail.
6) Shell meshing of geometry and clearing quality issues.
7) Defining volume and meshing the defined volume.
8) Clearing quality issues in the volume mesh, like kinks and dips.
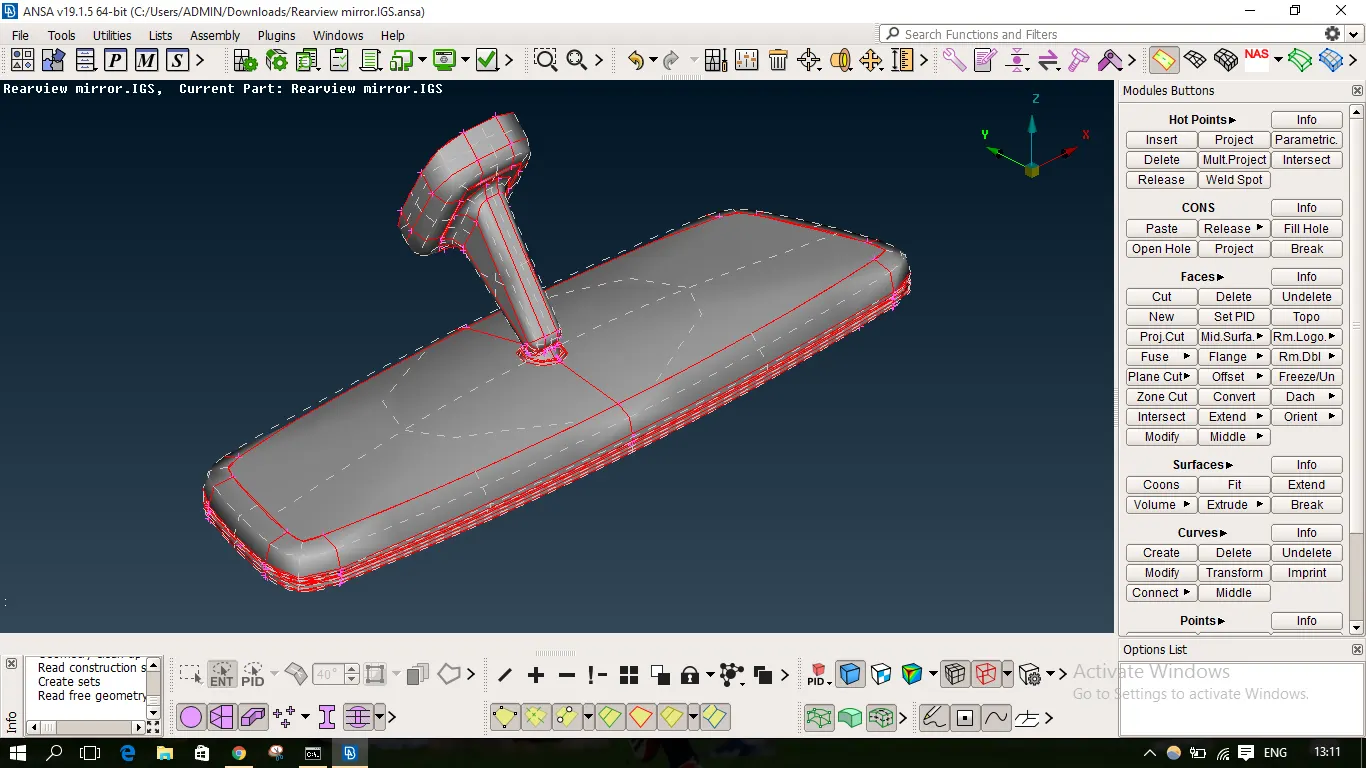
The week5 challenge model Rear View Mirror was loaded on the ANSA workbench, the model looked as follows:
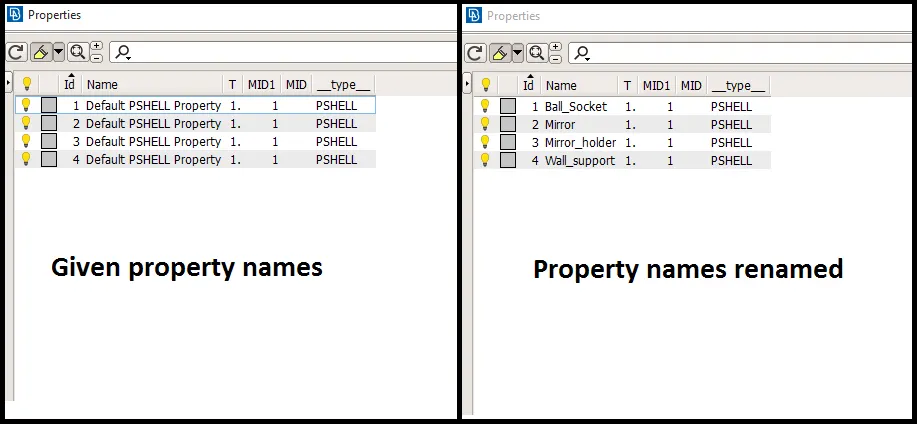
Properties were checked and found that it had similar names for all the parts, so it was renamed to avoid confusion.
Geometry Cleanup:
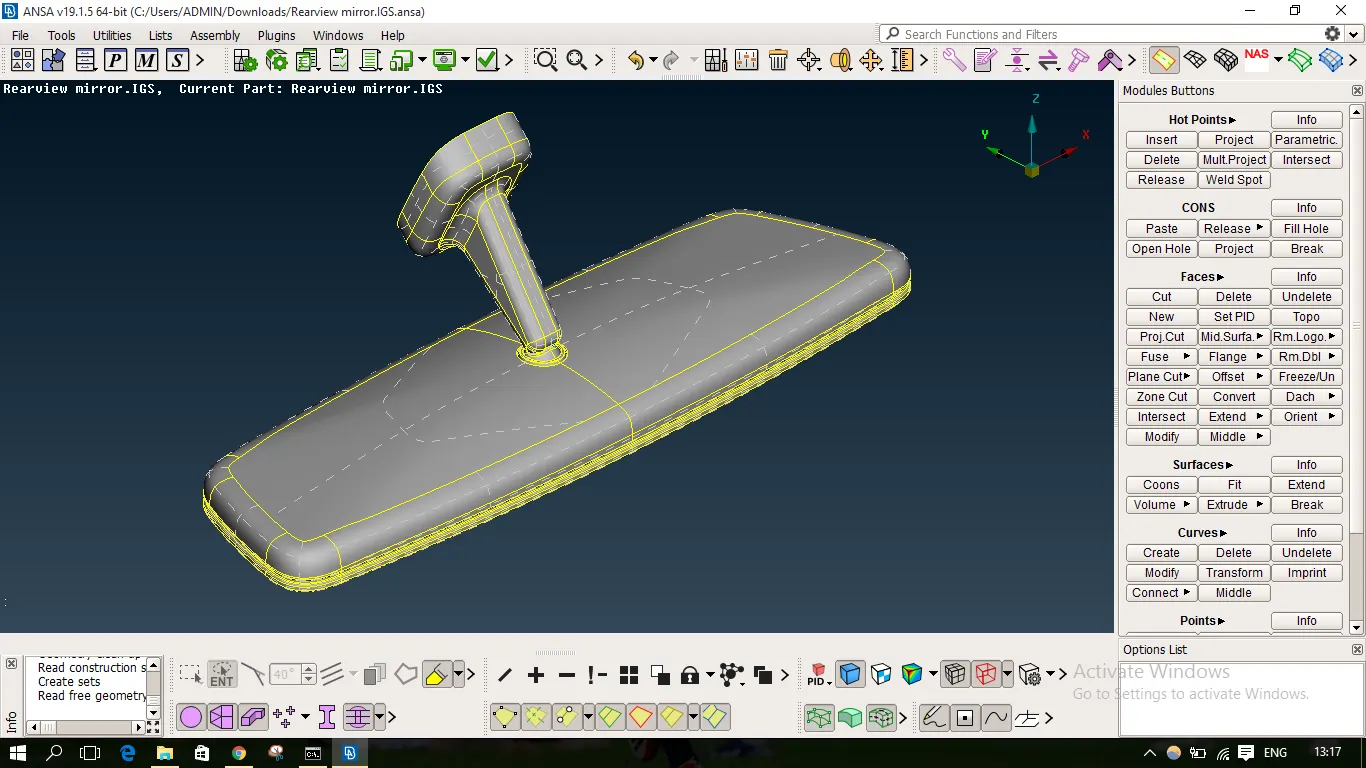
It is seen the model features are not clearly visible, many red lines are visible meaning single cons. Topo has to be done to the geometry and in mesh module, the length of macros is set at 1 to get the real shape of features as follows:
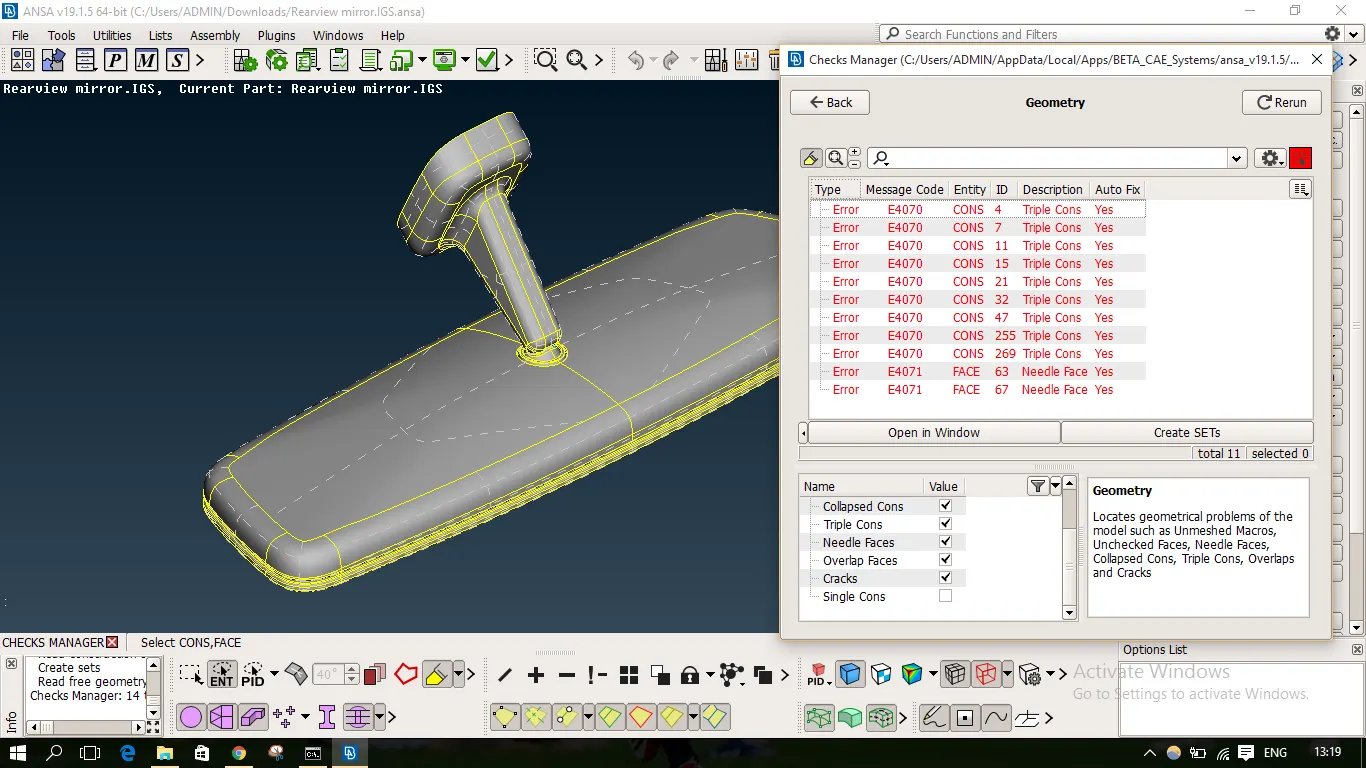
The model was later checked for geometrical errors using Checks for Geometry and errors like crack, unchecked faces, needle faces were fixed.
Shell Meshing
After geometry checks, the quality criteria and mesh parameters are set.
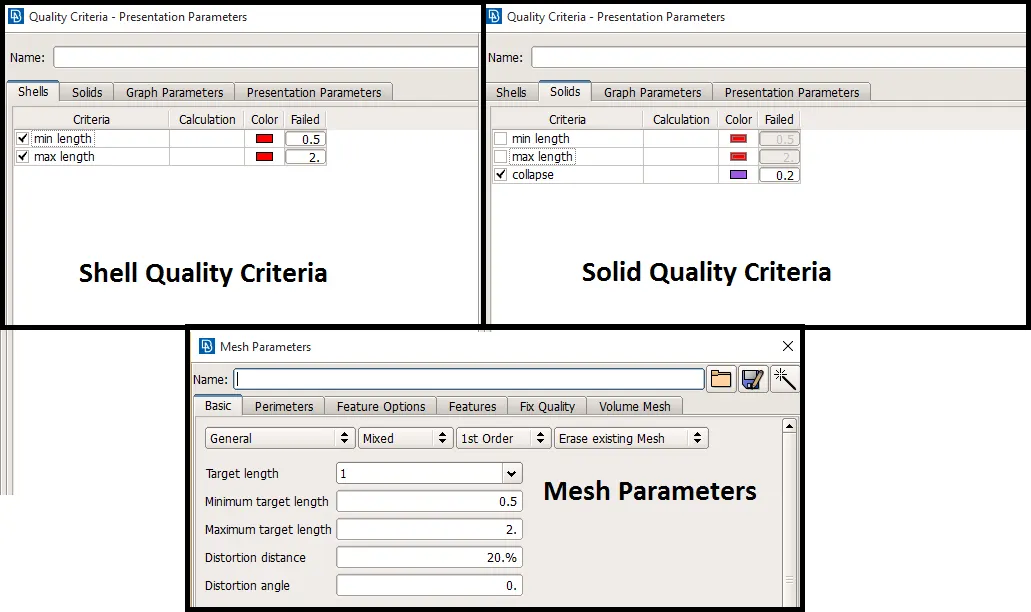
- Note: Lenght criteria were not considered in solids, as instructed by the support engineer.
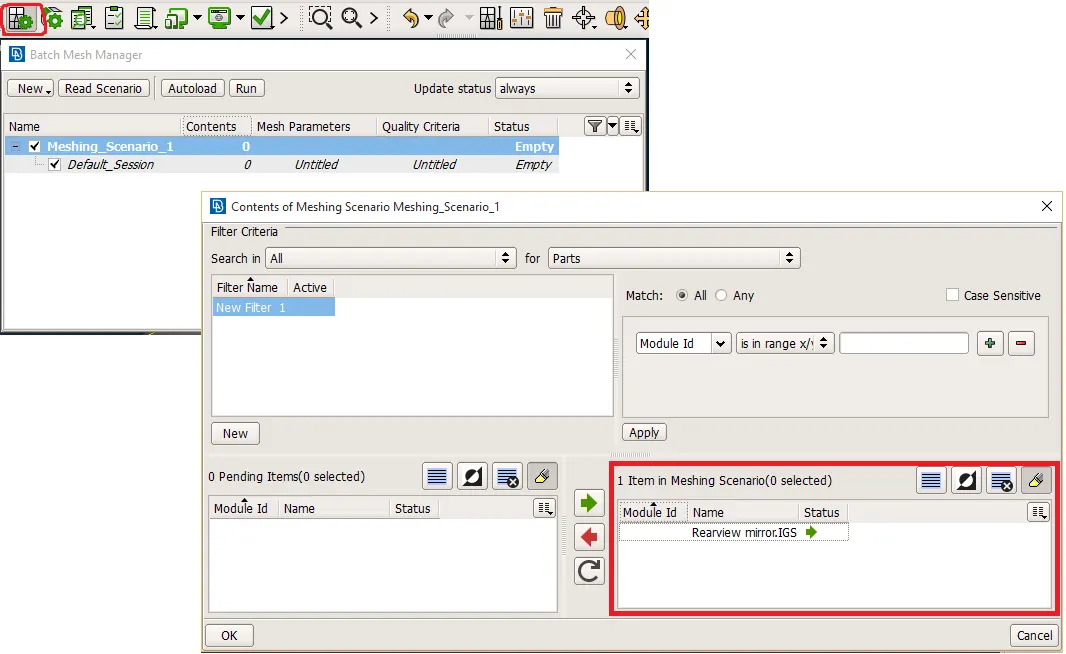
Batch Mesh is performed on the model to have an automatic mesh. This tool creates customizable batch meshing sessions to perform automatic mesh generation on Geometry and FE data. In addition, it provides the ability to manage flanges, holes, fillets, tubes, and perform de-featuring. The small red-colored encircled icon in the image below shows the Batch Mesh tool. A new meshing scenario is created. The model is loaded in a meshing scenario shown in the 2nd dialogue box with a red box. Mesh parameters were checked and the element type was set to tria. After loading the run button is hit, the ANSA performs the batch sessions of mesh.
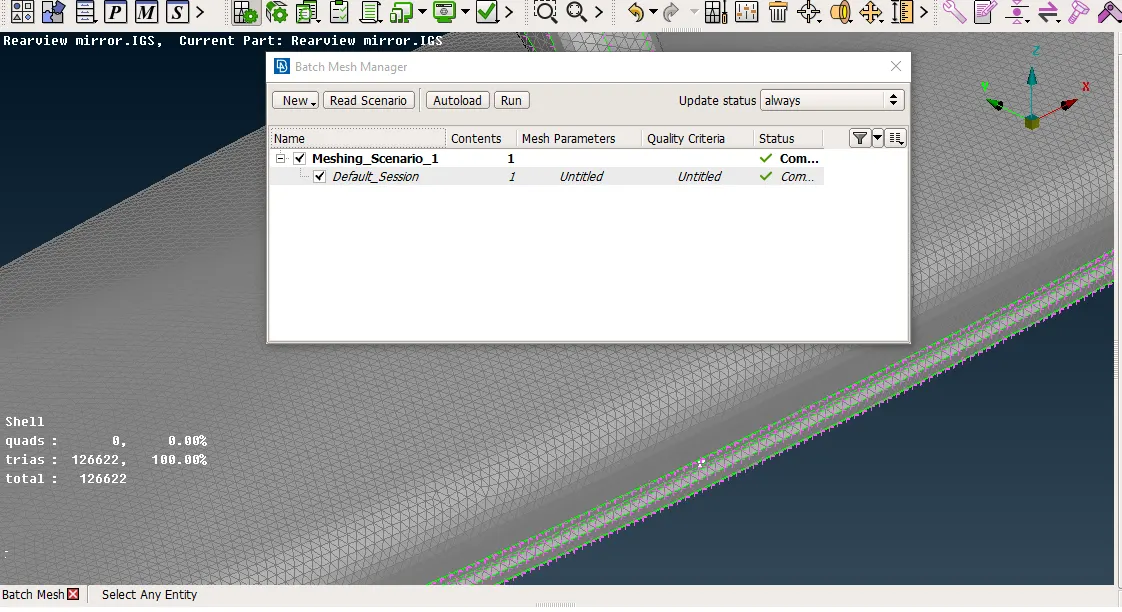
The images below shows after completion of the batch mesh:
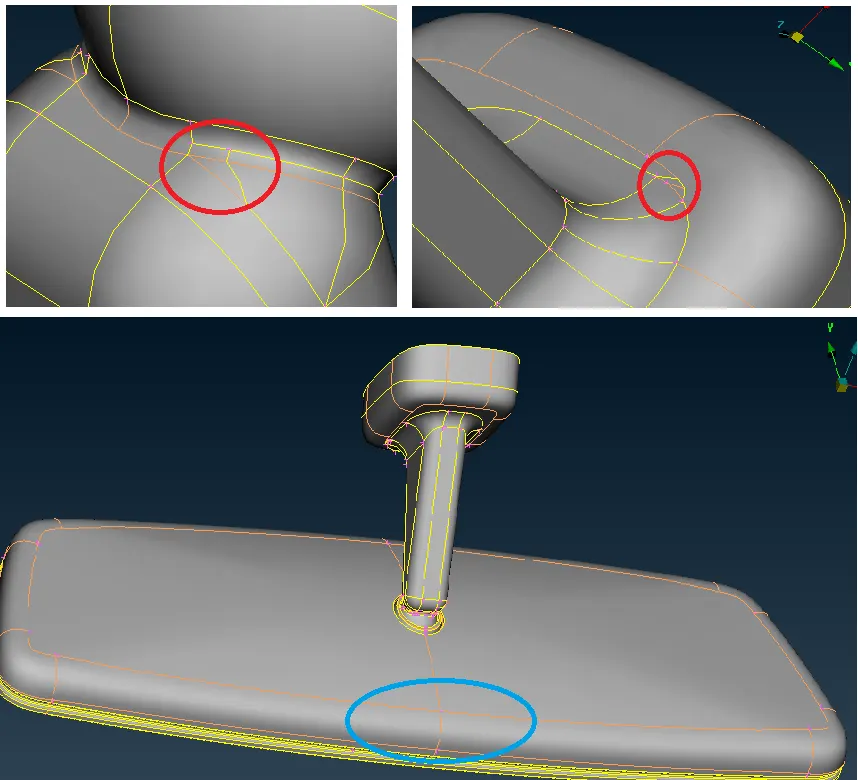
The red circles show the necessary de featuring where the mesh elements would fail for minimum length, while blue circle shows unnecessary de featuring which actually defines the feature, which has to be restored using release cons and topo options. Those macro-areas are remeshed using spot mesh option.
Model in mesh module:
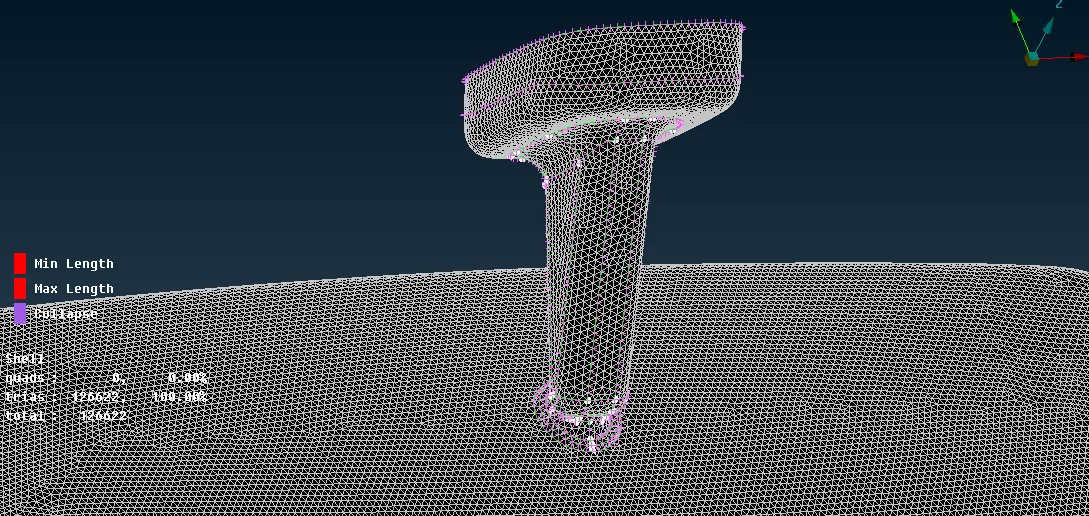
Since the batch mesh was done using tria mesh type, the capturing of curved features is better with ortho-tria type. The mesh was erased at the curved surfaced and remeshed using the spot mesh option.
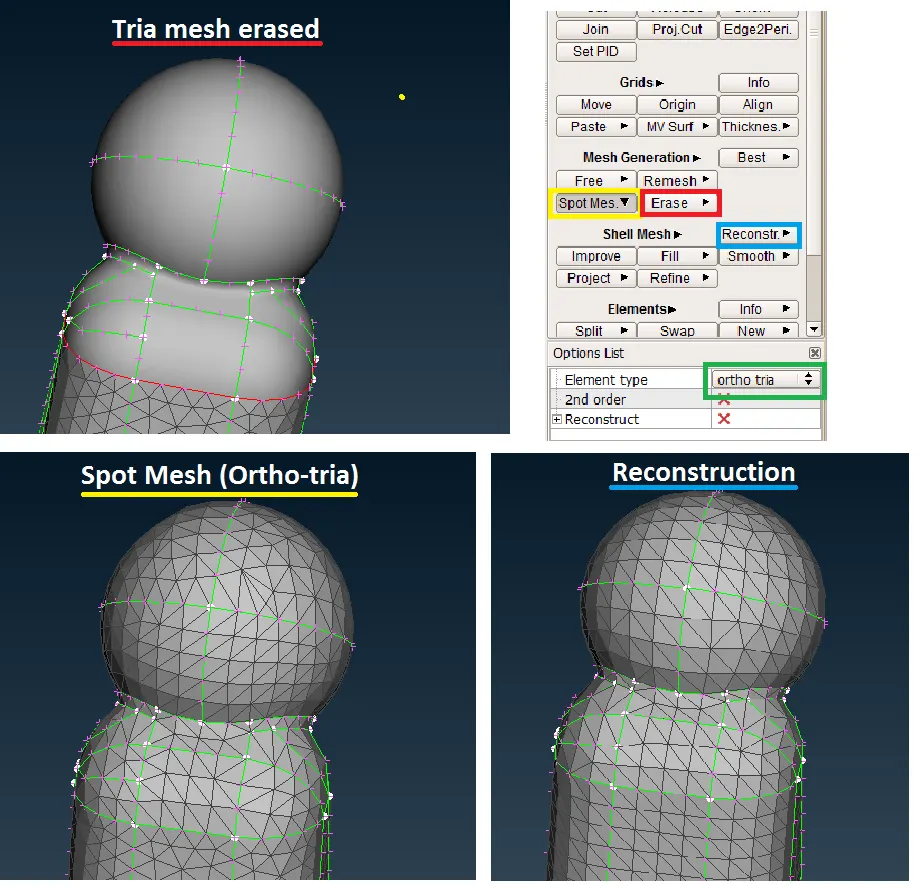
To improve the mesh flow throughout the model the reconstruction option was used.
Volume Mesh:
The volumes are assigned to each property separately and meshed using Tetra FEM.
Each part is isolated using a show/hide option. Using the Define option in the volume mesh module volume is assigned (shown in the red box). In volume detect options dialogue box, the visible option is used (show in the yellow box).
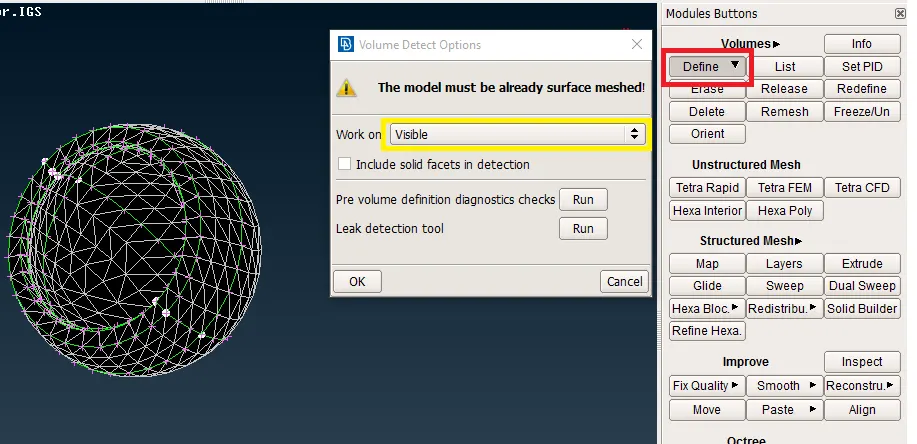
After defining the volume, the mesh is performed as shown in the image below. The Tetra FEM is used for a volume type.
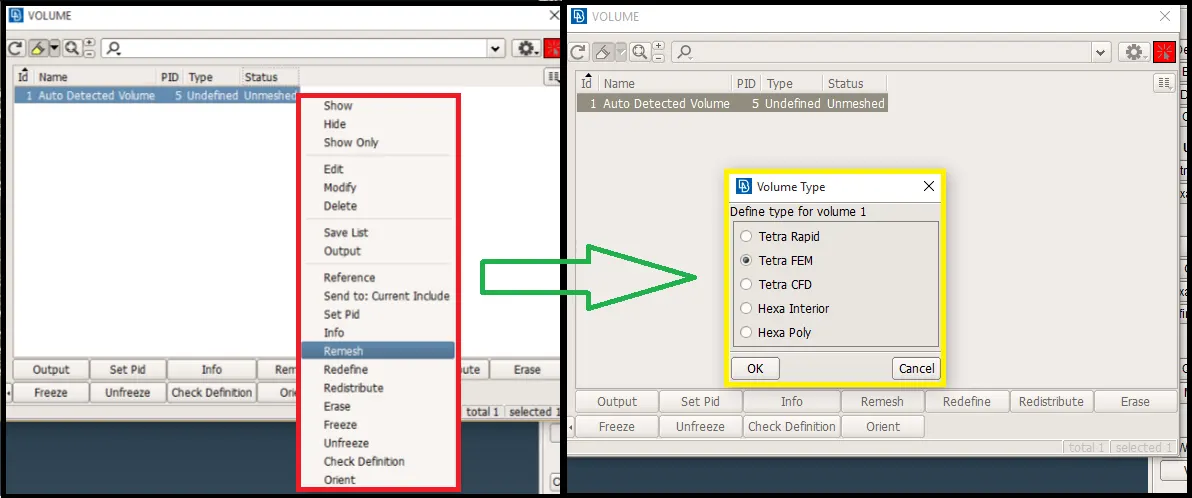
Image after volume mesh is performed for a particular part.
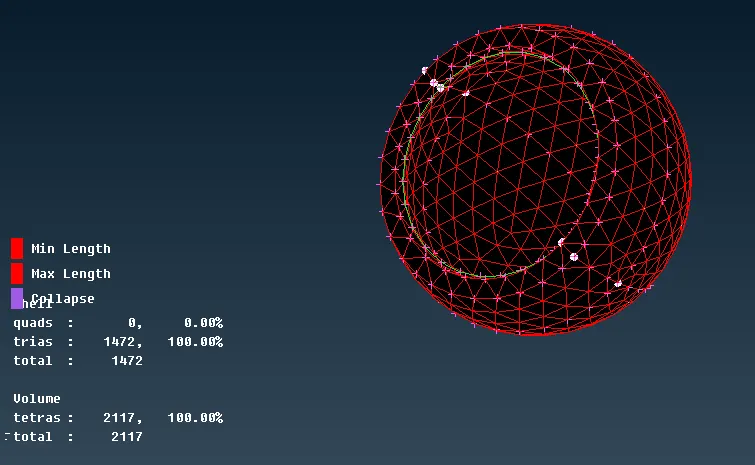
Similarly, all the other parts were volume meshed.