3D Creation of Ceiling, Roof, Architectural plan, Structural plan, Sectional view, Elevation view and Camera specific view for a house plan using REVIT
1) Based on the project saved from Week 3, proceed from the First Floor Level. Model a Ceiling from the architecture tab above the walls at the first-floor level
AIM:
To model a Ceiling from the architecture tab above the walls at the first-floor level.
INTRODUCTION:
- The creation of Ceilings within Revit is a very similar process to that of Floors and Roofs- ie you can let Revit do most of the work and "gress" where you want the boundaries to be.Or you can enter Sketch Mode and literally sketch out the boundary of the ceiling yourself.
- The main thing to remember is to be in the Connect Ceiling Plan View before you start. Revit will let you place Ceilings in Floor Plan
- Views, but I would not advise this as you cannot readily see what you have created.
PROCEDURE
Step:-1
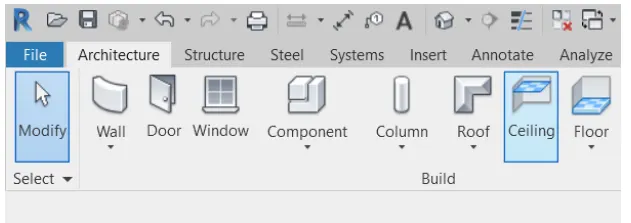
- First we open the revit sofware, and select the ceiling option from the architecture toolbar.
step 2:
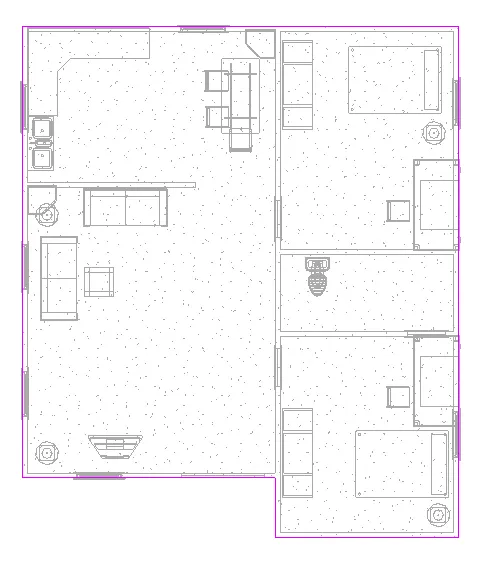
- sketch the boundries by pick planes as shown below.
step 3:
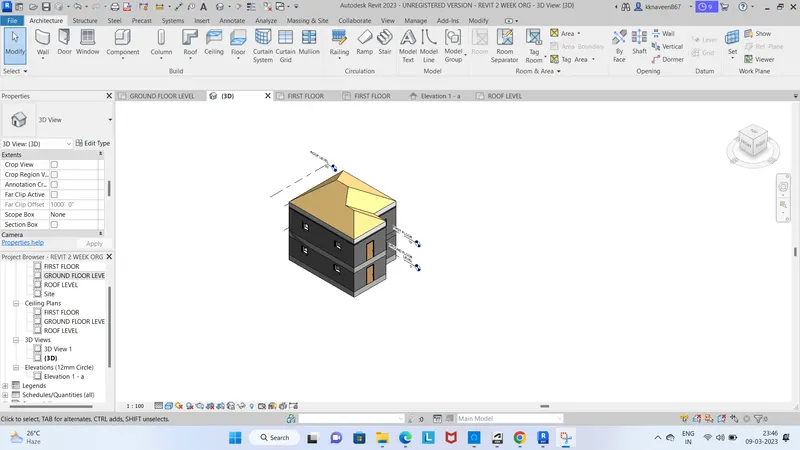
The ceiling of the residential building is created and shown in 3D view.
RESULT:
The ceiling and roof modeled also created by architectural tap above the walls first floor level.
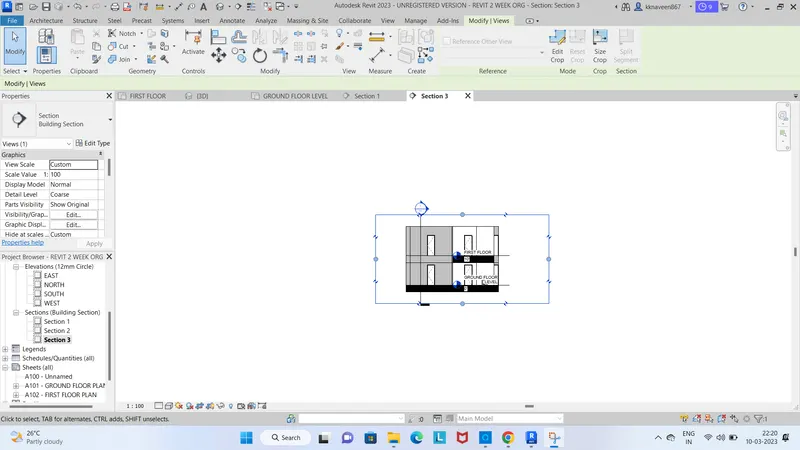
section view created
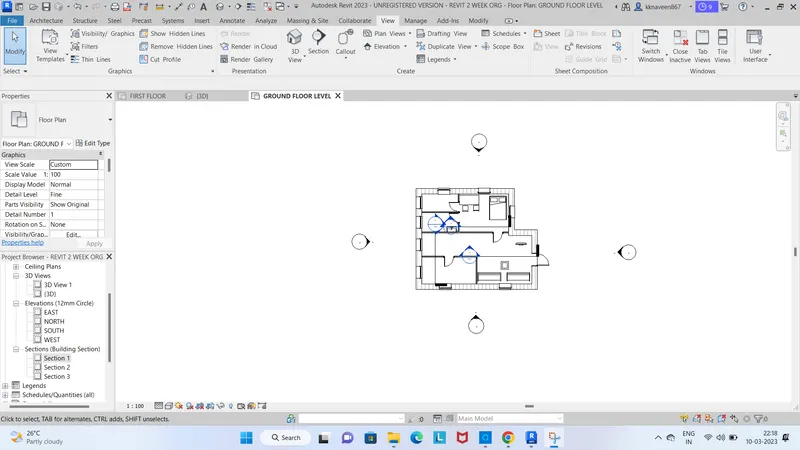
Create a camera-specific view or a 3D view in each room ( living, dining, bedroom). Based on the views create a new set of sheets starting A-501 (you can add as many sheets after, 502, 503.. n)to place the 3D view images. Produce the sheets as a part of project drafting.
AIM:-
To create a camera-specific view or a 3D view in living room, dining room and bedroom in the sheets separately.
INTRODUCTION:
- Camera Views are really useful in Revit.
- They allow us to view what we would actually see if we were standing at any given location in our design
- This can be invaluable for both understanding and communicating the nature of a space before we go to the expensive lengths of actually constructing it for real
PROCEDURE:
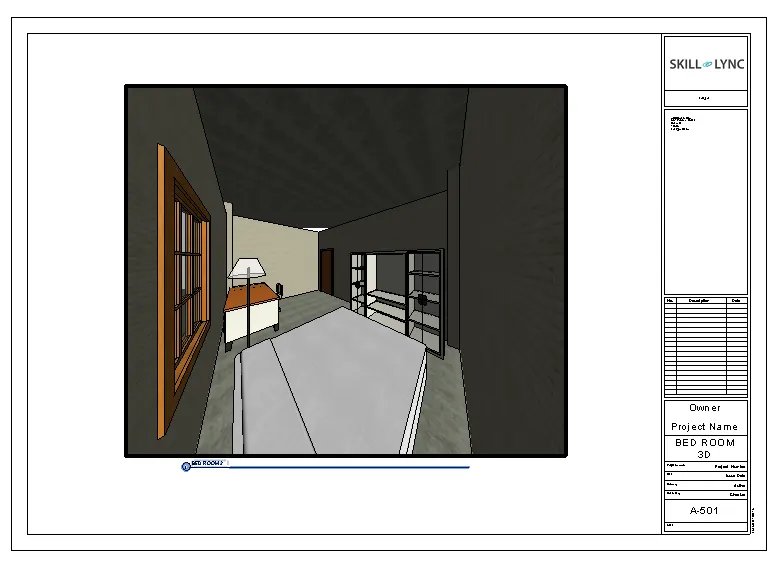
Step: 1
- First we take the sheet and name it as A-501.
- Next go to the floor plan and place the camara in the Bed room, and the camera view of bed room will be shown below.
Step 2:
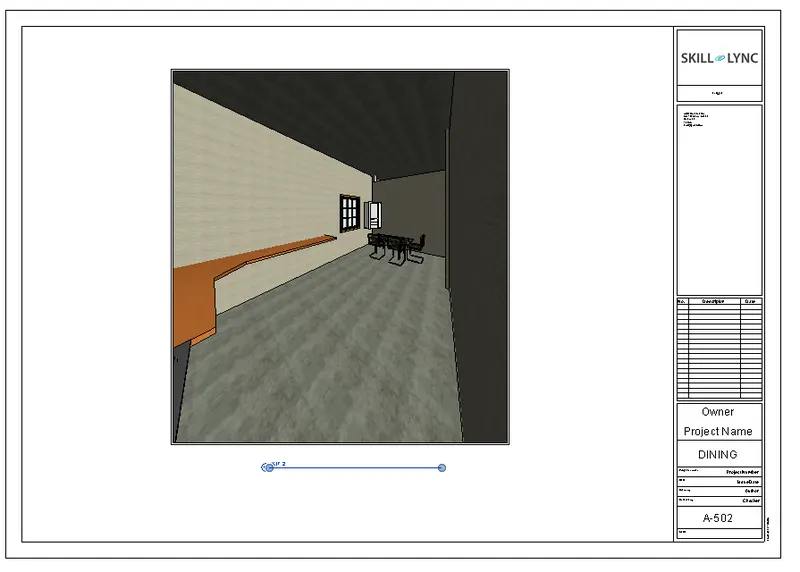
- Create a sheet and name it A-502.
- Go to the floor plan and place the camera in the dinning room
- the created view in presented in the sheet A-502
Step 3:
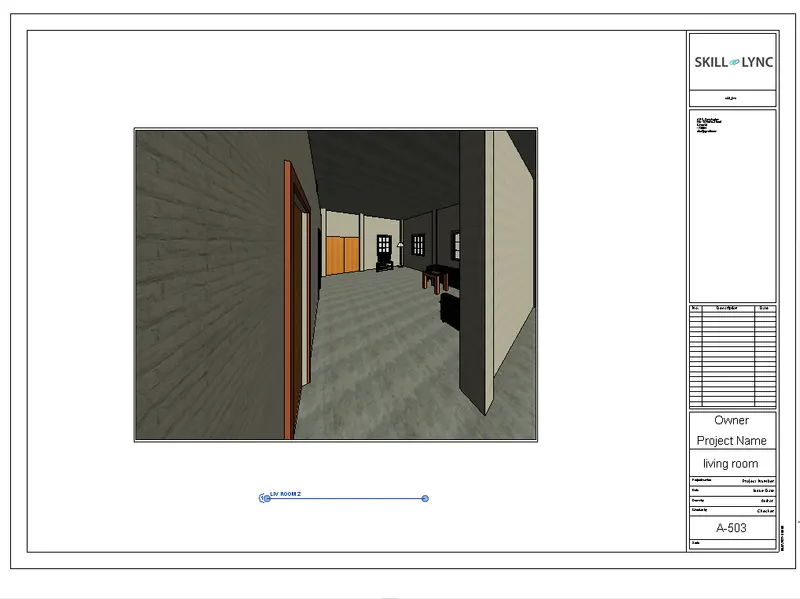
- Create a sheet and name it A-503.
- Go to the floor plan and place the camera in the living room
- the created view in presented in the sheet A-503
RESULT:
The created camera views are presented in the sheets seperately successfully.