How to Resolve A Free Edge in ANSA?
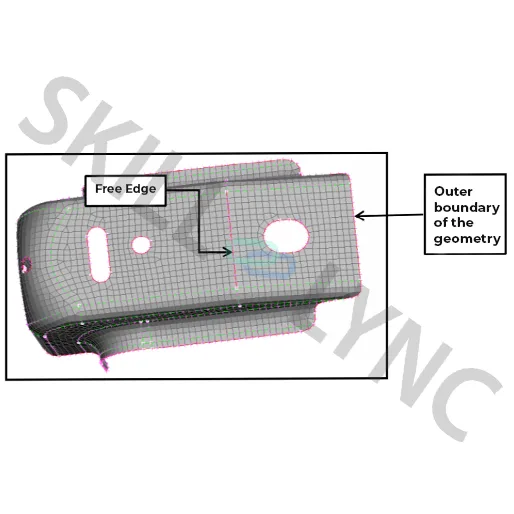
If the two nodes are not connected properly then it is known as the free edge and it will be visible in red color like the below image.
 Anup KumarH S·25 Sept 2022·3 min read
If the two nodes are not connected properly then it is known as the free edge and it will be visible in red color like the below image,
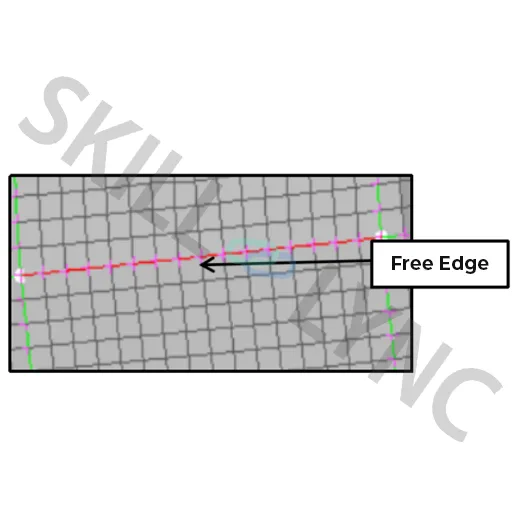
If the outer boundary is in red color, it won’t make a problem but if it is in between the geometry, it is a problem.
Significance of Free Edge
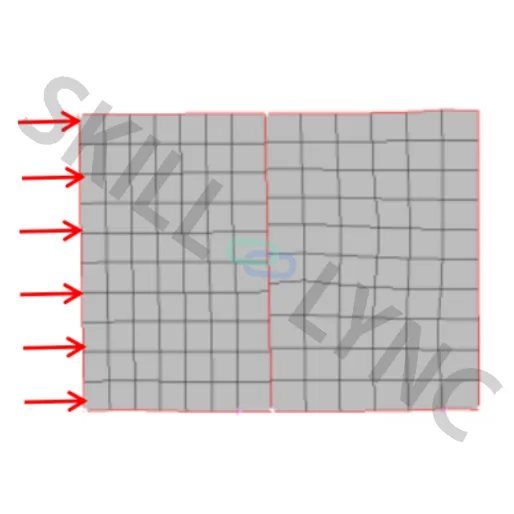
If the load is applied on the right side of the plate, the force transmission will end at the center due to the no connectivity between left side nodes. If the load is not properly transferred, then it will end up with the wrong result. If the free edge is on the outside of the geometry, no need to worry because the outside of the geometry won’t connect with any of the other surfaces. As a modeller, you should avoid those problems, before running the simulation or else you will end up with the wrong results
Possibility of a Free Edge Creation
- Manual creation of elements
- Mirroring the elements
- Translating the elements
- Geometrical issue
-
Manual element creation:
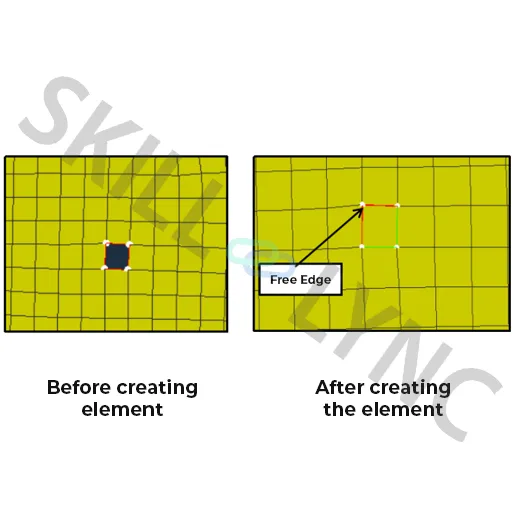
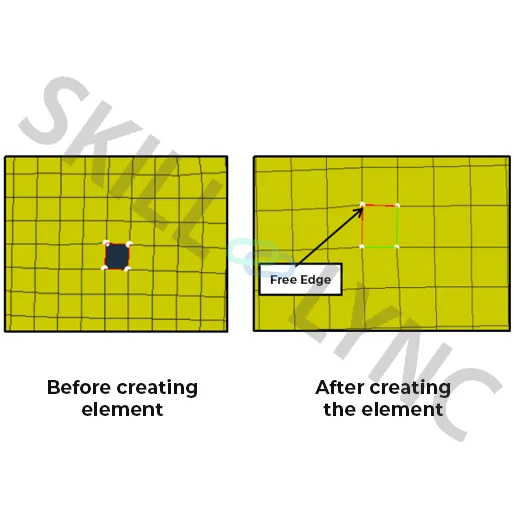
While creating the quad element manually, we should select all the nodes 4 nodes. However, ANSA will give the quad element even if we are selecting 3 nodes.
- Mirroring the elements:
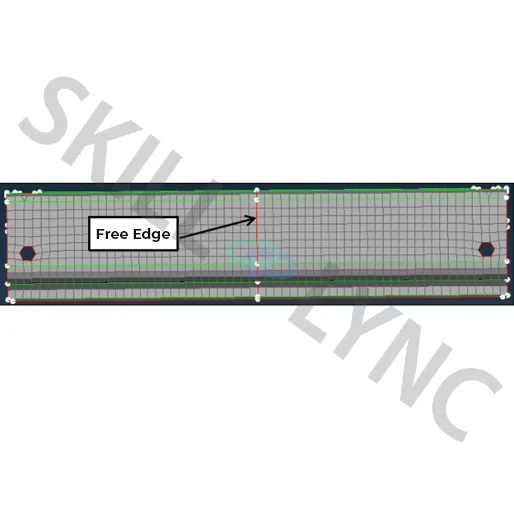
After creating the mirror for your geometry, if you are checking it at the mirror plane, you can see the free edge like the below image,
- Translating the elements:
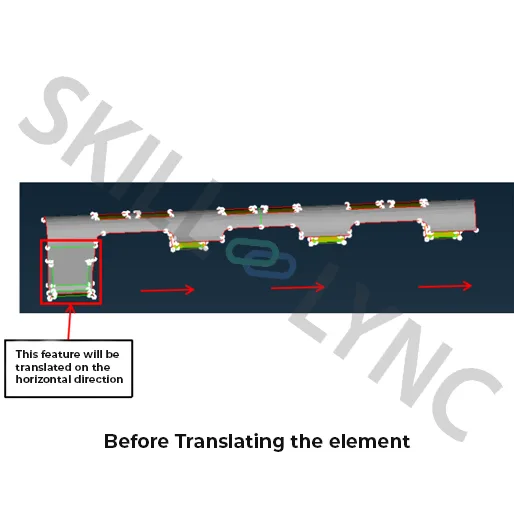
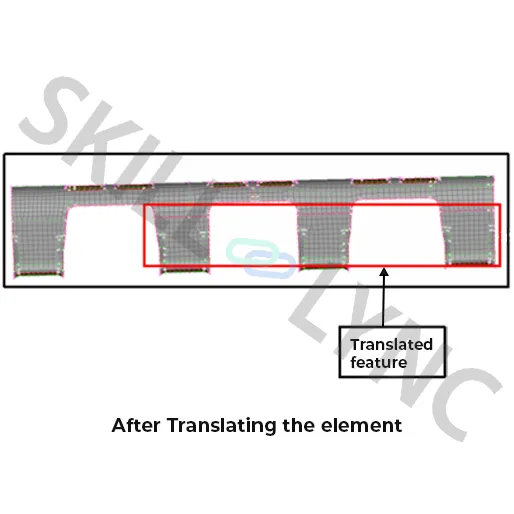
If we are trying to translate the selected feature in the horizontal direction by using the translate option, we will get the free edge at the junction.
- Geometrical Issue:
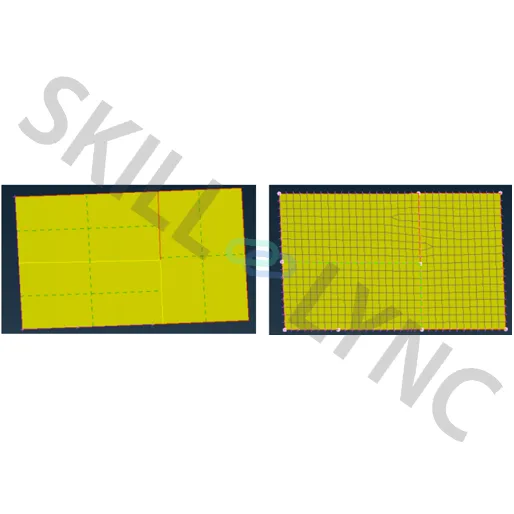
If you have the geometry with the free edge then it will end up with the free edge like the below image,
Methods to Fix the Issue:
- Fixing the geometry:
Before proceeding with the mesh, you should check the geometry and fix all the free edge issues by using the topo or paste option that is available in TOPO mode
- FEMTopo:
After releasing the fe from the geometry, if you have a free edge you can use this command. It will paste the two free edges with the tolerance value that is given by the user. Do not give the tolerance more than 0.5. If you are giving more than 0.5, there is a chance of pasting the neighbour element like the below image,
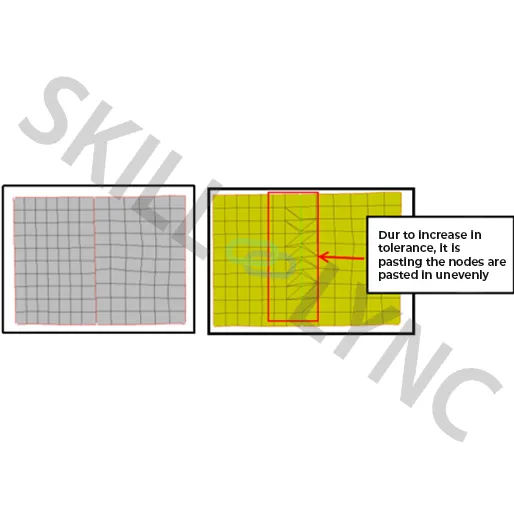
Steps to be followed for using this option:
- Go to Mesh>Shell mesh>FEMTopo
- You have two options:
- Visible - It will perform the FEMTopo for visible elements
- Select - It will perform the FEMTopo for selected elements
- There are two methods to perform this option:
- Single step - runs this option for one time.
- Multi-step - runs this option for given steps.
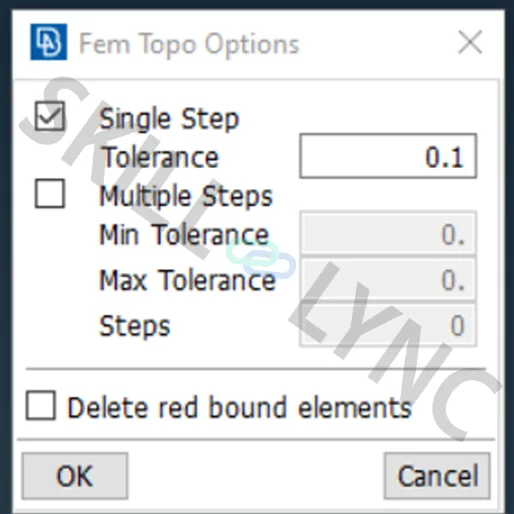
- The tolerance should be less than 0.5 and click ok. Now, The free edge is converted to a shared edge(green line) like the below image,
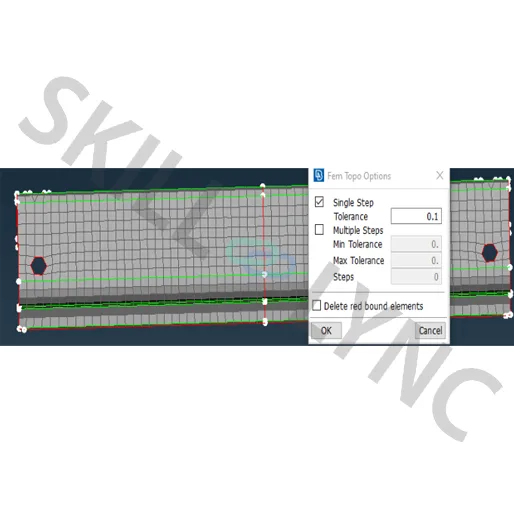
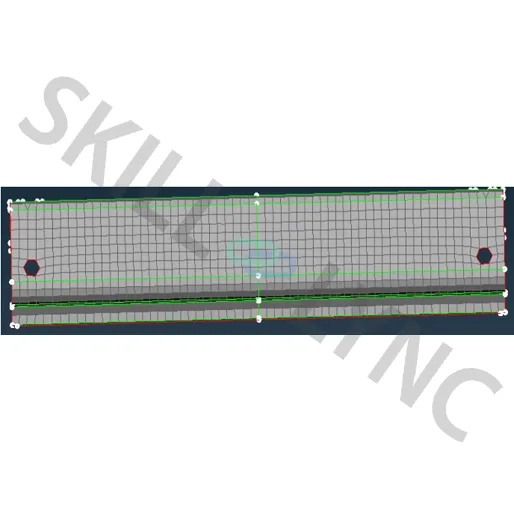
- Auto Paste option:
It will paste the two nodes which have less than the tolerance value so there is a chance of pasting the small elements that you have in your geometry. While performing this option, Make sure it did not affect your geometry.
Steps to be followed for using this option:
- Go to mesh>grids>paste>auto
- You have 3 options in auto paste
- Visible
- Selected elements
- Selected nodes
- Show detailed info - used to display the node information the info box
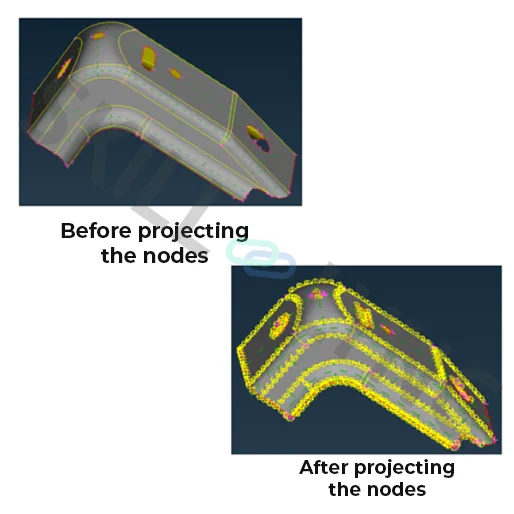
- Project on geometry - used to project the nodes on the geometry
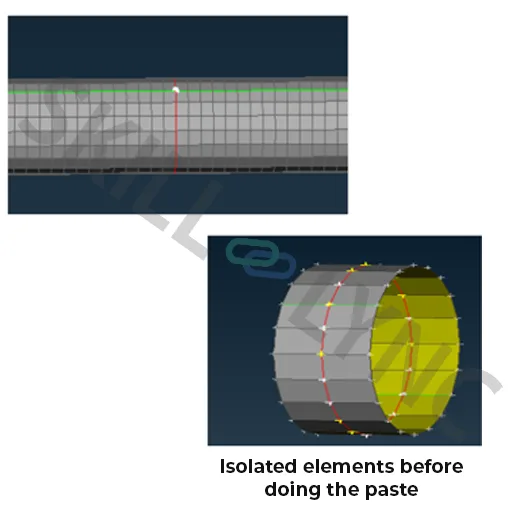
- Isolate before - used to isolate a row of elements before performing the paste operation.