Geometry Cleanup in HyperMesh: Tools for Fixing the Free Edges
The very first thing that we do after importing a geometry to HyperMesh will be to clean up the model and make it ready to proceed with further steps. This article gives an introduction to a few tools that helps us fix the free edges that may come up in the model after importing it.
 Navin Baskar·15 Nov 2022·2 min read
Geometry Cleanup in HyperMesh: Tools for Fixing the Free Edges
The very first thing that we do after importing a geometry to HyperMesh will be to clean up the model and make it ready to proceed with further steps. This article gives an introduction to a few tools that helps us fix the free edges that may come up in the model after importing it.
What is Geometry Cleanup in HyperMesh?
Designers have different priorities while creating CAD geometry than analysts who are seeking to use the data. Usually, a single smooth surface is divided into smaller patches, each of which is a distinct mathematical face. And often, there will be gaps, overlaps, or other alignment issues at the junction of two surfaces.
In geometry cleanup, analysts integrate several faces onto a single smooth surface to make the geometry more suitable for meshing. This enables the creation of the elements across the entire region at once and eliminates the need for false or unintentional edges in the finished mesh.
Tools used for Geometry Cleanup in HyperMesh
Let's discuss each tool separately for a better understanding:
1. Geometry > Edge edit > Replace
- Find the free edge shown below.
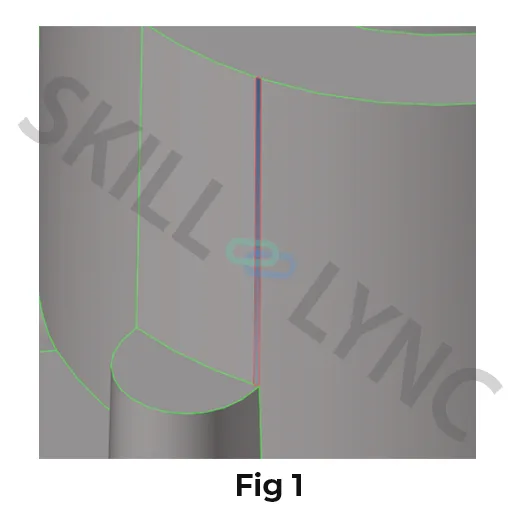
- Go to Geometry > Edge edit > Replace
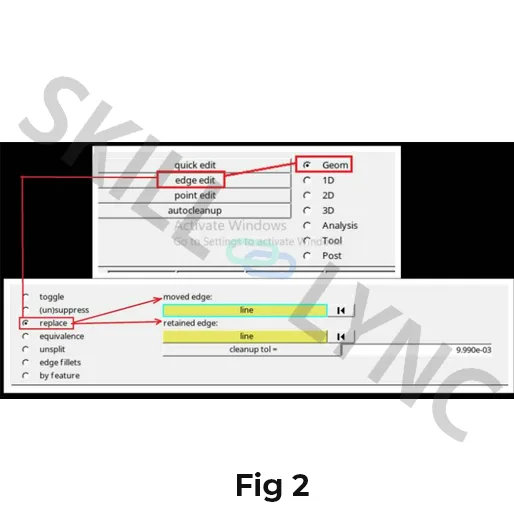
- Select the “moved edge” and “retained edge” as shown below.
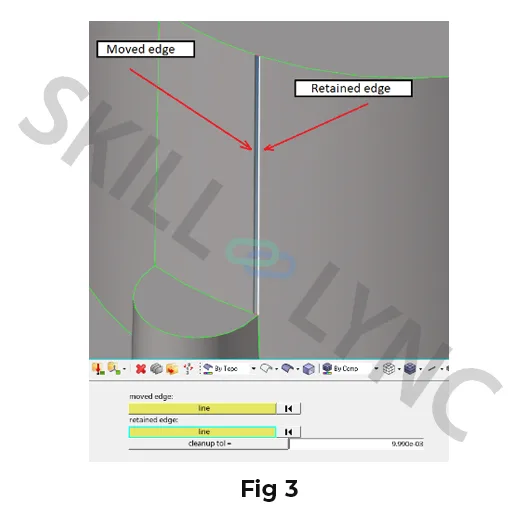
- On a middle-click confirmation, you may get an error message as shown below if the tolerance that is provided is very less.
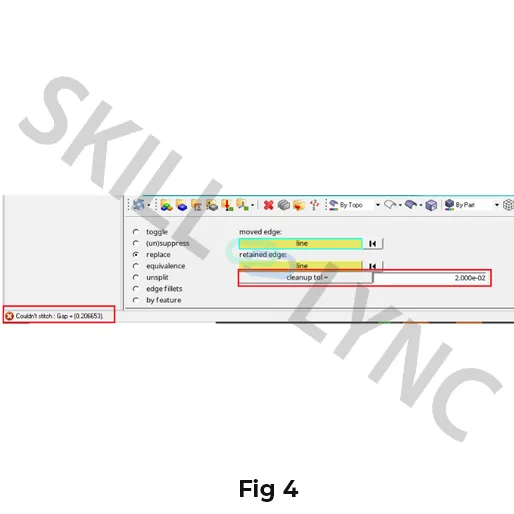
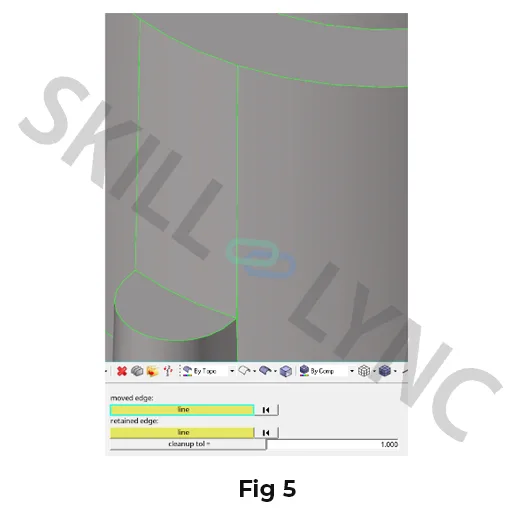
- If so, increase the cleanup tolerance value and try again, the part will be joined as shown below.
2. Geometry > Surfaces > Ruled
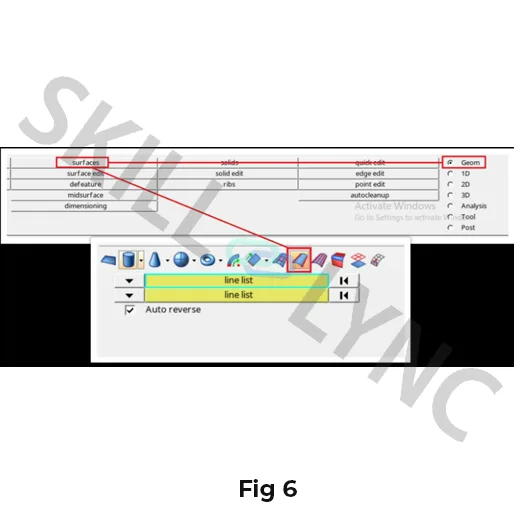
- Find the free edge shown below
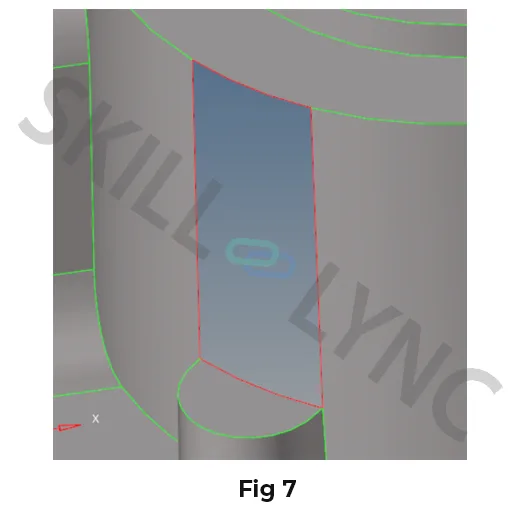
- Now select the free edges in the following order with both line lists.
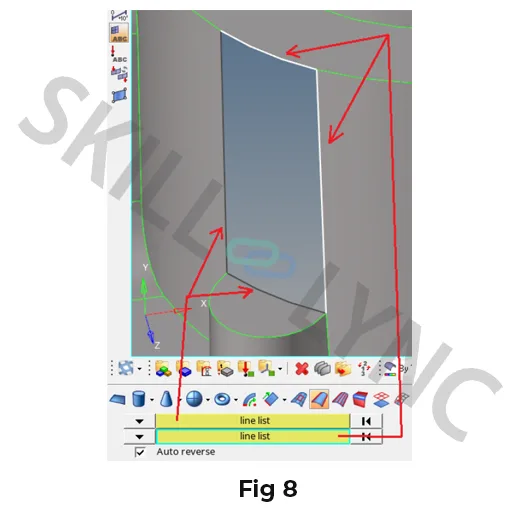
- On a middle click confirmation you can see that a surface is generated as shown below.
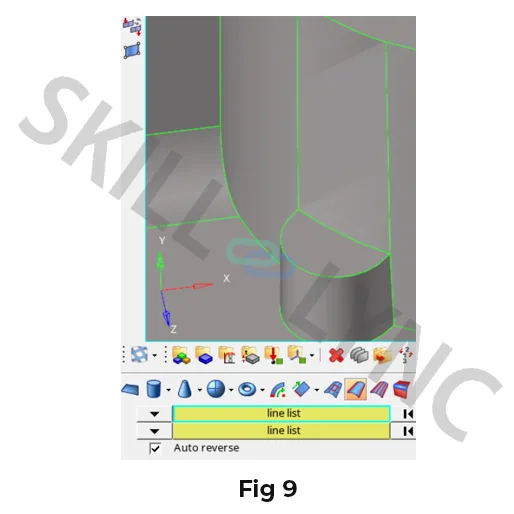
3. Geometry > Quick edit > Filler Surf
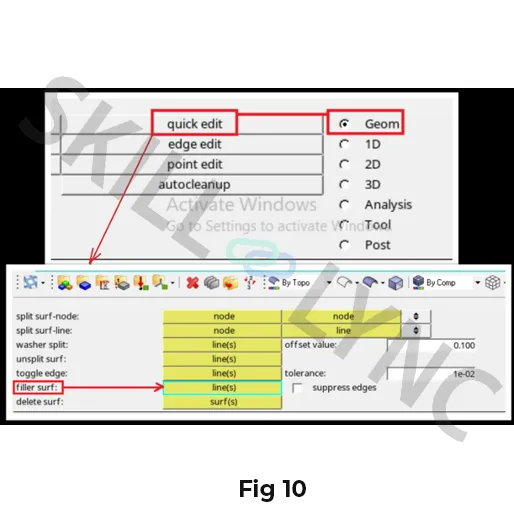
- Select the free edges as shown below.
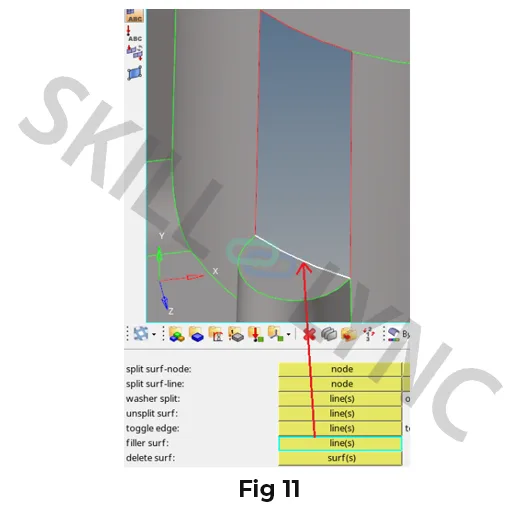
- After selecting the line you can see the new surface is created by filling the areas as shown below.
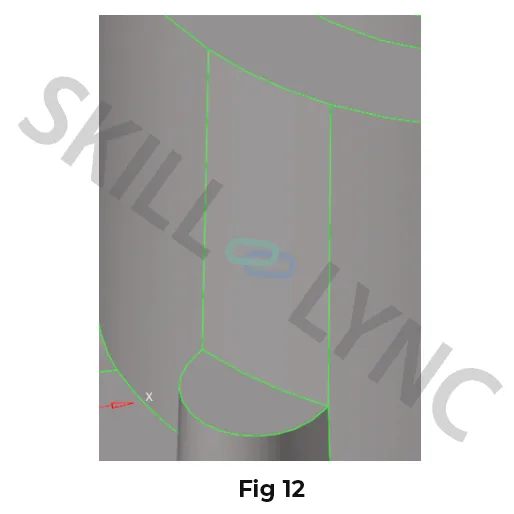
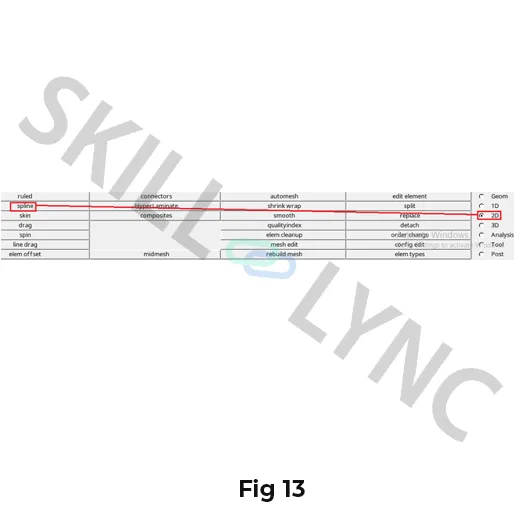
4. 2D > Spline
- Select all the free edges of the part.
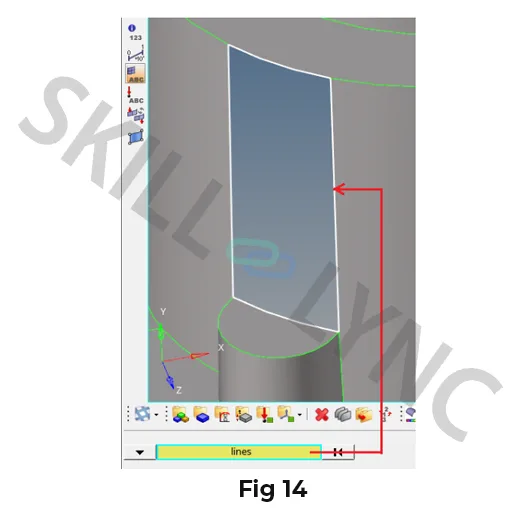
- Click the dropdown and change to “surface only” and then click on “create”.
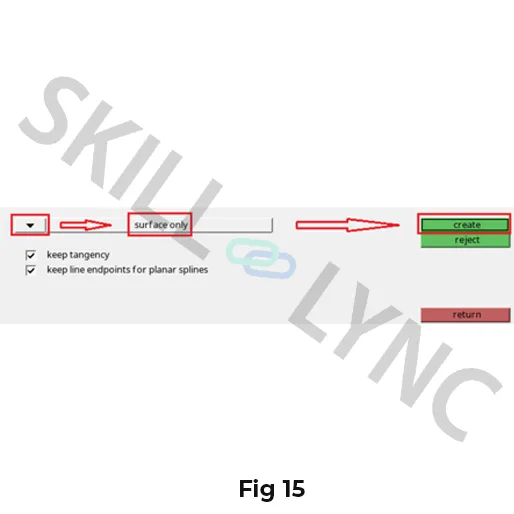
- You can see the patch is filled by a new surface.